How to Remove Hard Water Stains from Glass Without Scratching
Transparency Note: We independently select these products based on research and user reviews. If you buy something through our links, we may earn a commission.
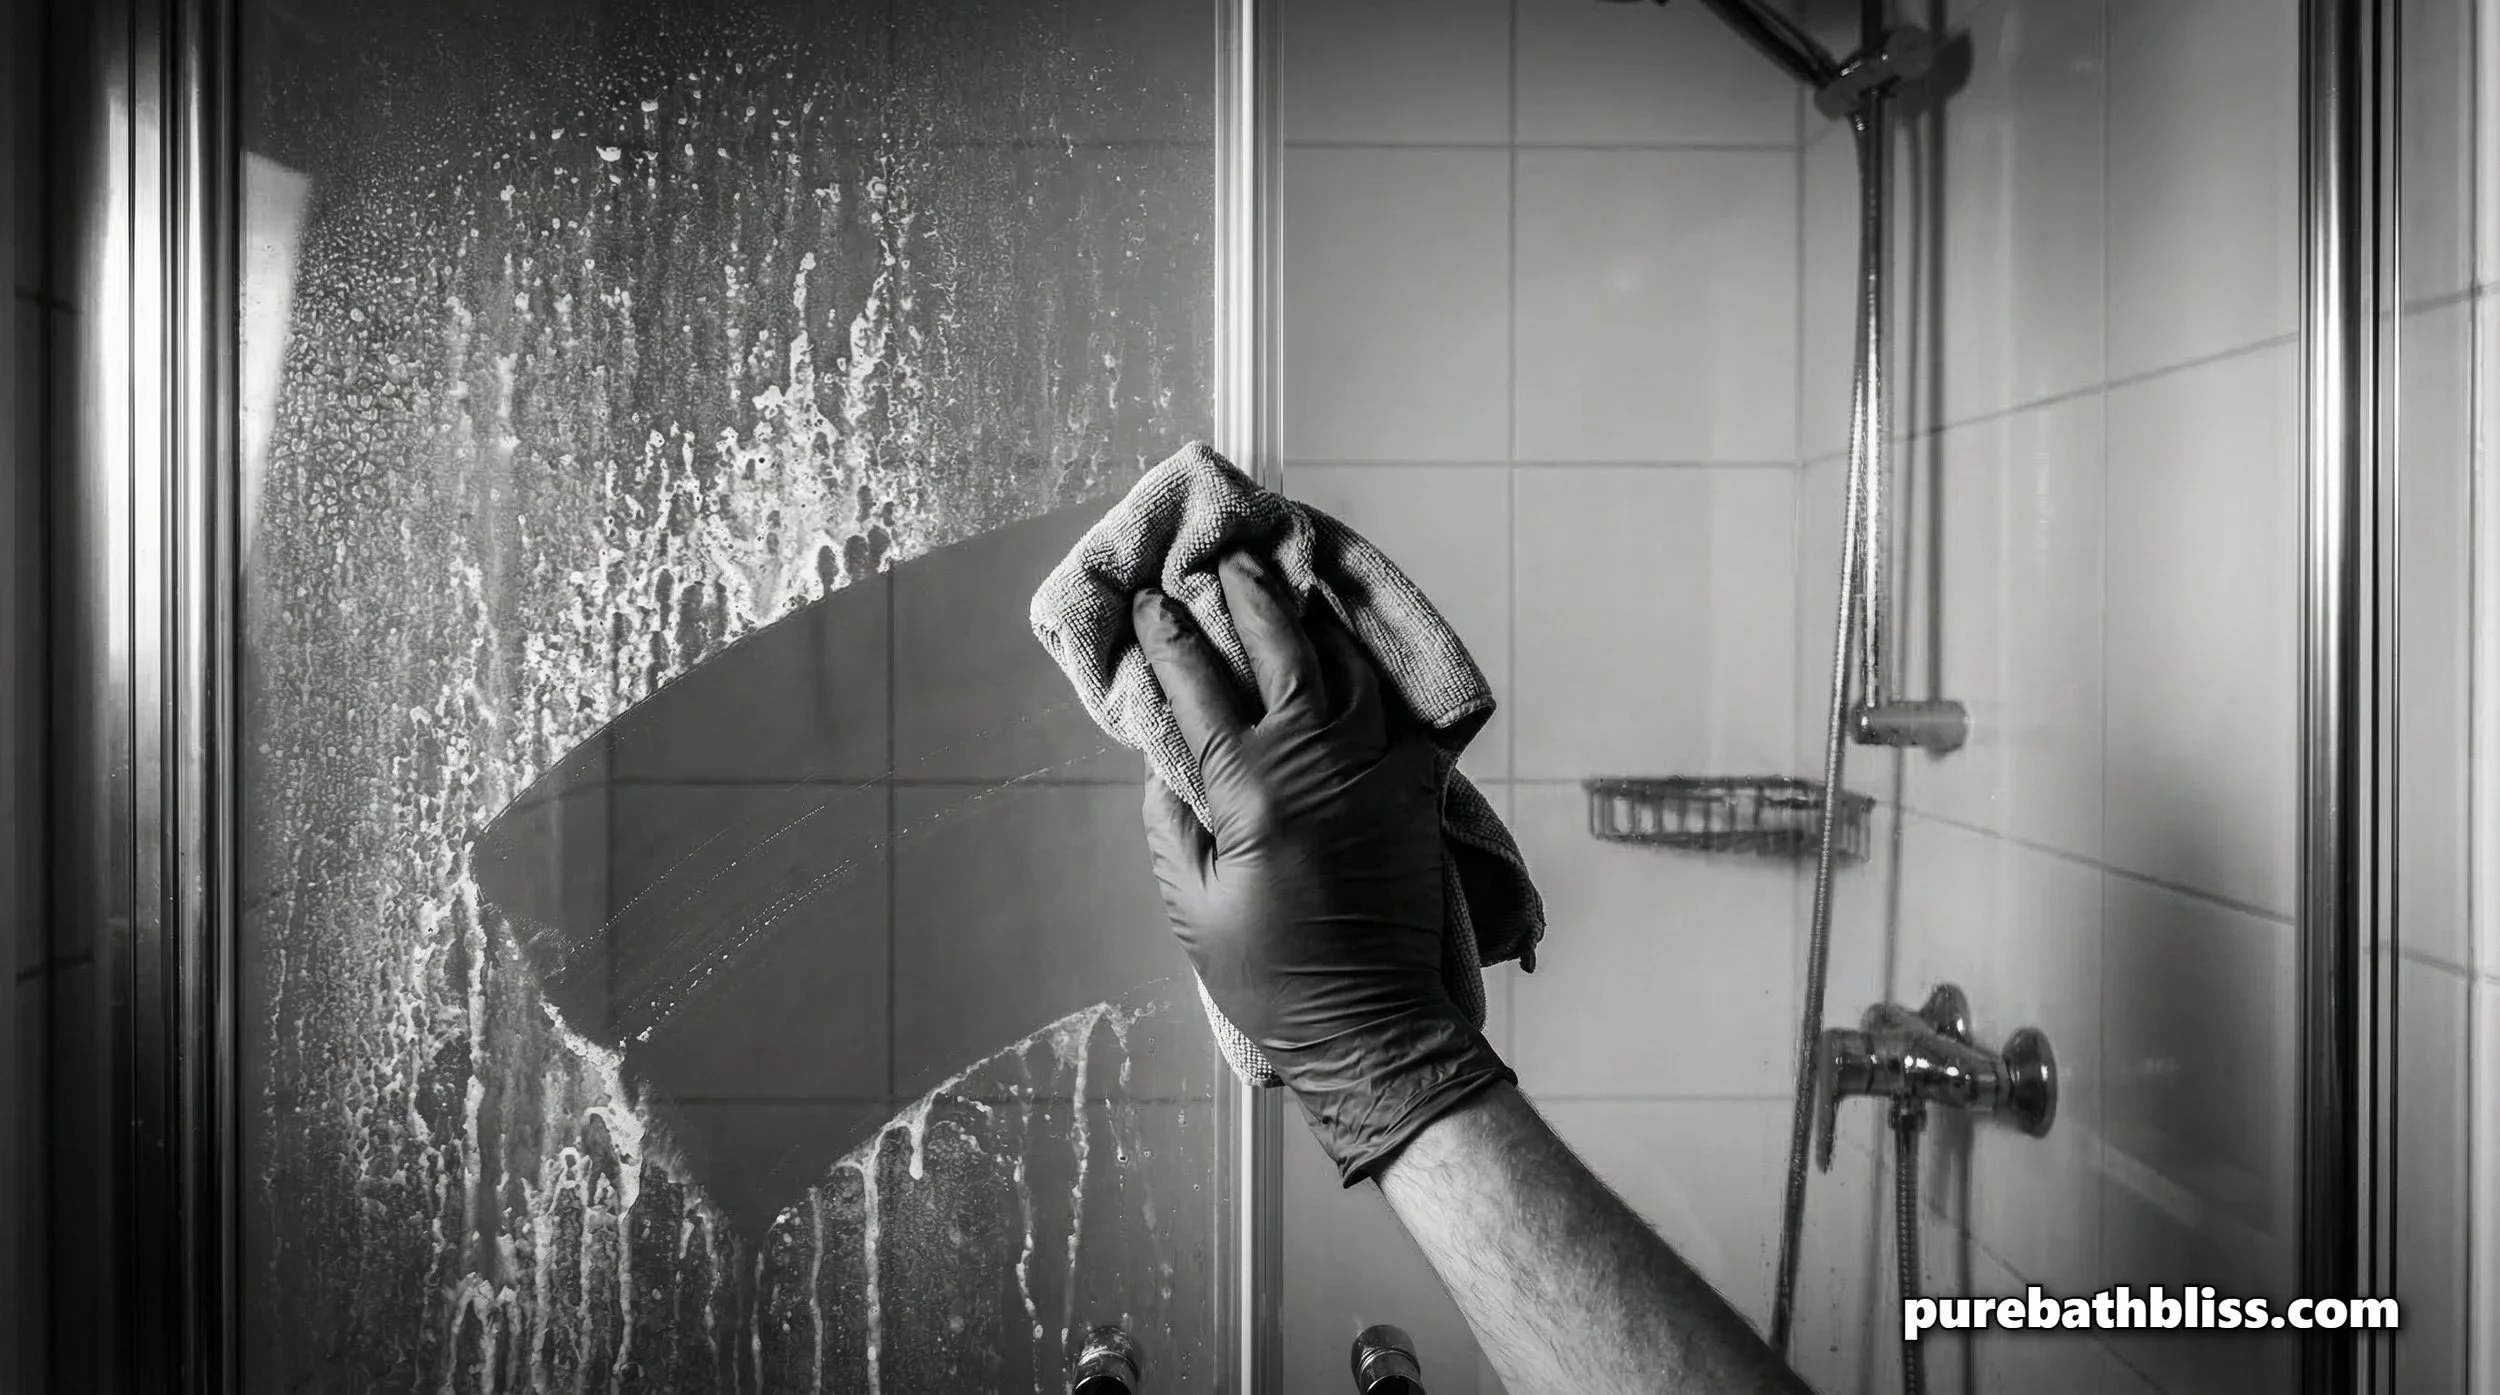
There is nothing quite as frustrating as finishing a deep clean of your bathroom only to realize your glass shower doors still look cloudy, "milky," or covered in white, crusty spots. These aren't just water marks; they are mineral deposits that have physically bonded to the glass. If left too long, they can actually "etch" the surface, leading to permanent damage that no amount of scrubbing can fix.
In 2026, we are seeing a shift away from harsh, abrasive chemicals that can scratch the glass and irritate your lungs. Instead, we are using "organic" chemistry to dissolve the minerals while preserving the clarity of the glass infrastructure.
In this guide, we will look at the science of hard water, why standard glass cleaners fail, and how to restore your shower doors to a factory-fresh shine without damaging the surface.
The Chemistry of "Glass Bonding"
To fix the spots, you have to know what they are. Most "hard" water contains high levels of calcium and magnesium. When water evaporates off your glass after a shower, it leaves these minerals behind. Over time, these minerals don't just sit on top of the glass; they form a chemical bond with the silica in the glass itself.
This is why your standard blue window spray doesn't work. Those sprays are designed to cut through grease and fingerprints, but they aren't acidic enough to break the mineral bond. As we discussed in 7 Genius Ways to Use White Vinegar in Your Bathroom Deep Clean, you need an acid to neutralize the alkaline minerals.
Gather Your Glass Restoration Supplies
Before you start, ensure you have the right "soft" tools. Never use steel wool or green scouring pads on glass, as they will create micro-scratches that actually trap more minerals in the future.
Commercial-Grade Glass Polishing Paste – A cerium oxide-based paste for heavy mineral removal.
Ergonomic Felt Polishing Pads – To apply pressure without creating scratches.
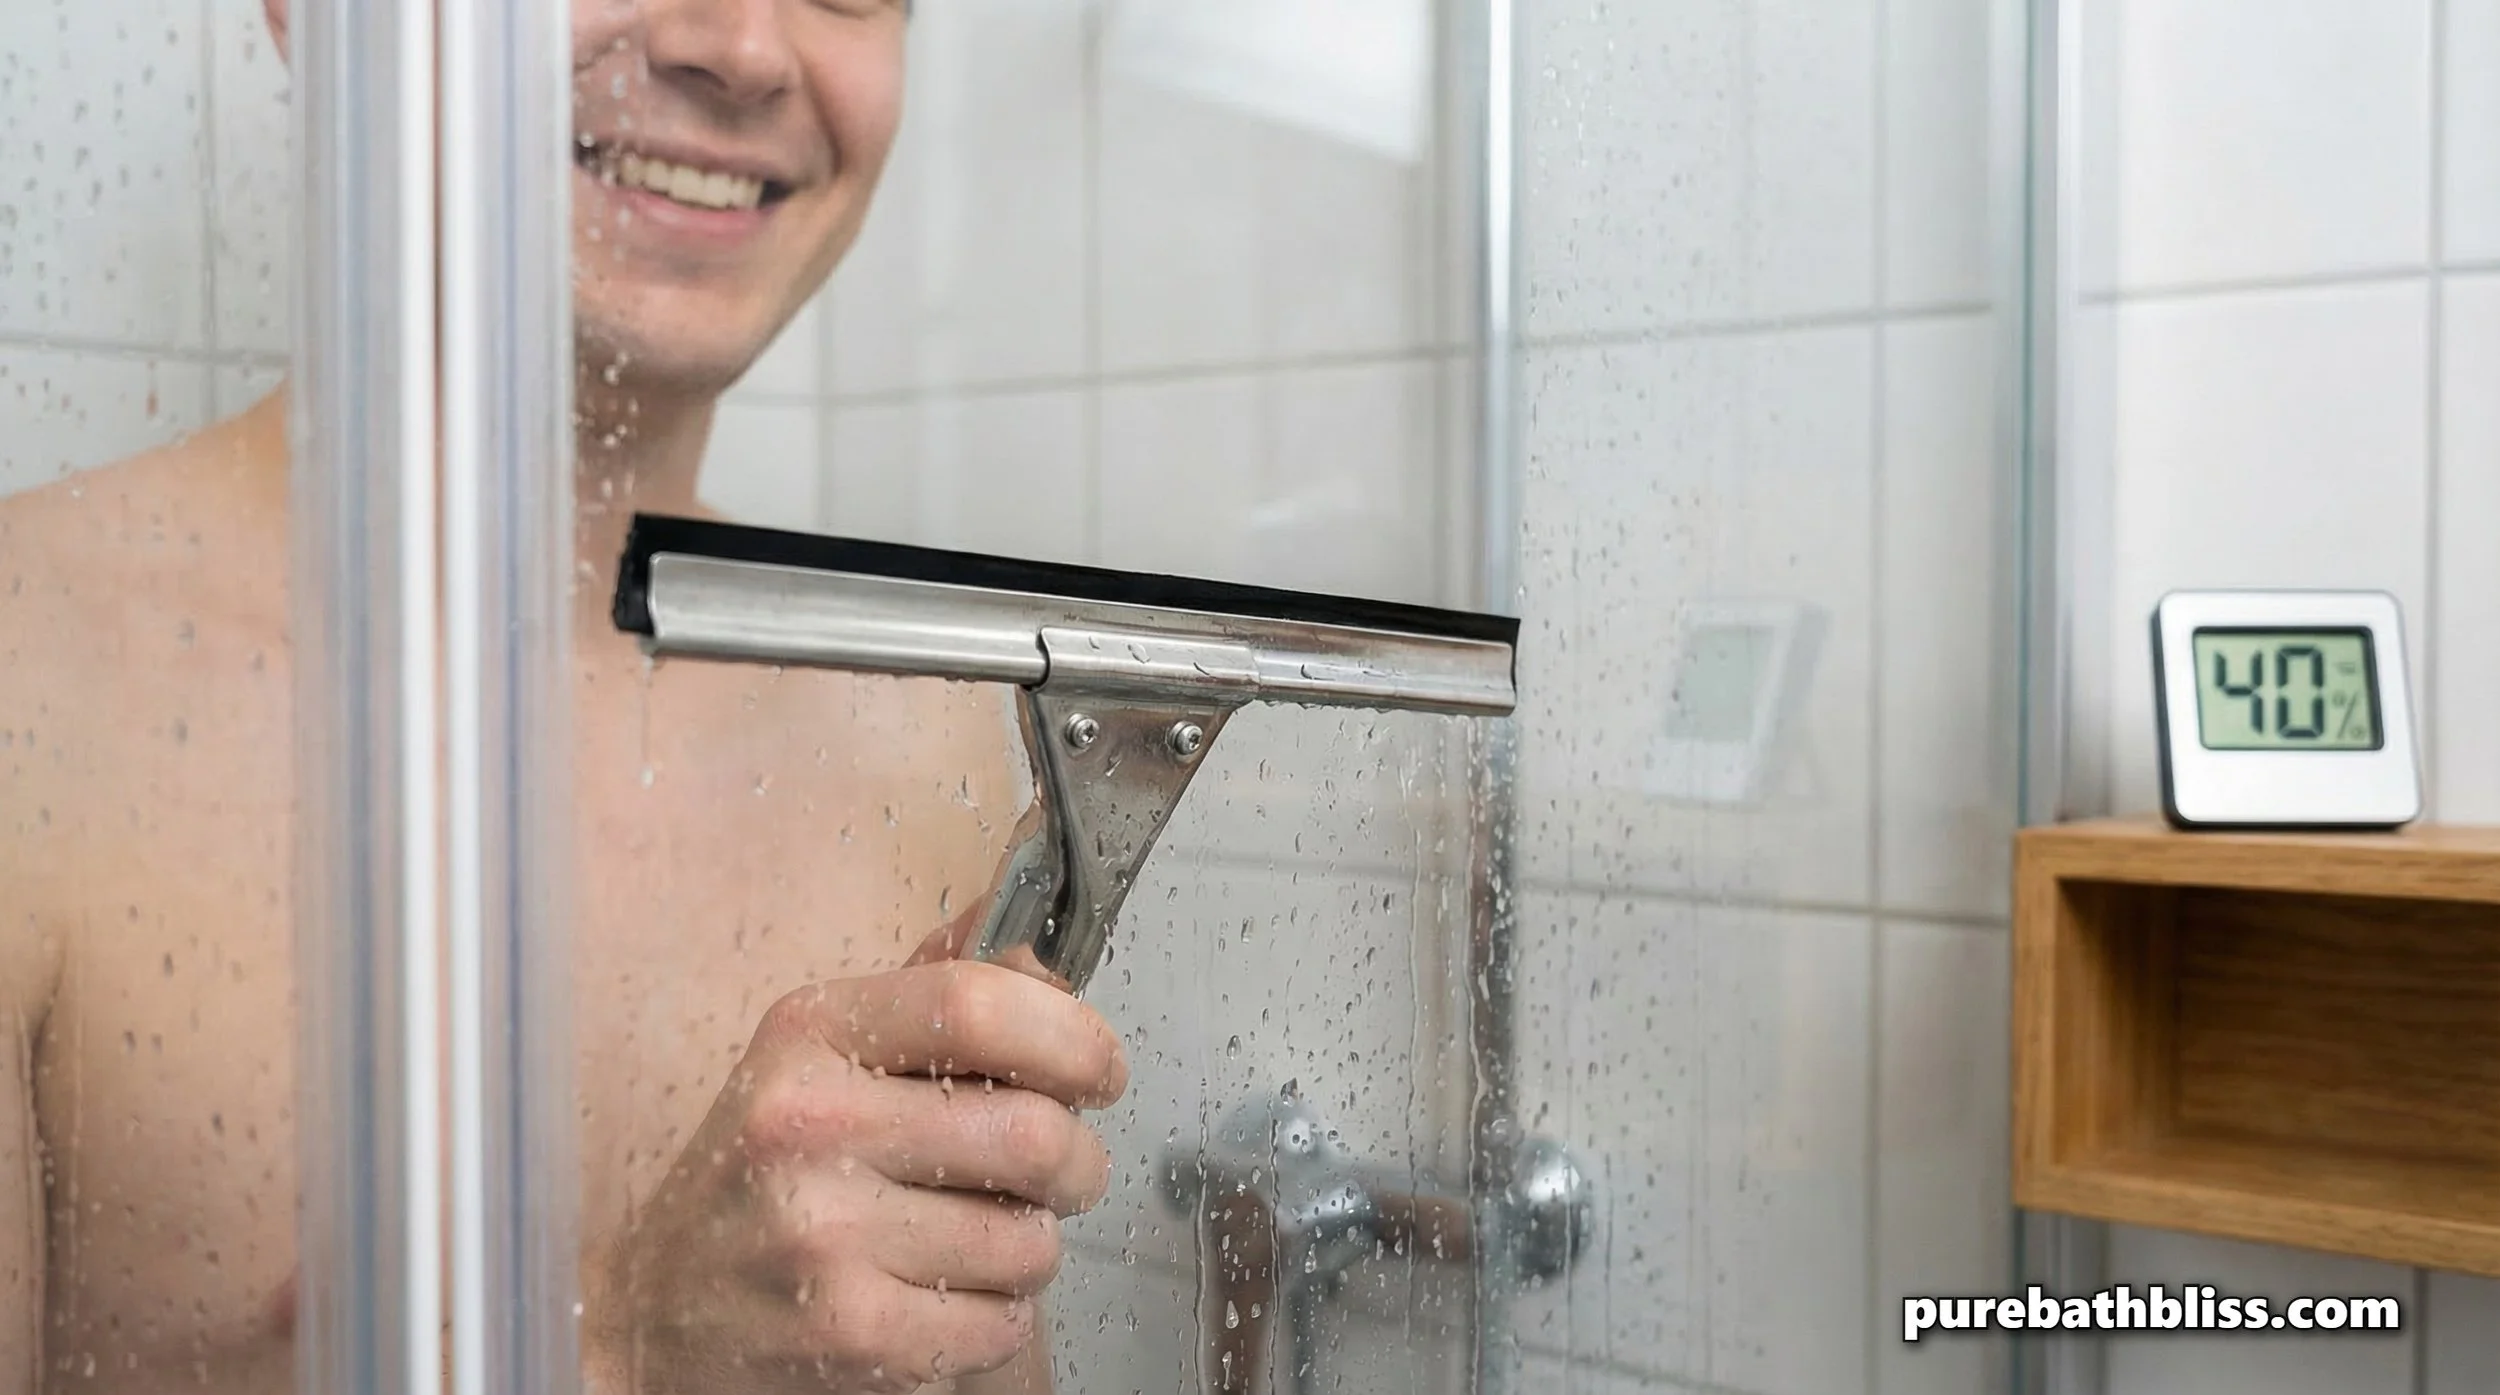
Heavy-Duty Plastic Squeegee – Your #1 tool for preventing future buildup.
Nano-Ceramic Glass Coating Kit – To create a hydrophobic barrier after the glass is clean.
Distilled White Vinegar (6% Acidity) – The safest organic solvent for light to medium spots.
1. The "Vinegar Sheet" Method for Light Spots
If your glass is just starting to look cloudy, you don't need heavy abrasives. You need "dwell time."
The Strategy: Soak paper towels in straight white vinegar and "plaster" them against the glass door. The surface tension will keep them in place.
The Wait: Let them sit for 30–60 minutes.
The Result: The acid slowly dissolves the calcium bond. This is the same principle we use for Why Your Faucets Get Water Spots (And How to Clean Them). Once the time is up, scrub gently with a soft sponge and rinse with hot water.
2. Dealing with "Stage 2" Heavy Buildup
If the vinegar soak doesn't work, your minerals have likely begun to layer. At this stage, you need a "carrier" for the acid.
Combine your vinegar with the power of 6 Brilliant Uses for Castile Soap in the Bathroom.
The Mix: 1 part warmed vinegar and 1 part Castile soap.
Why it works: The vinegar dissolves the minerals, while the soap helps the solution "stick" to the vertical glass instead of just running down to the floor. This "sticky acid" is powerful enough to cut through the soap scum that often traps the minerals against the glass.
3. The "Non-Scratch" Abrasive: Baking Soda
If you have "crusty" spots that you can feel with your fingernail, you need a mechanical assist. Baking soda is a "mild abrasive," meaning it is harder than the minerals but softer than the glass.
Make a thick paste of baking soda and a tiny bit of water. Use a microfiber cloth to rub the paste in circular motions over the spots. This physically knocks the minerals off the surface without leaving the swirl marks you’d get from a standard kitchen scrub pad. This is a key technique in our 7 Tips for Spring Cleaning Your Bathroom.
4. Preventing the "Vapor Lock"
Cleaning the glass is only half the battle. If you don't change the environment, the spots will return within 48 hours. Hard water stains are a symptom of a room that isn't drying out fast enough.
When water sits on the glass in a humid room, it has all the time it needs to bond. This is why proper ventilation is non-negotiable. If you find your bathroom staying humid long after your shower, refer to Why Is My Bathroom Fan Vibrating?. A functional fan pulls the moisture out before it can evaporate off the glass and leave its mineral "ghost" behind. This is a critical step in Drying Out Your Bathroom: The Post-Soak Protocol.
5. The Pro-Fix: Nano-Ceramic Coating
Once your glass is perfectly clear, you should "seal" it. In 2026, the trend is moved away from temporary sprays and toward semi-permanent nano-coatings. These coatings fill in the microscopic "pores" of the glass, making the surface so smooth that water simply slides off (hydrophobic).
When water can't "grip" the glass, it can't leave minerals behind. This is the same logic we use for protecting high-end vanities, which we covered inCan I Use Castile Soap on Travertine and Marble Vanities?.
Summary: The Glass Restoration Checklist
Test First: Always test a small corner to ensure your abrasive isn't too strong.
Soak with Acid: Use vinegar "sheets" for 60 minutes to handle light cloudiness.
Soap & Vinegar Mix: For vertical cling on heavy soap scum and mineral layers.
Baking Soda Paste: For mechanical removal of "crusty" deposits.
Rinse & Buff: Always dry the glass with a clean microfiber cloth after cleaning.
Seal the Surface: Apply a hydrophobic coating to prevent future bonding.
Squeegee Daily: The 30-second habit that saves you 3 hours of scrubbing.
Restoring the clarity of your glass shower is more than just an aesthetic fix, it's about maintaining the "Infrastructure" of your home and supporting the Psychology of a Clean Bathroom. A clear view makes for a clear mind.