Drying Out Your Bathroom: The Post-Soak Protocol
Transparency Note: We independently select these products based on research and user reviews. If you buy something through our links, we may earn a commission.
There is nothing quite like the feeling of stepping out of a long, hot bath enriched with 7 Brilliant Uses for Epsom Salt in Your Bathroom. Your muscles are relaxed, your skin is glowing, and your mind is clear. But while you are feeling refreshed, your bathroom is under a massive amount of stress.
A single long bath or a 15-minute hot shower releases enough moisture into the air to saturate every surface in the room. If that moisture is allowed to sit, it begins a slow process of structural decay. It seeps into your drywall, weakens your wallpaper adhesive, and provides the perfect breeding ground for mold behind your vanity.
In 2026, a "Healthy Home" isn't just about the products you use; it’s about how you manage the environment. To protect your sanctuary, you need a post-soak protocol that ensures your bathroom is bone-dry within 30 minutes of you leaving the room. Here is the science of the "Dry Down" and how to do it right.
The "Invisible Puddle" Theory
Most homeowners think that if they don't see standing water on the floor, the room is dry. This is a mistake. When you take a hot bath, the moisture exists in a gaseous state (water vapor). As the room cools, that vapor undergoes a "phase change" and turns back into liquid water.
This water settles in places you can't easily see:
The Ceiling: Warm air rises, and the ceiling often becomes the wettest surface in the room.
Behind the Toilet: This cold porcelain surface acts as a magnet for condensation, which we explored in Why Is My Toilet Sweating?.
Inside Your Towels: If your towels stay damp, they continue to release moisture back into the air, as we noted in Why Your Bath Towels Take Forever to Dry.
If you don't manage this "invisible puddle," you are essentially living in a high-humidity box that will eventually lead to peeling paint and moldy grout.
Gather Your Drying Supplies: The "Dry Down" Kit
To accelerate the drying process, you need more than just an exhaust fan. Here are the tools I recommend for a modern, healthy bathroom:
Large Silicone Floor Squeegee – To push water toward the drain before it can evaporate into the air.
High-Velocity Small Room Circulator – A small, stylish fan to help move air into dead corners.
Digital Humidity Monitor (Hygrometer) – So you know exactly when the room has reached a safe 45% humidity level.
Diatomaceous Earth Stone Bath Mat – Unlike fabric mats that stay soggy, this stone mat evaporates water in seconds, preventing mold at the base of your shower
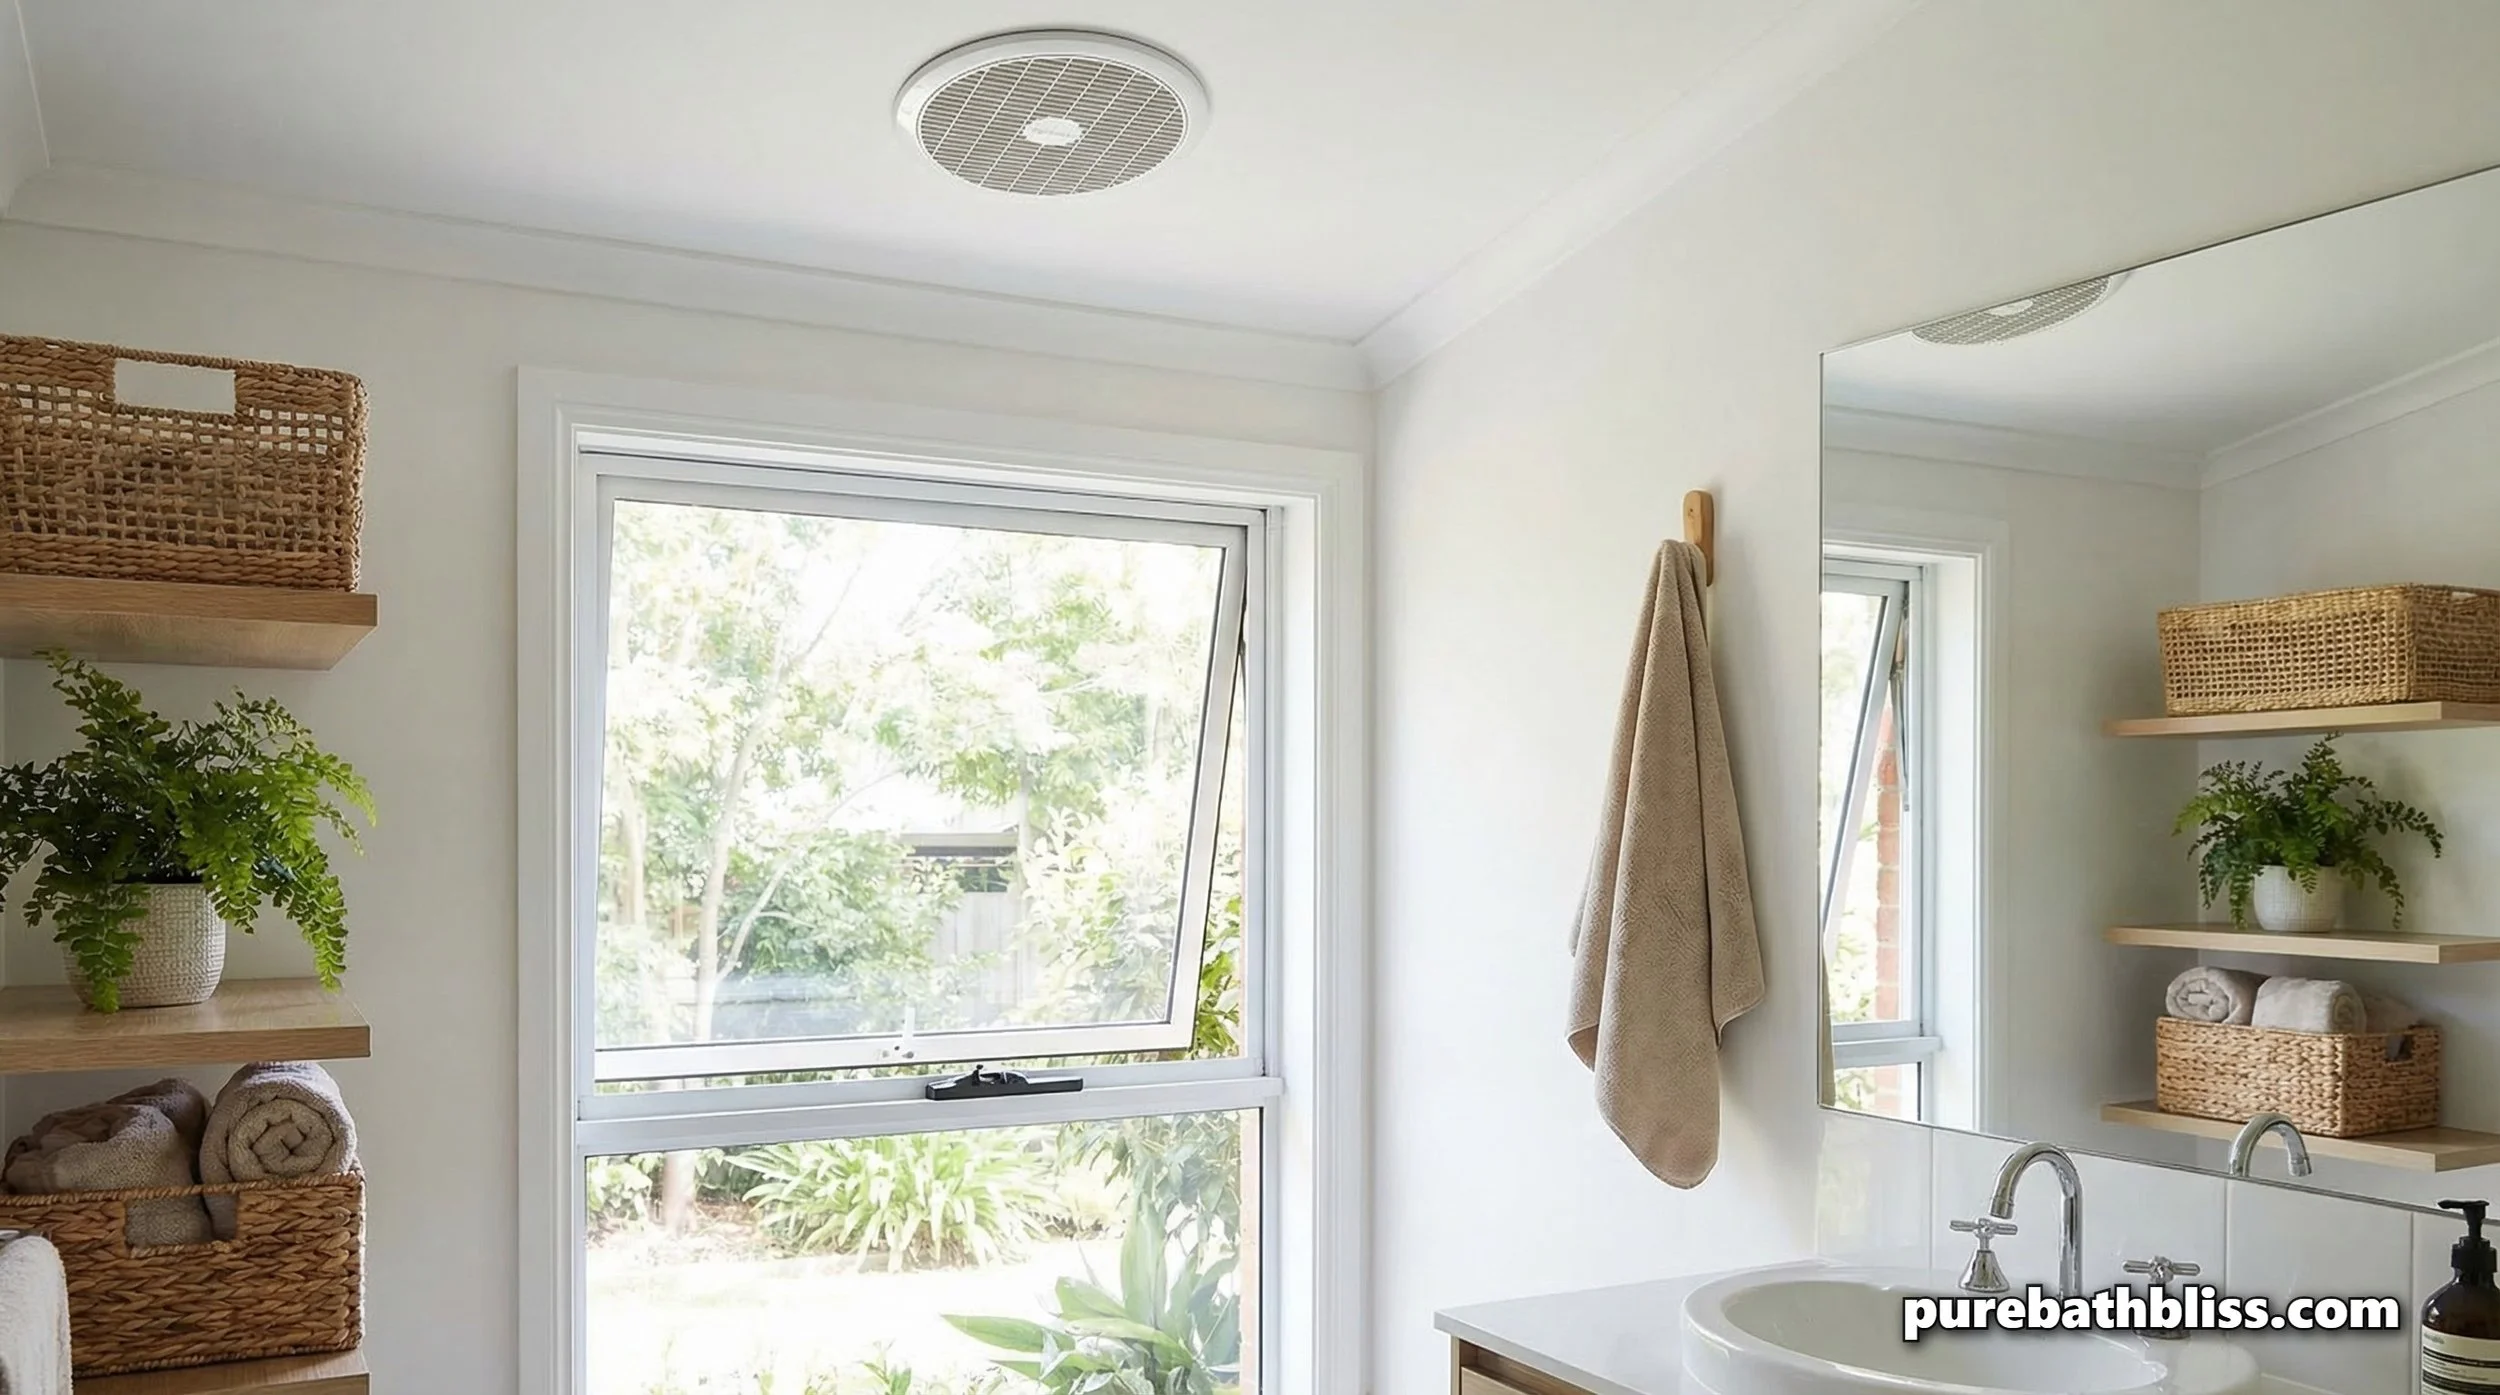
1. The 30-Minute Fan Rule
The biggest mistake people make is turning off the exhaust fan as soon as they walk out of the bathroom. At that moment, the humidity is at its peak. You need to keep the fan running to replace that wet air with dry air from the rest of the house.
If your fan is noisy or inefficient, you might be tempted to skip this step. If that's the case, check out Why Is My Bathroom Fan Vibrating? to get it running smoothly again. For a deep soak, the fan should run for at least 30 minutes post-exit. If you are worried about energy waste, install a timer switch that automatically shuts the fan off for you.
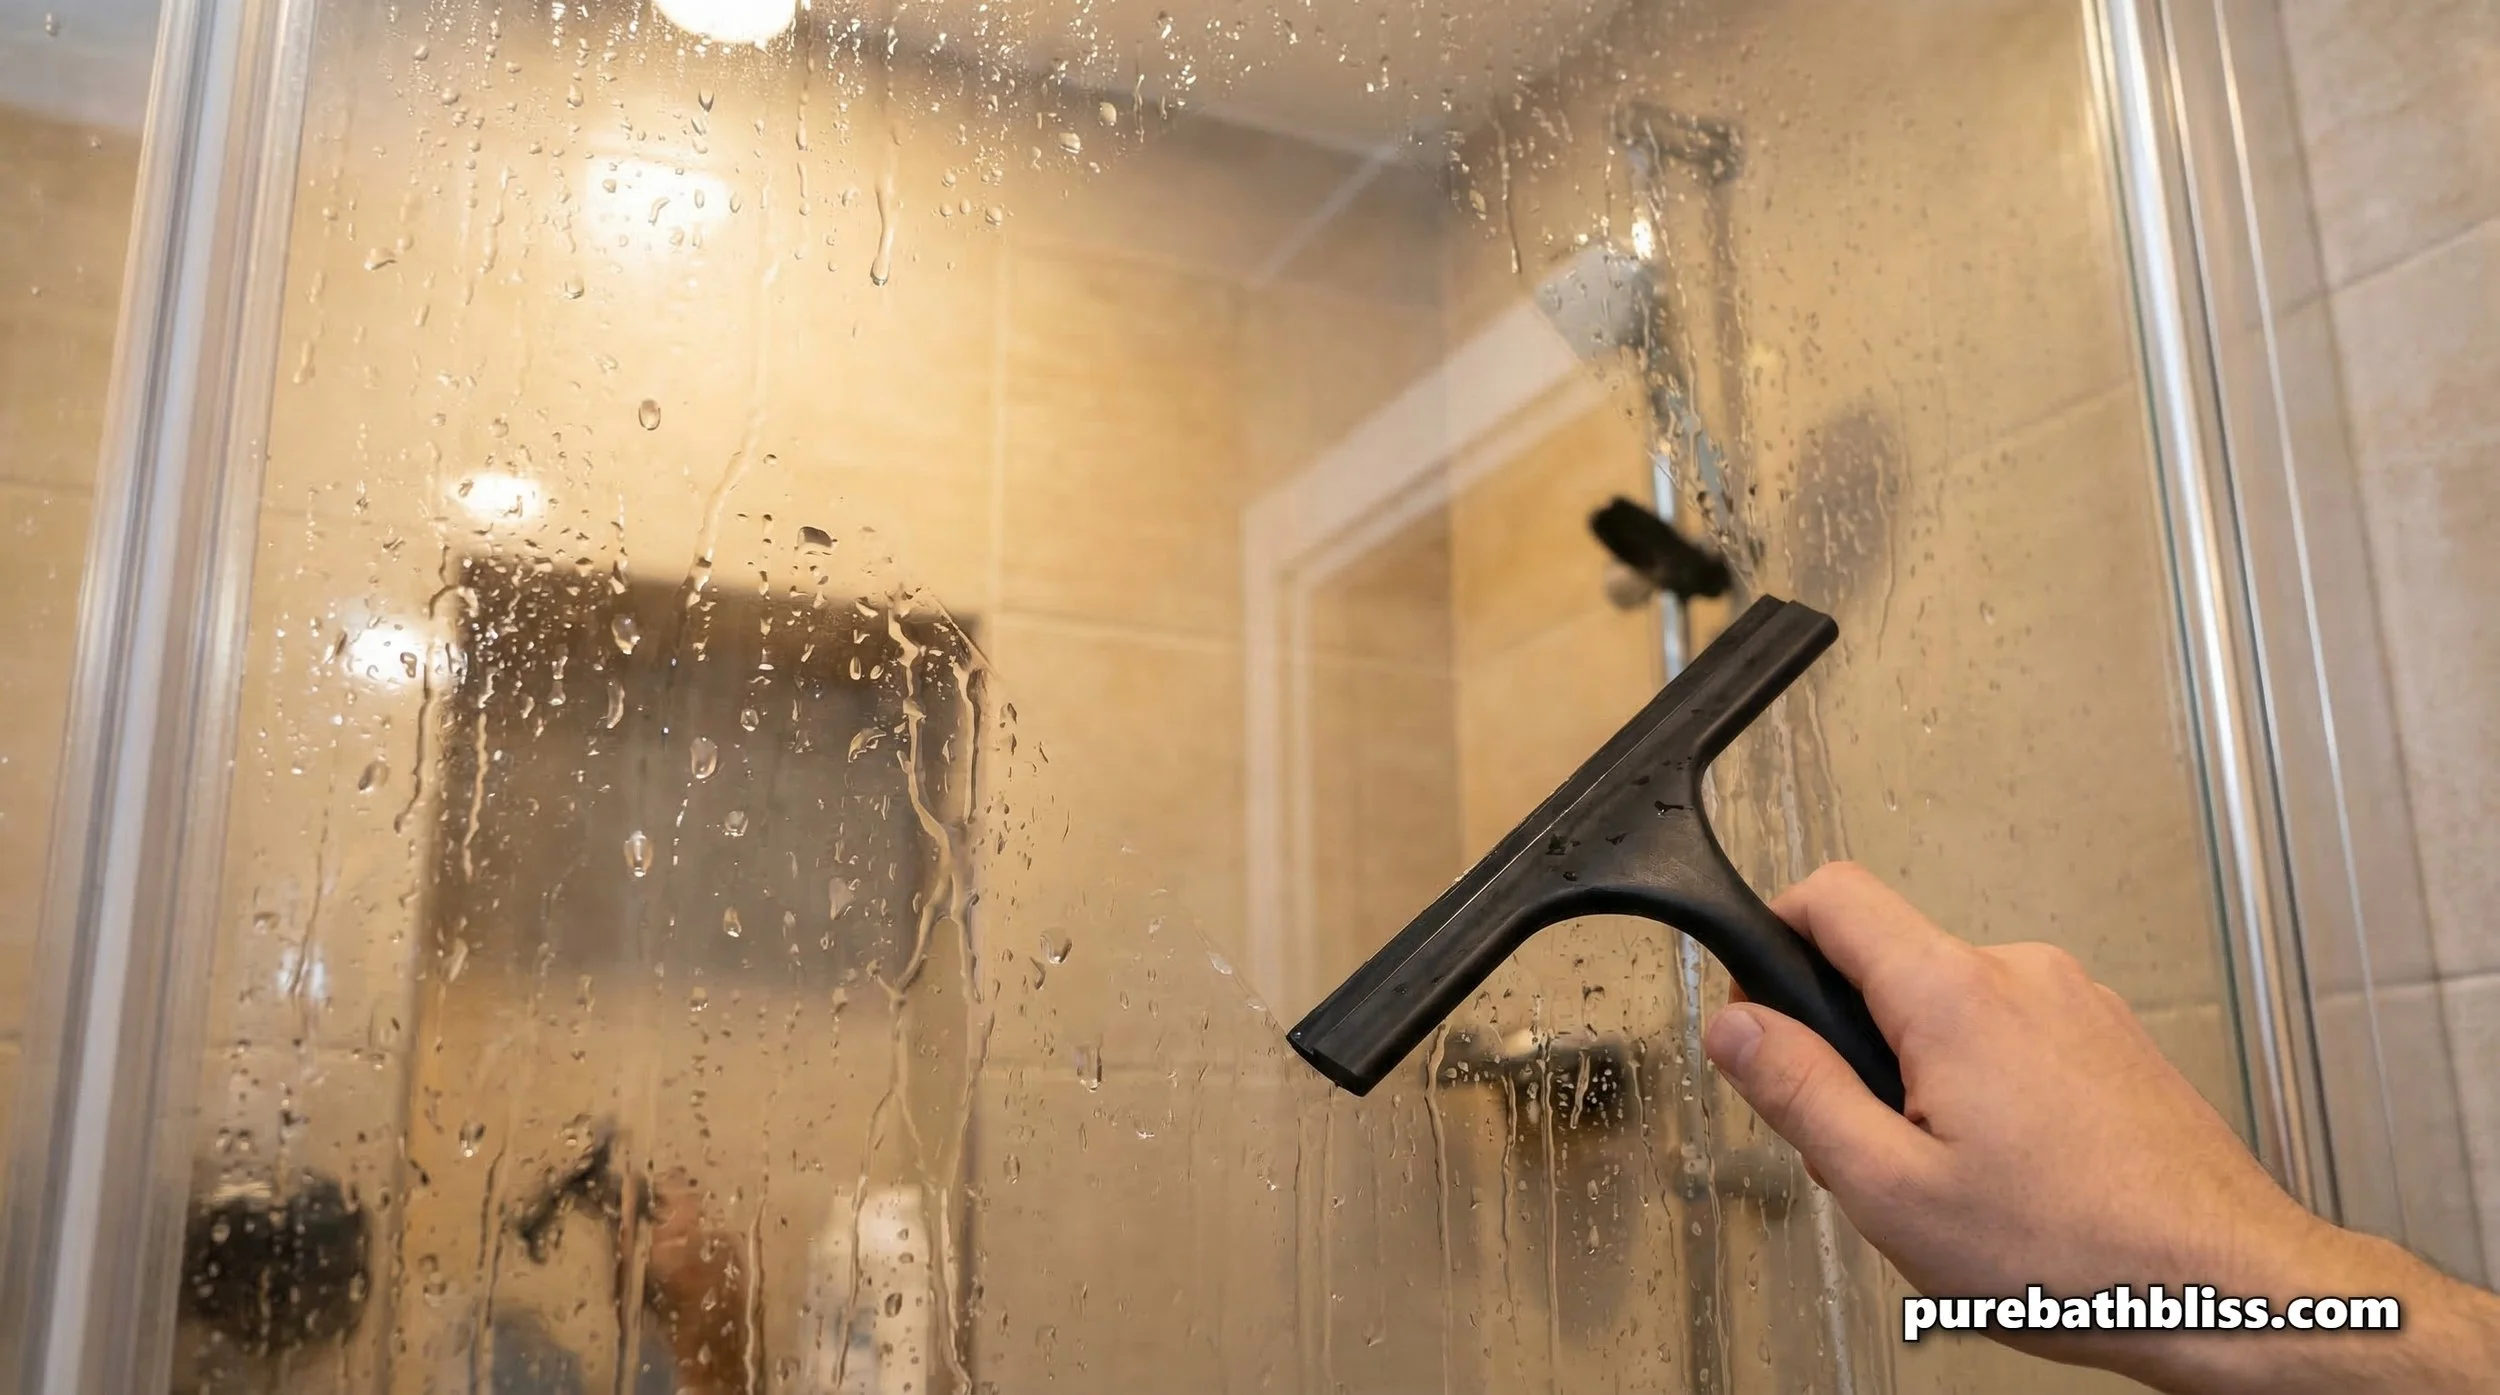
2. The Squeegee Method: Mechanical Evaporation
Evaporation takes a long time. Pushing water down a drain takes seconds. After your bath or shower, take 60 seconds to squeegee the walls and the glass door. By physically moving that water into the plumbing, you are removing 80% of the moisture that would otherwise have to be handled by your exhaust fan.
This is especially important if you have natural stone surfaces. As we discussed in Can I Use Castile Soap on Travertine and Marble Vanities?, standing water can eventually penetrate the pores of the stone, leading to cloudiness or "blooming." A quick squeegee protects your infrastructure and keeps your mirror from fogging up.
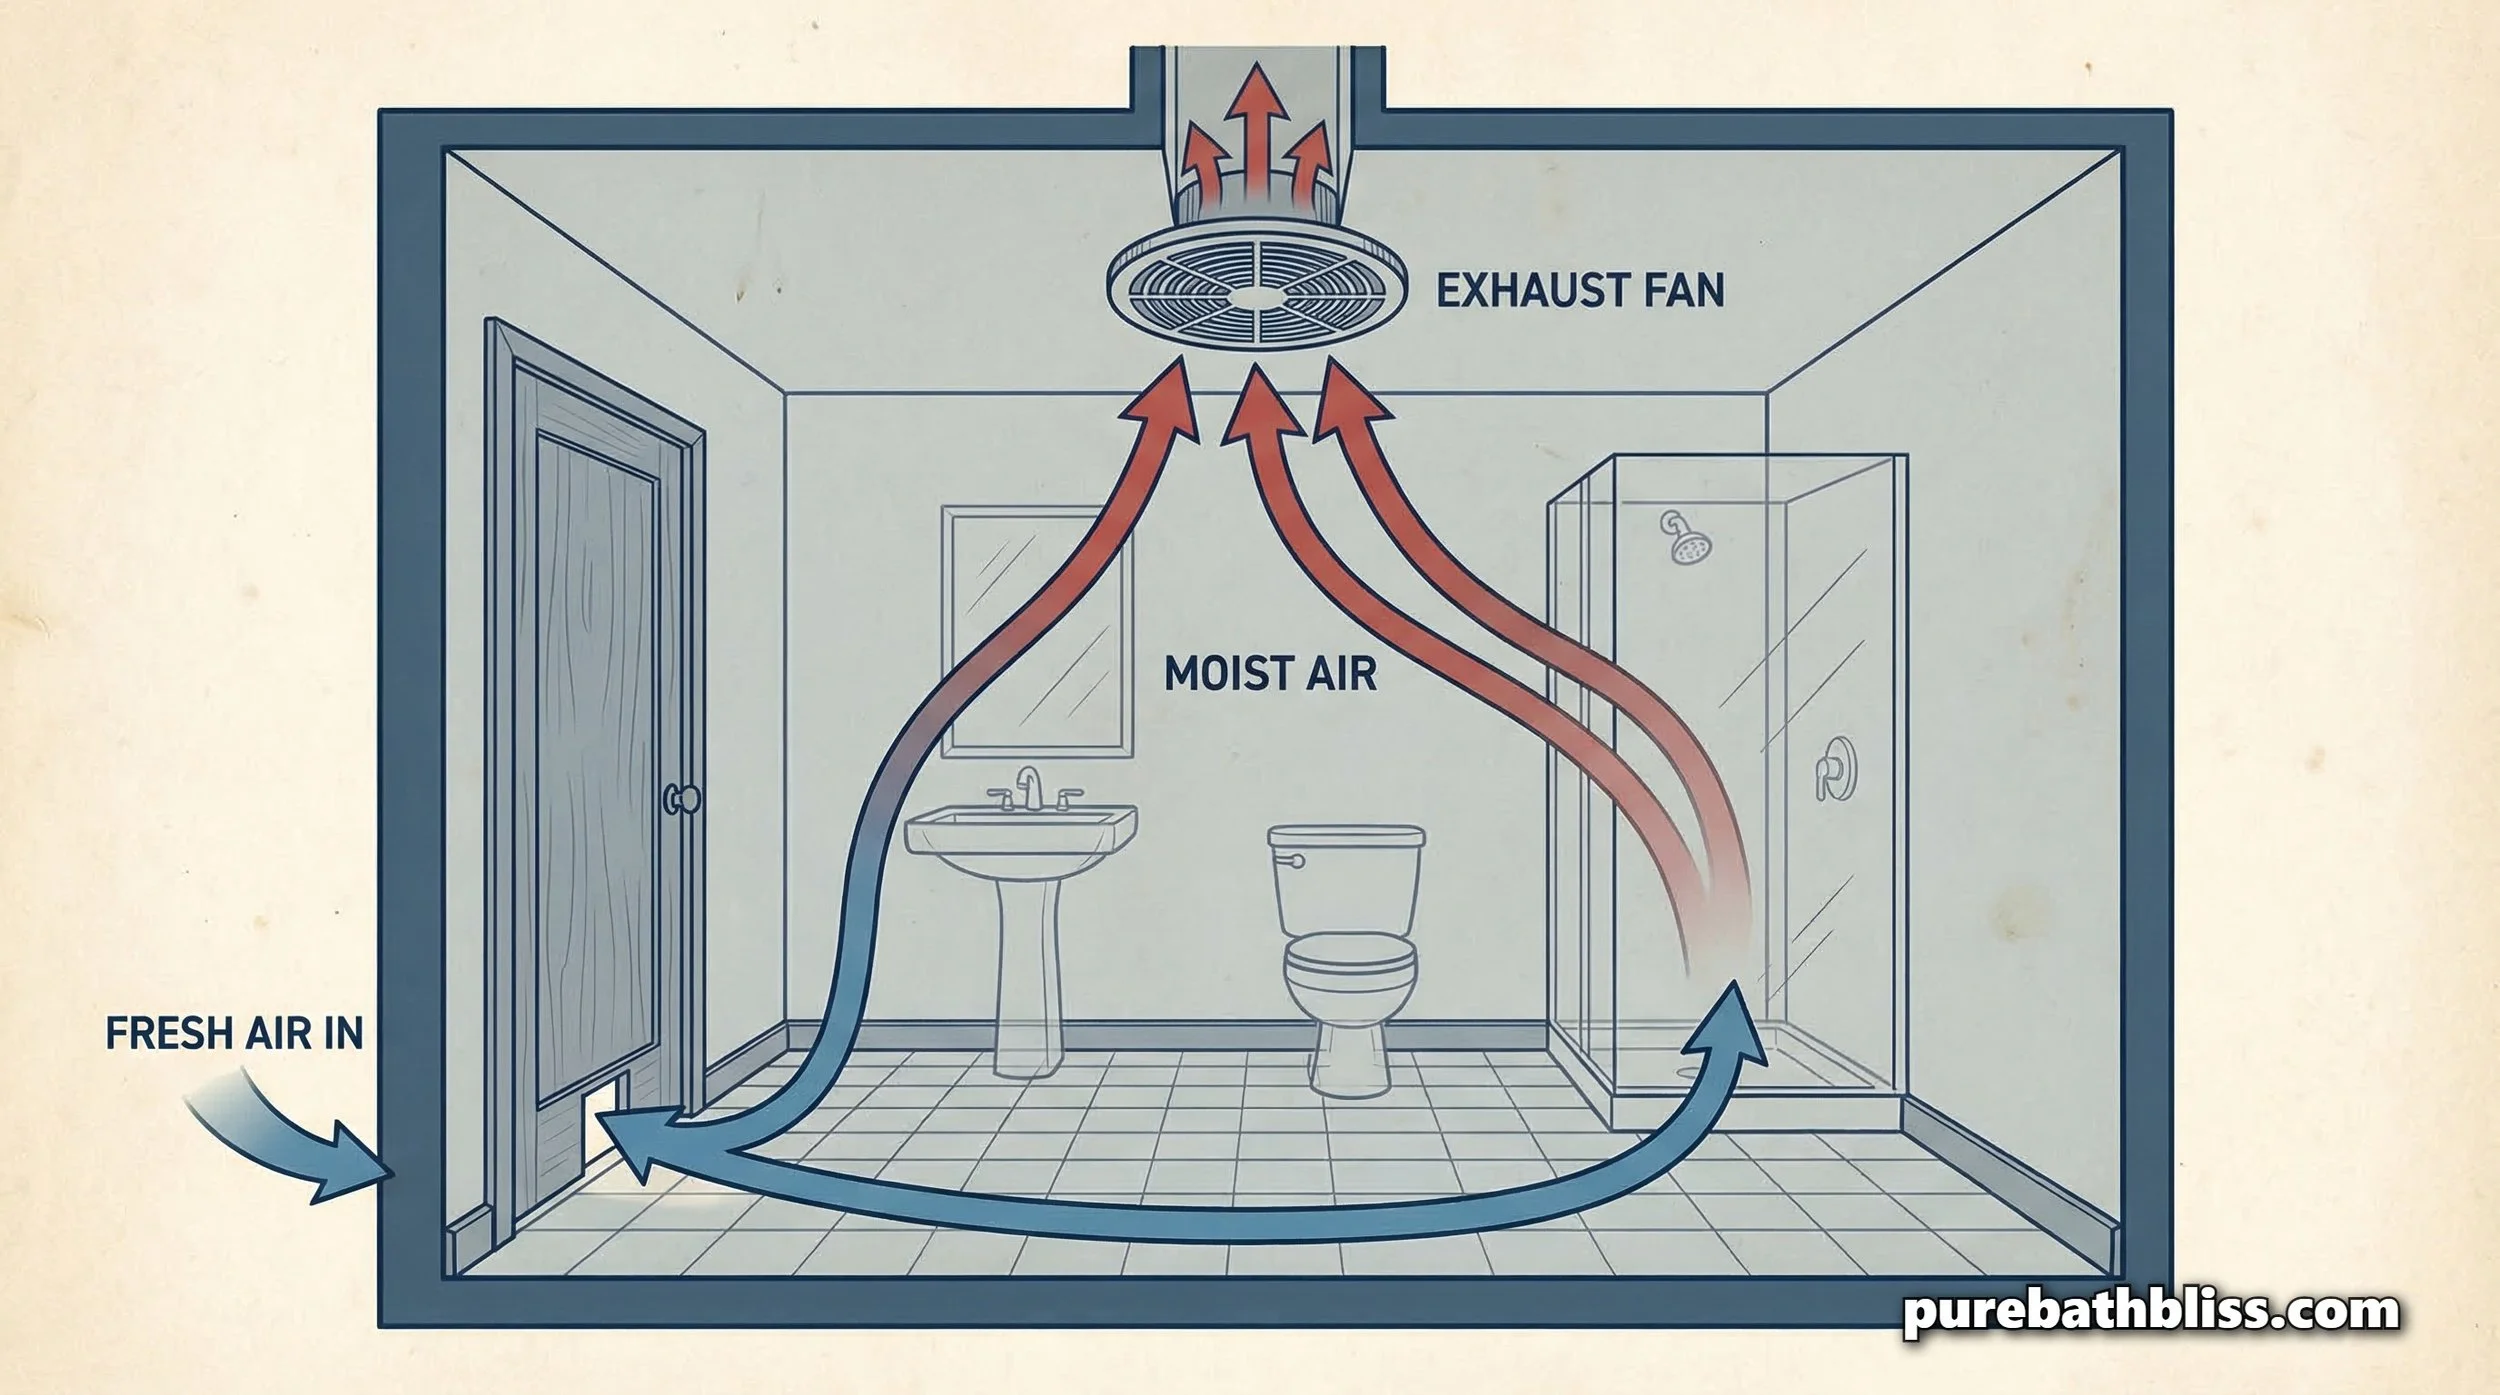
3. The "Door Crack" Strategy
While it might seem counterintuitive, you shouldn't keep the bathroom door tightly closed after a bath. A fan can only pull air out if new air can get in. By cracking the door a few inches, you create a "cross-draft."
The fan pulls the humid air out of the ceiling, and the gap in the door allows the climate-controlled (drier) air from your hallway to rush in and take its place. This is a key part of the 7 Tips for Spring Cleaning Your Bathroom philosophy, maintenance is about airflow. If you have a window, opening it just half an inch can also drastically speed up the process.
4. Don't Forget the Textiles
Your bath mat and towels are the largest "moisture batteries" in the room. If you leave a wet towel bunched up on a hook, it will act like a humidifier for the next six hours.
The Protocol: Spread towels out flat over a bar. If your bath mat feels soggy, hang it over the edge of the tub. By getting these textiles off the floor and spread out, you ensure they dry faster and don't contribute to the room's overall dampness.
5. Plant Management
If you have a bathroom full of greenery, like the How to Care for Hoya Plants we recently discussed, remember that plants thrive in the post-soak humidity, but they also contribute to it through transpiration. On days when you take an extra-long soak, you may need to run your fan for an additional 15 minutes to compensate for the "botanical moisture" in the air.
Summary: The Post-Soak Checklist
Squeegee First: Move the bulk water into the drain immediately.
Run the Fan: 30 minutes minimum after you leave the room.
Crack the Door: Allow fresh, dry air to enter and circulate.
Spread the Linens: Give your towels and mats the surface area they need to dry.
Monitor: Aim for a humidity level below 50% within an hour.
Wipe the Cold Spots: Give the toilet tank and mirror a quick once-over if they are still "sweating."
By making these small steps a habit, you are doing more than just cleaning, you are acting as the "maintenance manager" for your home’s most vulnerable room. A dry bathroom is a healthy, mold-free sanctuary that will look beautiful for years to come.