7 Tips for Spring Cleaning Your Bathroom
Transparency Note: We independently select these products based on research and user reviews. If you buy something through our links, we may earn a commission.
Spring cleaning is more than just a tradition; it is a vital part of home maintenance. In a bathroom, where moisture and daily use are constant, a deep clean once a year allows you to inspect the "bones" of the room. It is the time to look behind the vanity, check the seals, and clear out the dust that has settled in the hard-to-reach places.
If you have been following our recent guides, you know that keeping a bathroom in top shape is about more than just aesthetics. It is about protecting your infrastructure. When you let dust and grime build up, you are inviting moisture to settle and mold to grow. By taking a day to perform a thorough spring reset, you are extending the life of your tile, your fixtures, and your flooring.
Here are seven essential tips for spring cleaning your bathroom to ensure it remains a clean, functional sanctuary for the rest of the year.

1. Deep Clean the Exhaust Fan
Most people ignore their bathroom fan until it starts making a loud noise or stops working entirely. Over the winter, these fans collect a massive amount of dust and lint. When the grill is clogged, the fan cannot pull moisture out of the room, which leads to the issues we discussed in How to Stop Moisture Before It Causes Damage.
To clean it properly, you need to go beyond a simple wipe-down. Turn off the power at the breaker, pull down the plastic cover (the grill), and wash it in warm, soapy water. Use a vacuum attachment to gently remove the dust from the motor and the housing inside the ceiling. This simple task can improve your fan’s efficiency by 50% and help prevent your mirror from fogging up during every shower.
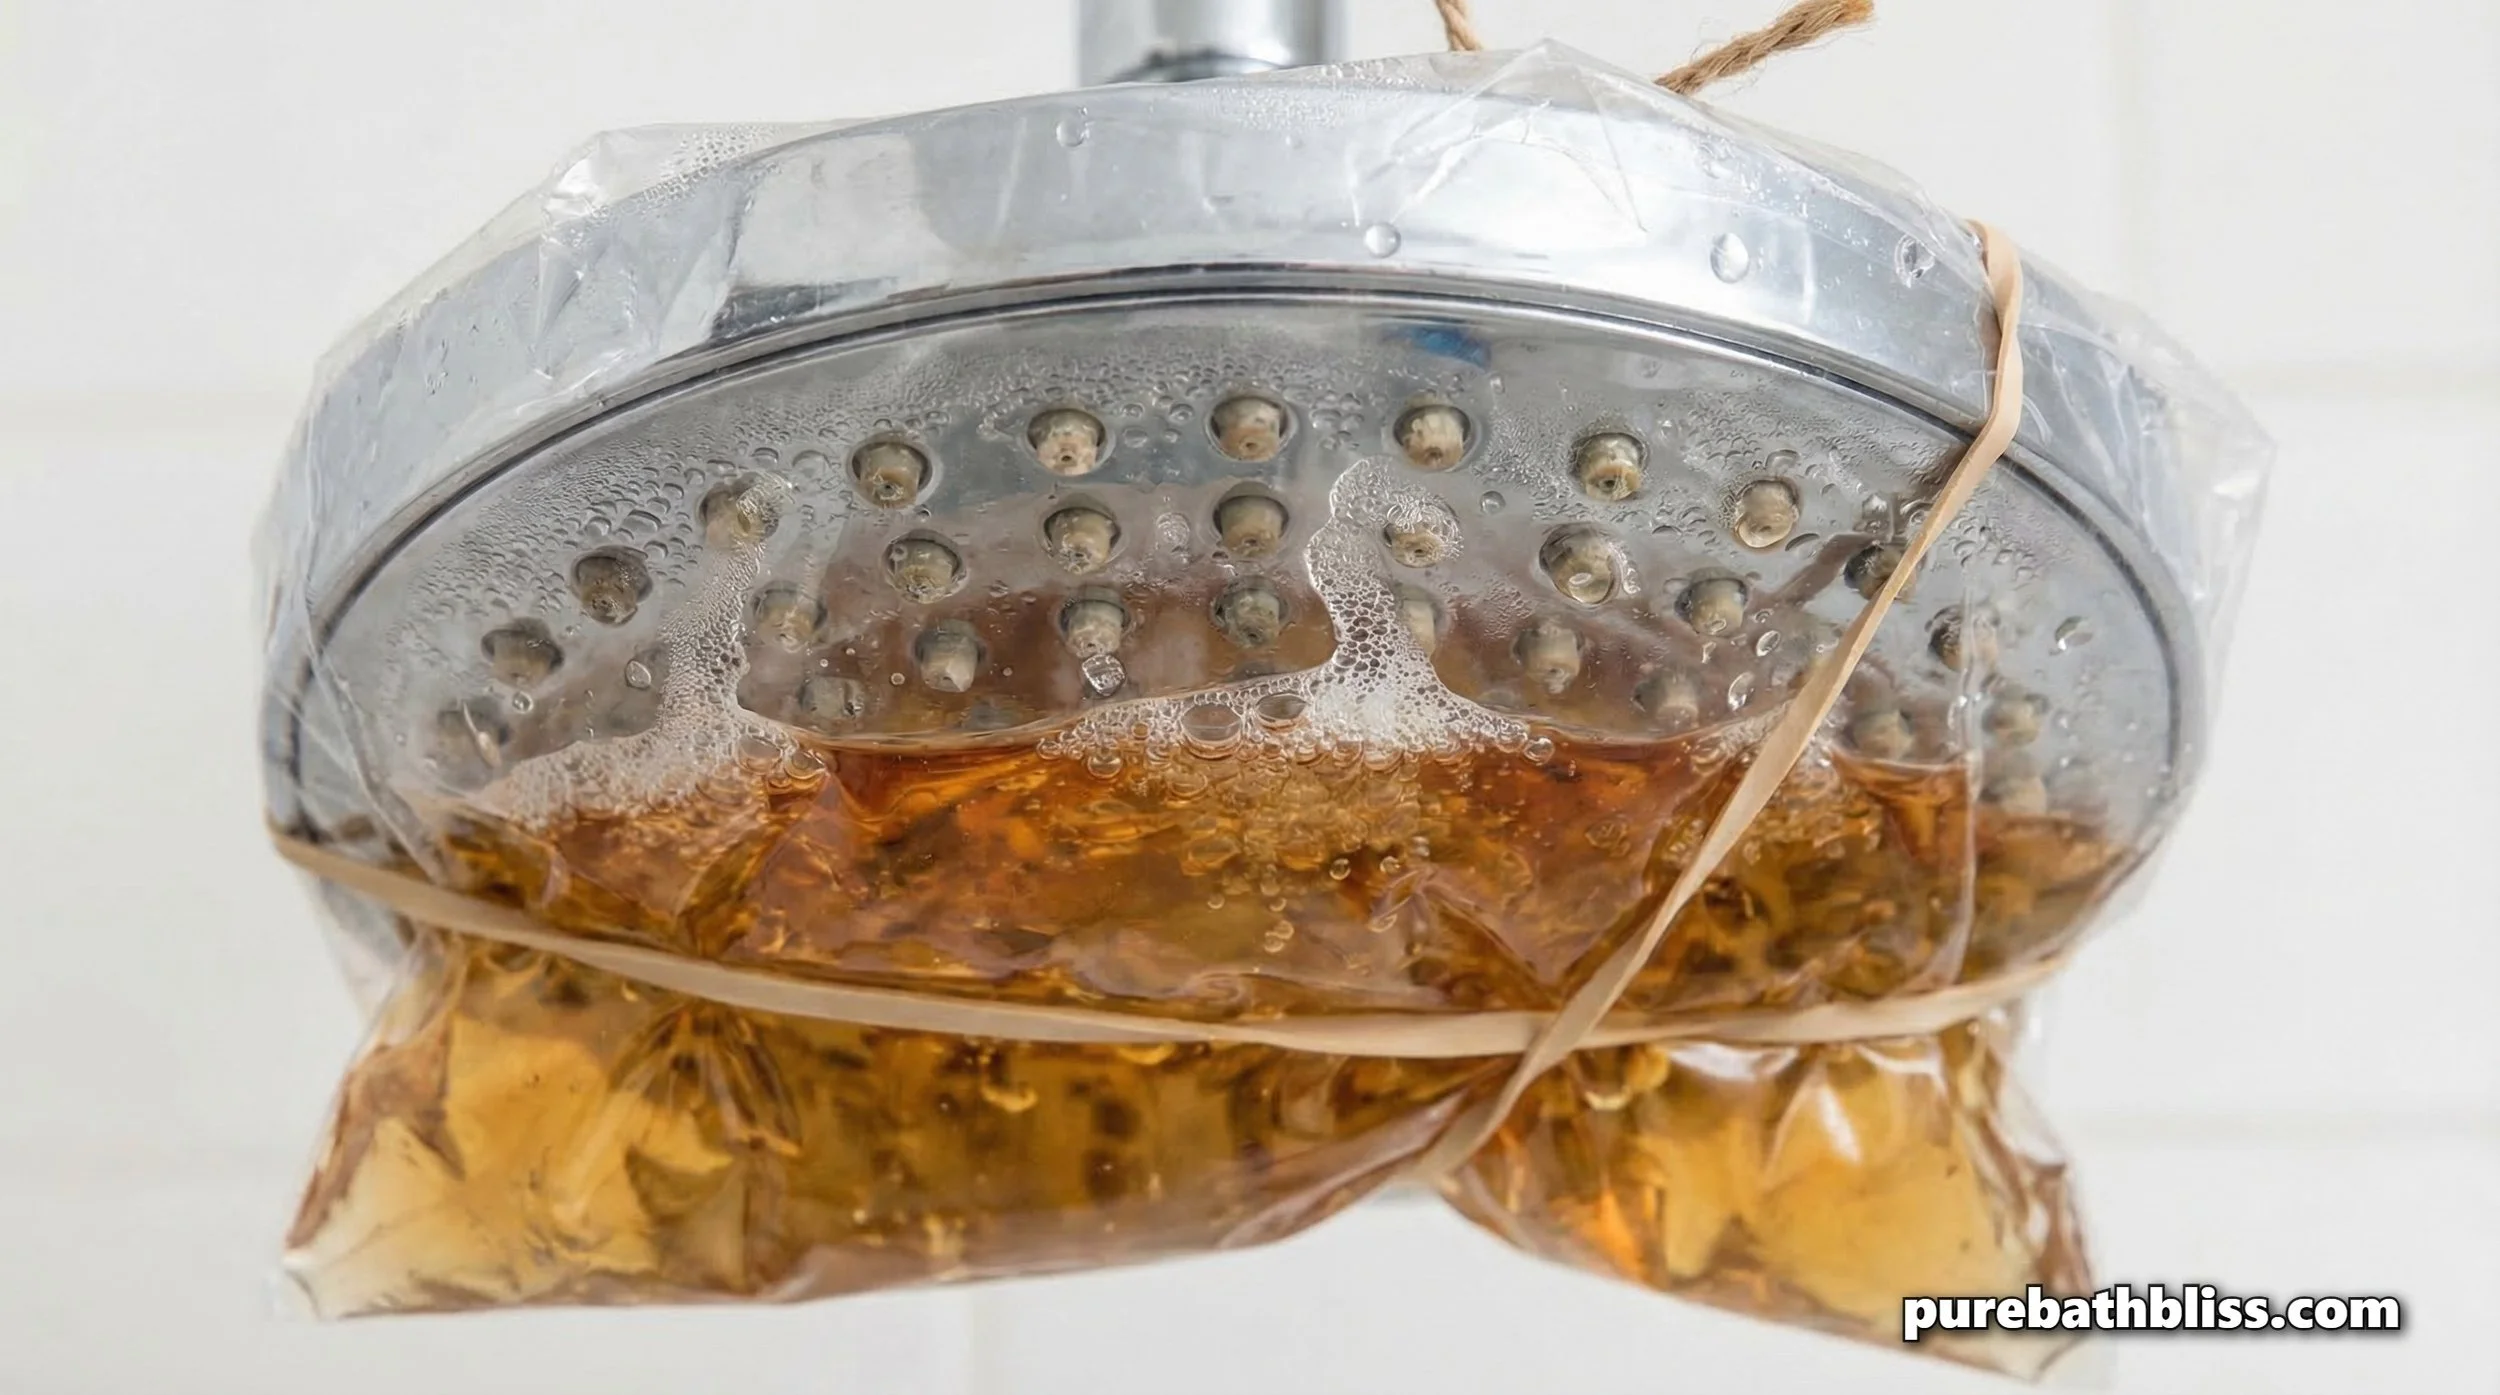
2. The Showerhead Vinegar Soak
If you’ve noticed your water pressure getting weaker or the spray pattern becoming uneven, you likely have mineral buildup. In our guide on Why Your Faucets Get Water Spots (And How to Clean Them), we talked about how calcium and magnesium stay behind when water evaporates. This happens inside your showerhead too.
For spring cleaning, you don't even have to take the showerhead off the wall. Fill a plastic bag with white vinegar and a few drops of lemon juice, then use a rubber band to secure it over the showerhead so the nozzles are submerged. Leave it for at least four hours. The vinegar will dissolve the mineral "crust," restoring your water pressure and making your shower feel new again.
3. Flush the Drains and P-Traps
Winter is hard on drains. We spend more time indoors, and our drains deal with more soap, hair, and toothpaste than usual. If you’ve noticed a lingering scent lately, it’s likely the biofilm we mentioned in Why Your Bathroom Sink Smells Like Sulfur.
Spring is the perfect time for a "drain flush." Boil a large kettle of water and pour it down every drain in the bathroom, sink, tub, and shower. Follow this with a half-cup of baking soda and a cup of vinegar. This non-toxic reaction helps loosen the "sludge" that has accumulated over the past few months. If a drain is still slow, it may be time to manually clear the P-trap to prevent a major clog later in the season.
4. Inspect and Refresh Your Caulk Lines
Caulk is the most important "seal" in your bathroom. It keeps water from getting behind your tub and rotting your walls. During your spring clean, dry everything off and look closely at the corners. If you see peeling, cracking, or black spots that won't come off with a scrub brush, your caulk has reached the end of its life.
Old, moldy caulk is a sign that moisture is winning. Replacing it is a simple DIY task that provides a massive return on protection. We explain the importance of a perfect seal in Why Your Caulk is the Bathroom’s First Line of Defense. A fresh bead of high-quality silicone caulk will make the room look cleaner and keep your infrastructure safe for another year.
5. Sanitize Your Storage and Cabinets
Spring cleaning is the perfect excuse to empty every drawer and cabinet. We often store items in the bathroom that shouldn't be there, or we keep products long after they have expired. Emptying the space allows you to wipe down the inside of the cabinets where dust and hair tend to settle.
As you put things back, ask yourself if the item is truly necessary. Clutter makes a bathroom much harder to maintain. If you find yourself overwhelmed by bottles and jars, take a look at How to Keep Your Guest Bathroom Simple. Keeping your storage minimal doesn't just look better; it allows for better airflow around your vanity and prevents the "musty" smells that come with crowded, damp spaces.
6. Scrub the "Hidden" Grout
We usually mop the middle of the floor, but spring cleaning is about the edges. Dust and moisture often collect in the corners behind the toilet and under the vanity. This creates a "grime ring" that can eventually stain your grout permanently.
Use a stiff brush and a natural cleaner (like the Castile soap mix we discussed in 6 Brilliant Uses for Castile Soap in the Bathroom) to scrub the perimeter of the room. Pay special attention to the grout around the base of the toilet. If you have been dealing with a sweating tank, there may be mineral deposits on the floor that need extra attention.
7. Update Your Textile Routine
Finally, look at your towels and bath mats. Over the winter, bath mats can become packed with dust and skin cells, which traps moisture against your floor. This is especially dangerous for certain types of flooring, which we cover in Why Your Bathroom Floor is Working Harder Than You Think.
Wash all your rugs and mats on the highest heat setting allowed. If your towels have a lingering "sour" smell even after washing, try "stripping" them with a mix of vinegar and baking soda in the laundry. Fresh, dry textiles are the final touch in making your bathroom feel like a true spring sanctuary.
Gather Your Spring Cleaning Supplies
To make this process as easy as possible, I recommend having these specific tools ready to go. Having the right gear means you spend less time scrubbing and more time enjoying the results:
Extendable Tile and Grout Scrubber – Saves your back when cleaning those hard-to-reach corners.
Handheld Steam Cleaner – The ultimate tool for sanitizing tracks and drains without chemicals.
Microfiber Ceiling and Wall Duster – To remove the "invisible" dust that settles on high surfaces.
High-Quality Silicone Caulk and Finishing Tool – Everything you need to refresh your seals.
Natural Bristle Detail Brushes – For cleaning around faucet handles and fan grills.
The Result: A Healthier Home
When you finish your spring clean, your bathroom shouldn't just look better, it should perform better. Your fan will be quieter, your showerhead will have more pressure, and your air will be fresher.
Taking the time to address these seven areas prevents small issues from turning into expensive repairs. A bathroom that is deep-cleaned and well-maintained is a bathroom that adds value to your home and provides a peaceful space for your daily routine. Once you are done, you can sit back and enjoy the fresh air, knowing your "sanctuary infrastructure" is solid for another year.
Summary Checklist
Exhaust Fan: Vacuum the motor and wash the grill.
Showerhead: Soak in vinegar to remove minerals.
Drains: Flush with boiling water, baking soda, and vinegar.
Caulk: Inspect for cracks and replace if necessary.
Cabinets: Empty, declutter, and wipe down.
Grout: Scrub the corners and the base of the toilet.
Textiles: Wash all mats and strip musty towels.