The Mirror Rot Protocol: How to Fix and Hide "Black Edges"
Transparency Note: We independently select these products based on research and user reviews. If you buy something through our links, we may earn a commission.
It starts as a tiny dark speck in the corner, and before you know it, a jagged, black "rot" is creeping across the edges of your bathroom mirror. In the construction industry, we call this desilvering. As a builder, I see this in almost every home over ten years old, and while it looks like a catastrophic failure of your bathroom "Infrastructure," it’s actually a very common chemical reaction.
Your mirror isn't just a piece of glass; it’s a high-performance sandwich. The back of the glass is coated with a thin layer of silver (which creates the reflection) and then sealed with a protective layer of copper and paint. When moisture or harsh chemicals penetrate that protective backing, the silver begins to oxidize, literally rusting away and leaving those ugly black edges behind.
If you’ve been working on the psychology of a clean bathroom, those black spots can be incredibly frustrating. They make a clean space feel neglected. Today, I’m going to show you the professional ways to stop the spread, hide the damage, and prevent it from happening to your new mirrors.
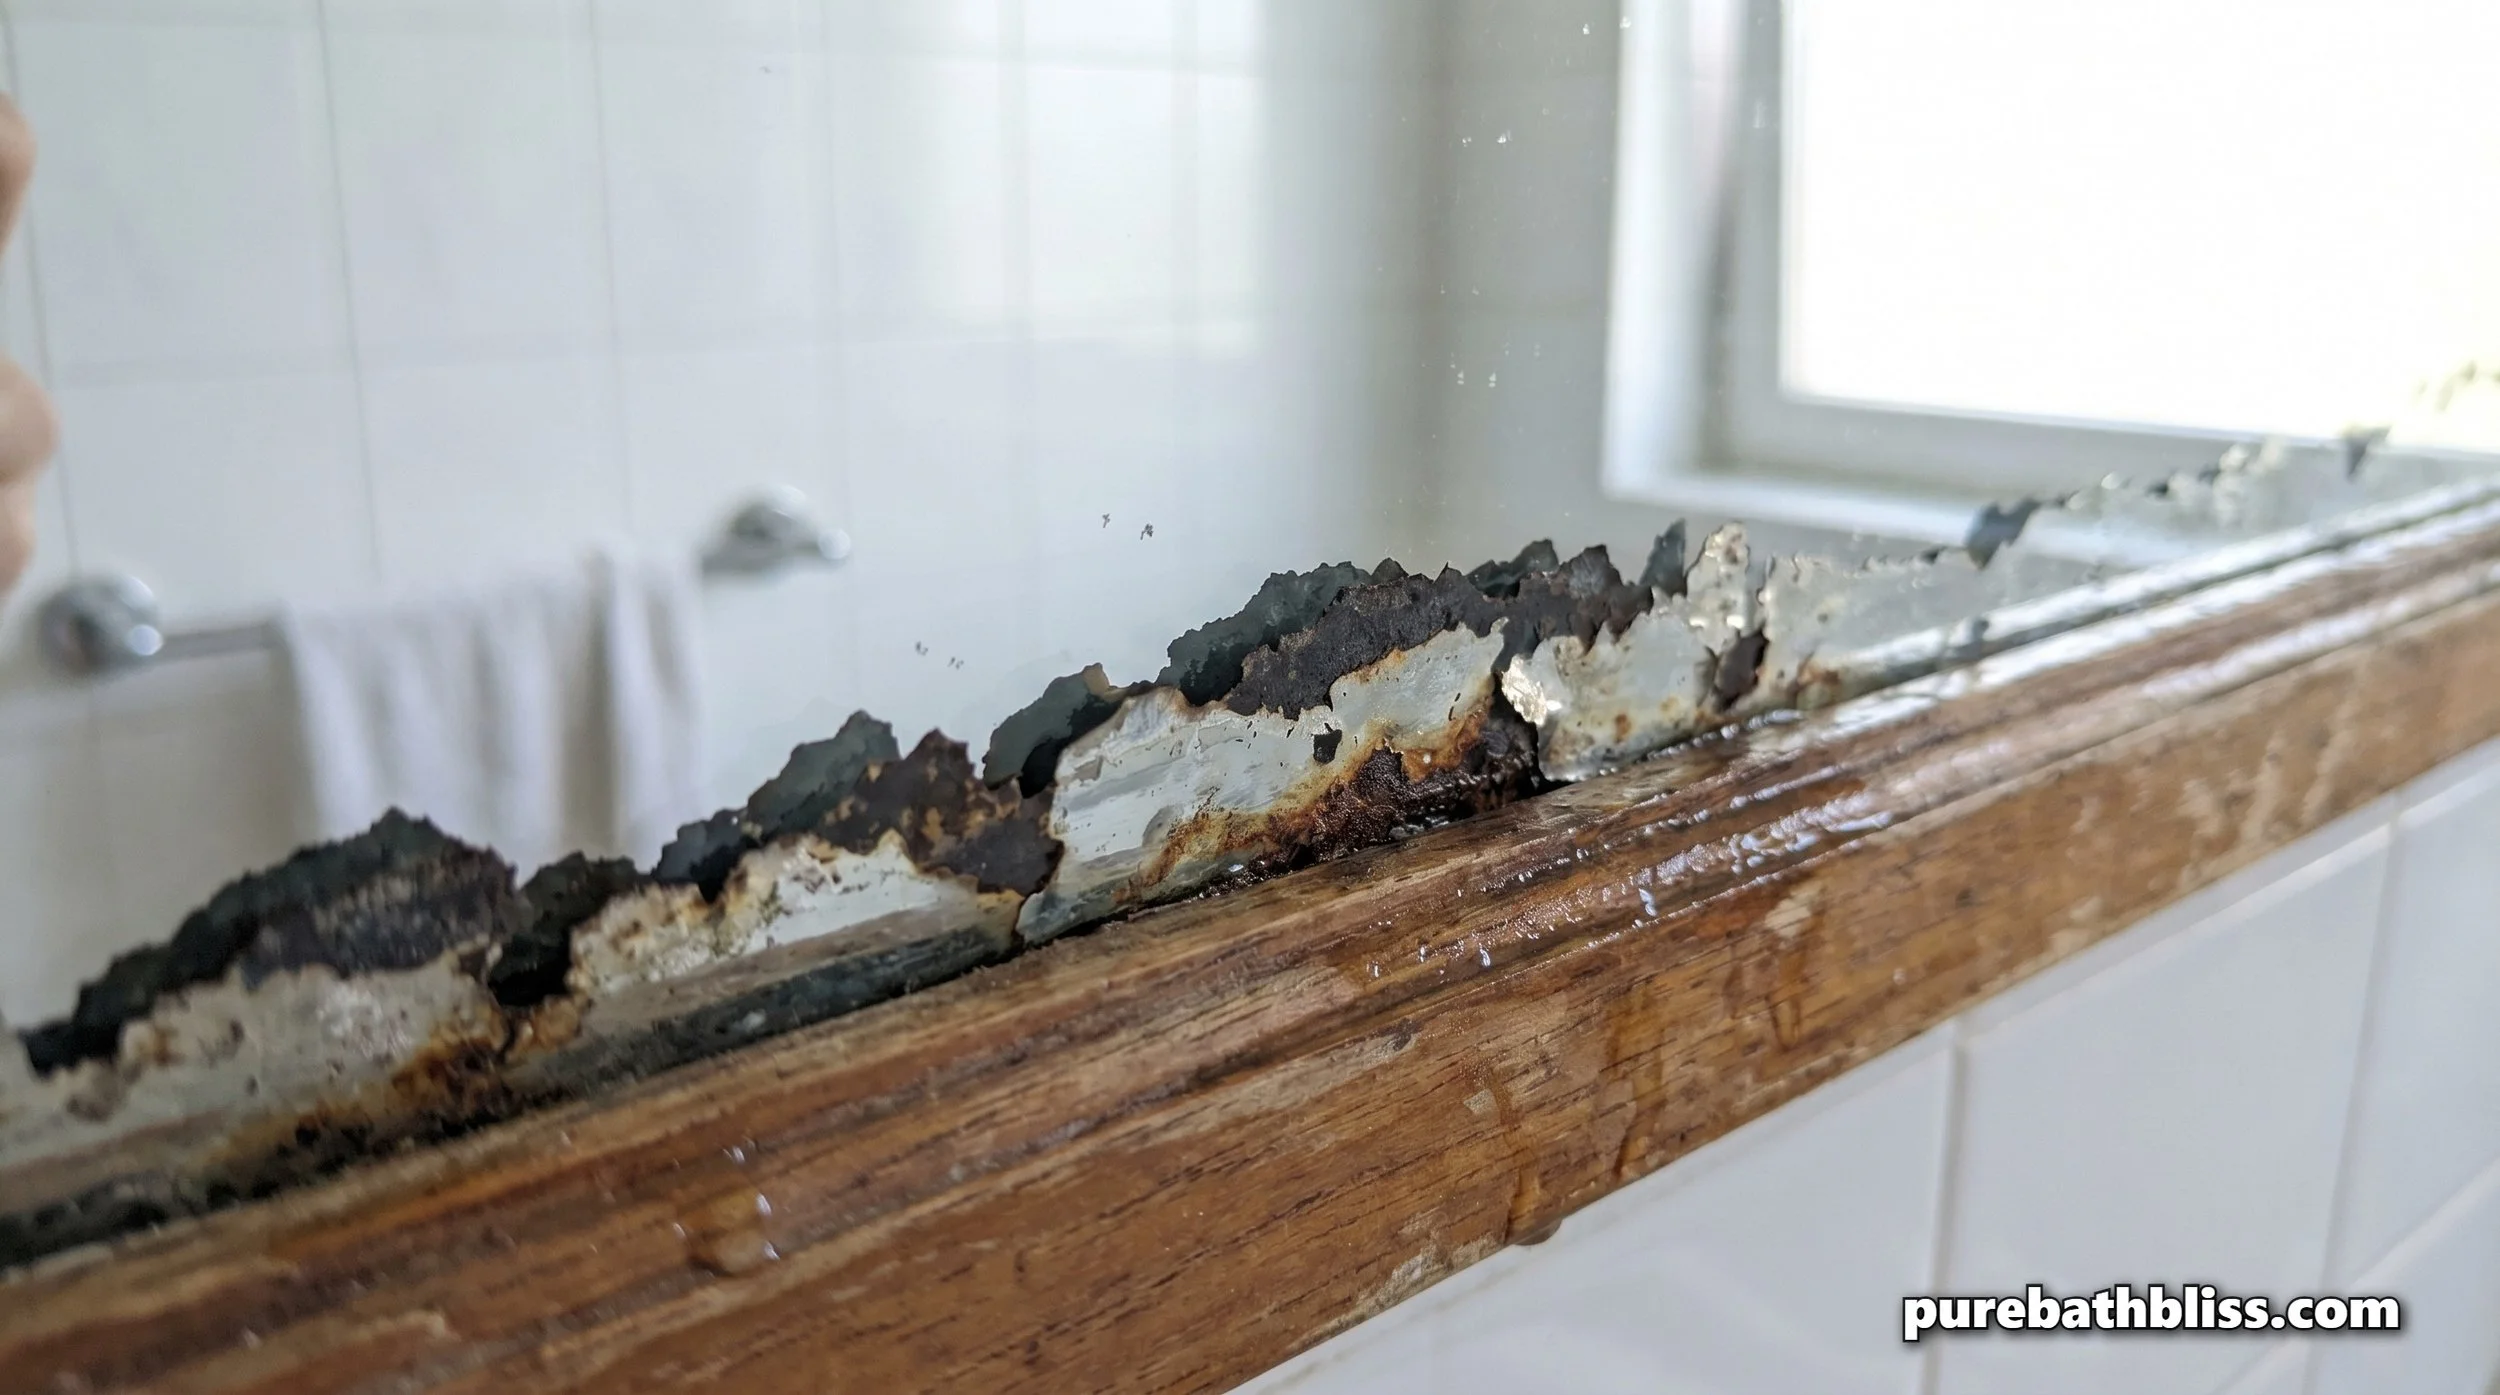
1. Why is My Mirror Turning Black?
Before we fix it, we have to address the root cause. Mirrors in a high-moisture "Wet Zone" are under constant attack.
Moisture Infiltration: Steam from your shower rises and settles on the top and bottom edges of the glass. If the water sits there long enough, it seeps behind the glass and eats the silver.
Chemical Corrosion: This is the #1 mistake I see homeowners make. Using a non-toxic "Safe-Scrub" method is essential because standard ammonia-based window cleaners are "silver-killers." Ammonia drips down the glass, pools at the bottom edge, and chemically dissolves the protective paint and silver backing.
Lack of Ventilation: If your bathroom fan is vibrating or underpowered, that humidity stays in the room longer, giving it more time to damage the mirror infrastructure.
2. Can You Actually "Fix" Desilvering?
Technically, you cannot "reverse" the oxidation. Once the silver is gone, the glass is just glass again. However, you have three professional "Builder Hacks" to manage it:
The Frame-Up (The Best Permanent Fix)
The most effective way to hide black edges is to add a frame. Most builder-grade mirrors are "frameless," which leaves the edges exposed to the air. By adding a custom wood or brushed brass frame, you hide the damage and add a luxury aesthetic.
The Mirror Tape Hack (The Quick Fix)
If you aren't ready for a full framing project, you can buy specialized Mirror Decorative Tape. This is a high-shine, adhesive metallic tape that you apply directly over the perimeter of the mirror. It covers the black spots and gives the illusion of a finished edge.
The "Sanding & Painting" Method (The Creative Fix)
For the adventurous DIYer, you can actually sand away the black rot on the back of the mirror and apply a specialized "Mirror Silvering" paint. This is difficult to get perfect but can work for small corner spots.
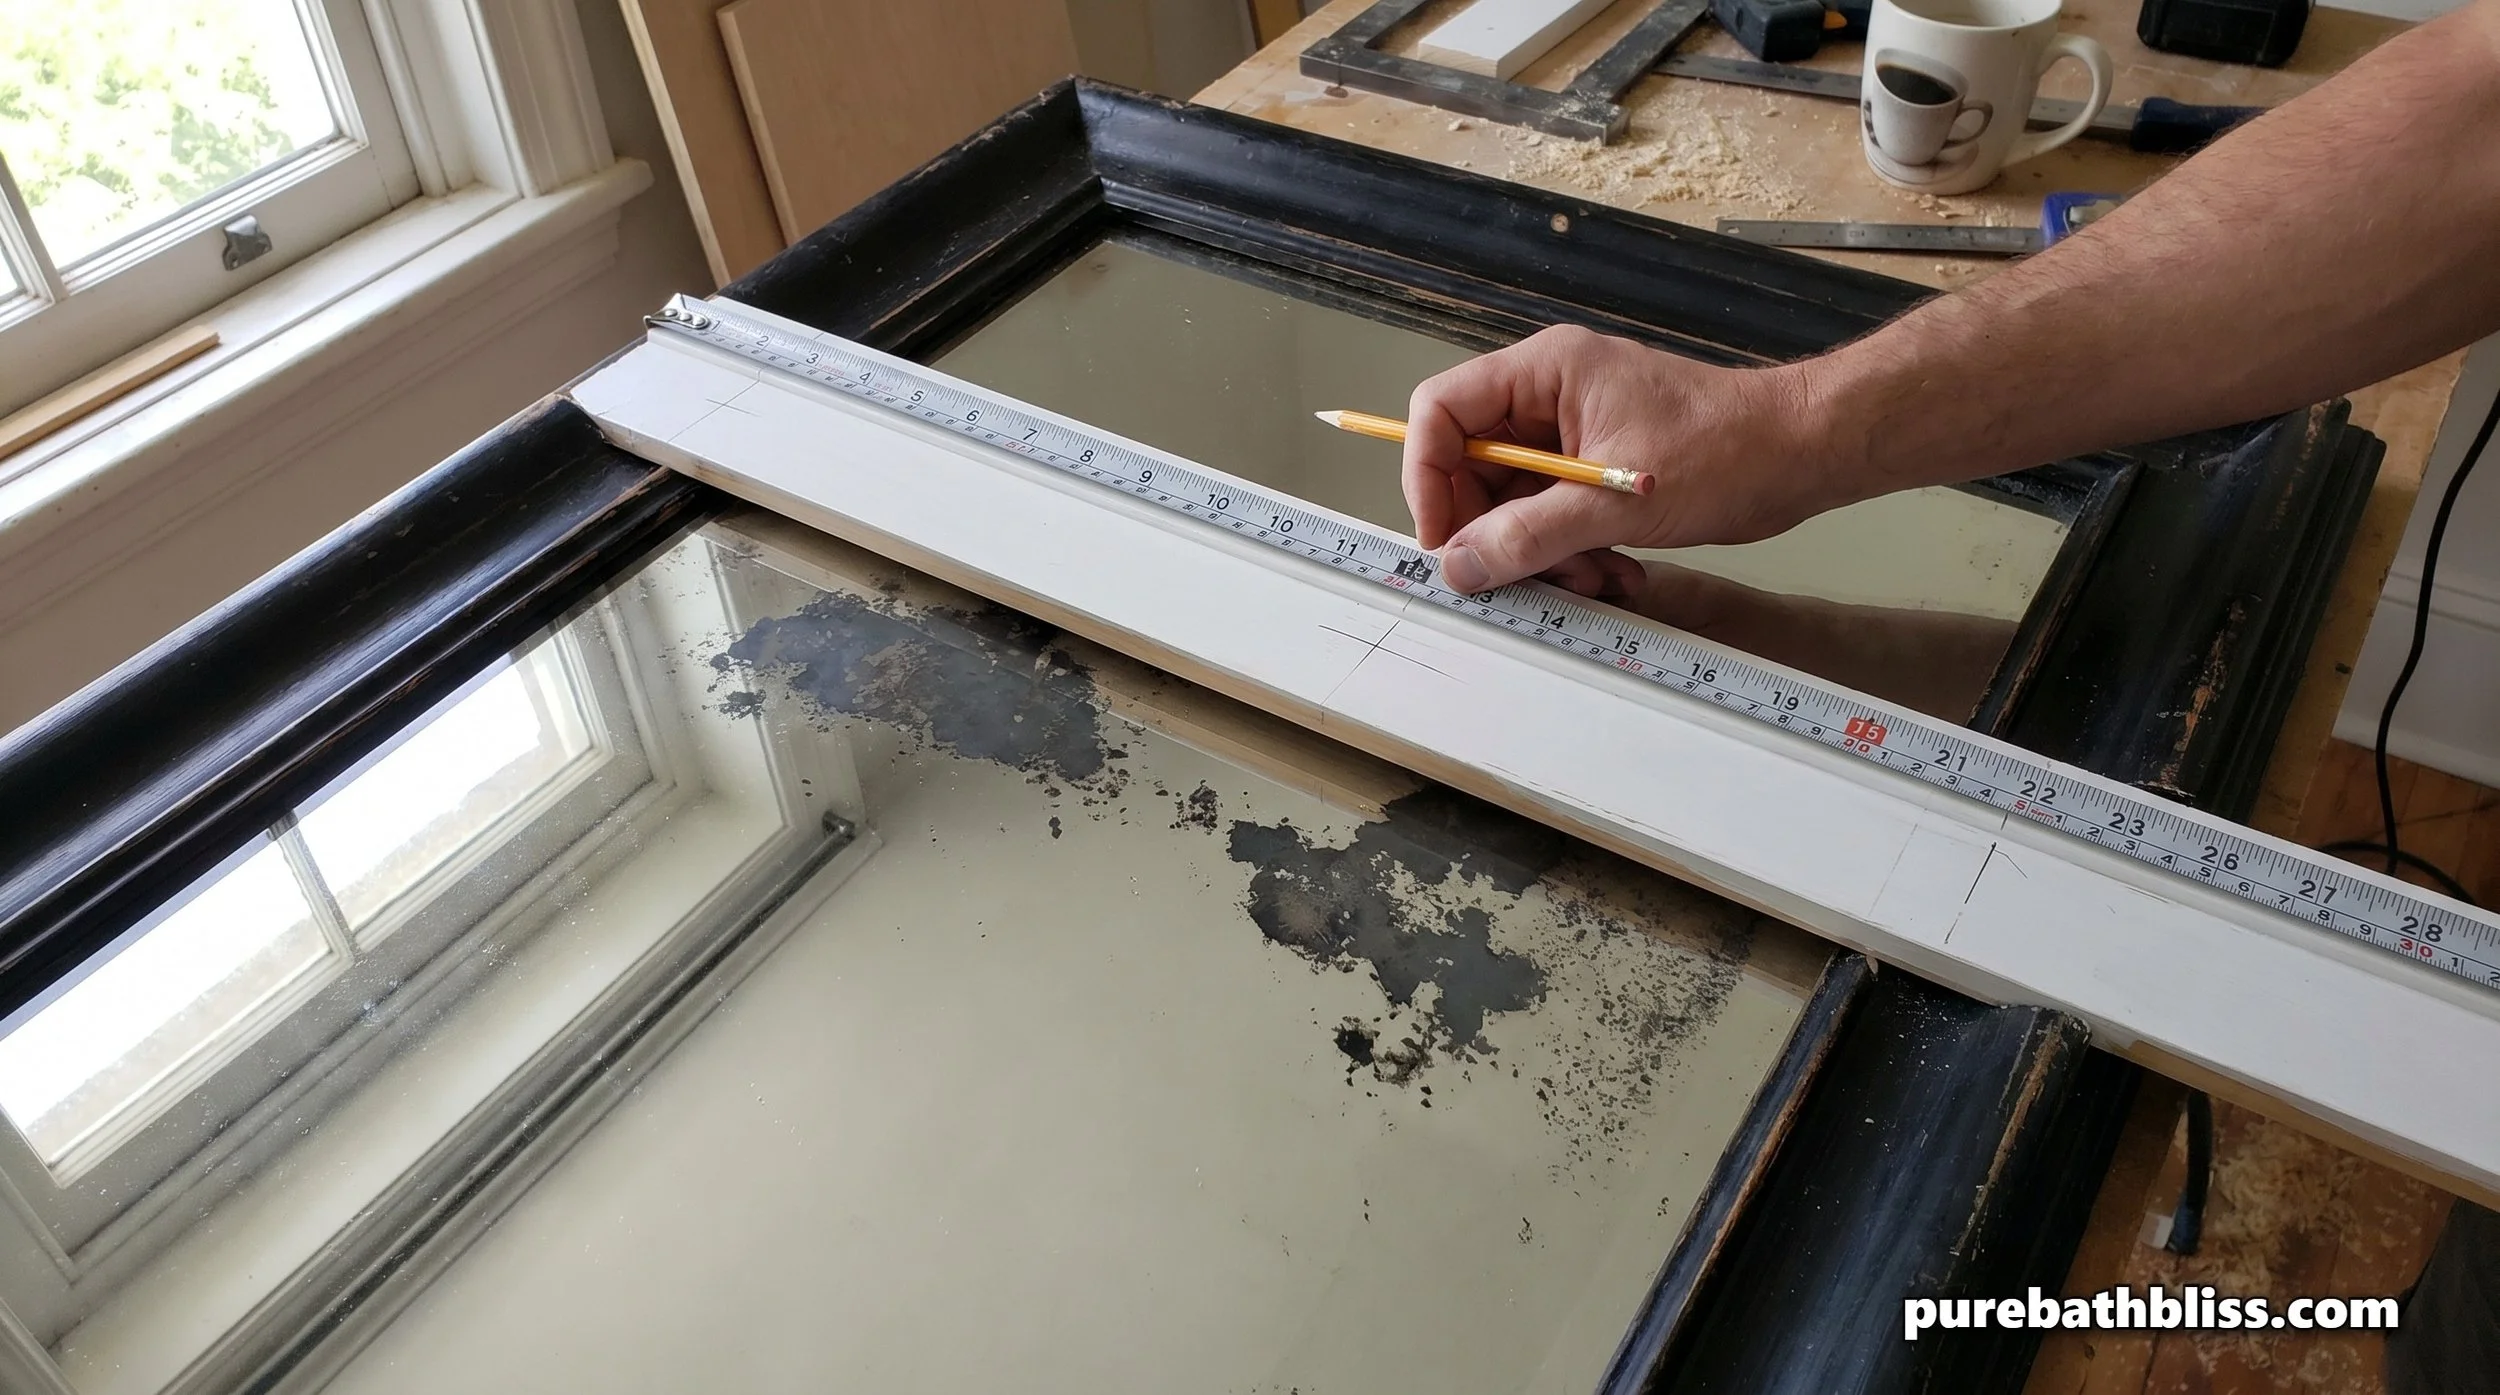
3. The Mirror Maintenance Protocol
| Action | Why It Matters | Pro Tip |
|---|---|---|
| Avoid Ammonia | Ammonia dissolves silver backing. | Use water and alcohol instead. |
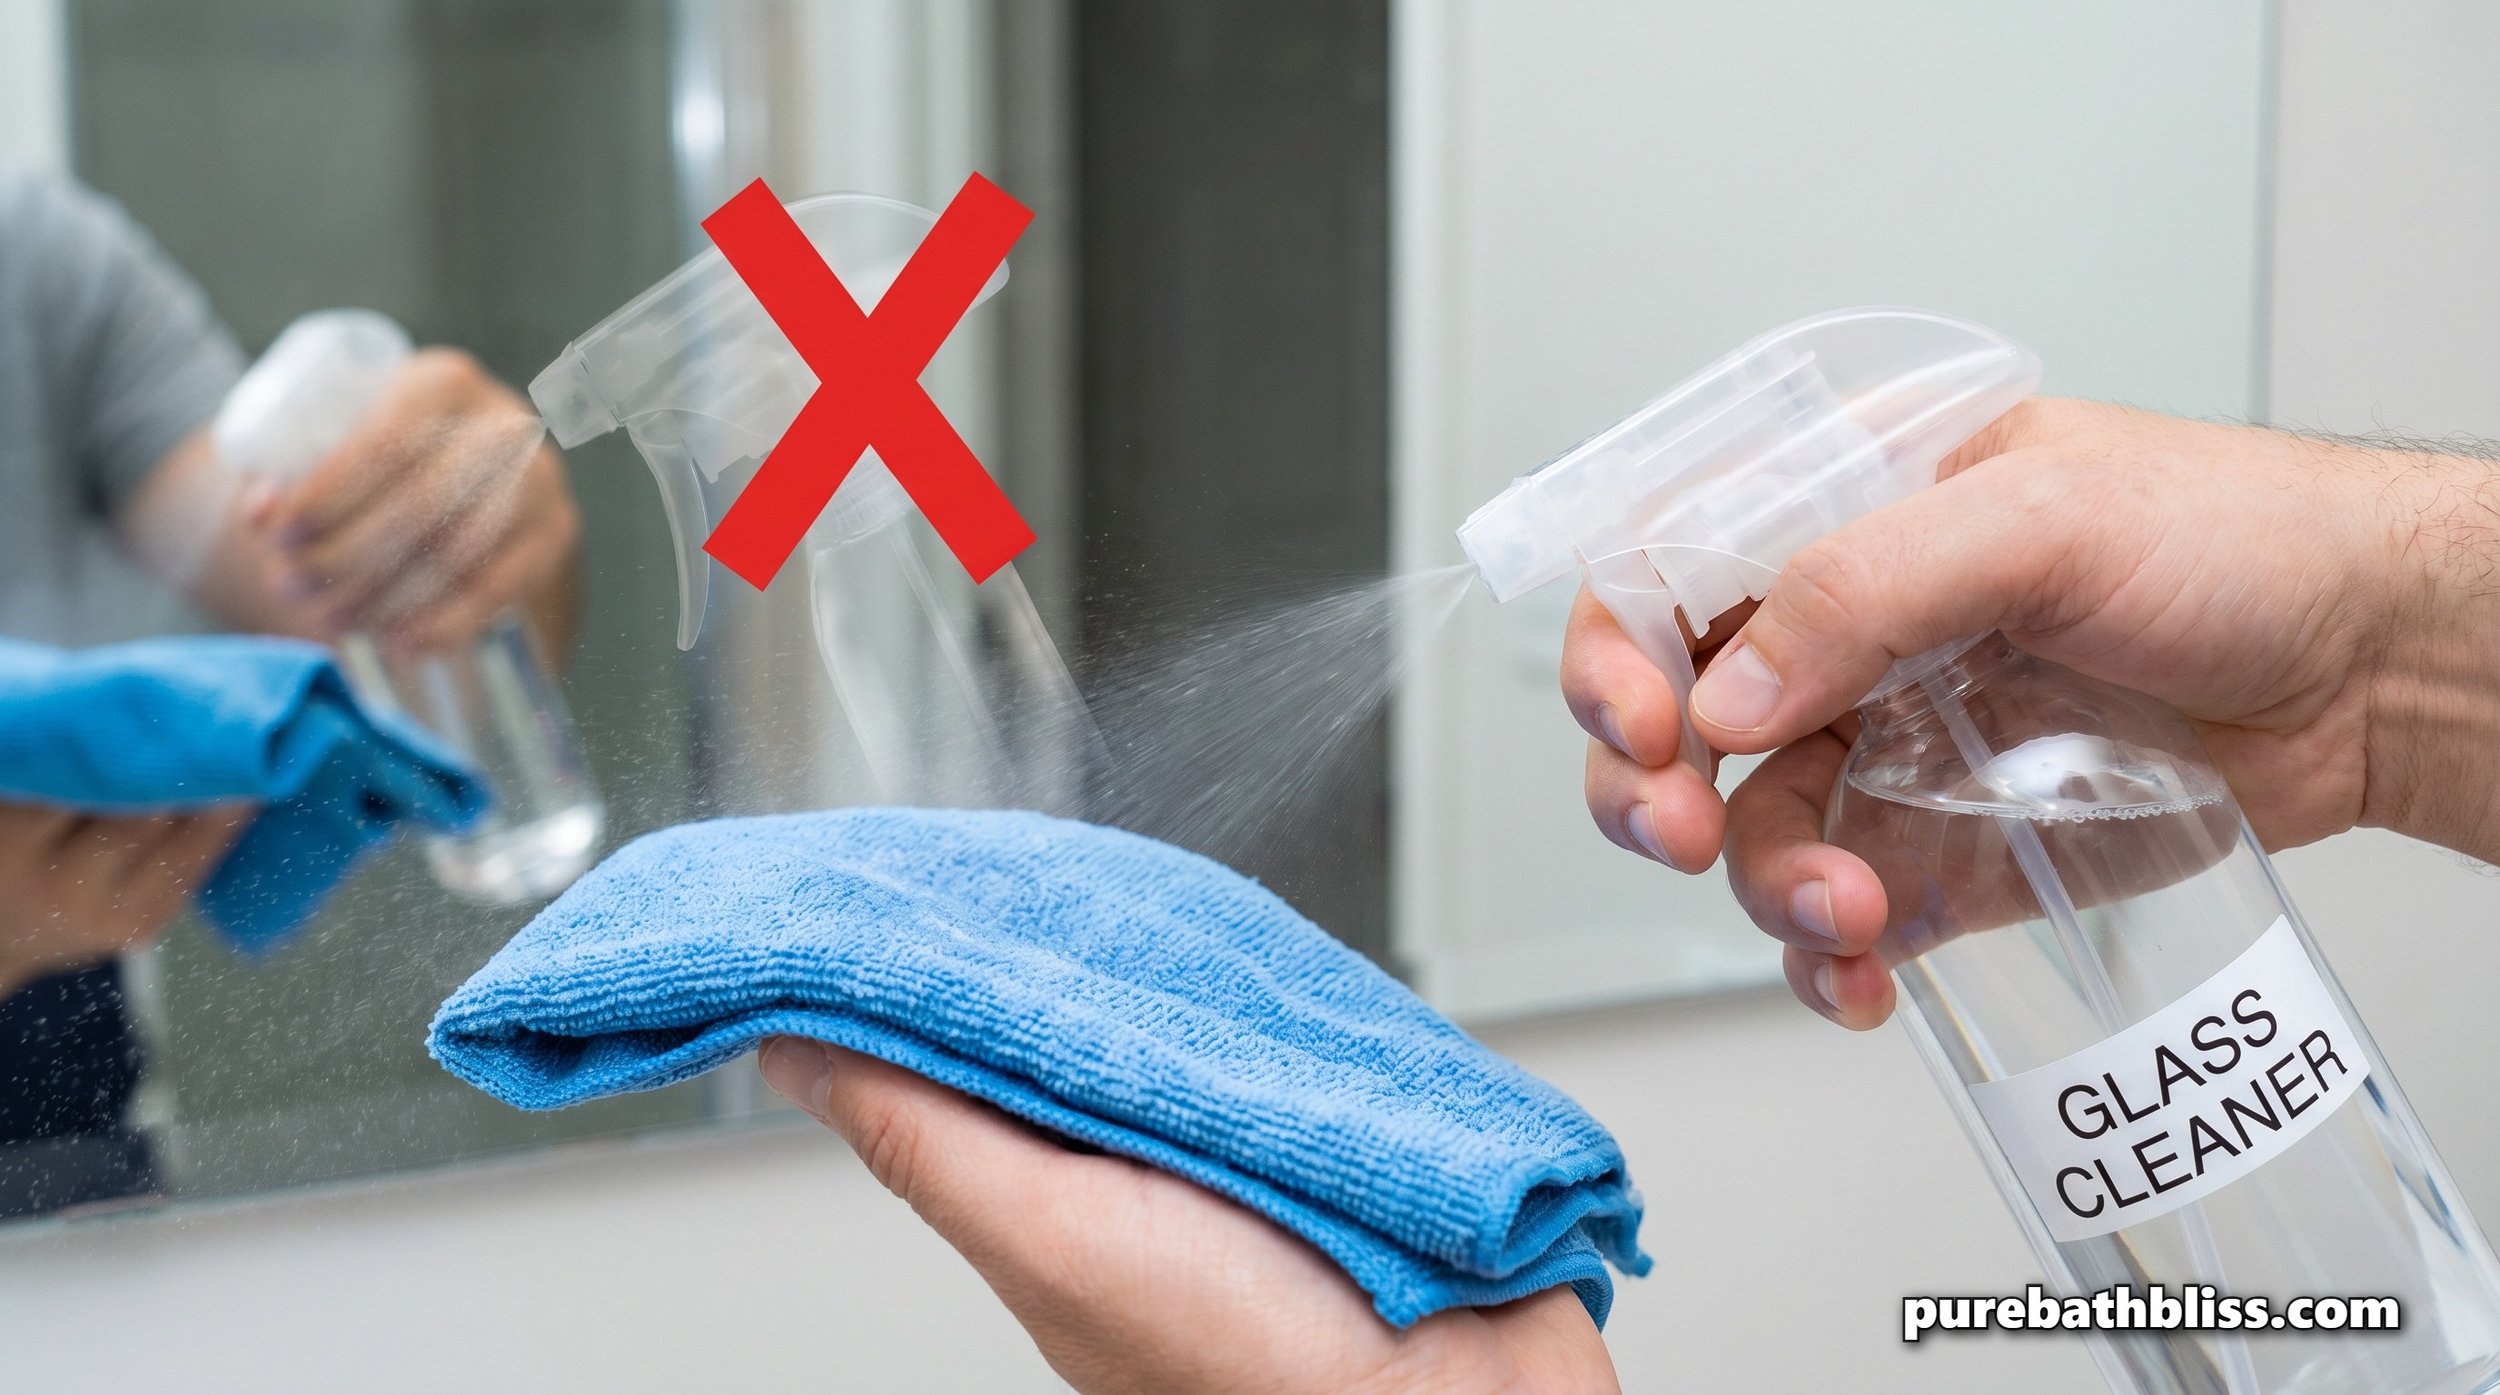
| Spray the Cloth | Prevents liquid from pooling at edges. | Never spray directly onto the glass. |
| Seal the Edges | Creates a moisture barrier. | Use clear nail polish or edge sealer. |
| Ventilate | Reduces the time moisture sits on glass. | Run the fan for 20 mins post-shower. |
4. How to Prevent Desilvering on a New Mirror
If you are currently renovating and installing a new microcement bathroom, follow these "Builder-Grade" installation steps to ensure your mirror stays pristine for decades.
Edge Sealing: Before you hang the mirror, apply a specialized Mirror Edge Sealer to the entire perimeter. This clear coating acts as a waterproof gasket for the silver "sandwich."
Mounting with Airflow: Don't glue the mirror flat against the wall. Use mirror clips or spacers that leave a tiny 1/8-inch gap behind the glass. This allows air to circulate, preventing moisture from getting trapped against the backing.
The "Spray the Cloth" Rule: Always spray your cleaner onto a microfiber cloth, not the mirror. This ensures no liquid can run down and sit in the bottom edge-channel.
5. Amazon: The Mirror Fix Toolkit
To restore your mirror's "Internal Infrastructure," here are the high-performance tools I recommend:
MirrorMate Custom Frame Kit – The easiest way to add a professional frame to an existing wall-mounted mirror without taking it down.
Gunther Seal-Kwik Mirror Edge Sealer – The professional builder's secret for protecting the edges of new mirrors.
CR Laurence Mirror Edge Tape – High-quality metallic tape for a quick aesthetic fix for black rot.
Invisible Glass Cleaner (Ammonia-Free) – The safest cleaner for the 2026 healthy home.

Summary: The "Black Edges" Checklist
Identify the Cause: Is it humidity or is it your ammonia-based cleaner?
Stop the Spread: Switch to an ammonia-free cleaner immediately.
Choose Your Fix: Frame it for a luxury look or tape it for a budget-friendly update.
Seal New Mirrors: Always use an edge sealer before installation.
Manage the Air: Ensure your ventilation fan is clear and running.
Spray the Cloth: Never let liquid pool at the bottom of the glass.
Center the Sightline: Ensure your mirror height is correct to draw the eye away from any remaining minor imperfections.
By understanding the "Infrastructure" of your mirror, you can protect your investment and maintain a reflection that is as clean as the rest of your home. Desilvering doesn't have to mean a trip to the dumpster; with a little builder-logic, you can turn a damaged mirror into a high-end design feature.