Why Your Toilet Handle is "Sticky" (and How to Fix it in 5 Minutes)
As a Red Seal carpenter, I’ve learned that the most expensive home repairs often start as tiny mechanical issues that were simply ignored. In a house with four kids, the toilet is the hardest-working piece of "Infrastructure" you own. When the handle starts to feel "sticky," loose, or requires a second jiggle to stop the water from running, it isn't just a nuisance, it’s a sign that your fill valve and flapper are under unnecessary strain.
A sticky handle usually leads to a "phantom flush" or a constantly running toilet, which can waste hundreds of gallons of water a month. Most homeowners think they need a whole new tank kit, but usually, the fix is much simpler. It’s about clearing the friction and resetting the tension.
In this guide, we’ll look at the mechanical reasons for a sticky handle and how to fix them using the same "builder’s logic" we used to fix a leaking faucet handle.
1. The "Nut and Bolt" Friction
The most common cause of a sticky handle isn't inside the tank at all—it’s the mounting nut that holds the handle to the porcelain. Over time, mineral deposits from the humidity in your bathroom can build up behind the handle, creating friction.
The Pro Fix: Open the tank and locate the nut directly behind the handle.
The "Carpenter's Rule": Most toilet handle nuts are reverse-threaded (lefty-tighty, righty-loosey). Give it a quarter turn to loosen it, clean away any white "crust" with a damp cloth, and then snug it back up.
The Result: Removing that mineral friction often makes the handle snap back into place instantly. This is the same mineral management we practice when cleaning hard water from glass.
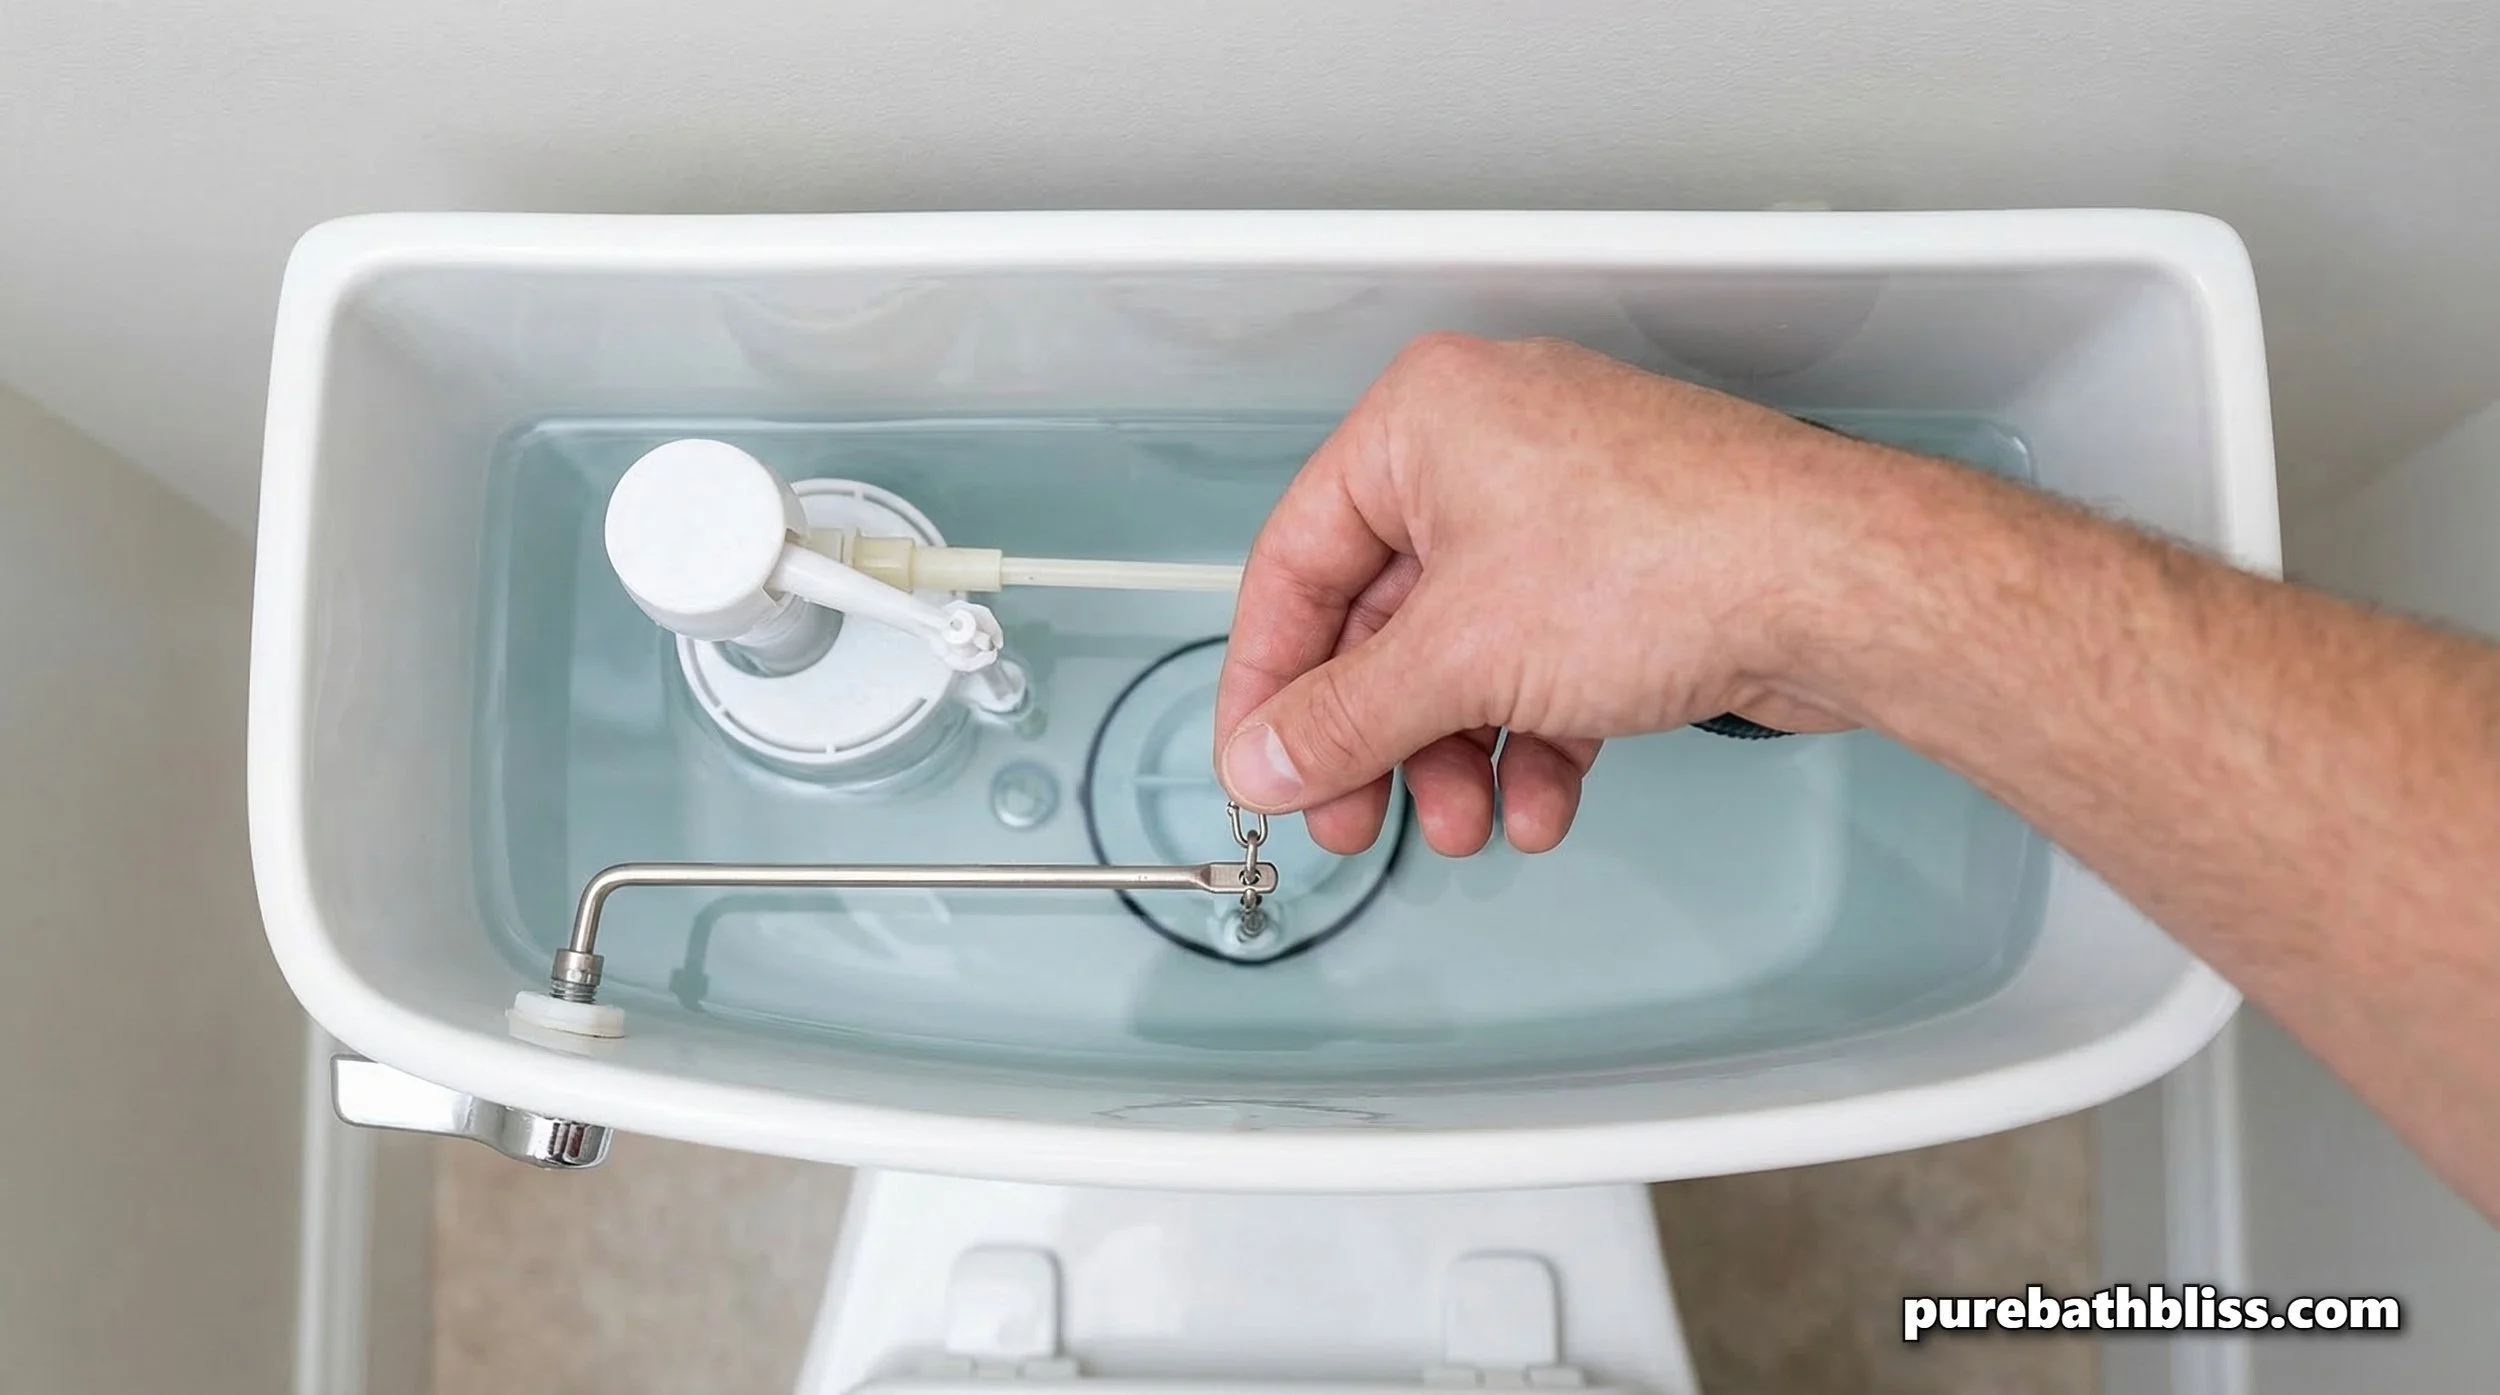
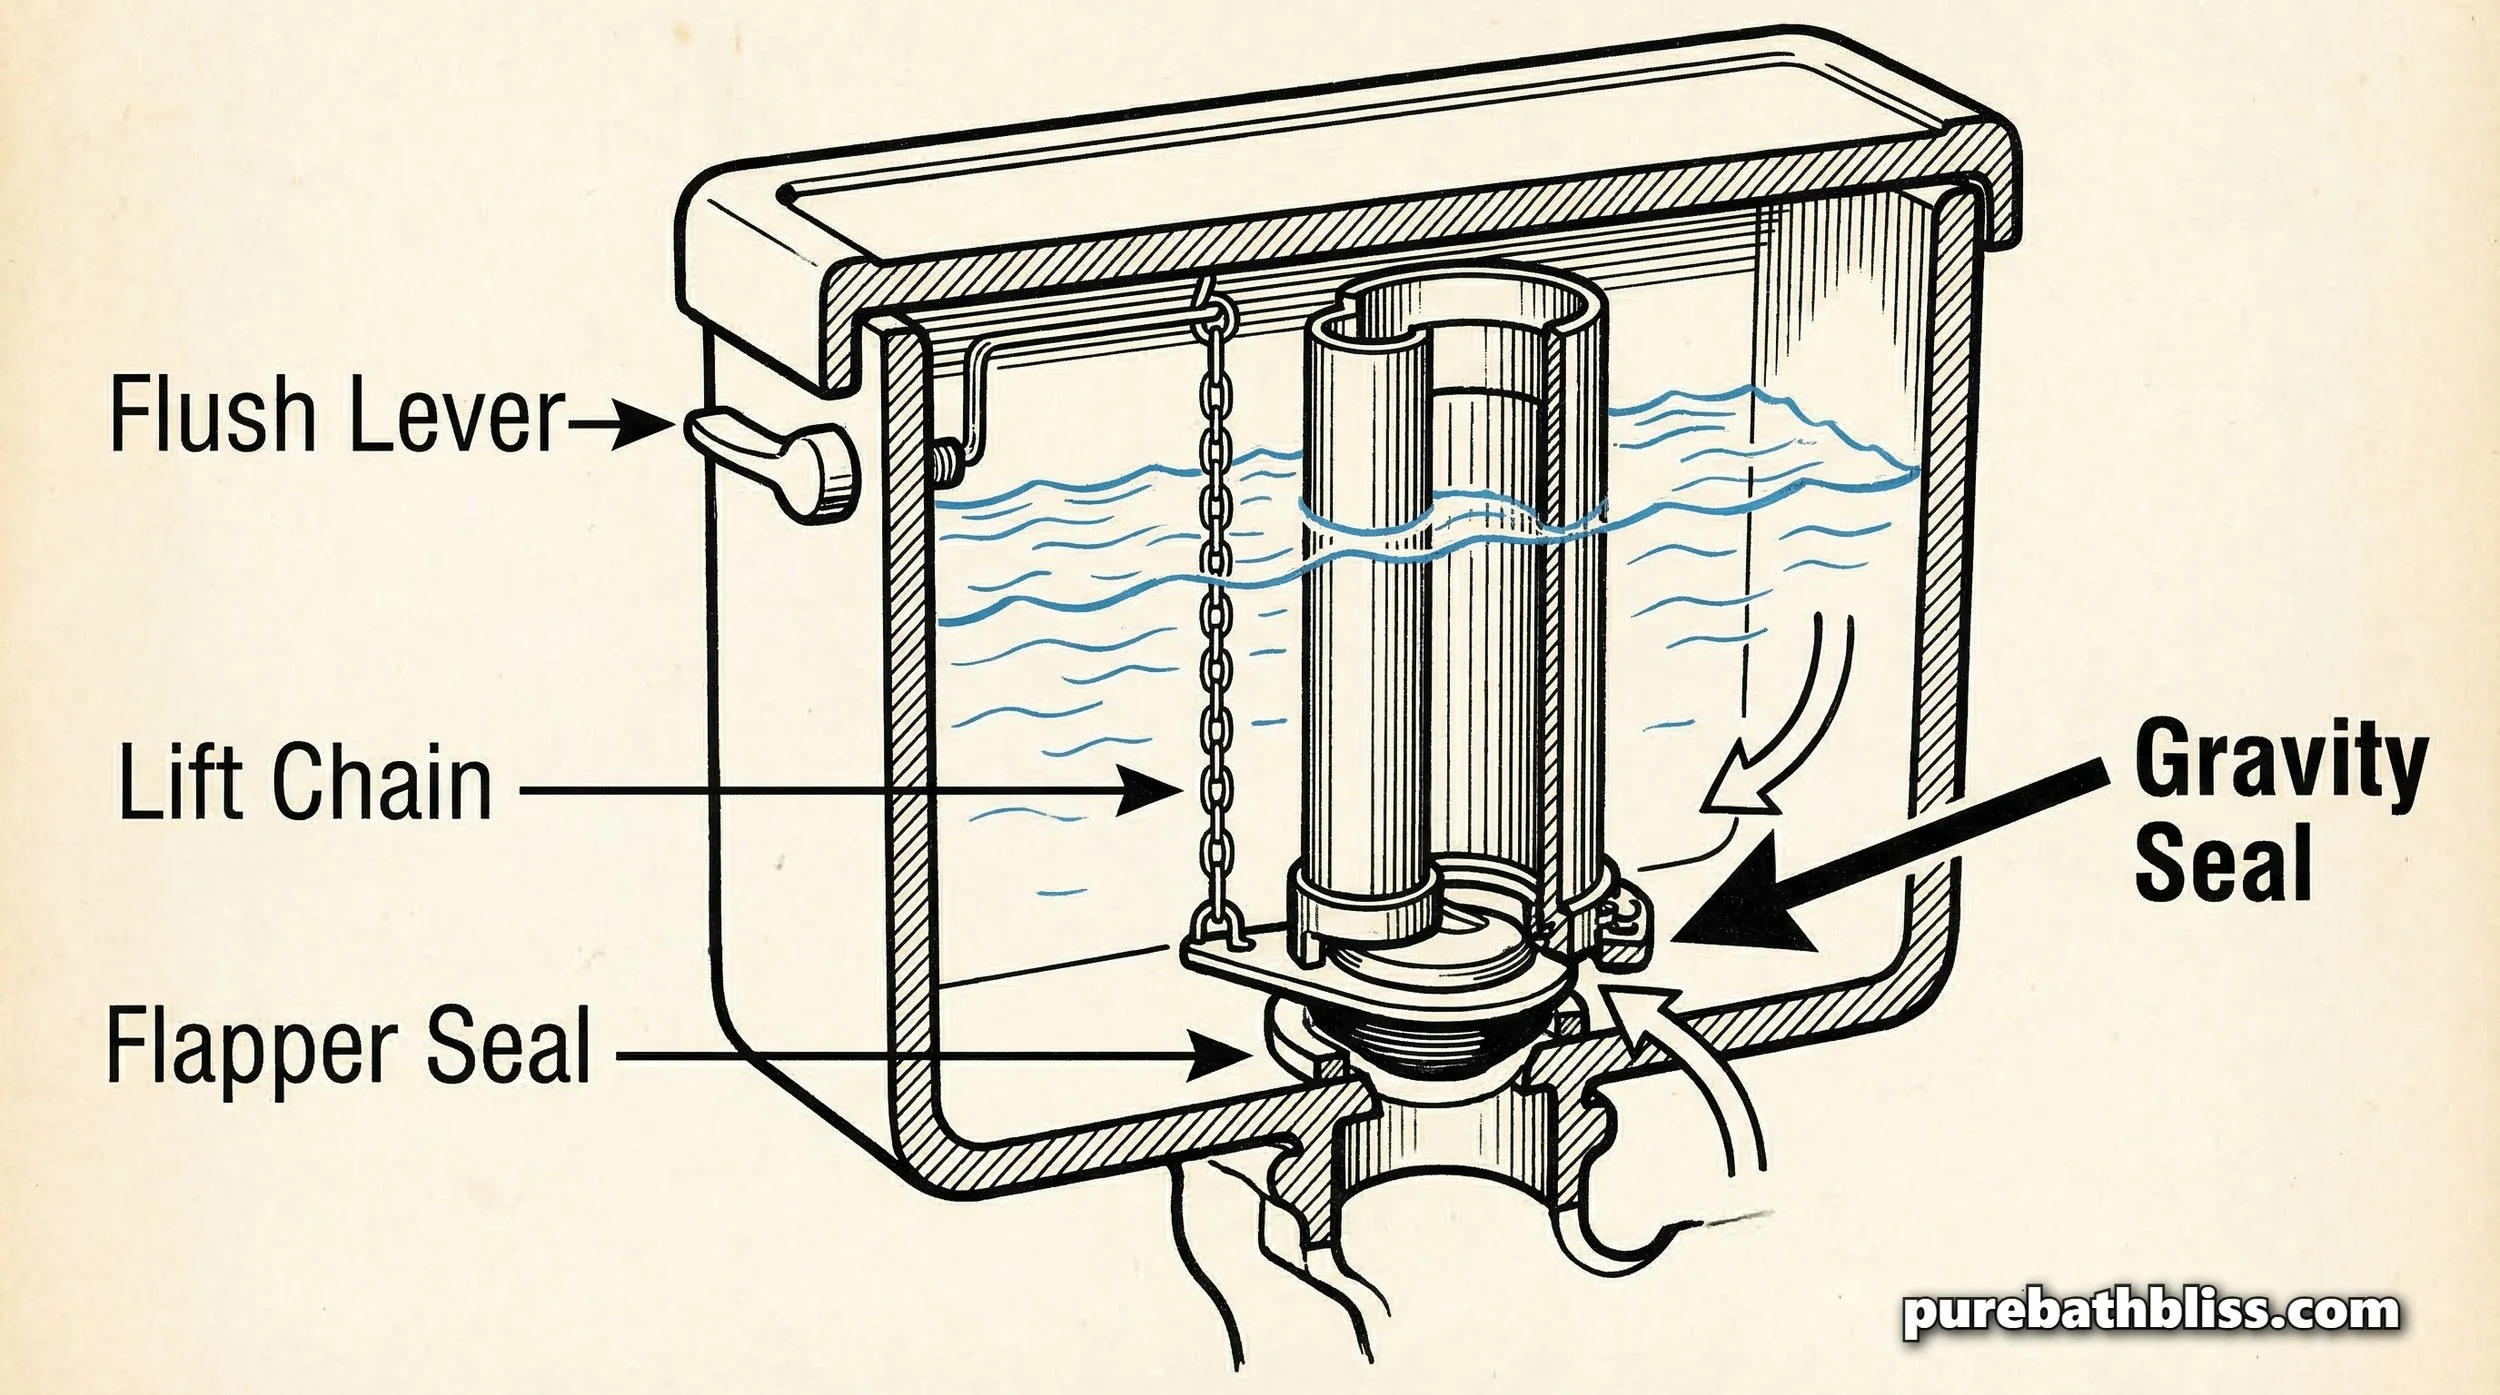
2. The "Chain Gang": Adjusting the Lift Link
If the handle moves freely but the toilet keeps running, the lift chain is likely the culprit. If the chain is too long, it can get caught under the flapper; if it’s too short, it won't let the flapper seal properly.
As a builder, I look for "slack." You want about 1/2 inch of slack in the chain when the handle is at rest.
The Adjustment: Move the clip on the chain up or down one link at a time.
The Connection: Ensuring a proper seal prevents the moisture issues and "sweating" we discussed in Drying Out Your Bathroom: The Post-Soak Protocol. A toilet that runs constantly keeps the porcelain cold, which leads to condensation.
3. The "Flapper" Friction
The flapper is the rubber plug at the bottom of the tank. Over time, the rubber can become "slimy" or warped. If you’ve been using harsh chemical "drop-in" tablets, the bleach has likely degraded the rubber, making it sticky.
In a Non-Toxic Bathroom, we avoid those tablets. Instead, if your flapper is sticky, wipe the rim of the flush valve with a soft cloth. If the rubber feels soft or leaves black residue on your fingers, it’s time to spend $5 on a new one. Replacing a flapper is a "high-leverage" repair that protects your home's water bill.
4. The Lever Arm: Metal vs. Plastic
From a carpentry perspective, the material of your lever arm matters for long-term "Infrastructure" health. Many contractor-grade toilets come with plastic lever arms. While they don't rust, they are prone to "creeping", a slow bending of the plastic under the constant tension of the flush.
If you find that your handle feels "spongy" or doesn't lift the flapper high enough, your plastic arm may be bent. Switching to a solid brass or stainless steel lever arm provides a more tactile, mechanical "click" that fits the Psychology of a Clean Bathroom. Metal arms are more rigid and allow for precise chain adjustments, ensuring your toilet flushes perfectly every time your kids use it.
5. Lubricating the Pivot Point
If the handle is still catching after you've cleaned the minerals, the friction is likely inside the mounting sleeve.
The Fix: Apply a tiny amount of waterproof silicone grease (the same stuff we used for showerhead maintenance) to the pivot point where the rod passes through the porcelain.
The Carpenter's Tip: Never use WD-40 or oil-based lubricants inside a toilet tank. These can degrade the rubber seals and the flapper, leading to even more leaks down the road. Stick to 100% silicone grease for any bathroom "Moving Parts."
6. Cleaning the "External" Handle
We often forget that the handle we touch is a high-contact surface. Bacteria like the pink slime bacteria can migrate from damp areas to the handle.
As part of your weekly routine, give the handle a quick wipe with a non-toxic cleaner. A handle that sparkles and clicks firmly provides a subtle sense of confidence in your home's systems. For a father of four, knowing the toilet won't overflow while you're sleeping is worth the five minutes of maintenance.
Summary: The 5-Minute Handle Fix Checklist
Check the Mounting Nut: Clean away mineral crust and ensure it's not over-tightened.
Verify the Threads: Remember that toilet handle nuts are usually left-hand threaded.
Optimize the Chain: Leave 1/2 inch of slack for a perfect seal.
Inspect the Flapper: Replace the rubber if it's slimy or leaving black residue.
Grease the Pivot: Use a dab of silicone grease for a smooth "snap-back" action.
Upgrade the Arm: Consider switching from plastic to metal for better durability.
Taking five minutes to "tune up" your toilet handle is the kind of preventative maintenance that keeps a home running smoothly. It’s a simple fix that saves water, stops noise, and ensures your bathroom remains the sanctuary it’s meant to be.