Why Your Faucet Handle is Leaking (and How to Fix it Yourself)
In my years as a Red Seal carpenter, I’ve walked into hundreds of bathrooms where a tiny, persistent drip from a faucet handle has turned into a major headache. For a father of four, that steady drip-drip-drip isn't just an annoying sound in the middle of the night, it’s literally money going down the drain and a sign that your home's "Infrastructure" is under stress.
Most homeowners assume a leaking handle means they need to replace the entire fixture. From a builder's perspective, that is rarely the case. Usually, the "guts" of the faucet are just fine, and all you're dealing with is a worn-out $2 rubber seal or a loose packing nut. Fixing it yourself takes about 20 minutes and saves you a $200 plumbing bill.
In this guide, we’ll look at the mechanical anatomy of your faucet and the step-by-step process to stop the leak before it contributes to the moisture issues we discussed in Drying Out Your Bathroom: The Post-Soak Protocol.
1. The "Infrastructure" Check: Shutting Down the Water
Before you touch a single screw, you must shut off the water. As a carpenter, I’ve seen DIY projects turn into floods because this step was skipped.
Look under your sink for the shut-off valves (the small silver handles). Turn them clockwise until they stop. Then, open the faucet handles to bleed out any remaining pressure. This is a great time to check the area for "Hidden Leaks" or the Pink Slime Bacteria that thrives in damp, dark cabinets. If the area is dry and clear, you're ready to proceed.
2. Identify Your Faucet Type
Most modern bathrooms have one of two types of faucets:
Compression Faucets: Usually have two handles (Hot and Cold) and use a rubber washer to stop the flow.
Cartridge/Ball Faucets: Often a single-handle design that uses a plastic or brass "cartridge" to regulate water.
If you have a high-end fixture with one of the 2026 Bathroom Color Trends finishes like unlacquered brass, be extra careful. Wrap your pliers in a soft cloth or tape to prevent scratching the "Living Finish."
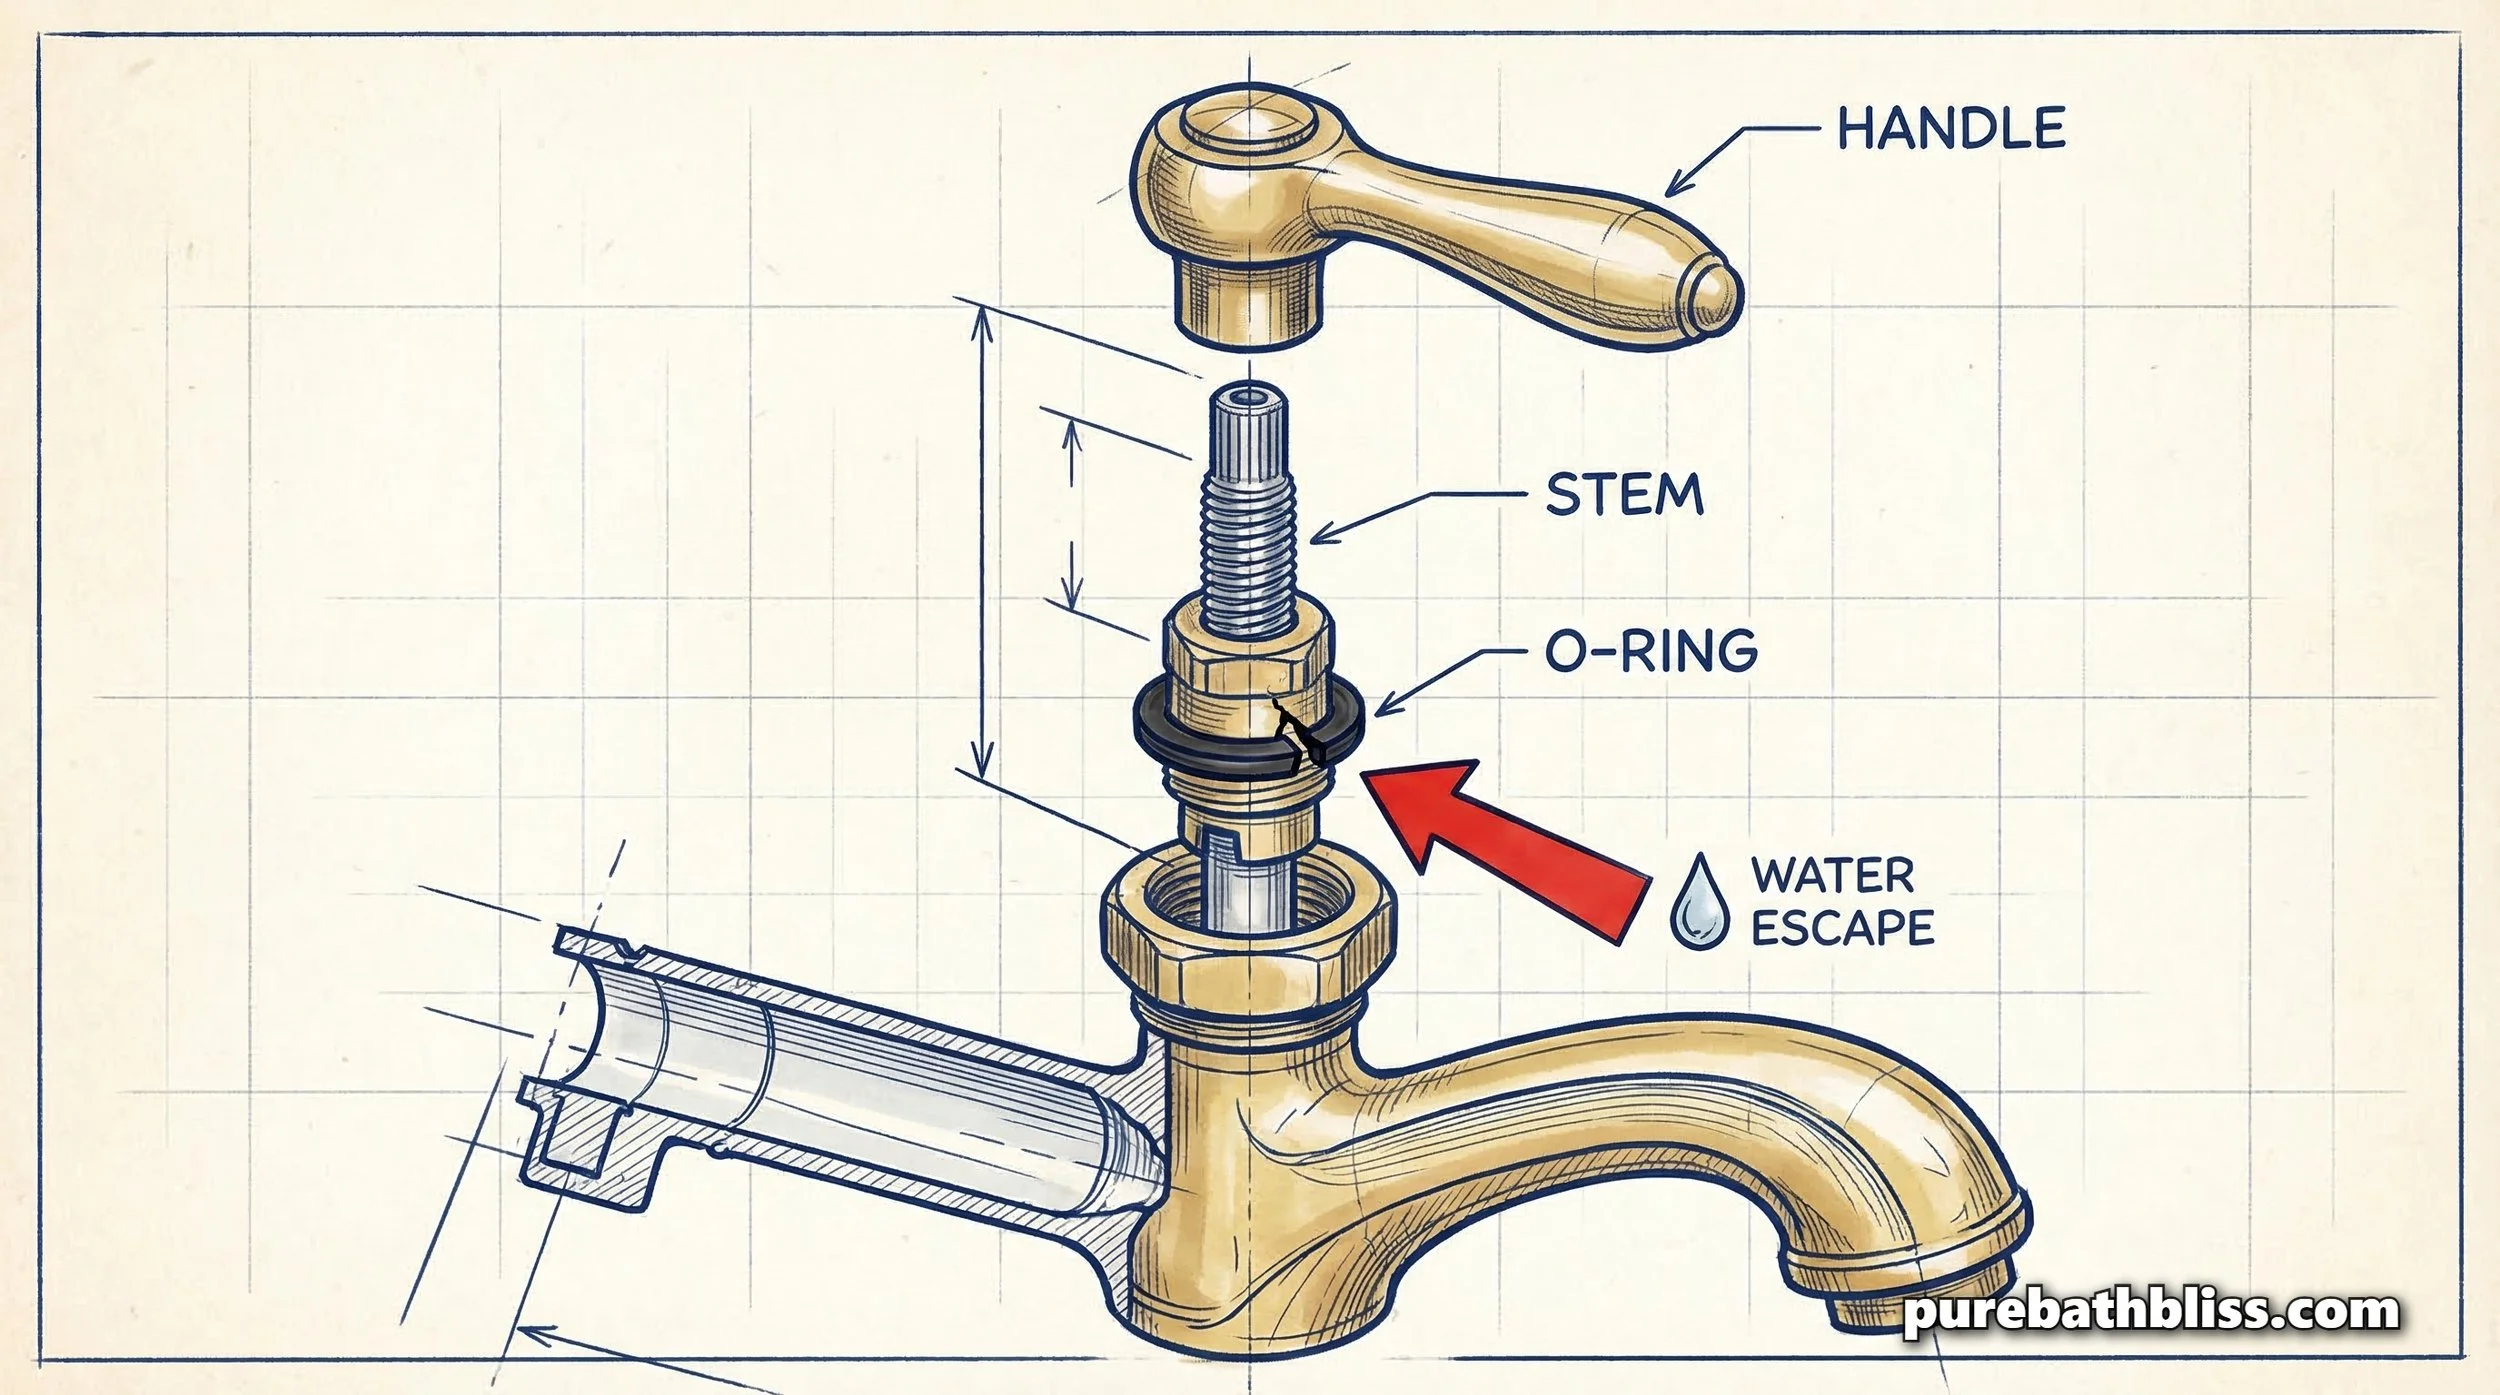
3. The Most Common Culprit: The O-Ring
If the water is leaking from the base of the handle when the faucet is on, you are likely dealing with a failed O-ring. Over time, the friction of turning the handle wears down this rubber loop.
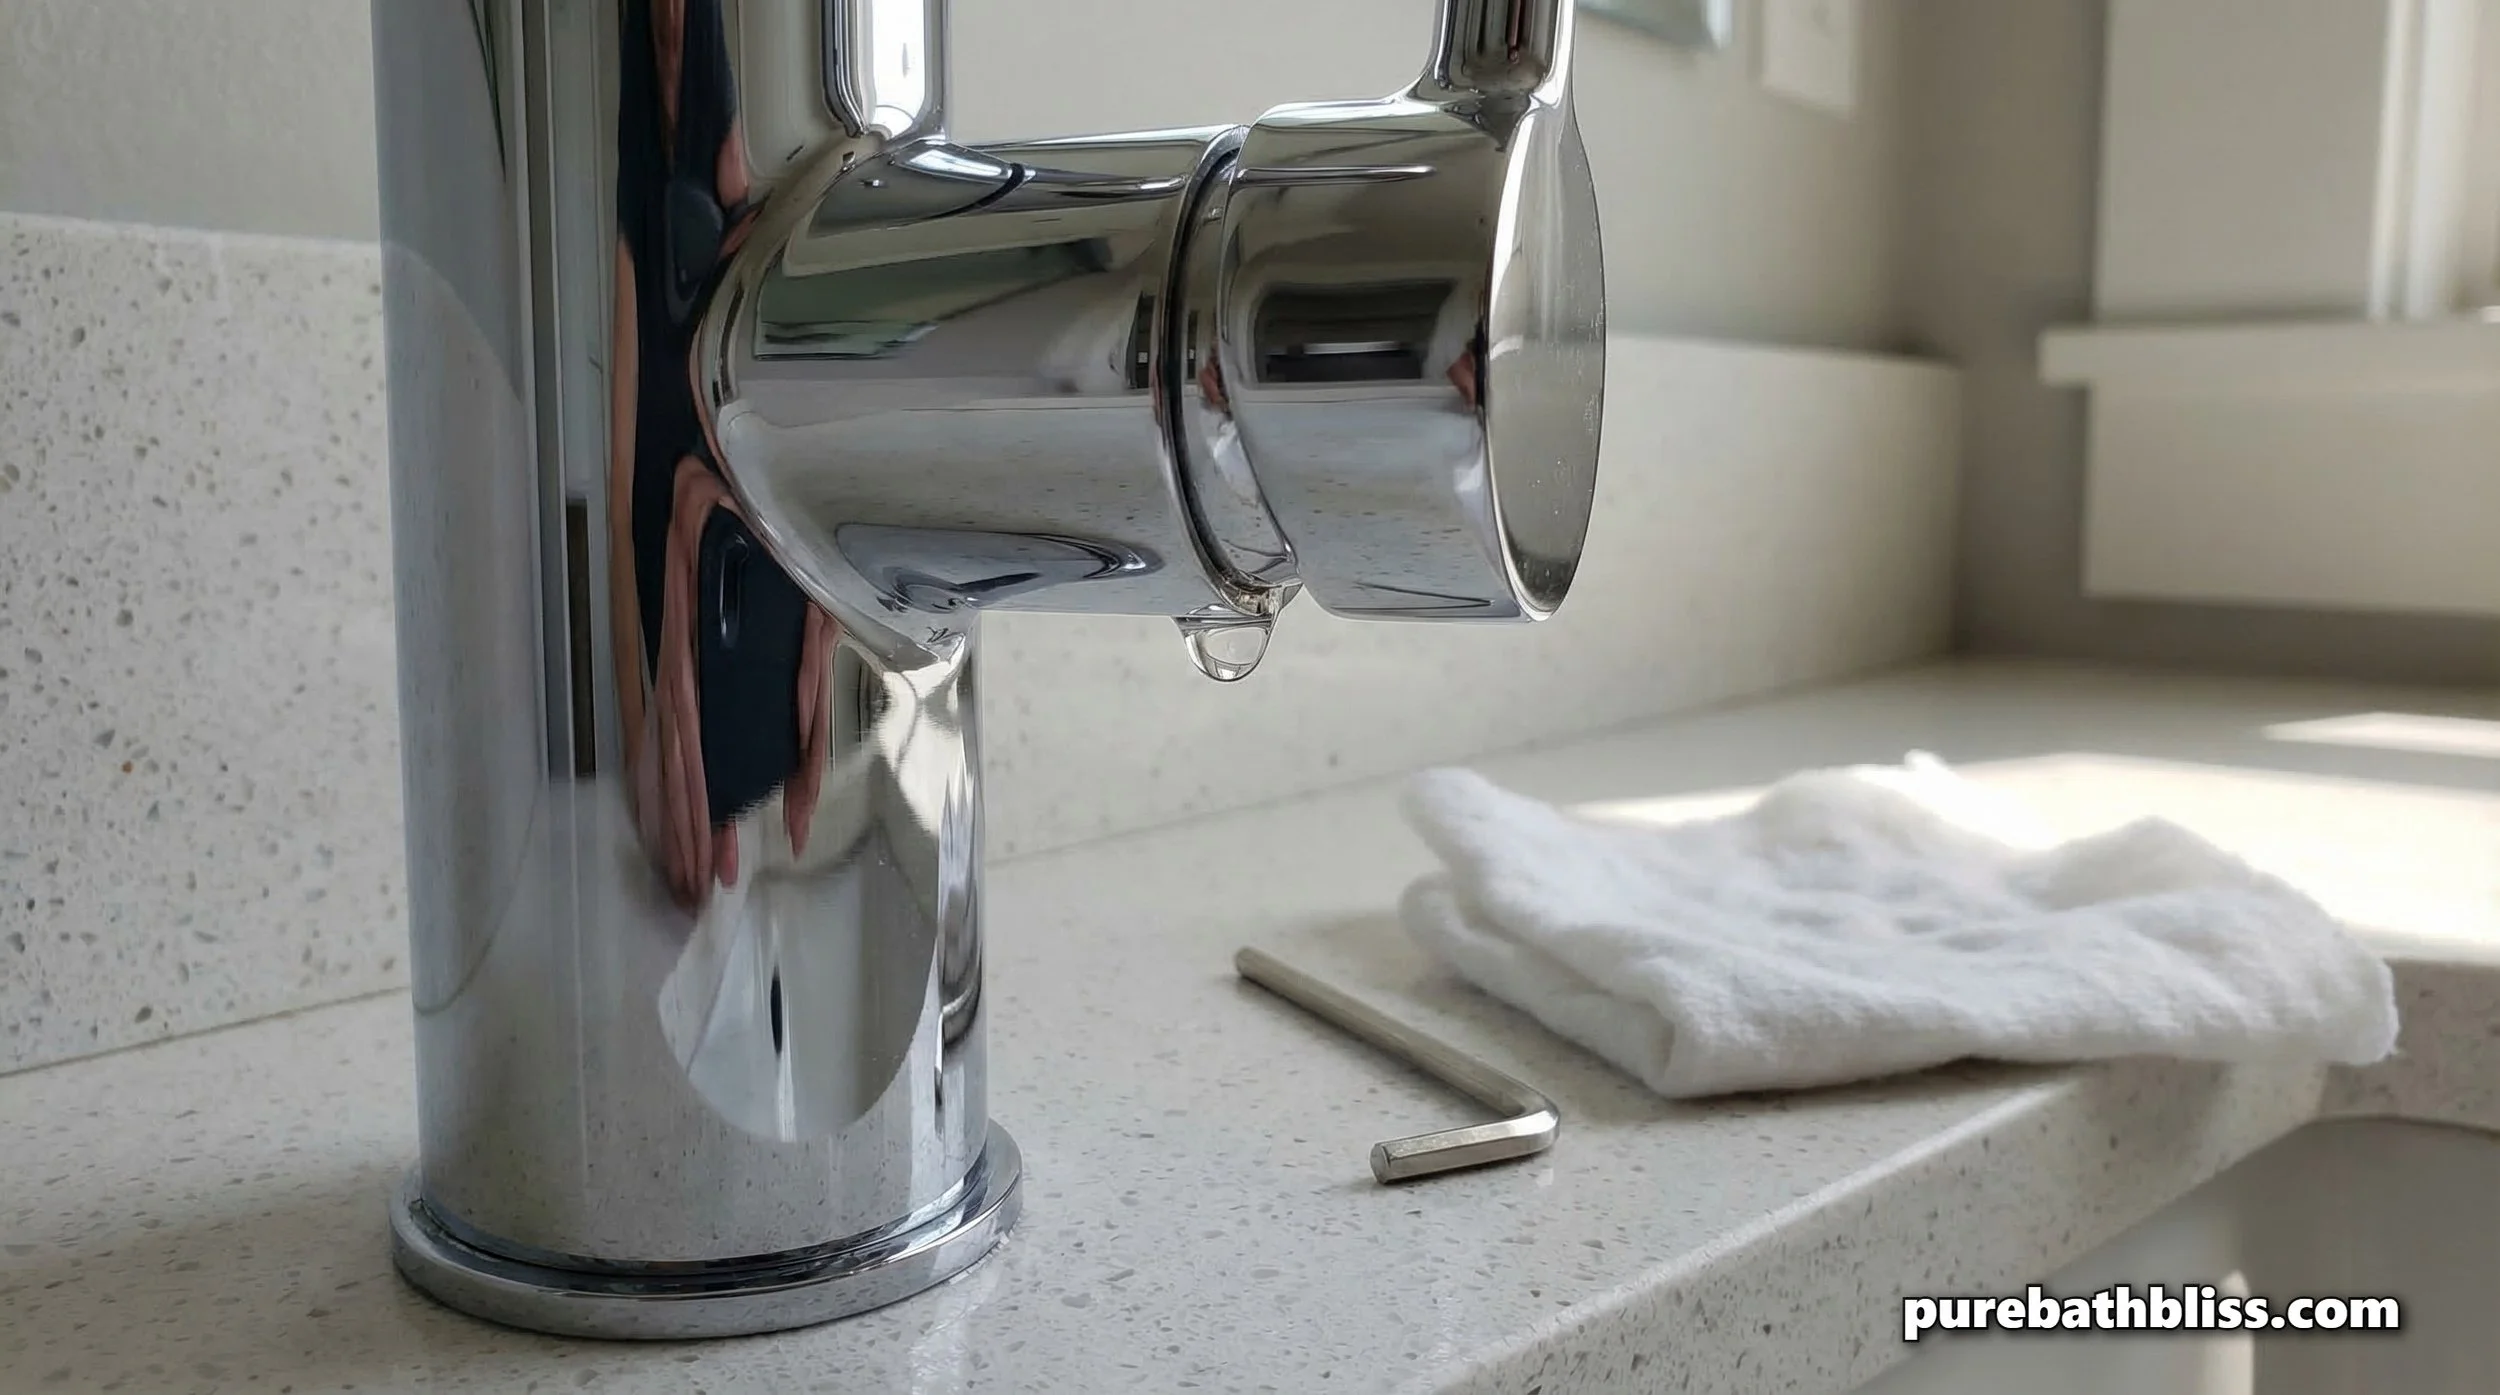
The Pro-Fix: Use a flathead screwdriver to pop off the decorative "index" cap (the piece that says H or C). Loosen the screw underneath and pull the handle off. You’ll see a small rubber ring sitting on the stem.
The Replacement: Take the old ring to the hardware store to ensure a perfect match. A slightly wrong size will still leak. This is the same attention to detail we use when checking showerhead gaskets for longevity.
4. When the Cartridge Fails
If replacing the O-ring doesn't stop the leak, or if the faucet is dripping from the spout even when turned off, the internal cartridge has likely reached its end-of-life.
Mineral deposits (the same ones we fight when cleaning hard water from glass) can build up inside the cartridge, preventing it from seating properly.
The Step: Pull the cartridge out with pliers. If it looks "pitted" or covered in white crust, it’s done.
The Tip: Bring the old cartridge with you to the store. There are thousands of models, and they are rarely interchangeable.
5. Reassembling for a "Professional" Seal
Once you have your new parts, reverse the process. Before you put the handle back on, I recommend a tiny dab of plumbers' grease on the new O-ring. This reduces friction and ensures the handle turns smoothly, a small touch that supports the Psychology of a Clean Bathroom by making the room feel "high-performance."
Slowly turn the water back on at the shut-off valves. Check for leaks at the base and the spout. If it’s dry, you’ve just extended the life of your fixture by another five years.
Summary: The Faucet Repair Checklist
Safety First: Shut off the water valves under the sink.
Protect the Finish: Wrap tools in a rag to avoid scratching the metal.
Inspect the O-Ring: Replace if it's flat, cracked, or brittle.
Check the Cartridge: Look for mineral buildup or physical wear.
Match the Parts: Always take the old parts to the store with you.
Grease the Seals: Use a tiny bit of silicone grease for a smoother feel.
Test Slowly: Open the valves gradually to check your work.
Fixing a leak isn't just about saving water; it's about being the steward of your home’s systems. For 20 minutes of work, you get the satisfaction of a job well done and a bathroom that functions exactly as it should.