How to Build a Self-Watering Green Wall for Your Bathroom
As a Red Seal carpenter, I’m always looking for ways to make a home’s "Infrastructure" work harder. For a father of four, the dream of a "spa-like" bathroom usually dies the first time you forget to water the plants for a week. We know that 7 Unkillable Plants can survive in a windowless bathroom, but if you want a true "living wall" that purifies the air and survives your busy schedule, you need a system.
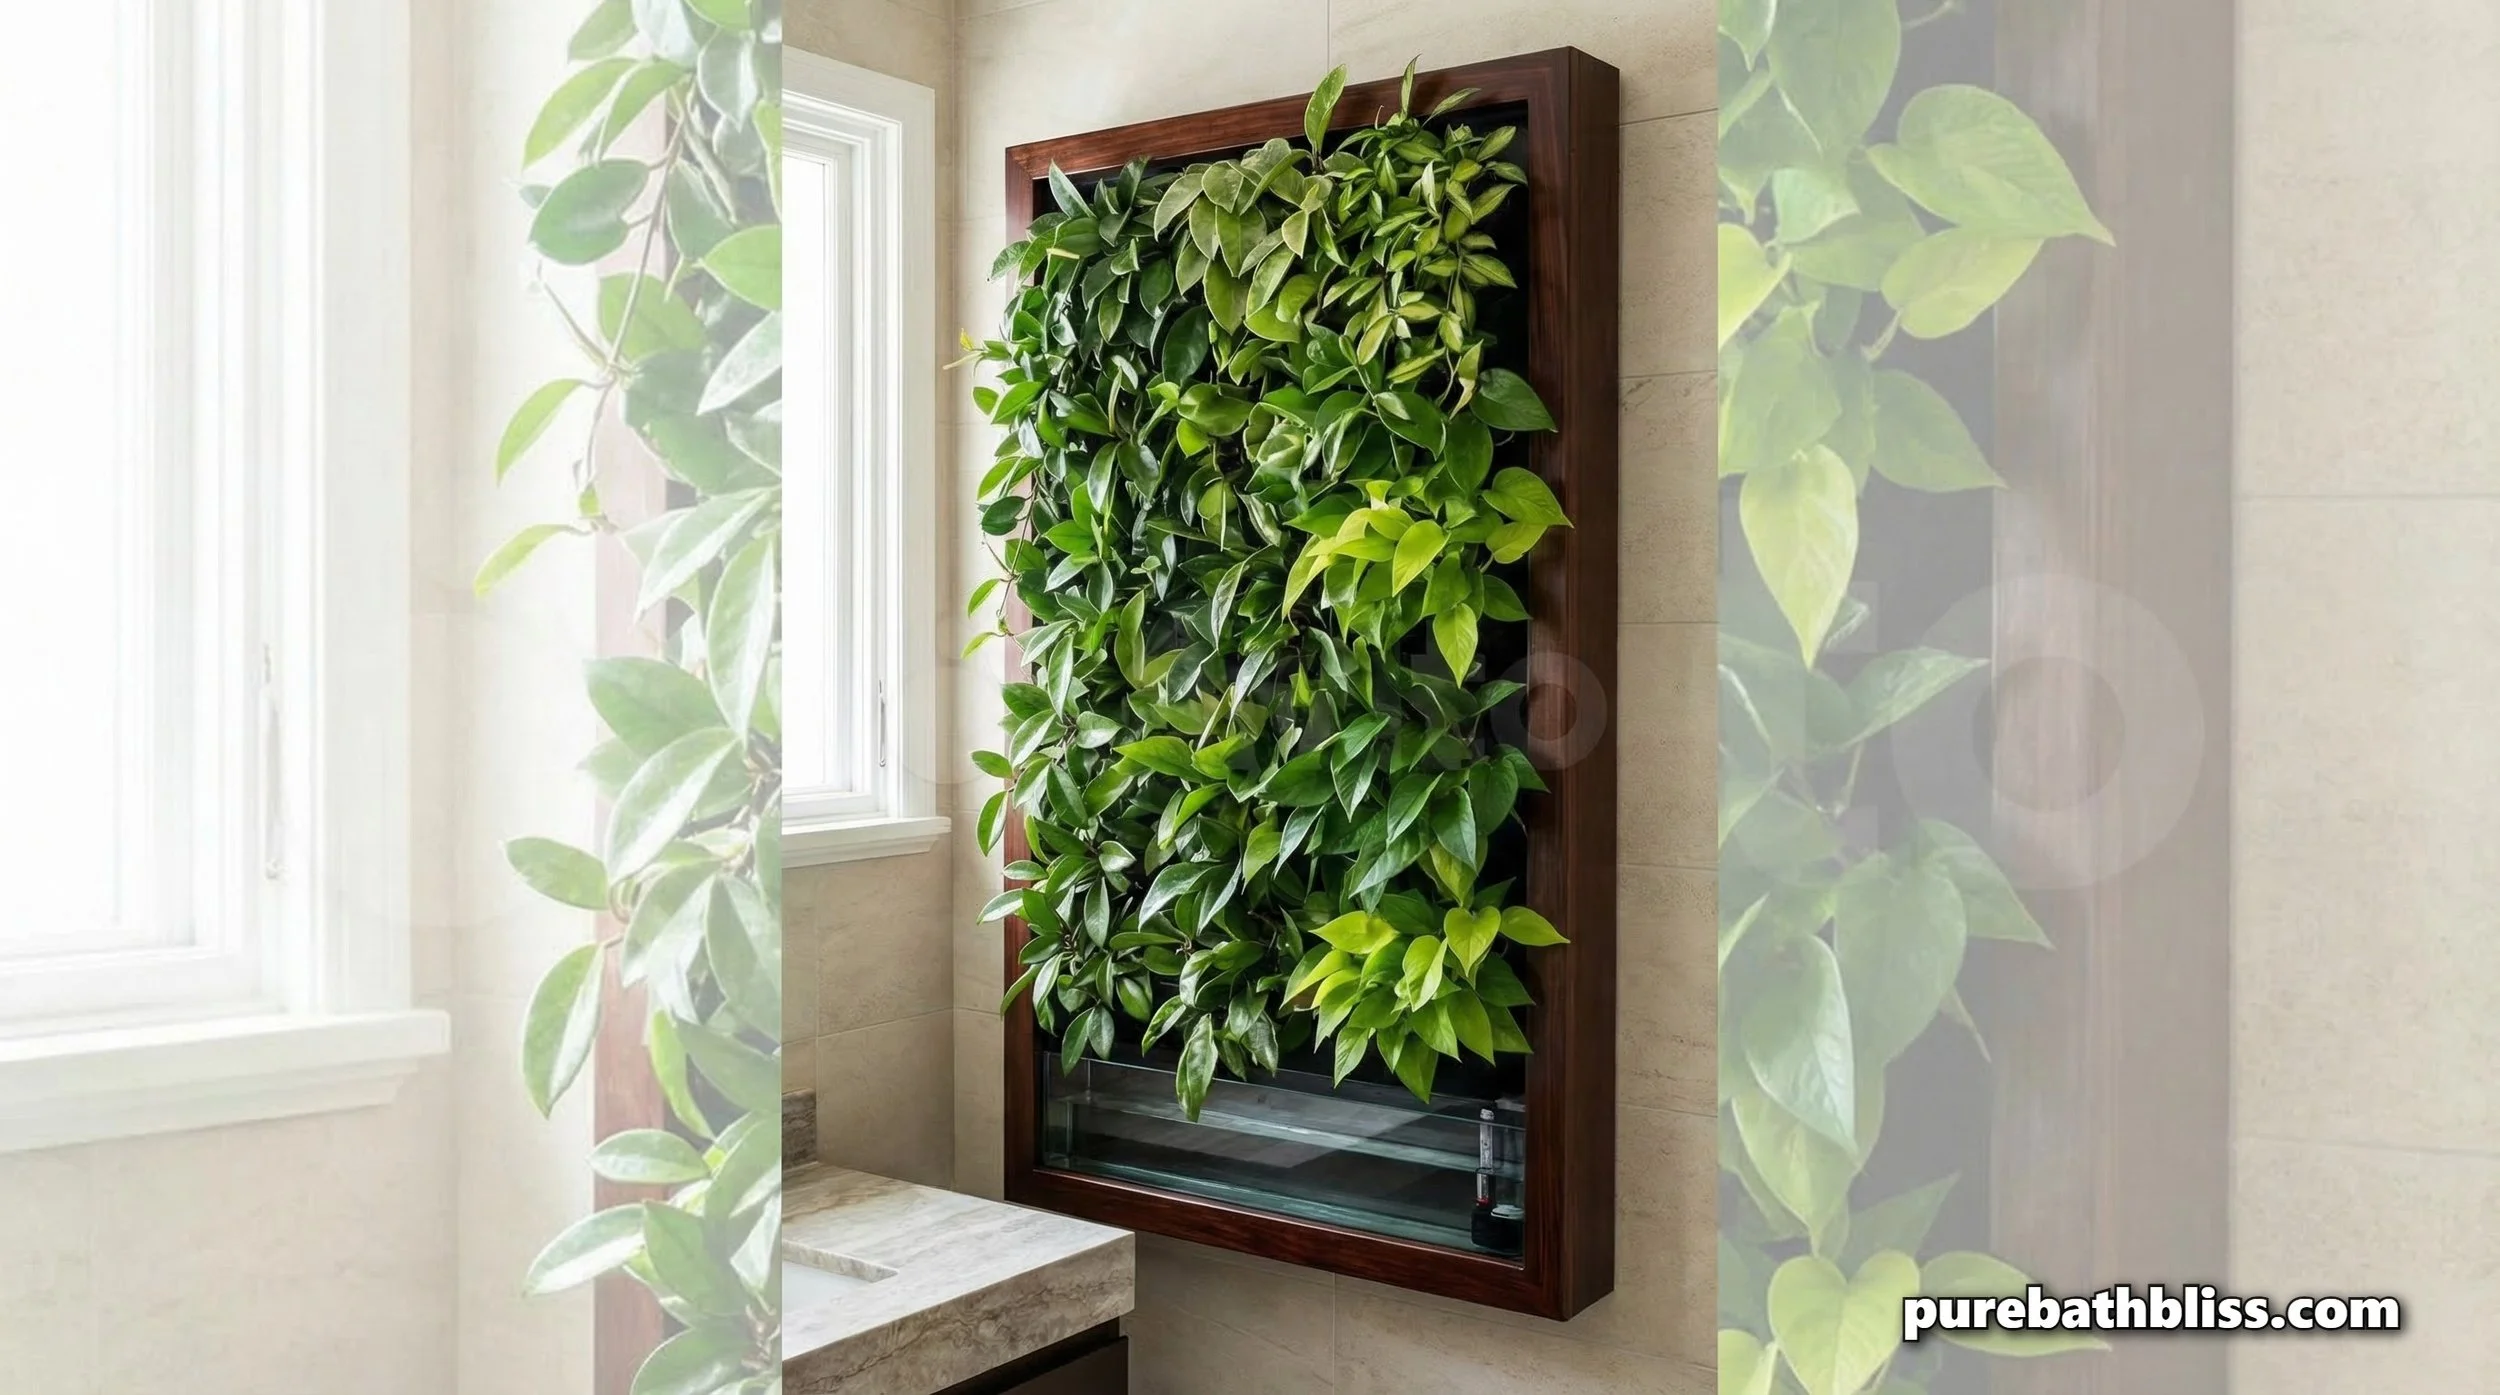
In 2026, the "Green Wall" has moved from high-end hotels into the average family home. By using a vertical, self-watering setup, you maximize your square footage and create a natural air-scrubbing station that helps manage the moisture levels we discussed in Drying Out Your Bathroom: The Post-Soak Protocol.
In this guide, we’ll look at the "Builder’s Method" for constructing a waterproof, vertical garden that won't damage your drywall or create mold issues.
1. The Waterproof Foundation: Backer Board is Key
The #1 mistake people make with indoor plants is mounting them directly against drywall. As a carpenter, I’ve seen the rot that results from "slow leaks" behind planters.
The Pro Move: Use a piece of 1/2-inch cement backer board as your mounting surface.
The Seal: Treat the board with a waterproof membrane (like the stuff you use before tiling a shower). This ensures that no matter how much humidity your plants release, your wall studs stay bone-dry. This is the same logic we use when recaulking a tub like a pro.
2. Choosing Your "Purity" Plants
A green wall isn't just for looks; it’s an air-filtration system. In a small, humid room, you want plants that can "eat" the VOCs from cleaning products and the carbon dioxide from your DIY Lavender Beeswax Candles.
The Top Choices: Snake Plants (Sansevieria) for oxygen production at night, and Pothos for their ability to trail down and cover the frame.
The Specialist: Include a few Hoya plants near the top. Their waxy leaves love the steam from a hot shower and add a professional, high-end "2026 Design" feel to the wall.
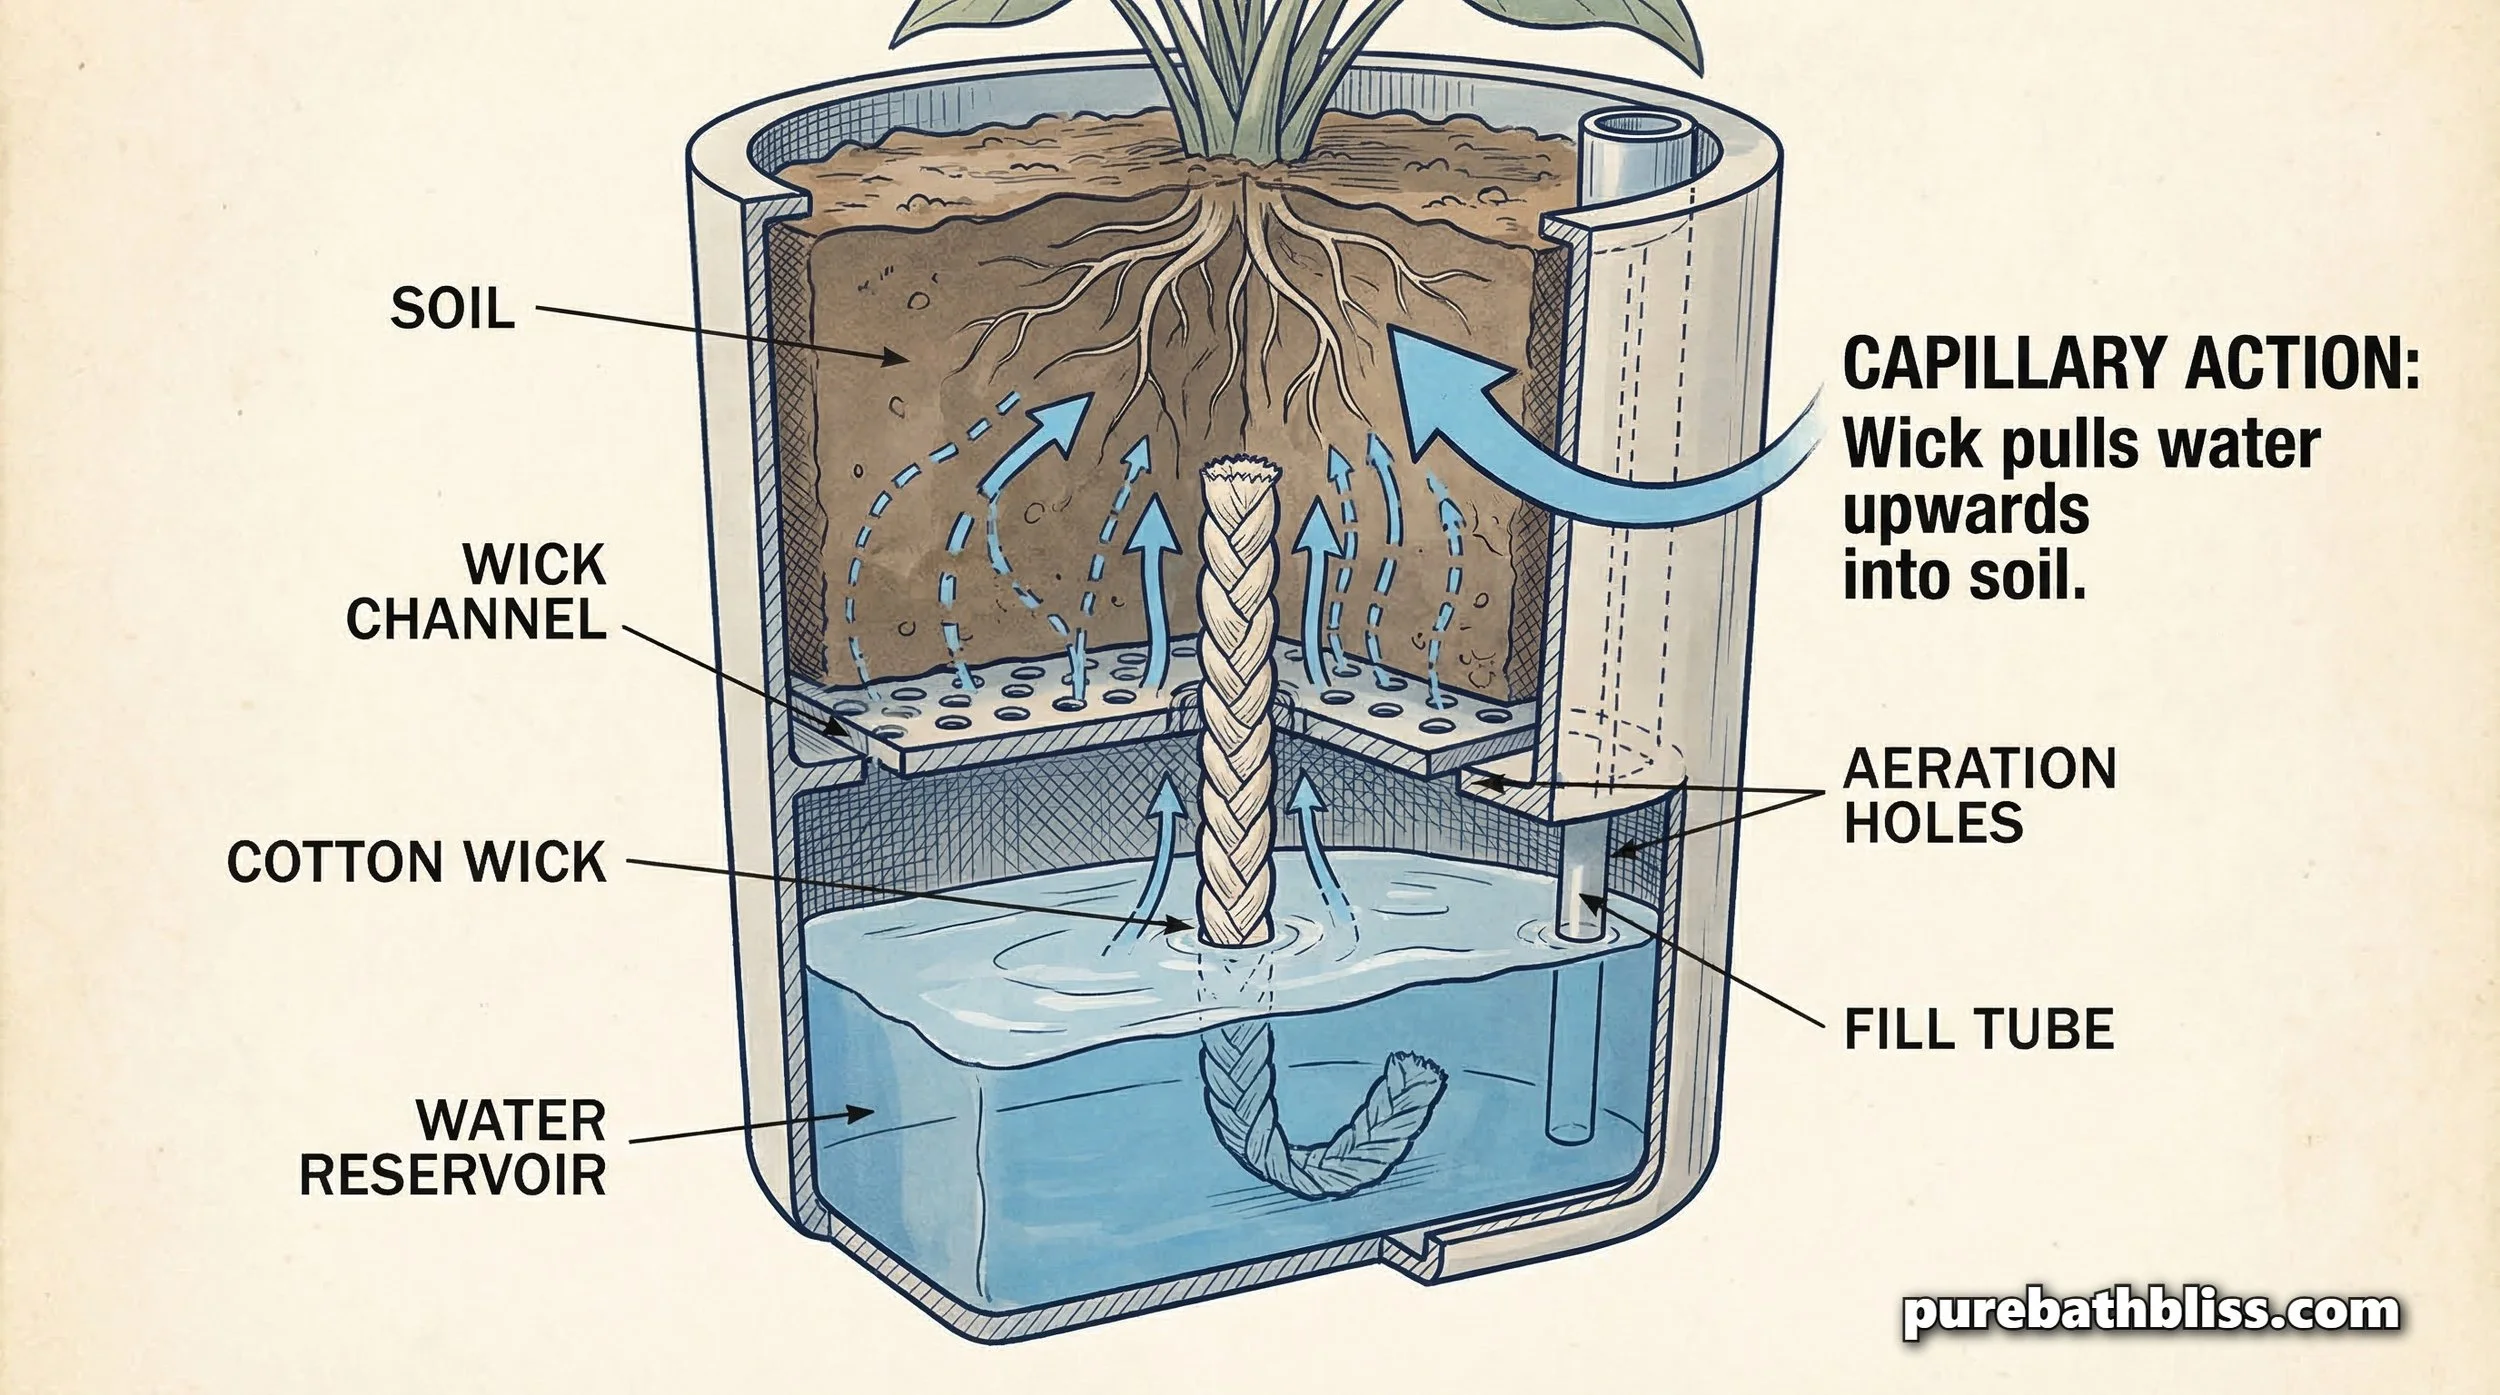
3. The Self-Watering "Wick" System
To keep a green wall alive in a house with four kids, you need automation.
The Setup: Use individual felt pockets or "wicking" pots.
The Tech: A cotton wick runs from the soil into a hidden reservoir at the base of the frame. The plant only "drinks" what it needs through capillary action.
The Benefit: This prevents the over-watering that leads to root rot and the pink slime bacteria that thrives in stagnant water.
4. Lighting and Ventilation Requirements
A green wall is a living organism, which means it needs airflow. If the air in your bathroom is stagnant, the plants will develop powdery mildew.
The Infrastructure: Ensure your bathroom fan is moving at least 50-80 CFM. If you’ve noticed a decrease in airflow lately, check out why your bathroom fan is vibrating.
The Light: If you don't have a window, install a "Full Spectrum" LED bulb in your ceiling fixture. In 2026, these bulbs are indistinguishable from natural sunlight and will keep your wall lush year-round.
5. The Carpenter’s Frame
To make this look like a permanent part of the home rather than a science project, finish the edges with a moisture-resistant wood like Cedar or Teak.
The Tip: Seal the wood with a non-toxic, food-grade oil. This complements the 2026 Bathroom Color Trends by adding warmth and texture to the room.
Summary: The Green Wall Build Checklist
Waterproof the Wall: Use backer board and a membrane to protect your studs.
Frame it Right: Use rot-resistant wood like Cedar.
Wick System: Install a self-watering reservoir for low-maintenance care.
Air Quality: Select plants like Pothos and Hoya for maximum purification.
Ventilate: Keep the fan running to prevent mildew on the leaves.
Light it Up: Use full-spectrum LEDs for windowless rooms.
Building a green wall is a significant upgrade to your home’s "Healthy Home" status. It’s a project that combines structural integrity with natural wellness, creating a bathroom that truly breathes.