How to Recaulk Your Tub Like a Pro: The Carpenter’s Method
As a Red Seal carpenter, I can tell you that caulk is one of the most misunderstood materials in a home. Most people see it as a "cosmetic" finish to hide gaps, but in reality, it is a critical piece of your home's waterproofing infrastructure. For a father of four, a failing caulk line around the tub isn't just an eyesore; it’s an invitation for water to seep into the subfloor, leading to rot that can cost thousands to repair.
If your caulk is peeling, turning black with mold, or pulling away from the tile, it is no longer doing its job. You can’t just "layer" new caulk over the old, that’s a recipe for failure. To get a professional, watertight seal that lasts for years, you need to follow a specific protocol of removal, sanitation, and application.
In this guide, we’ll walk through the process of recaulking your tub to ensure your bathroom stays dry and supports the Psychology of a Clean Bathroom.
1. The Critical First Step: Total Removal
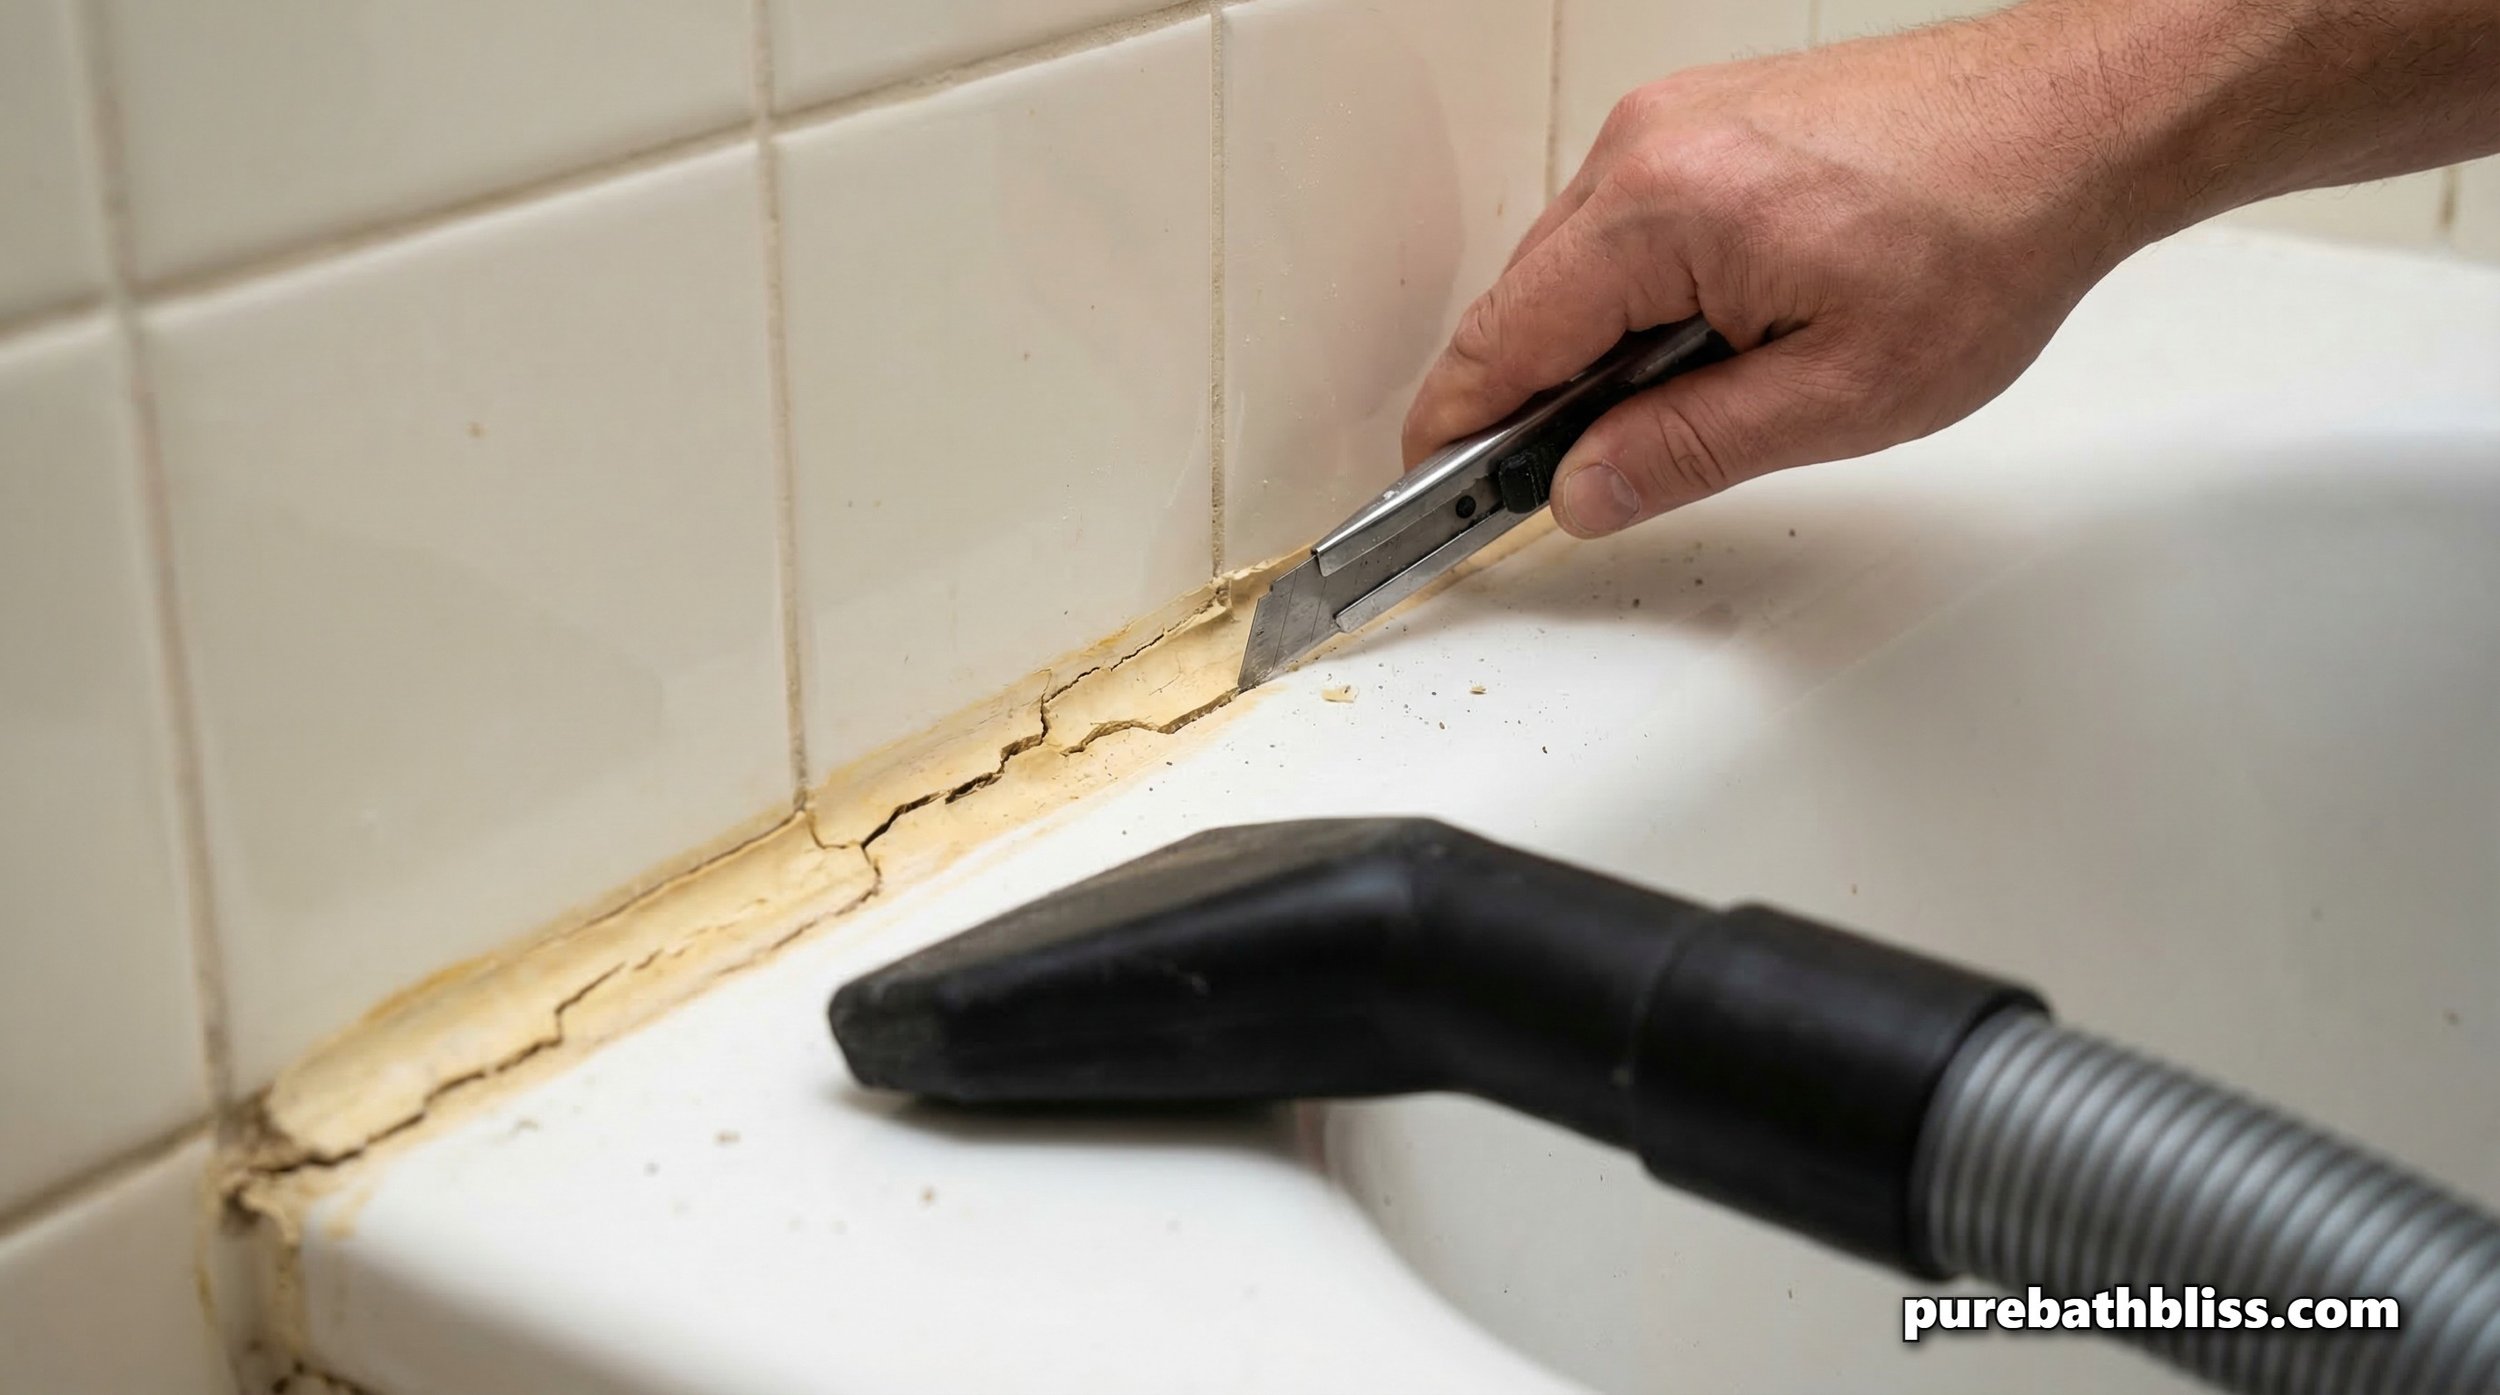
The biggest mistake DIYers make is leaving traces of the old silicone behind. New caulk will not bond to old caulk.
The Tools: Use a dedicated caulk removal tool or a sharp utility knife.
The Technique: Cut along the top and bottom of the bead, then peel it away in long strips.
The "Pro" Secret: If there are stubborn bits stuck to the tub, use a plastic scraper (never metal, to avoid scratching) and a bit of mineral spirits to soften the residue. This ensures a clean "Infrastructure" for the new seal.
2. Killing the "Hidden" Mold
Once the old caulk is gone, you’ll often find a dark, damp line underneath. This is usually Pink Slime Bacteria or black mold. If you caulk over this, the mold will grow right through the new seal within months.
The Cleanse: Wipe the joint down with a 50/50 mix of water and isopropyl alcohol or a bleach solution.
The Wait: The area must be 100% dry before you apply new caulk. Use a hairdryer or run your exhaust fan for an hour. If your fan is rattling, check out our guide on why your bathroom fan is vibrating to ensure you have the airflow needed for this stage.
3. Choose the Right Material
Don't just grab "All-Purpose" caulk. For a wet environment, you need 100% Silicone.
Why Silicone? Unlike acrylic or "latex with silicone," 100% silicone remains flexible as the tub shifts under the weight of water and a father of four. It is also naturally mold-resistant.
Color Tip: Match the caulk to your grout or tub color. If you’ve followed the 2026 Bathroom Color Trends, a "Warm Linen" or "Stone" colored silicone can make the tub look like a custom installation.

4. The "Weight" Trick: Filling the Tub
This is the "Red Seal" secret that most homeowners miss. When you fill a bathtub with water, it gets heavy and can sink slightly, sometimes up to 1/8 of an inch. If you caulk the tub while it’s empty, the first time you take a bath, the weight of the water will pull the tub down and tear the fresh seal.
The Move: Fill the tub halfway with water before you apply the caulk.
The Benefit: This "pre-stresses" the joint so you are caulking it at its widest point. Keep the water in the tub until the caulk has fully cured (usually 24 hours). This is the perfect time to prep your DIY Lavender Beeswax Candles for the celebration soak tomorrow.
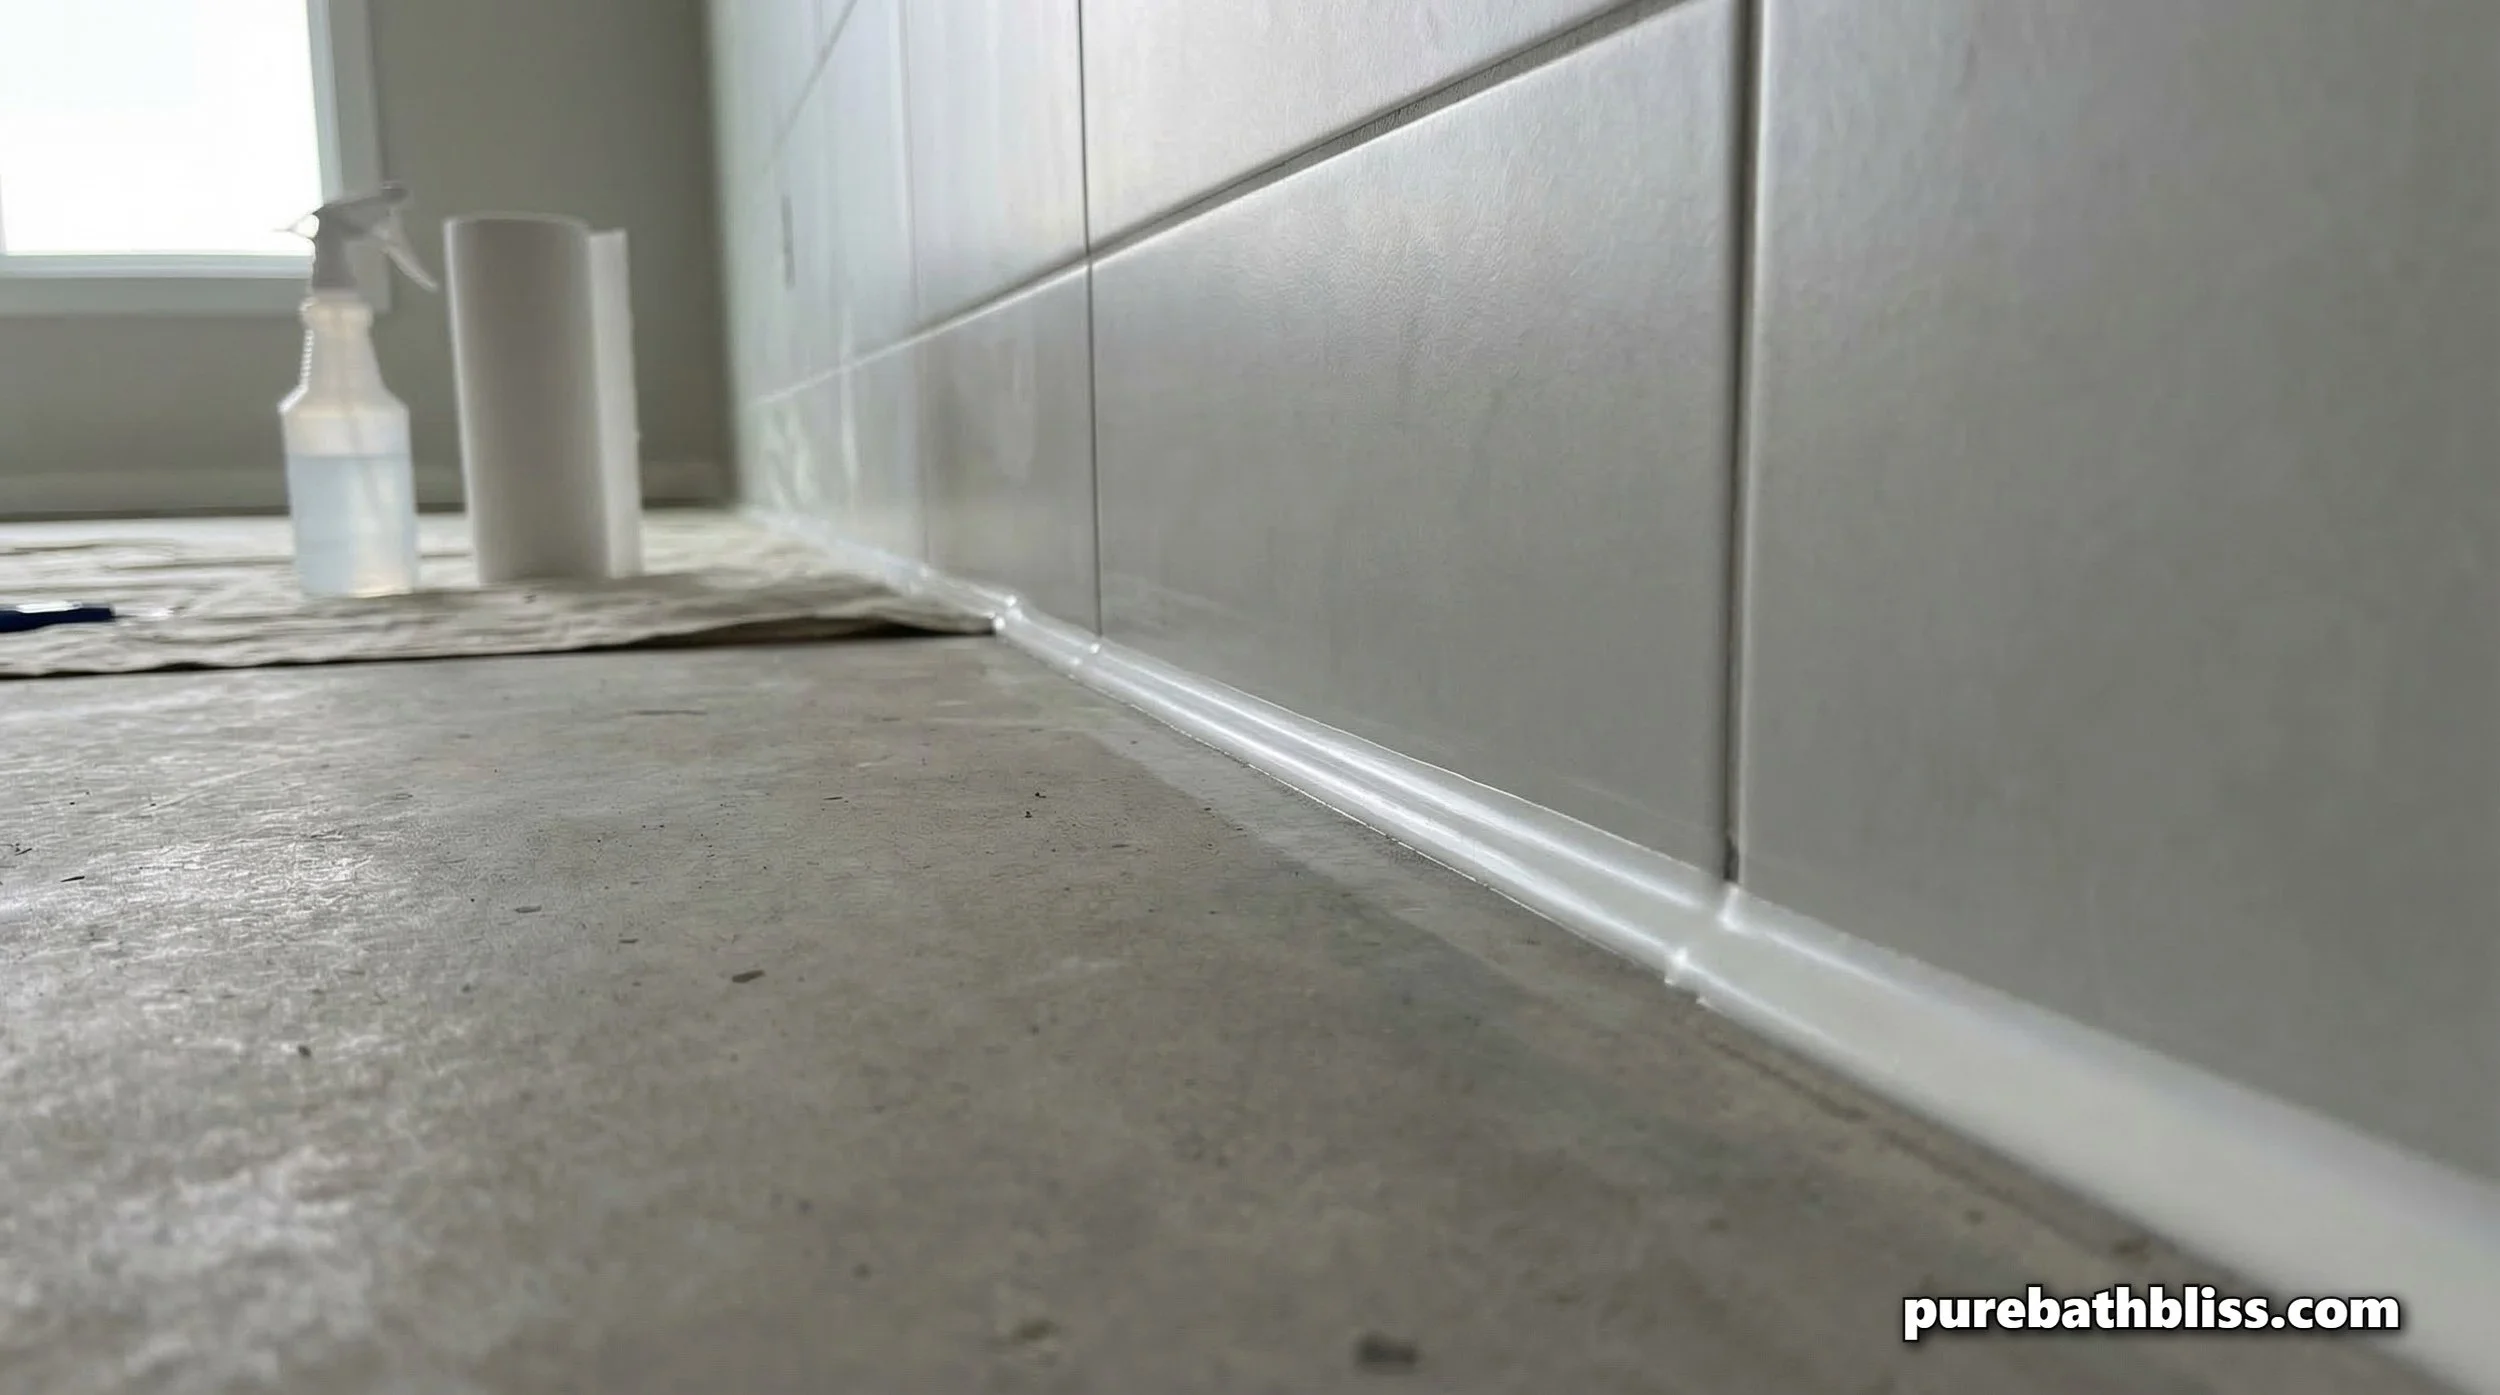
5. Getting the "Perfect Bead"
You don't need a fancy tool to get a smooth line; you just need a steady hand and a spray bottle of soapy water.
The Application: Cut the tip of your caulk tube at a 45-degree angle. Push the gun forward (don't pull) to ensure the caulk is forced deep into the joint.
The Smoothing: Lightly mist the bead with soapy water, then run your finger along the line in one continuous motion. The soap prevents the silicone from sticking to your skin or the tiles, leaving a crisp, professional edge.
Summary: The Carpenter’s Recaulking Checklist
Remove Everything: Use a scraper and solvent to get back to the bare surface.
Sanitize: Kill all bacteria and mold before resealing.
Dry Thoroughly: Moisture trapped behind caulk is the #1 cause of failure.
Fill the Tub: Weight the tub with water to prevent the seal from tearing later.
Use 100% Silicone: Ensure it is kitchen and bath-rated.
Smooth with Soap: Use the "soapy finger" trick for a clean finish.
Cure Time: Wait 24 hours before removing the water or using the shower.
By taking the time to recaulk correctly, you are protecting the "Infrastructure" of your home from water damage and keeping your bathroom in a state of Spring Cleaning perfection.