Yes, You Can Clean Your Bathroom Floors with Only Hydrogen Peroxide — Here's How
Originally published October 2025, Updated July 2026
Transparency Note: We independently select these products based on research and user reviews. If you buy something through our links, we may earn a commission.
For a long time, the brown bottle of hydrogen peroxide in our medicine cabinet had one job: go on cuts. That was it. It sat there between the bandages and the thermometer and served its single purpose until the bottle was mostly empty and we bought another one.
I started using it for bathroom floor cleaning a few years ago after going through our cleaning products and realising how much of what was under the sink was unnecessary. The commercial floor cleaner had a fragrance that lingered for hours. The bleach-based disinfectant left a residue that required a second rinse. The grout cleaner contained hydrochloric acid that had stripped the colour from a section of our grout after I left it on too long. Four kids on a bathroom floor is a scenario that needs genuine disinfection, not industrial chemistry.
Hydrogen peroxide is genuinely effective, and a 2025 study published in Infection Prevention in Practice specifically tested 3 percent hydrogen peroxide on urine-contaminated floors and confirmed its efficacy as a disinfectant for exactly the kind of surface a family bathroom floor is. It breaks down into water and oxygen. It leaves no chemical residue. And it costs less than two dollars a bottle. Here is the complete method.
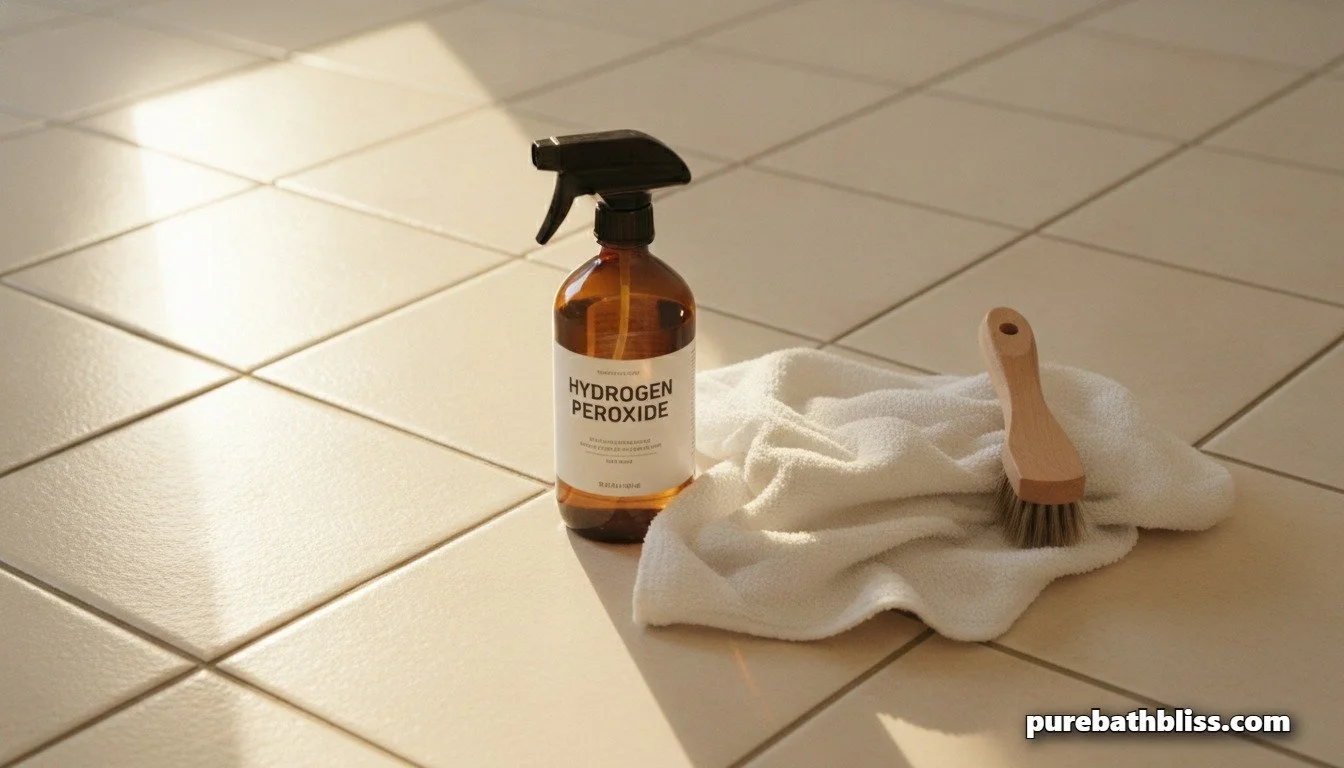
Why Hydrogen Peroxide Works on Bathroom Floors
Hydrogen peroxide (H₂O₂) is water with one extra oxygen atom bonded to it. That oxygen is unstable and readily transfers to other molecules it contacts, which is what makes it effective as a cleaner and disinfectant. The oxidation reaction it triggers when it contacts organic material, bacteria, mold, mildew, and protein-based stains like urine, breaks down cell walls and molecular bonds simultaneously.
On a bathroom floor, this means three things happen at once when you apply it. First, bacteria and mold spores in the grout are killed by the oxidation reaction at the cellular level, not just suppressed on the surface. Second, the oxidation bleaches and lifts organic staining from porous grout surfaces, which is why grout that has been treated with peroxide regularly over time looks noticeably whiter than grout that has been cleaned with neutral cleaners or bleach. Third, because peroxide breaks down into water and oxygen, there is no chemical residue left on the floor that small children crawling on it will pick up on their hands and transfer to their mouths. That last point matters in a home with young kids.
The critical variable that determines how well it works is dwell time. Spraying and immediately wiping achieves almost nothing. The oxidation reaction needs sustained contact with the surface to complete. For general cleaning, ten to fifteen minutes of dwell time is the minimum. For grout treatment and mold, twenty to thirty minutes is better. This is the single most important thing the original article got right, and the single step most people skip when they try this and say it does not work.
How It Compares to the Alternatives
| Cleaner | Disinfects? | Removes Mineral Deposits? | Kills Mold? | Leaves Residue? | Safe on Coloured Grout? |
|---|---|---|---|---|---|
| Hydrogen Peroxide (3%) | Yes | No | Yes | No — breaks down to water and oxygen | Yes with spot test |
| White Vinegar | Mild | Yes — excellent | Partial | No | Yes — not safe on natural stone |
| Bleach | Yes — strong | No | Yes — surface only | Yes — requires thorough rinsing | No — bleaches coloured grout |
| Commercial Floor Cleaner | Varies | Varies | Varies | Often yes — surfactant film | Usually yes |
| Hydrogen Peroxide + Vinegar (sequential) | Yes | Yes | Yes | No | Yes with spot test — not on natural stone |
For a bathroom floor specifically, hydrogen peroxide outperforms white vinegar on bacteria and mold because it is a genuine disinfectant rather than an antimicrobial agent. It matches bleach on disinfection while producing no toxic fumes and leaving no chemical residue. The trade-off is that it does not dissolve mineral deposits the way vinegar does. For floors with significant hard water buildup or limescale, a vinegar treatment followed by a peroxide treatment is the most comprehensive approach.
Which Floors You Can Use It On
| Floor Type | Safe to Use? | Notes |
|---|---|---|
| Ceramic tile | Yes — ideal | Non-porous, fully acid and peroxide resistant. Best results of any floor type. |
| Porcelain tile | Yes — ideal | Same as ceramic. Excellent for full method including extended dwell time. |
| Vinyl / linoleum | Yes with spot test | Spot test first on coloured vinyl. Keep dwell time to 10 minutes maximum. Do not saturate. |
| Sealed natural stone | Yes with caution | Safer than bleach or vinegar on sealed marble, granite, or travertine. Spot test and keep dwell time to 10 minutes. Reseal after cleaning. |
| Unsealed natural stone | No | Peroxide can penetrate pores and cause discolouration. Seal first, then treat. |
| Hardwood | No | Any liquid left to dwell causes swelling and warping. Do not use. |
| Laminate | No | Laminate core swells when wet. Do not use any dwell-time cleaning method on laminate floors. |
The short version: ceramic and porcelain tile floors are the ideal surface for hydrogen peroxide and this is where it performs best. Vinyl and linoleum are safe with a brief dwell time and a spot test on coloured versions. Natural stone requires a sealed surface and caution — hydrogen peroxide is considerably safer on sealed stone than vinegar or bleach, but it should never be used on unsealed or damaged stone where it can penetrate and cause discolouration.
The absolute no-go surfaces are hardwood and laminate floors, where any liquid left to dwell will cause swelling and warping regardless of what it contains. Never use hydrogen peroxide as a floor treatment on wood or wood-effect floors.
What You Need
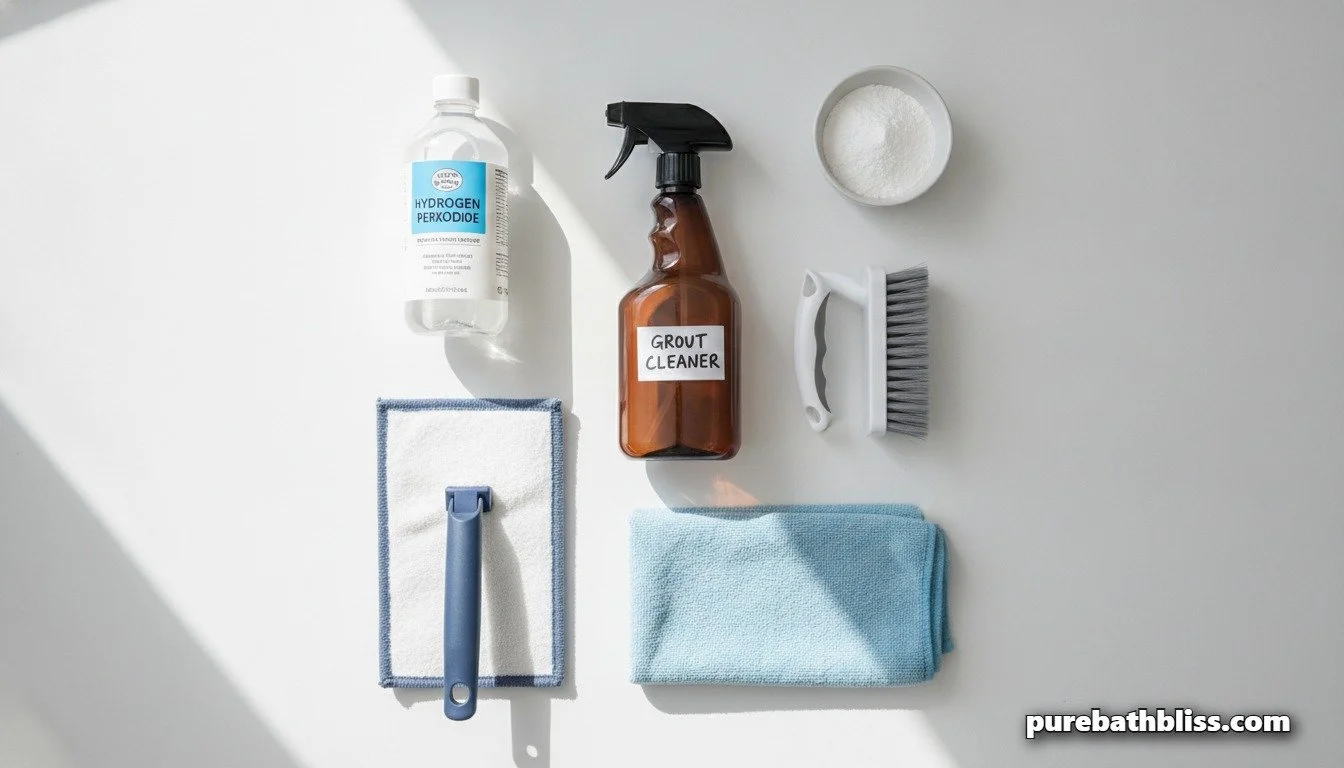
3% hydrogen peroxide — the standard drugstore concentration. Do not use higher concentrations for household cleaning. Keep it in its original dark brown bottle or an opaque spray bottle. Light degrades peroxide into plain water, which is why a clear bottle left in a sunny bathroom will be ineffective within weeks. Buy 3% hydrogen peroxide in a larger size for better value if you are using it regularly for floor cleaning.
A spray bottle — if you are decanting from the original bottle, use an opaque or amber glass spray bottle. Never store peroxide in a clear plastic bottle.
A stiff grout brush — a dedicated grout brush with stiff nylon bristles reaches into the porous grout surface where a mop or cloth cannot.
A microfiber mop or cloth — for rinsing and drying the floor after treatment. Microfiber captures residue more effectively than cotton and dries the floor faster.
Baking soda — for the grout paste variation covered below.
The Full Method: Step by Step
Step 1: Sweep or vacuum first
Never skip this step. Applying any liquid cleaner to a floor that has loose hair, dust, and debris on it turns those particles into muddy streaks that are harder to clean than what you started with. Sweep or vacuum the entire floor thoroughly, paying particular attention to the corners and around the base of the toilet where debris concentrates.
Step 2: Spot treat any problem areas first
Before doing the full floor, apply straight peroxide to any specific stains, mold spots, or discoloured grout sections. Let these soak for five minutes while you prepare for the full floor treatment. Addressing problem areas first with direct application gives them extra dwell time before the general floor spray. For grout that has developed significant discolouration or mold staining, the baking soda paste method below is more effective than liquid spray alone.
Step 3: Spray the floor in sections
Working from the far corner toward the door so you do not step on treated areas, spray the floor generously in sections. You want the floor visibly wet, with peroxide sitting in the grout lines rather than just coating the tile surface. The grout is where the bacteria, mold, and organic staining live, so getting the peroxide into the grout channels is the critical application point. Do not worry about oversaturation on ceramic or porcelain — the tiles are non-porous and the peroxide will sit on the surface doing its work rather than absorbing in.
Step 4: Allow dwell time — this is where the cleaning happens
Leave the peroxide undisturbed for ten to fifteen minutes for a standard clean. For grout disinfection and mold treatment, extend this to twenty to thirty minutes. Set a timer. The oxidation reaction is happening during this time, you will often see very faint fizzing where the peroxide contacts organic material in the grout lines, which is the reaction working. Do not let it dry completely before moving to the next step, as its effectiveness reduces once it has evaporated.
Step 5: Scrub the grout lines
After the dwell time, use your grout brush along the grout lines with firm back-and-forth strokes. The peroxide will have softened and loosened the organic material and mold, making the mechanical scrubbing considerably more effective than scrubbing a dry or water-only floor. You do not need significant pressure, the chemistry has done most of the work. The brush is providing the mechanical agitation to lift what the peroxide has loosened.
Step 6: Mop and rinse
Mop the floor with a clean microfiber mop dampened with plain warm water. This picks up the loosened debris and residual peroxide. For ceramic and porcelain, a second rinse pass is not necessary, the peroxide breaks down harmlessly and does not require removal. On vinyl or sealed stone, a clean water rinse pass is good practice. Dry the floor thoroughly afterward with a clean microfiber cloth or leave the door open and the fan running until the floor is completely dry.
The Grout Whitening Paste: For Deeper Discolouration
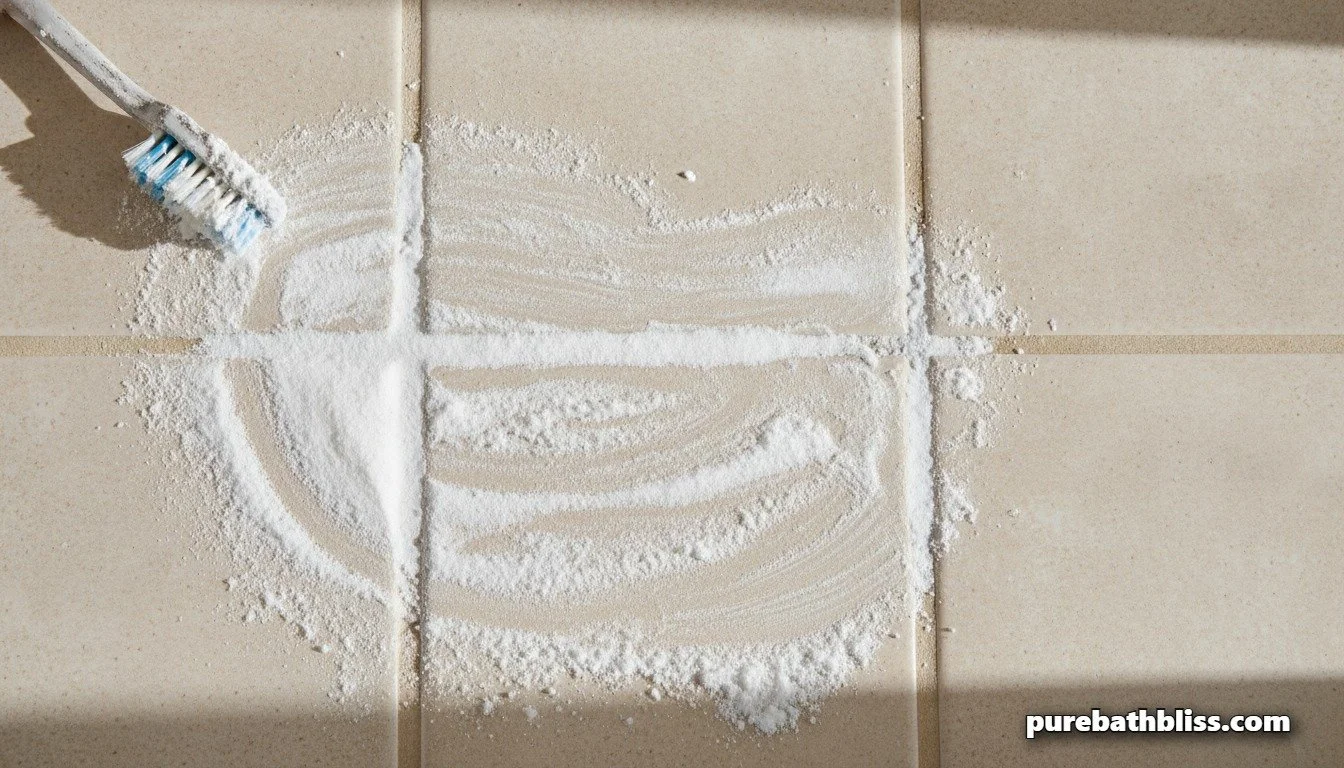
For grout that has turned grey or yellow from years of soap scum, mold staining, and general grime, the liquid spray method cleans but may not fully whiten in a single treatment. The paste version is more effective for discolouration because it maintains concentrated contact with the grout surface for an extended period rather than running off.
Mix baking soda with enough 3% hydrogen peroxide to form a thick paste, roughly the consistency of toothpaste. Apply directly to the grout lines using an old toothbrush, pressing the paste into the grout channel rather than just coating the surface. Leave for twenty to thirty minutes. The combination works on two levels: the peroxide oxidises and kills the biological material causing the discolouration, and the mild abrasivity of the baking soda provides a gentle physical scrub when you brush it off. Scrub with the grout brush, rinse with warm water, and dry.
One or two treatments significantly whitens most grout. For grout that has been neglected for years and has deep-set staining, multiple weekly treatments produce a cumulative improvement. This method is covered in more detail, alongside sealing and long-term grout maintenance, in our complete non-toxic grout cleaning guide.
Spot Treatments: Specific Problems Hydrogen Peroxide Handles Well
Pink slime and Serratia marcescens
The pink or reddish-orange film that appears in grout lines and around the drain is a bacteria called Serratia marcescens. Hydrogen peroxide is genuinely effective at killing it, spray directly onto the affected area, let it dwell for ten minutes, scrub, and rinse. The key is addressing it when it first appears rather than letting it establish a deeper colony in the grout. Our full guide to stopping pink shower mold covers the prevention strategy that stops it recurring.
Rust stains around the toilet base and drain
For rust stains on the floor tile or grout around the base of the toilet or a dripping pipe, mix hydrogen peroxide with cream of tartar to form a paste and apply directly to the rust stain. The tartaric acid chelates the iron oxide and the peroxide amplifies the effect. Let it dwell for thirty to sixty minutes, scrub, and rinse. This is the same method we cover in detail in our guide to removing rust stains with cream of tartar, applied to the floor surface rather than the bowl.
Urine stains and odour around the toilet base
The area around the toilet base is one of the most bacteria-contaminated surfaces in the bathroom and one of the most overlooked during regular cleaning. Hydrogen peroxide applied directly to the floor around the toilet base and left to dwell for fifteen minutes provides genuine disinfection of an area that a standard floor clean typically misses. The 2025 PMC study referenced earlier specifically documented hydrogen peroxide's efficacy against urine-contaminated surfaces, making it the scientifically validated choice for exactly this application.
The Maintenance Routine
The deep clean method above is for a thorough periodic clean, ideally weekly or fortnightly. The daily and weekly maintenance habits are what prevent the floor from needing a deep clean at all.
Daily: After the last shower of the day, a quick squeegee of the floor tiles or a dry microfiber pass removes the moisture that mold and bacteria need to establish themselves. Thirty seconds. The biggest single thing you can do for bathroom floor hygiene is keeping the floor dry between uses.
Weekly: A light spray of 3% peroxide on the grout lines, left to dwell for ten minutes while you do the rest of the bathroom cleaning, then a quick mop rinse. This regular light treatment prevents the biological buildup that requires the heavier periodic deep clean. It also continuously whitens the grout so the difference between a fresh grout colour and the current grout colour never becomes dramatic.
Monthly: A full deep clean with the extended dwell time as described above, followed by the grout paste treatment on any sections showing discolouration. If your grout is unsealed, a monthly clean is also the right time to reseal — cleaned and freshly dried grout takes sealant better than dirty grout and the seal dramatically reduces how much maintenance the floor needs in the month ahead. The sealing protocol is covered in our non-toxic grout guide.
Important Safety Notes
Never mix hydrogen peroxide with bleach. The two compounds react to form peracetic acid and release oxygen gas, which can cause respiratory irritation and is potentially dangerous in an enclosed space. If you have used bleach on a surface, rinse it thoroughly and let it dry before applying peroxide.
Never mix hydrogen peroxide with vinegar in the same container. They also form peracetic acid when combined directly. Using them sequentially on a surface is safe, combining them in a spray bottle is not. We cover this in detail in our guide to the hidden danger of mixing vinegar and hydrogen peroxide.
Spot test coloured grout before full application. While 3% peroxide is considerably milder than bleach and unlikely to affect most coloured grout, an older or poorly pigmented grout may show some lightening with repeated treatments. Test a small inconspicuous area first.
Store in a cool dark place and replace after opening. An opened bottle of 3% hydrogen peroxide remains effective for approximately one to three months when stored correctly. After that it degrades to plain water. If your bottle no longer fizzes when you pour a small amount onto a cut or a tile surface, it has lost its active oxygen and should be replaced.
The Broader Non-Toxic Cleaning Toolkit
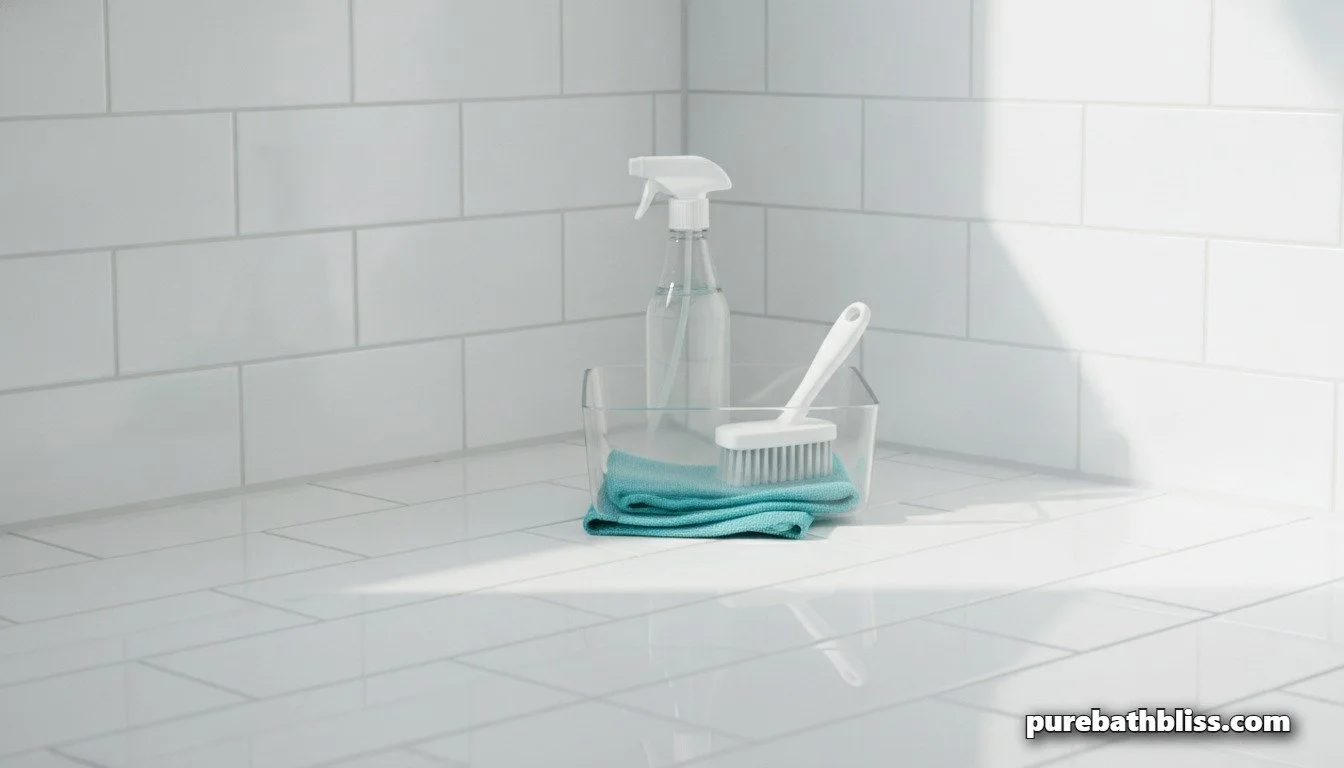
Hydrogen peroxide works best as part of a toolkit rather than as a single-product solution. It excels at disinfection and biological stain removal. White vinegar excels at mineral deposit and limescale removal. Baking soda provides mild abrasion for paste treatments. Cream of tartar handles rust. Between these four ingredients, every common bathroom floor cleaning problem is covered without a single product that requires a hazmat warning on the label.
If you are building a complete non-toxic cleaning routine beyond just the floor, our guide to the five toxic chemicals hiding in your bathroom covers the other product categories most worth replacing, and exactly what each one does to indoor air quality in a small enclosed space with limited ventilation.