The Best Non-Toxic Grout Cleaners: A Professional Deep Clean Guide
In the world of professional contracting, grout is often an afterthought, until it starts to fail. As a Red Seal carpenter, I’ve seen how neglected grout can lead to water infiltration behind tiles, eventually rotting out the very "Infrastructure" of your bathroom. But as a father of four, I’m equally concerned about the chemicals we use to scrub those lines. Most commercial grout cleaners are loaded with high-VOC bleaches and acids that aren't just hard on your lungs; they can actually degrade the cementitious binder in your grout over time.
In 2026, we’re moving away from "nuclear" cleaning options. Instead, we’re using organic chemistry to lift stains while preserving the structural integrity of the tile. Whether you’re dealing with soap scum, hard water minerals, or the dreaded pink slime bacteria, you can achieve a high level of clean using ingredients you likely already have in your pantry.
In this guide, we’ll explore the "Builder’s Method" for deep-cleaning grout without compromising your family’s health or your home's longevity.
1. The Chemistry of Grout: Why It Stains
Grout is essentially a mixture of cement and sand. Because it is porous, it acts like a microscopic sponge. In a high-traffic family bathroom, it absorbs everything: body oils, shampoo residue, and mineral-heavy water.
If you’ve recently performed a Morning Cold Plunge, the rapid condensation can trap these particles deep inside the grout pores. To get them out, we need to create a reaction that physically lifts the dirt to the surface. It’s also important to understand the difference between Sanded and Unsanded grout. Sanded grout is used for wider joints and is even more porous, meaning it traps dirt like a magnet. Unsanded grout, used for thin joints, is smoother but can still develop a "film" of bacteria if not maintained.
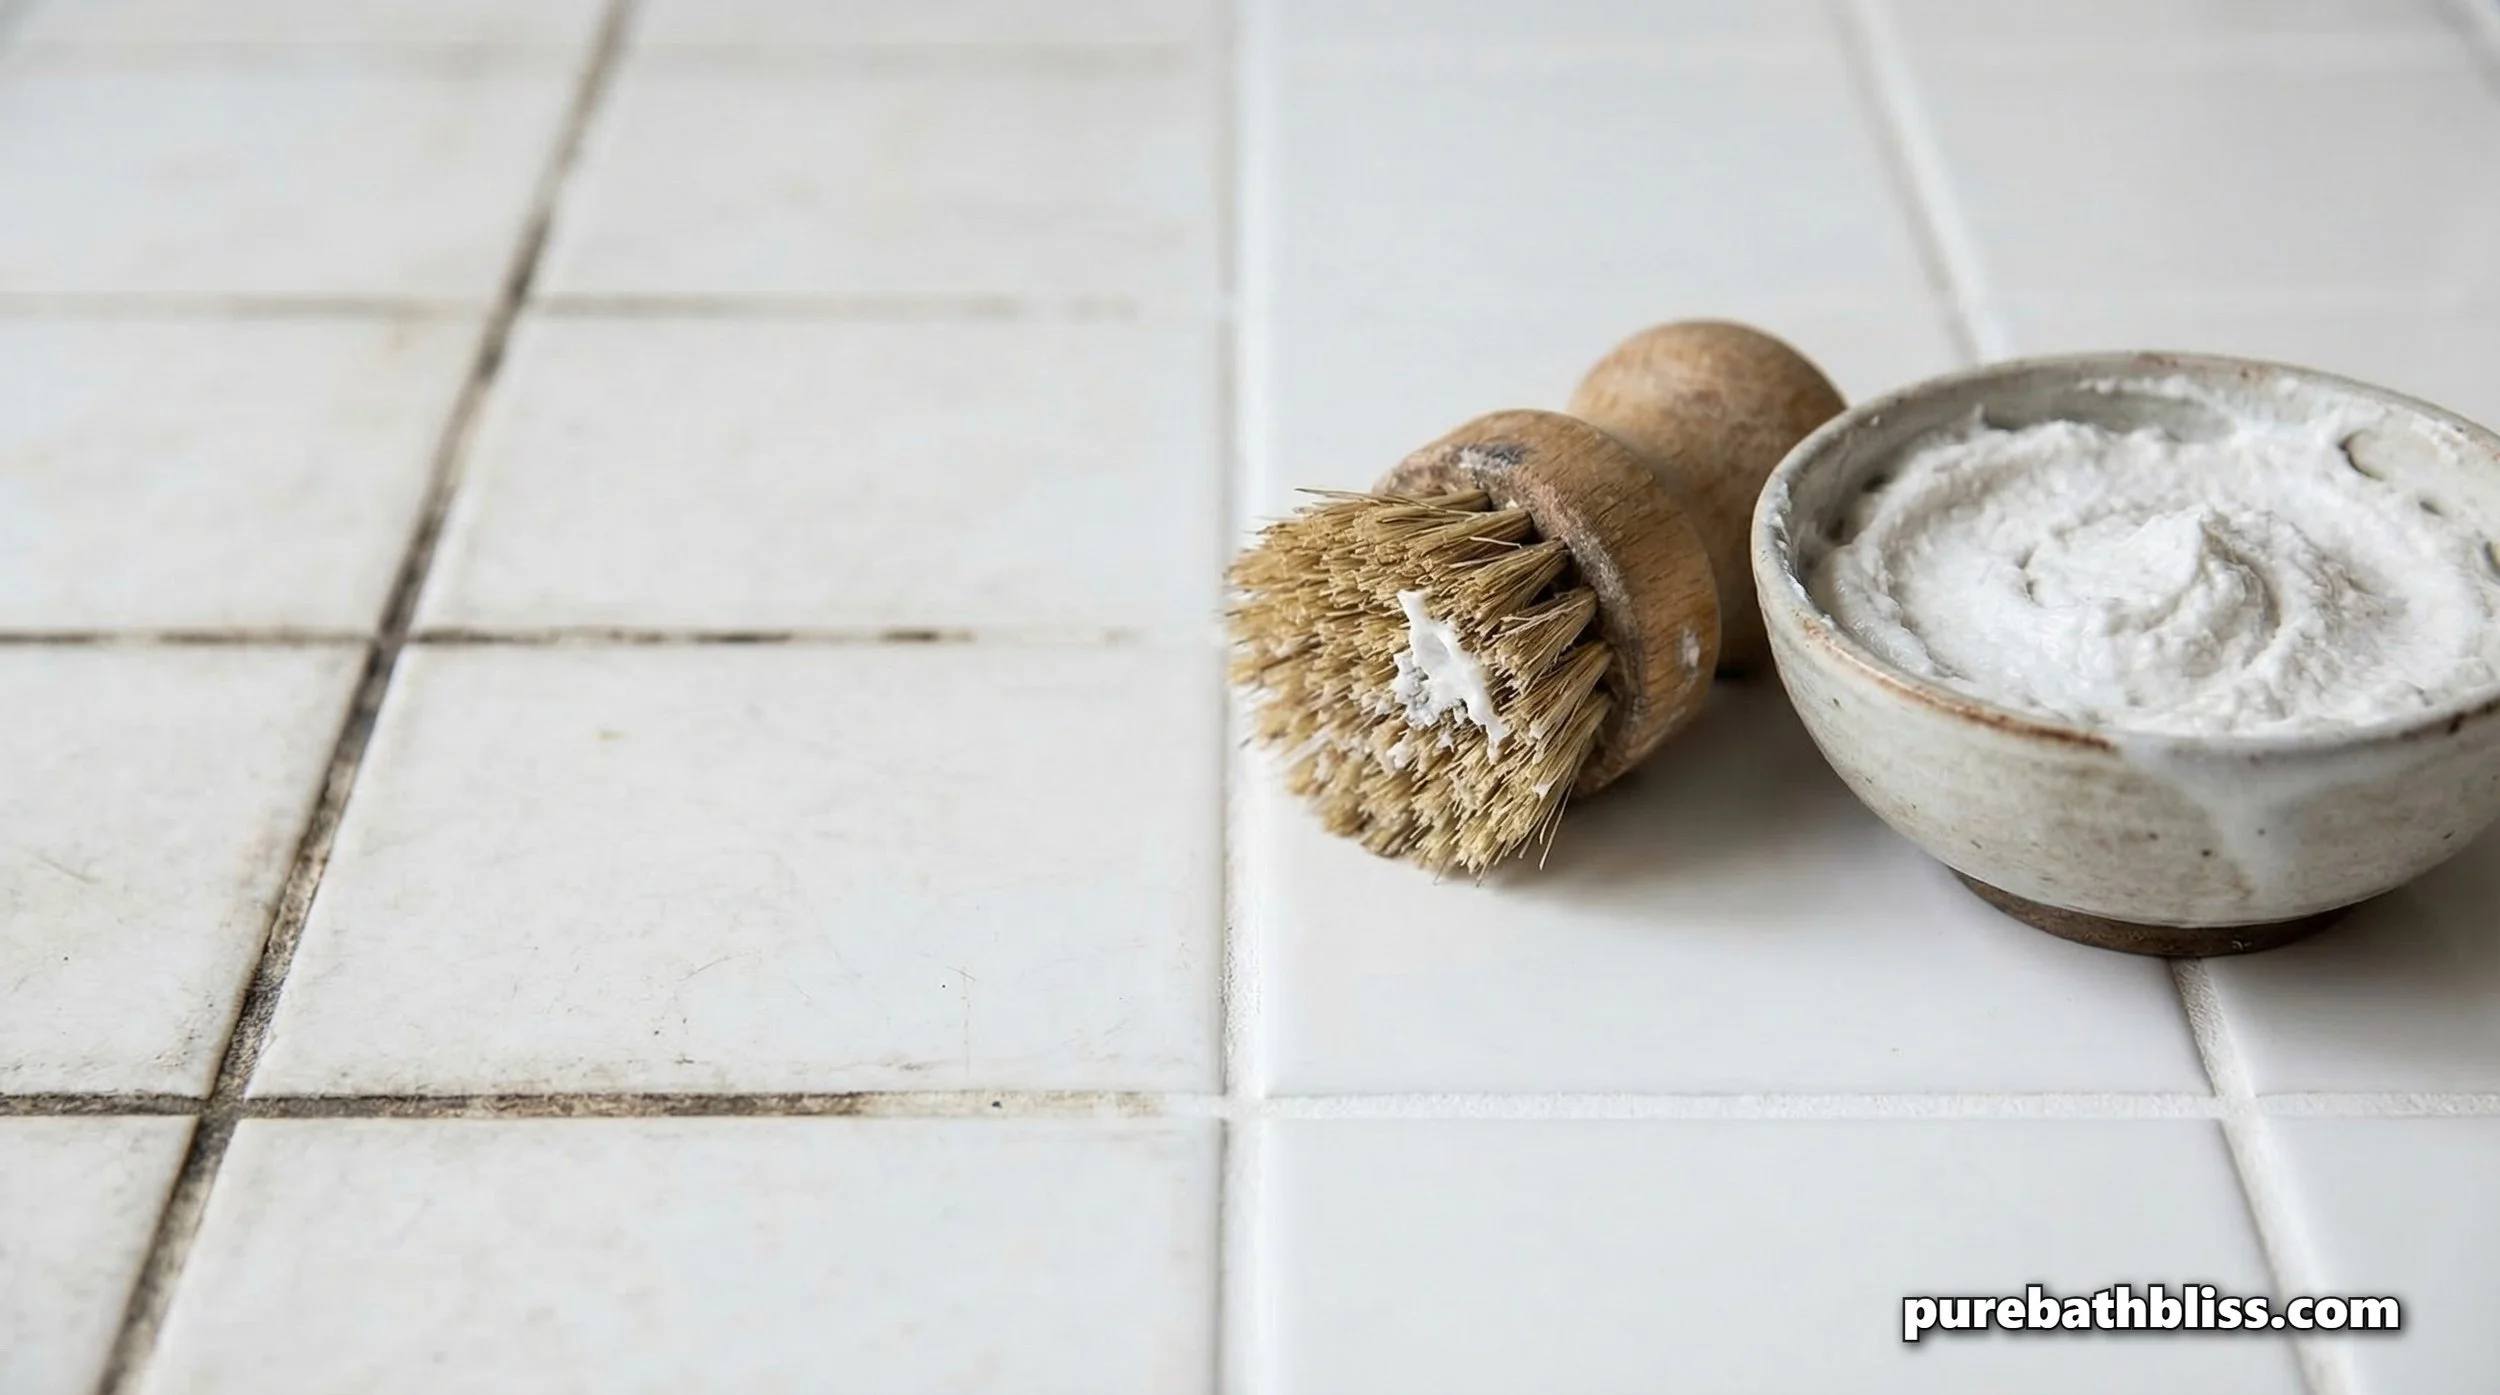
2. The "Carpenter’s Paste": Baking Soda and Hydrogen Peroxide
When I’m looking for a "Pro" result without the fumes, this is my go-to mixture. This is the foundation of a Non-Toxic Bathroom.
The Science: Baking soda provides a mild, non-scratch abrasive, while hydrogen peroxide acts as a natural whitener and disinfectant.
The Mix: Create a thick paste (consistency of toothpaste). Apply it to the grout lines and let it sit for 10 minutes.
The Scrub: Use a stiff-bristled nylon brush. Avoid metal brushes, as they can scratch the "Living Finishes" on your 2026 bathroom fixtures.
One thing I tell my kids when they help with chores: let the paste do the heavy lifting. You don't need to put your whole weight into the scrub if you give the peroxide enough "dwell time" to break down the organic matter.
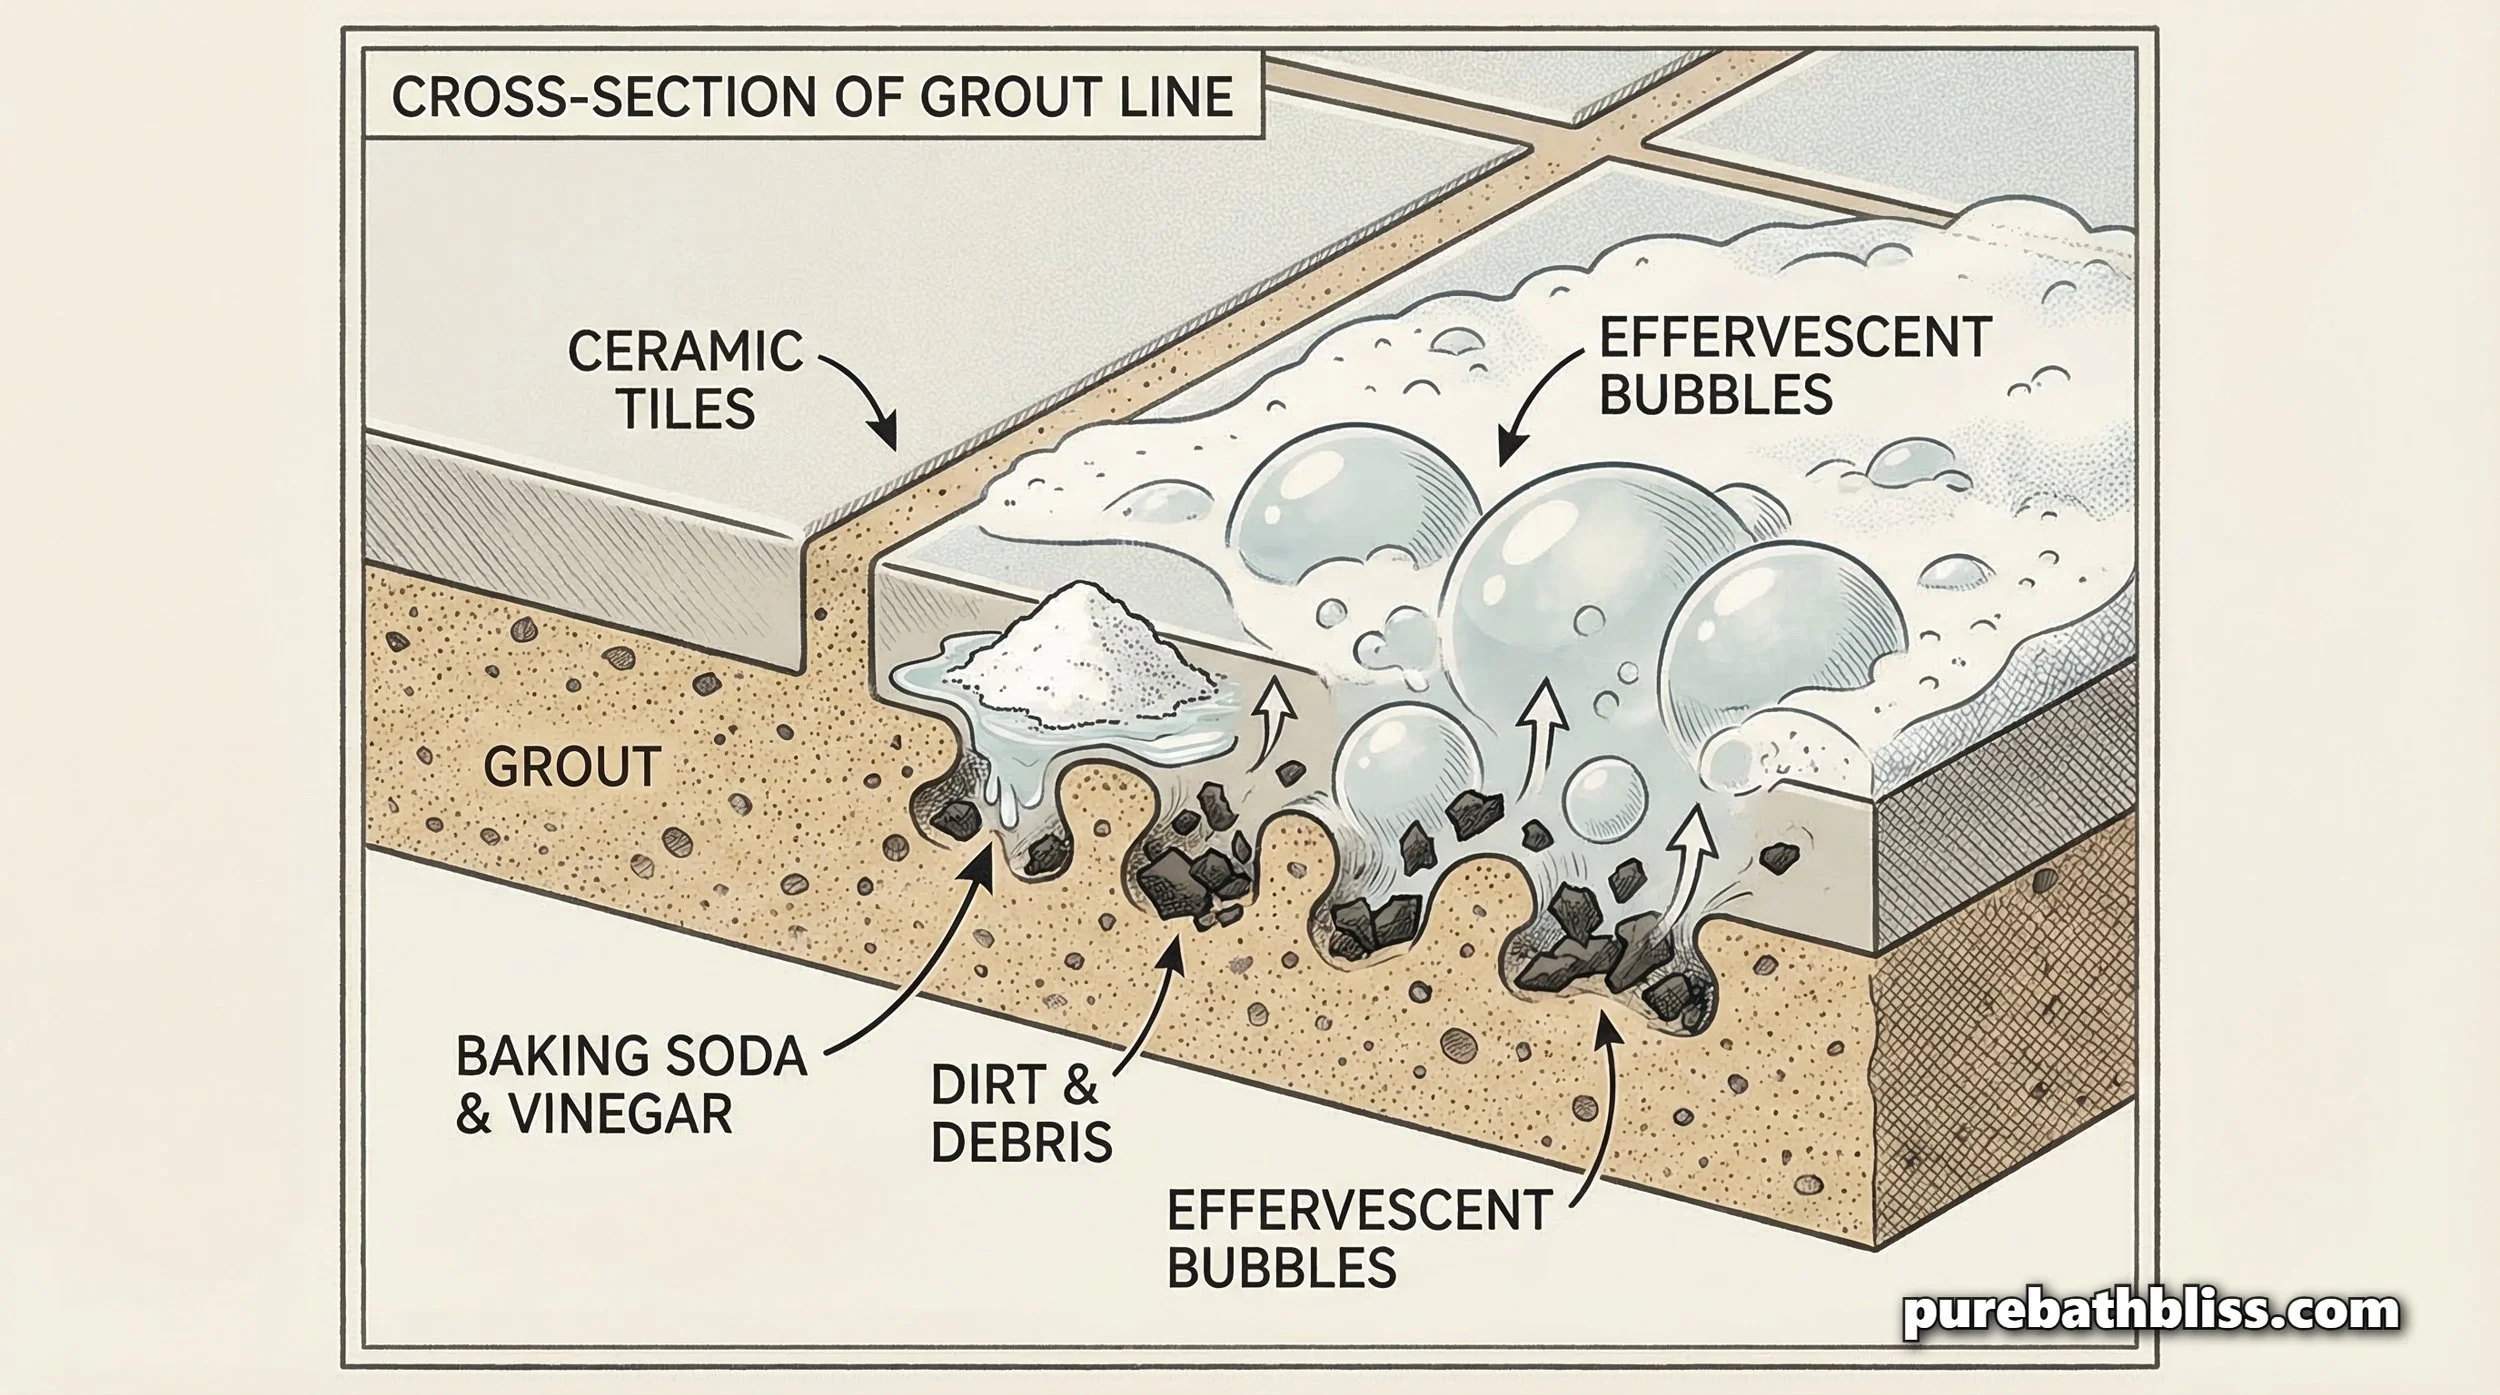
3. Dealing with Mineral "Ghosting"
If your grout looks white but feels "crusty," you’re likely dealing with calcium buildup. This is the same mineral issue we solve when cleaning hard water from glass.
The Acid Solution: Use a 50/50 mix of warm water and distilled white vinegar.
The Warning: Never use vinegar on natural stone like marble or travertine. As a builder, I’ve seen homeowners ruin beautiful vanities by using acid on porous stone. If you have stone tile, stick to a pH-neutral cleaner or castile soap. The acid in vinegar reacts with the calcium carbonate in natural stone, causing "etching" that can't be scrubbed away.
4. The Power of Steam: The Chemical-Free Reset
If you want to clean like a pro, invest in a handheld steam cleaner. Steam at 200°F (93°C) doesn't just melt soap scum; it kills 99% of bacteria and mold spores instantly.
The Advantage: There is zero residue left behind. This is crucial for the Psychology of a Clean Bathroom, nothing feels better than walking on a floor that is truly barefoot-safe for your kids.
The Routine: Use steam once a month to keep the grout "open" and clean, followed by a thorough Drying Out Protocol to ensure moisture doesn't settle back into the pores.
From a carpentry perspective, steam is also excellent for checking the integrity of your grout. If the steam causes chunks of grout to fly out, it’s a sign that the binder has failed and you need to look into a partial re-grout before water gets into the wall.
5. Avoiding the "Bleach Trap"
Many homeowners reach for bleach as their first line of defense. While bleach kills mold on the surface, it often doesn't reach the roots inside the porous grout. More importantly, frequent use of bleach can actually weaken the cement in the grout. Over time, this leads to "sanding", where the grout starts to crumble into a fine powder every time you sweep. As a father, I also avoid bleach because the fumes linger long after the floor is dry, which isn't ideal for little lungs.
6. Protecting the "Infrastructure": Sealing the Deal
Once your grout is clean and 100% dry, you must seal it. Cleaning grout without sealing it is like sanding wood but never applying a finish, it looks great for a day, then immediately starts absorbing stains again.
The Selection: Look for a non-toxic, water-based penetrating sealer. These "breathable" sealers allow moisture trapped behind the tile to escape while preventing new moisture from entering from the front.
The Application: Use a small foam brush or a dedicated grout sealer roller to "paint" the sealer onto the grout lines. Let it sit for 5 minutes, then wipe the excess off the tile faces with a clean cloth.
The Cure: Most sealers need 24 hours to fully cure. This is a great time to tackle other bathroom maintenance, like fixing a sticky toilet handle, while you wait for the floor to be walkable.
Summary: The Non-Toxic Grout Cleaning Checklist
Vacuum First: Remove loose dirt and hair so you aren't just "scrubbing mud."
Apply the Paste: Use baking soda and peroxide for general whitening and disinfection.
Vinegar Soak: Use for heavy calcium and hard water deposits (on ceramic/porcelain only).
Dwell Time: Let your cleaners work for 10–15 minutes before you begin scrubbing.
Rinse Thoroughly: Use warm water to remove all paste residue; leftover baking soda will leave a white film.
Steam Reset: Use high-heat steam for a deep, chemical-free sanitize once a month.
Dry and Seal: Ensure the room is well-ventilated so the sealer can cure properly and protect your infrastructure.
Keeping your grout clean is more than an aesthetic choice, it's a maintenance task that preserves your home's value and prevents the need for a total bathroom gut-job. By avoiding harsh chemicals, you're building a healthier environment for your family while keeping your bathroom infrastructure in peak condition.