Why Your Caulk is the Bathroom’s First Line of Defense
Most people treat caulk as a cosmetic detail, a white or clear line that "frames" the tub. As a Red Seal Carpenter, I see it differently. Caulk is a gasket. Its primary job is to accommodate the inevitable, microscopic movement between your wall, which expands and contracts with thermal changes, and your tub or shower base, which sits rigid.
When that gasket fails, water finds a way into your wall cavity. Once it's behind the wall, you aren't dealing with a cleaning problem anymore; you're dealing with rot, compromised structural integrity, and the kind of repair bills that keep me in business.
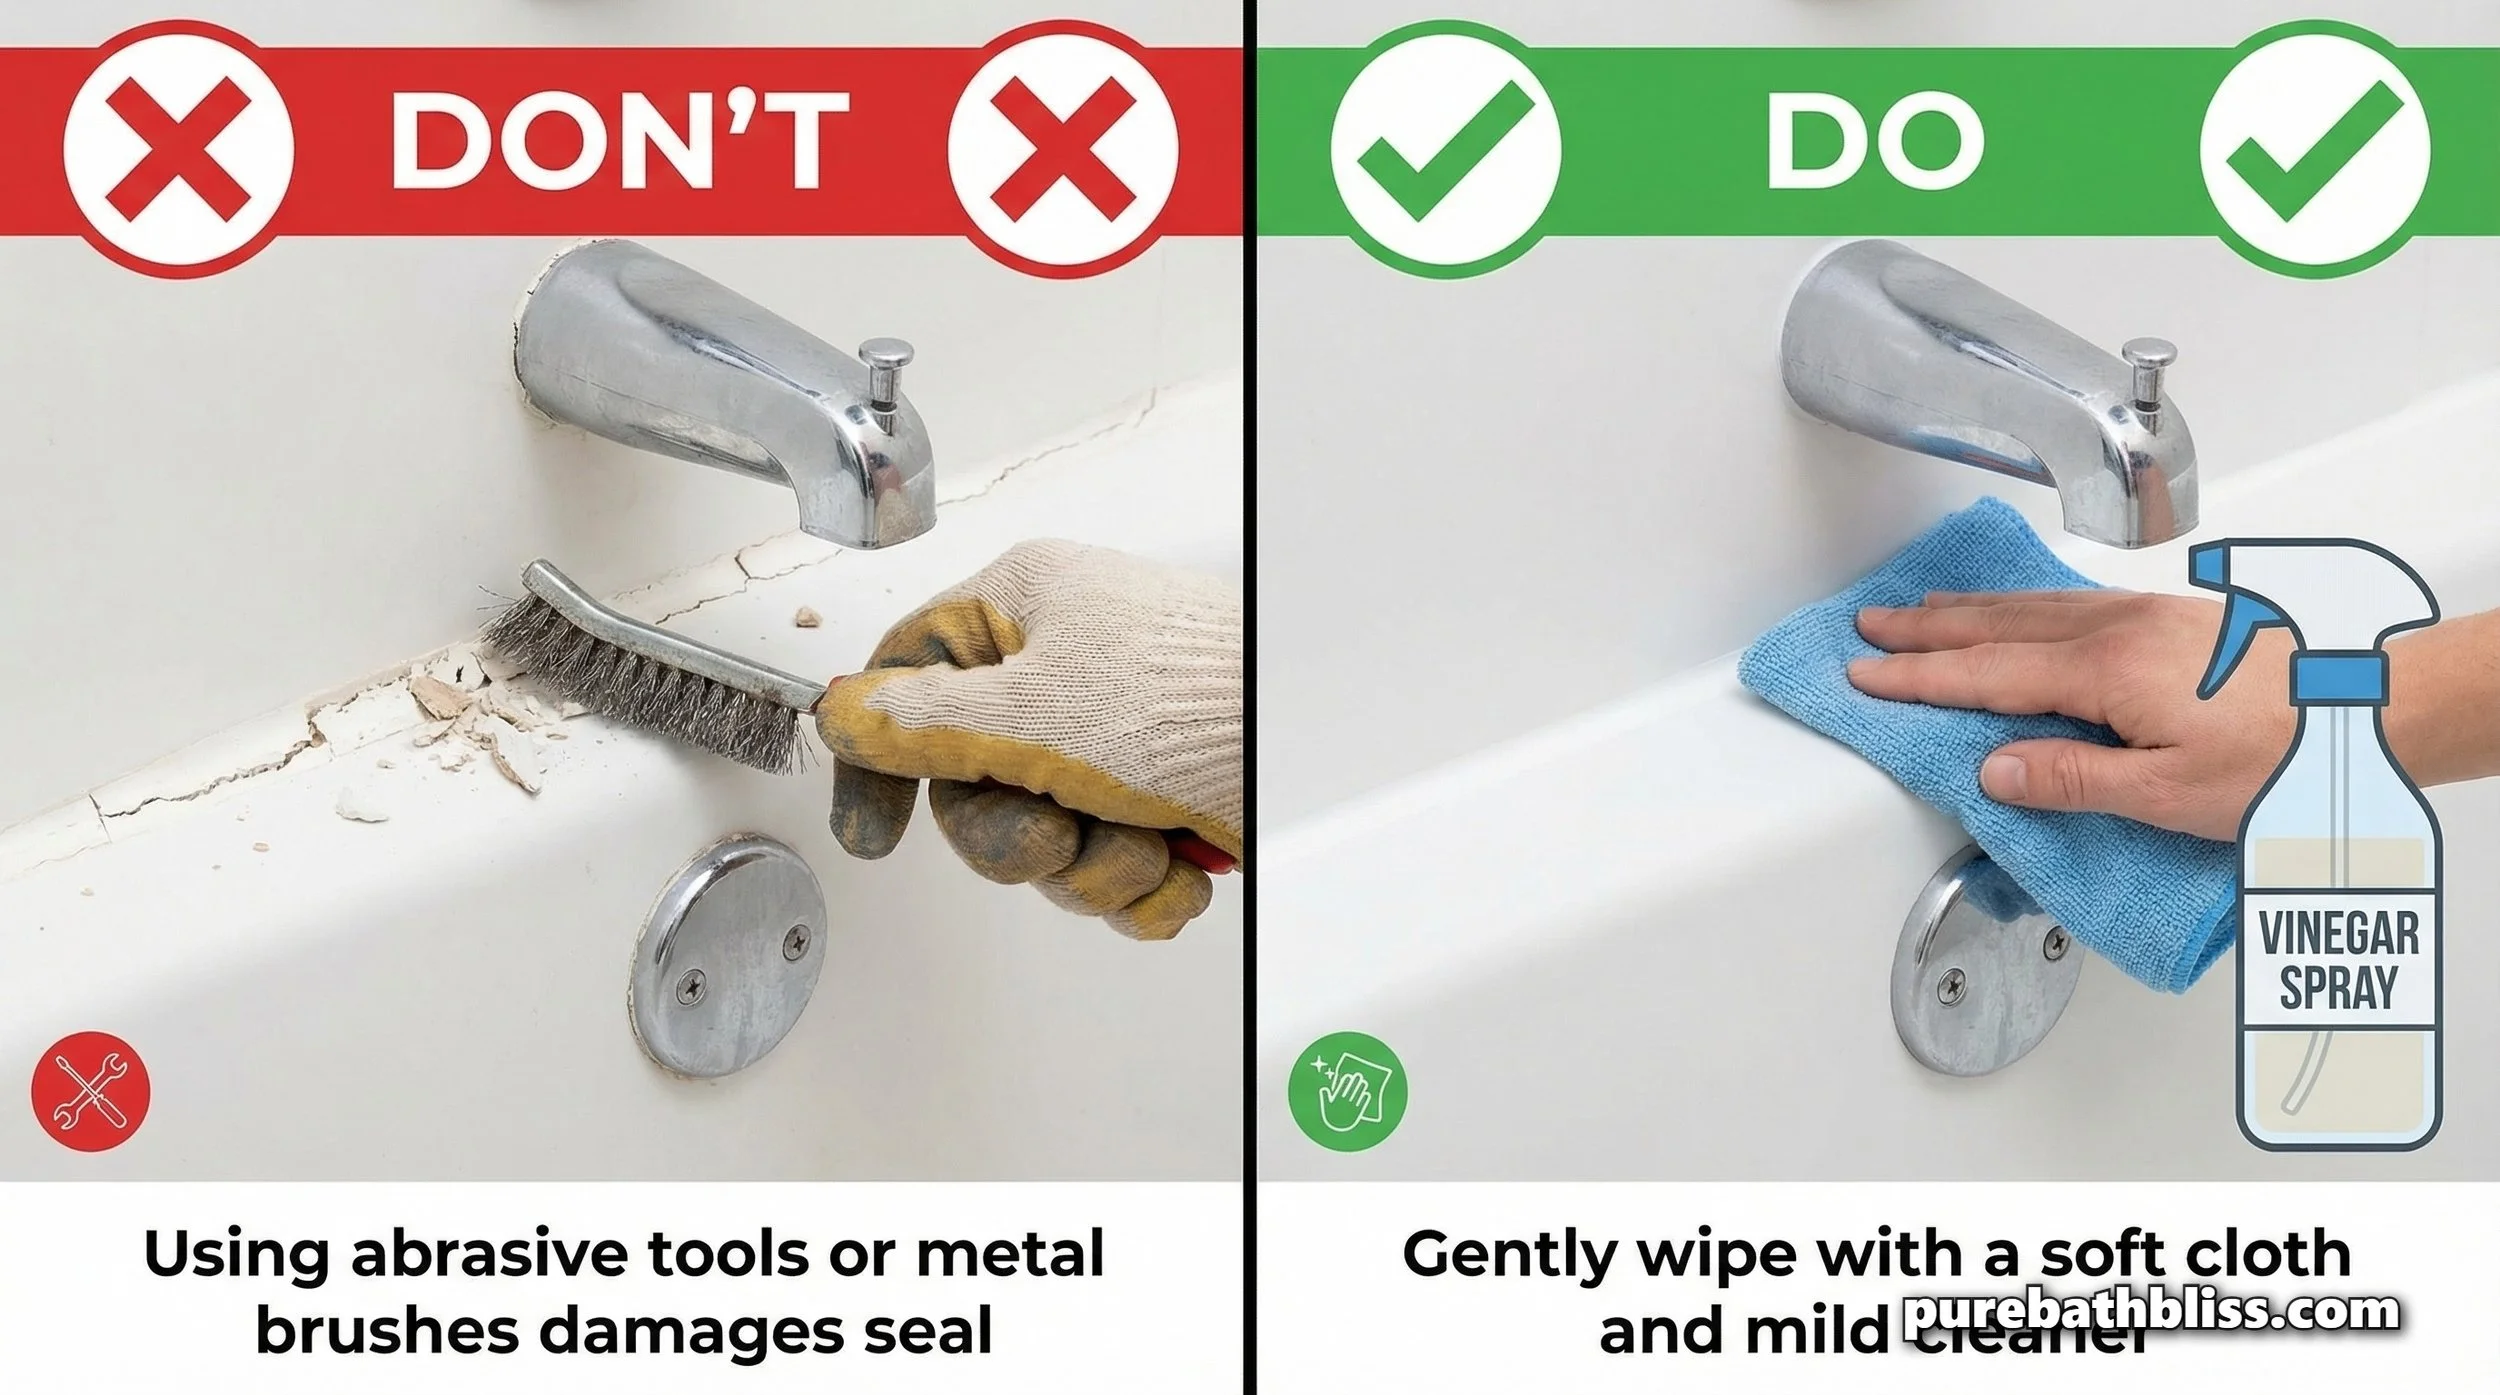
The trouble is that many homeowners treat caulk like it’s as durable as ceramic tile. They reach for the scouring pads, the stiff wire brushes, and the harsh acidic cleaners. In doing so, they inadvertently create micro-abrasions on the surface of the silicone or acrylic. Those tiny, jagged canyons are the perfect "landing strip" for mold spores to take root. You aren't just cleaning the caulk; you’re scoring it, which guarantees that mold will return faster and more aggressively next time.
Let's look at how to maintain your seal without compromising its structural integrity.
The Mechanics of Material Failure
Before you pick up a bottle of cleaner, you have to identify what you are dealing with. In my experience, improper maintenance starts with misidentifying the material.
Silicone Sealant: The professional standard for wet areas. It is hydrophobic, flexible, and chemically inert. However, it is soft. If you take a scouring pad to it, you will leave permanent marks that attract soap scum, creating a cycle of grime you can't scrub away.
Acrylic/Latex Caulk: More common in budget installs. It is porous and can "dry out" over time. Scrubbing this too hard or using harsh solvents can lead to premature cracking.
Why Standard Cleaning Fails
When you use a stiff plastic brush or a metal putty knife, you are removing the smooth outer "skin" of the caulk. That skin is designed to be water-repellent. Once you break it, you expose the porous interior.
And remember: if you are fighting mold, the caulk is rarely the sole problem. The issue might be your room's baseline moisture levels. If your bathroom is constantly humid because of poor ventilation or poor storage habits, your caulk will always be a target for mold, regardless of how well you clean it. Before you start scrubbing, I recommend auditing your storage to ensure airflow; if your counters are packed, you’re trapping moisture against the wall. See our guide on How to Store Your Shampoo for tips on optimizing your counter space to improve evaporation rates.
The Pro-Method: Non-Abrasive Cleaning
If you want to keep your caulk for the 5-7 year life expectancy it should have, adopt this protocol.
1. The Daily Squeegee (Prevention)
Stop the water from sitting there. A squeegee is your best tool for keeping the caulk dry. It’s the easiest way to prevent "hard water buildup," which eventually acts as a substrate for bacteria.
2. The Routine "Soft Scrub"
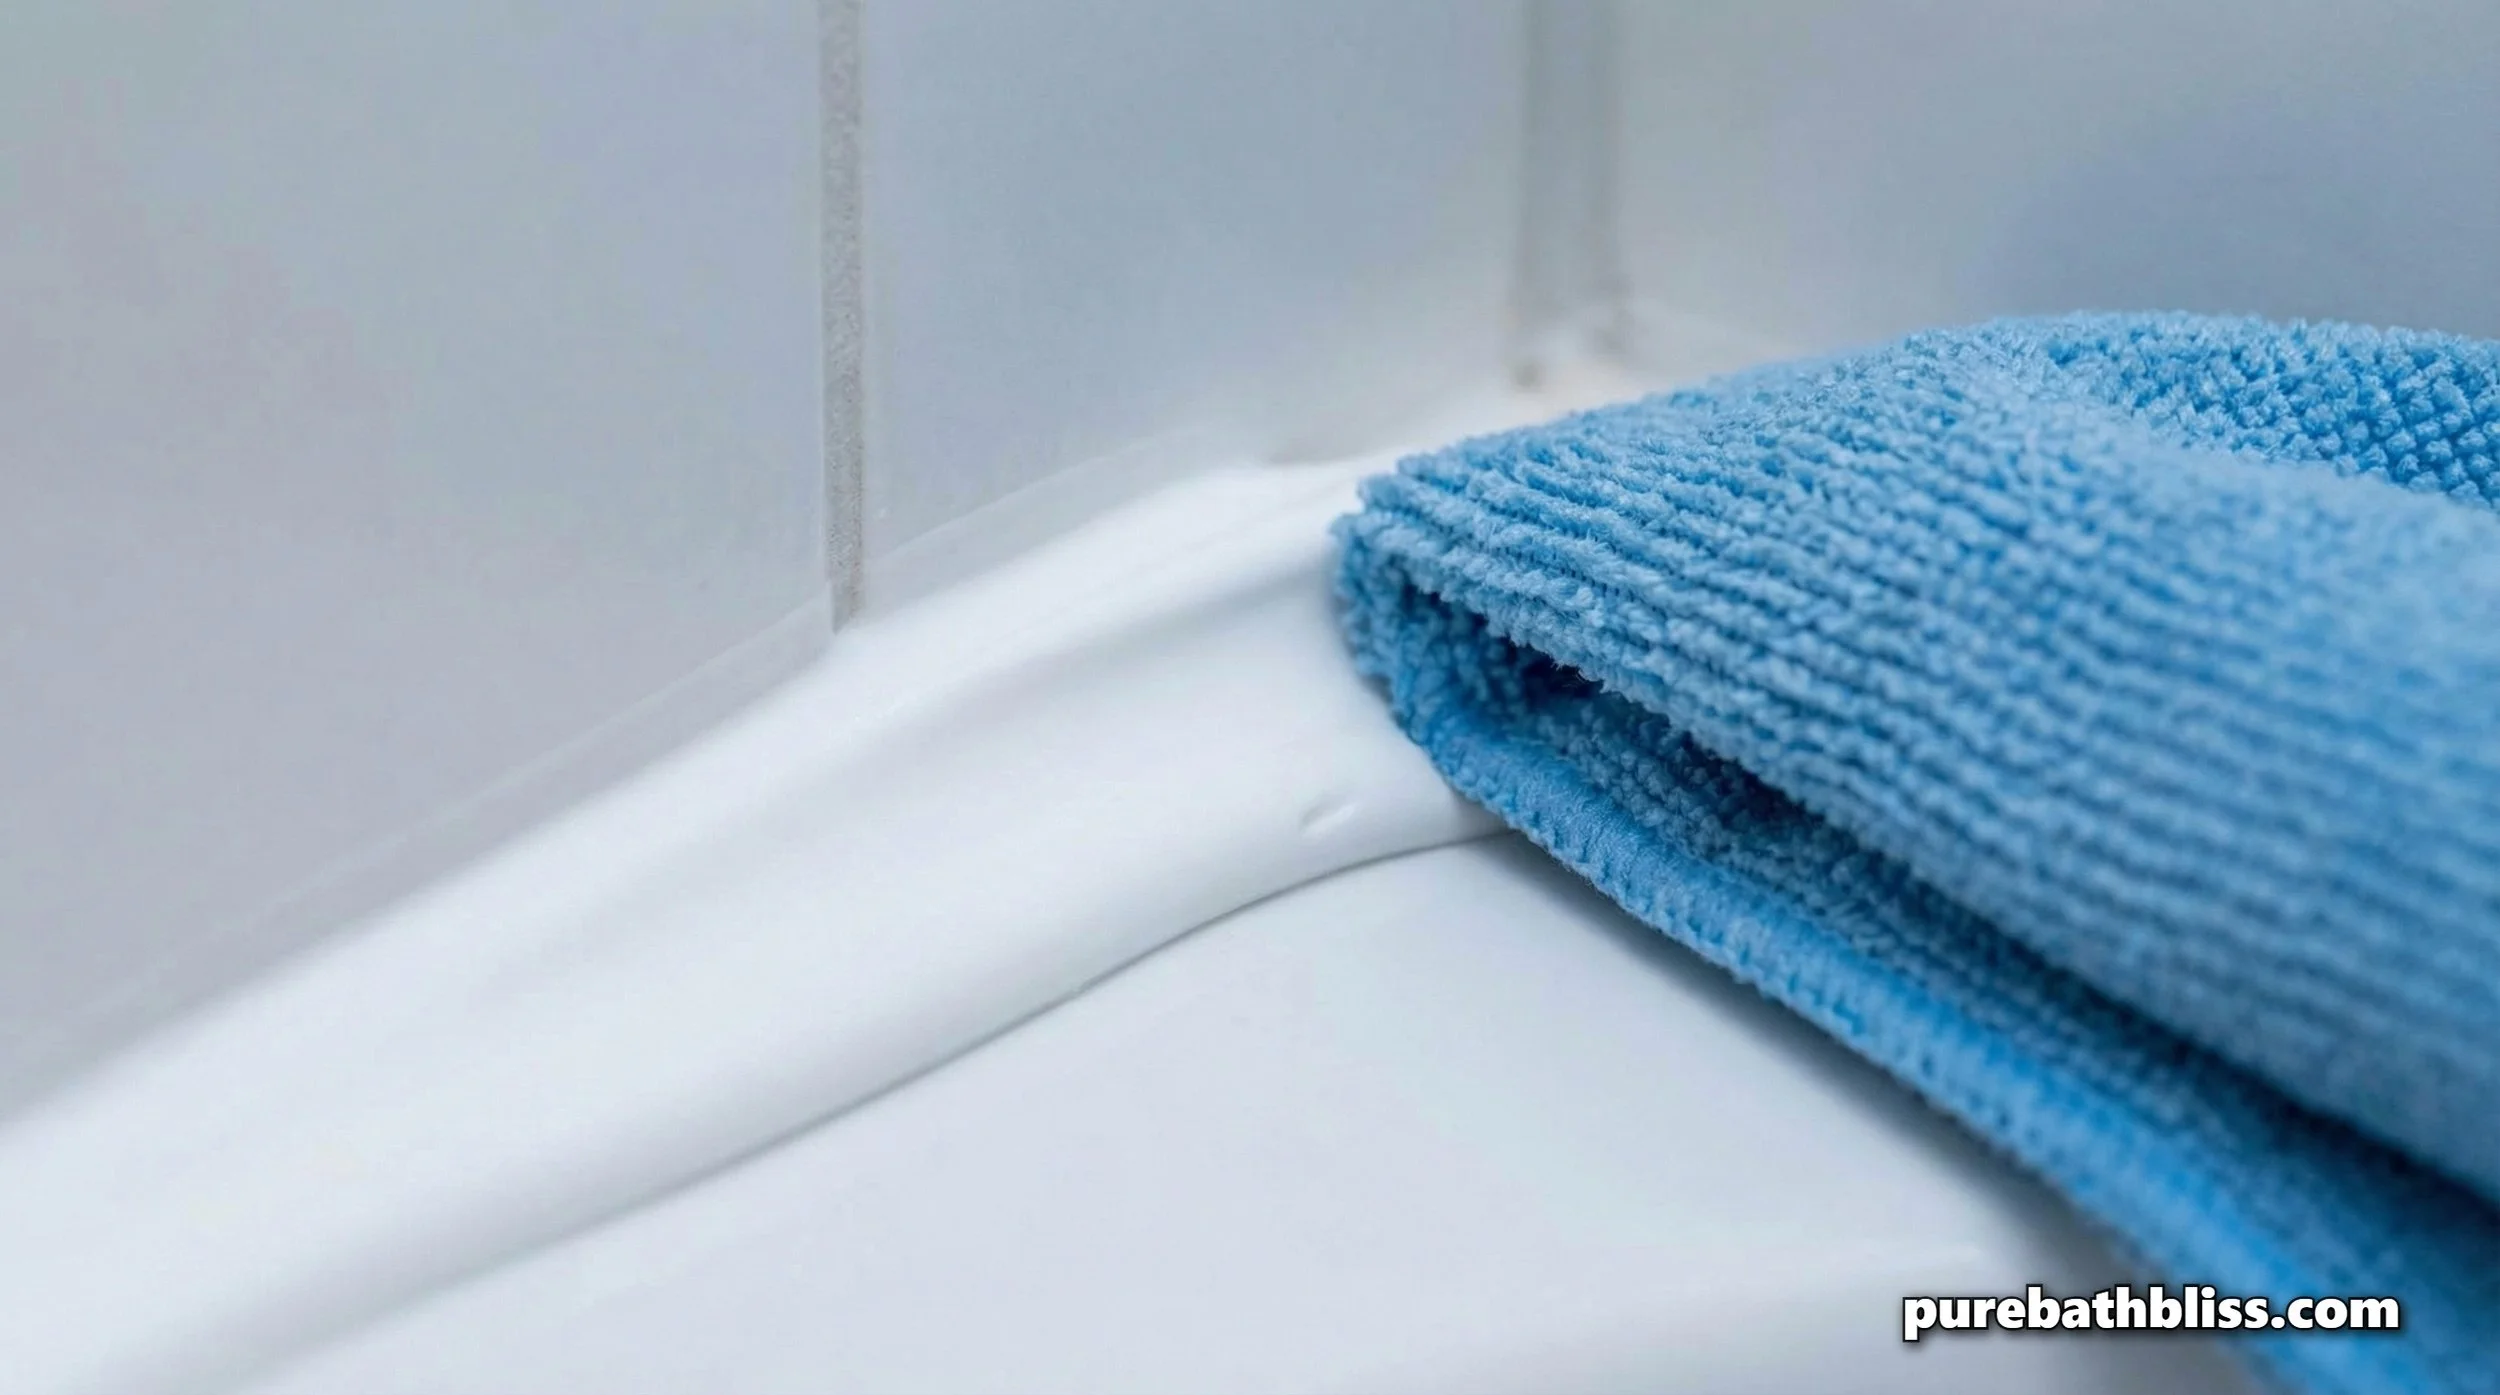
Mix a 1:1 solution of white vinegar and water in a spray bottle. Mist the area and let it sit for 5 minutes. Take a soft, microfiber cloth and wipe. If there is stubborn soap scum, use a soft-bristled toothbrush. Note: Use a soft brush, not the stiff one you use for grout.
3. The "Cotton Ball" Hack (For stubborn mold)
If you have black spots that won't lift, do not scrub harder. Instead, soak a cotton ball or a strip of paper towel in household bleach. Press it against the moldy area and leave it for 1-2 hours. The chemical will leach into the mold without you having to apply any mechanical force.
Quick Reference: Cleaning vs. Replacement
| Indicator | Action | Why |
|---|---|---|
| Surface staining/soap scum | Soft cloth + Vinegar/Water | Preserves the outer "skin" |
| Fuzzy mold spots | Bleach/Cotton Ball soak | Chemical kills vs. Mechanical abrasion |
| Peeling or gaps | Remove & Replace | Seal is structurally broken |
Troubleshooting the "Deep-Set" Mold
If you have mold that returns within weeks of cleaning, the issue isn't the surface—it’s the sub-surface. Often, moisture is getting behind the caulk because the bond has failed. You can see this if the caulk looks "tacky" or separates from the wall when you press on it.
At this point, scrubbing is a waste of time. You need to strip it out. We covered the basics of surface prep in our piece on Why Your Bathroom Floor is Working Harder Than You Think, and the principles are identical for caulk: if the surface isn't pristine and dry, the new seal will fail.
Pro-Tip: The "Four-Daughter" Test
Living with a busy household, my own four daughters included, means the bathroom gets hit hard. I’ve learned that the secret to long-lasting caulk is adhesion. When I re-caulk, I use rubbing alcohol to wipe down the surface after I've removed the old bead but before I apply the new one. This removes the invisible oils and dust that prevent the silicone from grabbing onto the tile. If you skip this, your beautiful new caulk will be peeling in six months.
If your bathroom has become so cluttered that you can't even get to the tub to perform this inspection, it's time for The Bathroom Purge. Clear space equals better maintenance.
Closing the Loop: The Sanctuary Standard
A bathroom isn't just a utilitarian room; it’s a high-performance space. When you maintain the "gaskets" of your home, you aren't just cleaning—you are protecting the entire structure.
If you've had a spill that resulted in damage, be sure to read our guide on How to Clean a Bathroom Accident before trying to fix it, as some spills require different prep work than a standard cleaning.