The Wet Room Revolution: Is a Curbless Shower Right for Your Home?
The curbless shower is everywhere right now. Design magazines, renovation shows, Pinterest boards, hotel lobbies. That seamless transition from bathroom floor to shower floor with no step, no lip, no visual break has become the shorthand for a certain kind of modern, considered bathroom renovation. And the appeal is real. Done well, a curbless shower makes a bathroom feel larger, cleaner, and more accessible. It photographs beautifully. It is genuinely easier to clean than a shower with a curb that collects soap scum in the corners.
The part that the design content rarely covers is that a curbless shower is not simply a regular shower with one component removed. It is a fundamentally different engineering approach to water management. The curb is not there for aesthetics. It is a physical containment barrier that compensates for imprecisions in slope, waterproofing, and drain placement that are essentially invisible once the tile is down. Remove the curb and every one of those variables becomes critical. Get any of them slightly wrong and you have a bathroom floor that gets wet every time someone showers, or worse, water finding its way through the subfloor into the structure below.
I have built curbless showers that work perfectly and I have walked into homes where a curbless shower was installed by someone who did not understand the engineering involved and the floor structure underneath was already starting to fail two years later. Here is the complete builder's guide to what is actually involved, what it actually costs, and how to decide whether it is the right choice for your specific home.
What a Curbless Shower Actually Is
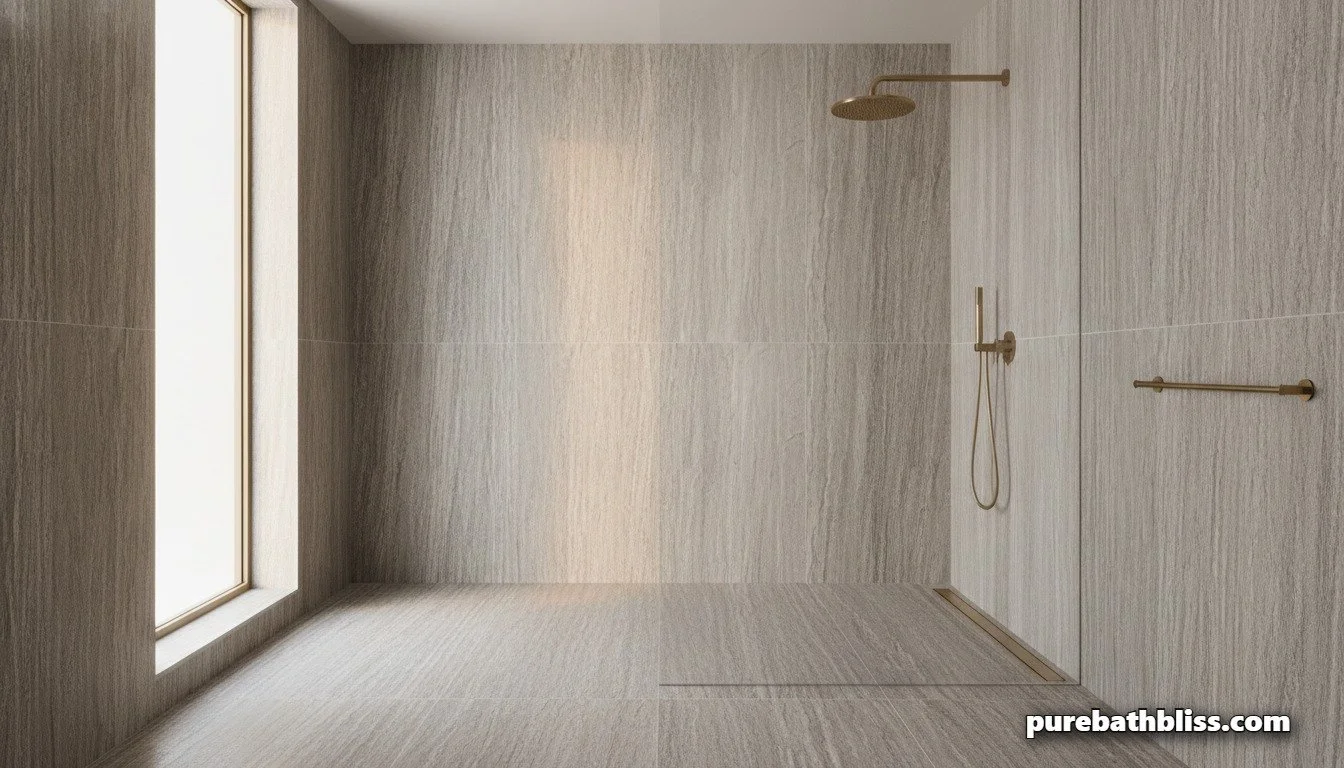
A curbless shower, also called a zero-threshold shower, walk-in shower, or barrier-free shower, eliminates the raised curb or dam that runs along the opening of a conventional shower. In a standard shower, that curb is typically 4 to 6 inches high. You step over it to get in and out. The curb contains water within the shower footprint even if the drain runs slowly or the floor slope is slightly off.
In a curbless design, the bathroom floor and the shower floor sit on the same plane or very close to it. Water is managed entirely through precise floor slope and drain design rather than physical containment. The shower floor slopes toward the drain at approximately 6mm per 300mm of floor run, a ratio of about 1 to 50, and this slope must be accurate to within a few millimetres across the entire shower area or water will not drain consistently. A conventional shower with a curb tolerates slope imprecision because the curb catches anything that does not make it to the drain. A curbless shower does not.
A wet room takes this concept further. In a full wet room, the entire bathroom floor is waterproofed and sloped to drain, and the shower has no enclosure at all. The toilet, vanity, and shower all share one continuous waterproofed space. This is the highest-end and highest-risk version of the concept, and it requires complete bathroom waterproofing rather than shower-zone waterproofing only.
The Genuine Advantages
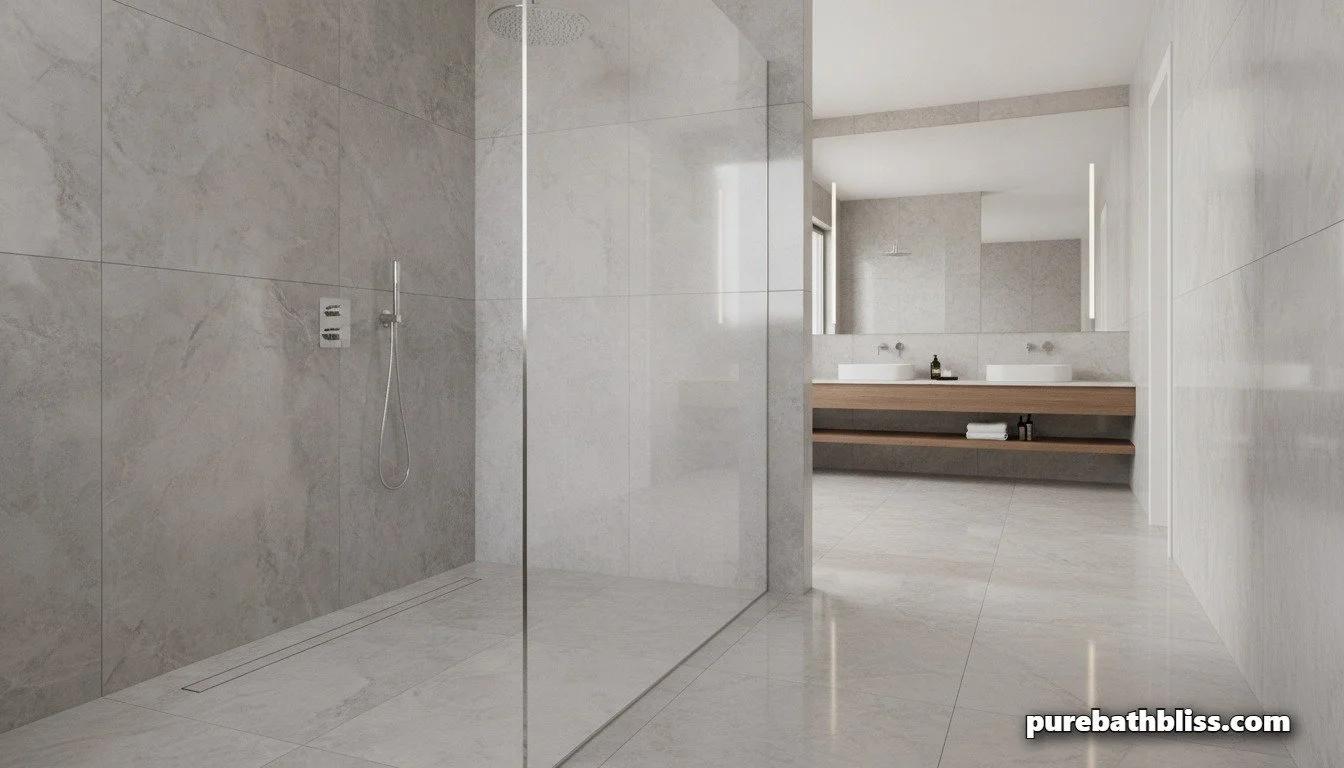
Visual space. The most immediate and consistent effect of a curbless shower is that the bathroom feels significantly larger. When the tile runs continuously from the bathroom floor into the shower without a visual break, the eye reads the entire floor as one surface. In a small bathroom where every perception of space matters, this effect can be more impactful than any other single design decision. It is particularly powerful when the same large-format tile is used throughout, which is both aesthetically coherent and practically superior since larger tiles mean fewer grout lines.
Accessibility and aging in place. A 4 to 6 inch curb is a genuine trip hazard, particularly for anyone with limited mobility, balance issues, or reduced vision. It is also an absolute barrier for wheelchair users. Even for a healthy thirty-five-year-old, stepping over a wet curb in low light at six in the morning carries real risk. A zero-threshold shower eliminates that hazard entirely. For anyone renovating a home they intend to grow old in, building curbless during the renovation is considerably cheaper than retrofitting for accessibility later when mobility needs change.
Cleaning. Conventional shower curbs and the corners where they meet the tile walls are among the most persistent mold and soap scum problem areas in any bathroom. The gap between the curb and the tile is difficult to clean thoroughly and tends to collect the exact combination of moisture, organic material, and warmth that mold needs. A curbless shower eliminates the curb and its associated crevices. The continuous floor surface is genuinely easier to clean, particularly if paired with epoxy or urethane grout rather than conventional cement grout. Our guide to high-performance epoxy and urethane grout covers why the grout choice in a wet area is as important as the tile choice.
Resale value. In the current renovation market, a well-executed curbless shower in a primary bathroom is a meaningful positive signal to buyers. It reads as a quality build and a considered design decision. The caveat is the phrase "well-executed." A poorly executed curbless shower with water management problems is the opposite of a selling point.
The Real Risks and What Causes Them
Water on the bathroom floor. The most common complaint from poorly executed curbless showers is water escaping the shower zone onto the bathroom floor. This is almost always a waterproofing or slope issue. Either the floor slope was not precise enough, the drain capacity was undersized for the showerhead flow rate, or the glass panel placement did not adequately contain spray. A correctly designed curbless shower keeps water within the shower zone as effectively as a curbed shower. A poorly designed one is a daily annoyance.
Subfloor failure. This is the serious consequence that most homeowners do not anticipate until it becomes expensive. Water that gets under the tile due to inadequate waterproofing works its way into the subfloor. In a wood-framed floor system, this causes gradual structural deterioration that may not become visible for two to three years. By the time you notice soft spots in the floor or tile movement, the damage to the structure is already significant. The repair cost typically far exceeds the original cost of doing the waterproofing correctly.
Structural incompatibility. This is the variable that stops a curbless shower from being possible in some homes entirely. Converting a conventional shower to curbless requires the shower floor to be recessed below the bathroom floor level so the transition can be made at the same plane. In a timber-framed floor this typically means cutting into the joist structure, which has structural implications that must be engineered properly. In a concrete slab home, it means cutting into the slab, which is straightforward in most cases but impossible if the home has a post-tensioned slab, a construction method used in many homes built after the mid-1990s where high-strength steel cables run through the slab under tension. Cutting a post-tensioned slab for a shower recess can cause catastrophic structural failure. Any renovation professional who does not check for post-tension construction before proposing a curbless shower conversion should not be doing the work.
The Real Costs in 2026
| Cost Component | Standard Curbed Shower | Curbless Shower | Notes |
|---|---|---|---|
| Entry-level complete installation | $3,500 to $6,000 | $5,000 to $8,000 | Basic tile, standard fixtures, minimal subfloor work |
| Mid-range complete installation | $6,000 to $10,000 | $8,000 to $15,000 | Quality tile, linear drain, frameless glass panel |
| Premium custom installation | $10,000 to $15,000 | $15,000 to $25,000+ | Large format tile, designer fixtures, full wet room, heated floor |
| Subfloor modification | Minimal or none | $1,500 to $4,000+ | Depends on floor structure and recess depth needed |
| Waterproofing membrane | Shower zone only | Extended to full bathroom floor | Non-negotiable cost difference. Schluter KERDI or LATICRETE Hydro Ban are industry standards |
| Drain | Standard centre drain: $50 to $200 | Linear drain: $300 to $1,500+ | Quality matters significantly. Do not cut costs on the drain. |
| Premium over comparable curbed shower | Baseline | 30 to 50 percent more | Consistent across all price points |
The cost premium for a curbless shower over a standard curbed shower is typically 30 to 50 percent on the shower installation itself. That premium exists because of three things that a curbed shower does not require at the same level: subfloor modification to create the recess, extended waterproofing across a larger floor area, and a linear drain system which costs significantly more than a standard centre drain.
The Schluter KERDI and DITRA systems and the LATICRETE Hydro Ban liquid membrane are the industry-standard waterproofing approaches for curbless showers in 2026. Any contractor proposing to build a curbless shower without a named, industry-standard waterproofing membrane system is a contractor I would not hire for this work. The membrane is the entire foundation of why a curbless shower either works correctly for twenty years or fails expensively in two.
The Linear Drain: Why It Matters and How to Choose One
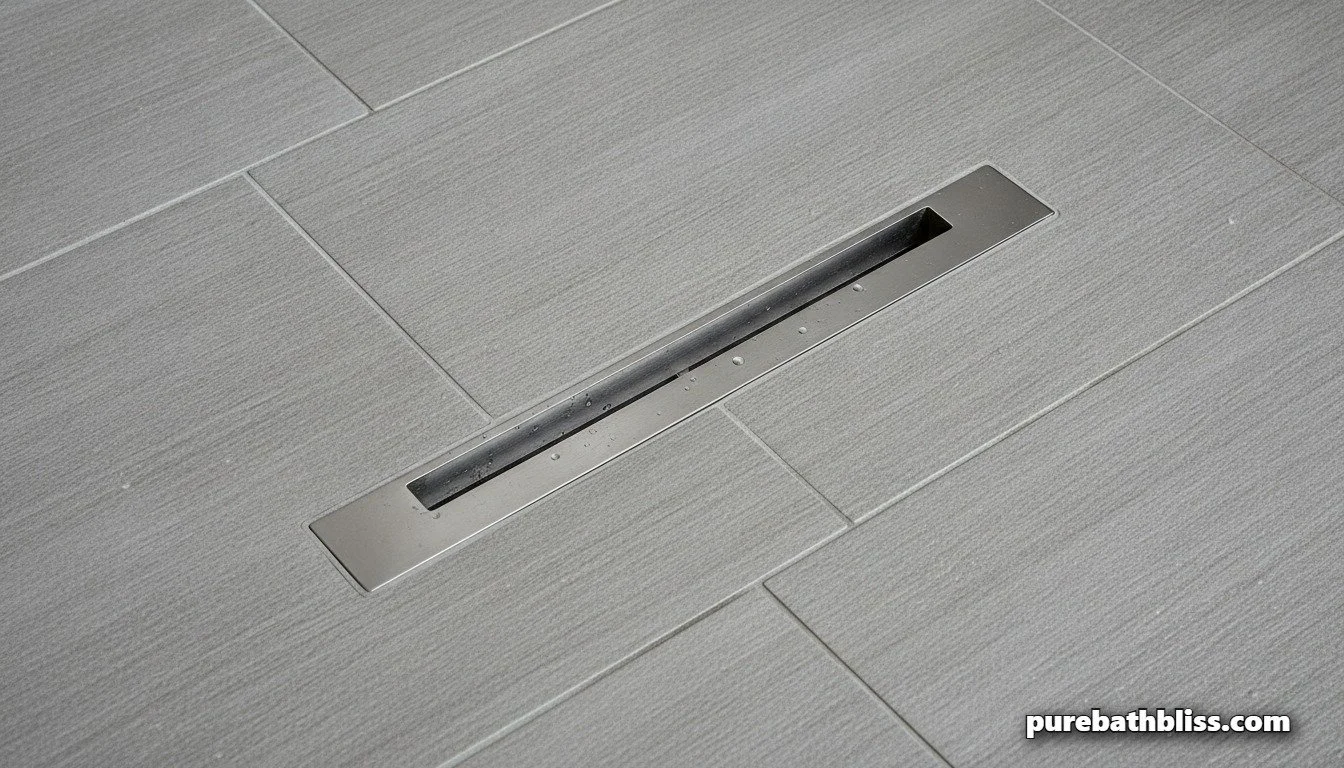
A conventional shower uses a centre drain with the floor sloping from all four sides toward the middle. This requires the shower tile to be cut in a four-way slope called a mud bed, which limits tile size because smaller tiles can follow the compound slope more easily than large format tiles. It also means the visual centre of the shower floor is a drain cover.
A linear drain runs along one wall, typically the back wall or the wall opposite the showerhead, and collects water in a channel that runs the full width of the shower. Because all the water flows in one direction toward one wall, the floor only needs to slope in one direction. This allows large format tiles to be used without cutting, which is both visually cleaner and significantly easier to install. It is also why curbless showers and large format tiles are so often paired together.
The maintenance reality of linear drains is worth being honest about. The channel collects hair and soap scum and needs to be cleared more frequently than a standard centre drain. Most linear drain grates lift out for cleaning, which takes about sixty seconds once a week. It is genuinely not a significant burden but it is a regular task that a standard shower drain does not require at the same frequency. Our guide to the linear drain maintenance guide covers the full cleaning protocol and the tools that make it faster.
When selecting a linear drain, the two most important specifications are the flow rate capacity and the grate material. Flow rate must exceed the output of your showerhead, typically 8 to 12 litres per minute for a standard showerhead and up to 20 litres per minute for a rainfall head. A drain that cannot handle the flow rate of your shower will allow water to pool on the shower floor, regardless of how well the slope was built. Grate material should be brushed stainless steel or matte black powder-coated stainless for durability. Chrome-plated zinc grates corrode in shower conditions within a few years.
Which Bathroom Scenarios Work and Which Do Not
| Scenario | Suitable for Curbless? | Key Consideration |
|---|---|---|
| Ground floor on conventional concrete slab | Yes — good candidate | Confirm no post-tension cables before cutting. A structural engineer consultation is worth the cost. |
| Timber-framed floor with accessible joists | Yes — good candidate | Joists must be modified or the bathroom floor raised. Either requires a skilled contractor. |
| Second floor bathroom | Possible with assessment | Floor structure must be assessed. Water management failure on a second floor affects the ceiling below. |
| Home built after mid-1990s on slab | Confirm before proceeding | High likelihood of post-tension slab. Cutting is dangerous. Structural engineer assessment required. |
| Full bathroom renovation from scratch | Yes — ideal scenario | Building curbless during a full renovation is significantly cheaper than retrofitting later. |
| Shower replacement only, existing bathroom | Budget-dependent | Subfloor work and waterproofing costs are harder to spread across a smaller project scope. |
| Small bathroom under 4 square metres | Proceed with care | Glass containment is harder in tight spaces. A low-profile curb may be a better compromise. |
| Accessibility or aging-in-place priority | Yes — strongly recommended | Zero threshold is the single most impactful accessibility feature in a bathroom renovation. |
The scenarios where I consistently recommend a curbless shower are a primary bathroom in a timber-framed house with accessible floor joists, a ground floor bathroom on a conventional concrete slab, a bathroom being fully renovated from scratch rather than just having the shower replaced, and any bathroom where accessibility is a current or anticipated future need.
The scenarios where I recommend pausing or reconsidering are a second-floor bathroom in a home where the joist structure cannot be modified without significant structural work, any home suspected of having post-tensioned slabs until that is confirmed or ruled out by a structural engineer, a bathroom that is too small for the glass panel or enclosure needed to contain spray adequately, and any project where the budget does not accommodate the full scope of waterproofing, subfloor work, and linear drain that a curbless shower actually requires. A half-built curbless shower is worse than no curbless shower.
Design Decisions That Determine Whether It Works
The glass panel. A curbless shower without adequate glass containment relies entirely on slope and drain capacity to keep water off the bathroom floor. In practice, most shower designs produce some spray that escapes the direct drain catchment area. A glass panel that runs at least 900mm out from the shower wall at the opening is the standard minimum for effective spray containment. Frameless panels with a very small gap at the bottom, typically 10mm, allow the slope to drain freely while still redirecting spray effectively.
Tile choice. Large format tiles, 600x600mm or larger, work beautifully in a curbless shower because the linear drain eliminates the need for a compound slope. Running the same tile continuously from the bathroom floor into the shower, often called a through-the-floor design, produces the most visually seamless result. The non-slip rating of the tile matters significantly in the shower zone. Any tile used in a wet walk-in area should have a minimum R10 slip resistance rating. R11 or higher is preferable if young children or elderly family members will use the shower. We currently have an article on the microcement seamless shower trend which takes the curbless concept even further by eliminating grout lines entirely through a poured cement or polymer finish.
Showerhead placement. In a curbless shower, the showerhead should point toward the back wall or toward the linear drain rather than toward the shower opening. A showerhead positioned to spray toward the opening, even with a glass panel, creates more spray escape than one oriented toward the drain. Rainfall heads mounted in the ceiling directly above the drain are the lowest-splash configuration available and suit curbless designs particularly well.
The Contractor Question: What to Ask Before You Hire
Not every tile contractor has built a curbless shower correctly. It is a specialist installation that requires experience with subfloor modification, membrane waterproofing, and precision slope work that differs meaningfully from standard tile work. Before hiring anyone for a curbless shower installation, I recommend asking these specific questions.
How many curbless showers have you built, and can I see examples or speak to previous clients? Which waterproofing system do you use and why? Can you confirm whether our floor structure is suitable for a curbless recess before we proceed? How will you verify the slope precision before laying tile? What is your process for waterproofing the transition between the shower area and the bathroom floor?
A contractor who cannot answer these questions specifically and confidently is not the contractor for this job. The installation looks simple from the outside. The engineering underneath is where every curbless shower either succeeds or fails, and the failure is almost always invisible until the damage is already done. If you are working with a contractor who takes the time to explain the membrane system, discuss the subfloor assessment, and walk you through the slope calculation, you have found someone who understands what they are building. That is the contractor worth paying the premium for.
My Honest Take
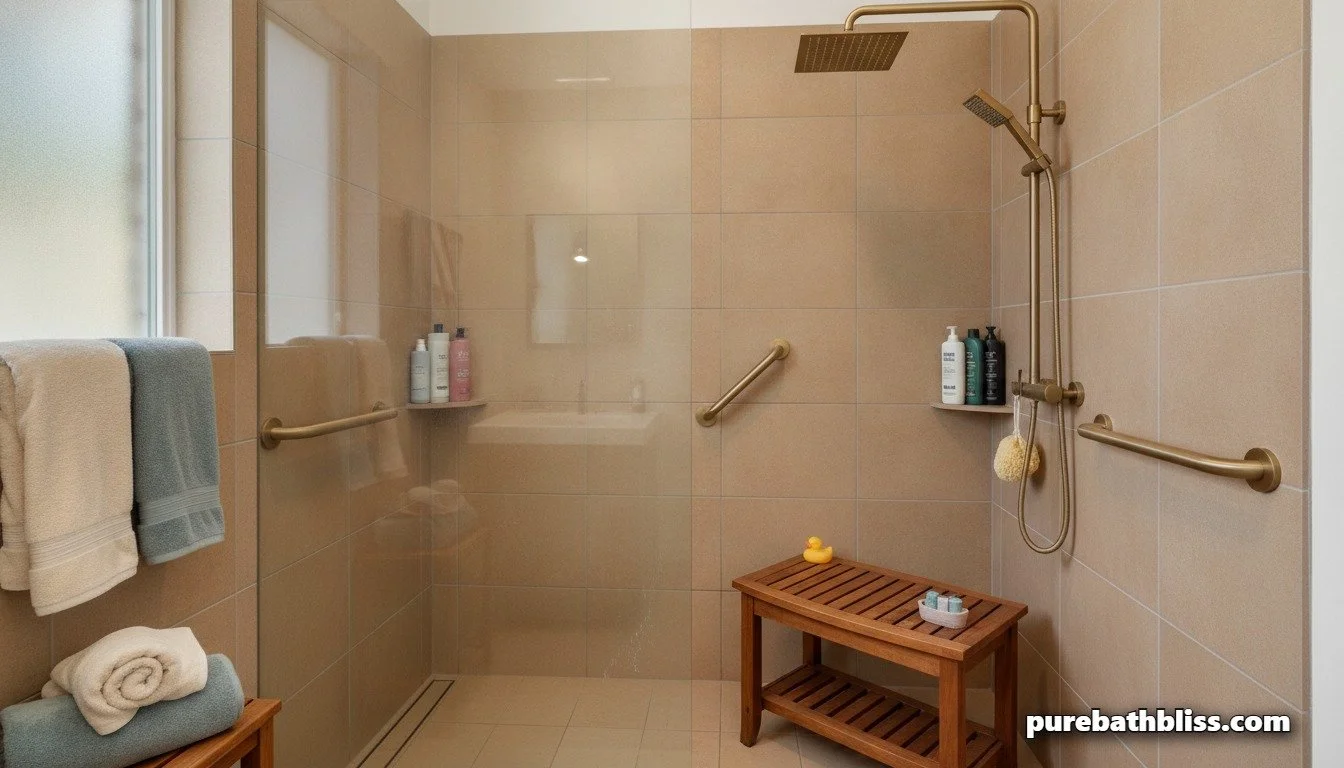
I am a genuine advocate for curbless showers in the right context. When the structural conditions are right, the waterproofing is done properly, and the design decisions are made thoughtfully, a curbless shower is one of the most worthwhile investments in a bathroom renovation. The accessibility benefit alone makes it worth serious consideration for any homeowner thinking about the next twenty years in their home, not just the next two.
The caution I give every client before we start is the same: the decision to build curbless commits you to a level of precision and investment that a standard shower does not. If the budget is tight, it is better to build a standard shower properly than a curbless shower inadequately. A properly built curbless shower at $12,000 is a great renovation. A poorly built curbless shower at $8,000 is an expensive problem that will cost more than the savings to fix.
If the structural conditions work, the budget is realistic, and you have a contractor who clearly understands the engineering, then yes, build the curbless shower. It is worth it.