The January Reset: A 5-Day Non-Toxic Bathroom Detox Guide
There’s a specific feeling that hits right around the third week of January. The holiday decorations are finally tucked away, the house feels a bit quiet, and suddenly, you start noticing the "winter layers." Maybe it’s a bit of dust on the baseboards or that lingering dampness in the bathroom air that just won't go away.
While the rest of the world waits for April to start "spring cleaning," I’ve always found that getting a head start in January makes the whole year run smoother. A clean bathroom isn't just about sparkling tiles; it’s about your health and making sure your home can breathe during these months when the windows stay shut.
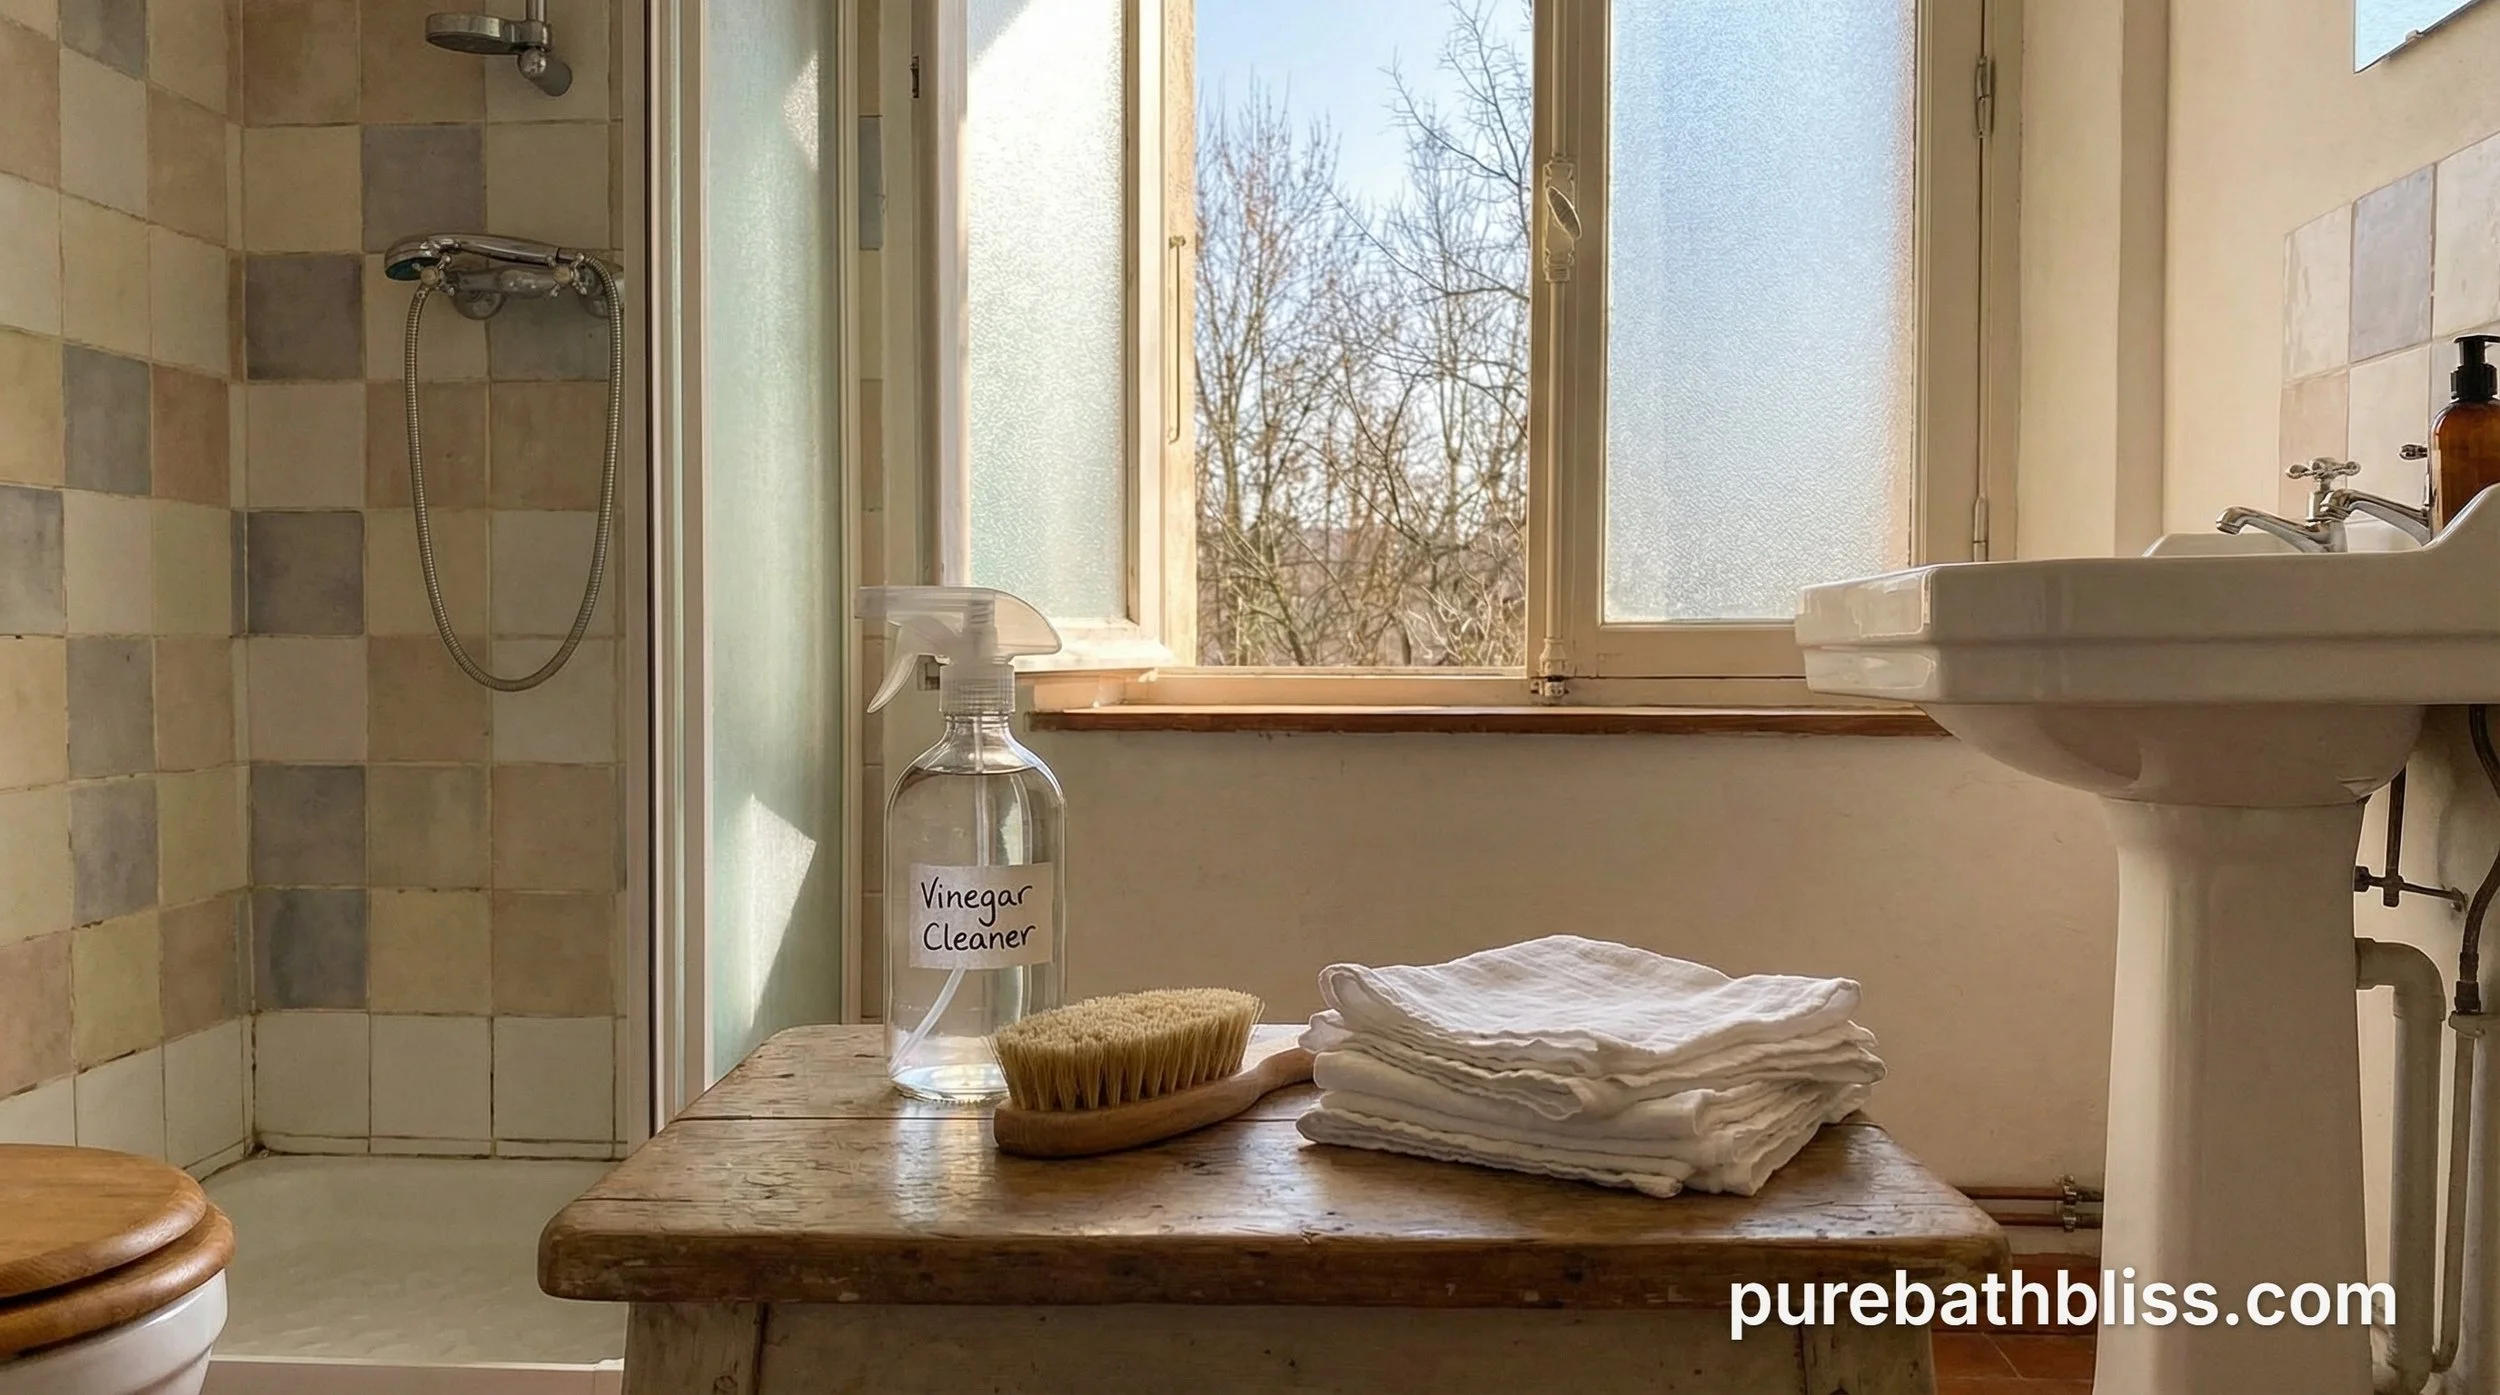
In this guide, we’re going to walk through a simple, back-to-basics detox. We’re skipping the harsh fumes and the expensive plastic bottles of "blue liquid." Instead, we’re focusing on honest, effective methods to give your bathroom a fresh start for the new year.
Why a "January Reset" for the Bathroom?
During the winter, we keep our windows shut tight. This means the air in our bathrooms, the most humid room in the house, becomes stagnant. This is when mold spores love to settle and when dust mites thrive. By doing a deep detox now, you’re clearing out the allergens before the spring pollen season even begins.
Day 1: The Air and Light Audit
Before we scrub a single tile, we have to look at the "invisible" parts of the bathroom.
The Fan Check
I’ve mentioned before Why Fan Location in the Bathroom Matters? but today is the day you actually get up there. If you pull the cover down (it usually just clips on with two metal springs), you can wash it in the sink with warm, soapy water. While it's drying, take your vacuum attachment and get the dust bunnies out of the motor. You’ll be surprised how much quieter and stronger your fan is once it’s not fighting through a thick layer of dust.
The Window Treatment
If you have a window in your bathroom, it’s likely collected a layer of "steam film." Clean it with a simple 50/50 mix of water and white vinegar. While you're there, check the seals for any black spots. If you see them, it's time to increase that airflow!
Day 2: The Vertical Surfaces (Walls & Ceilings)
We usually clean the floors, but we often forget that steam rises.
Dusting the Ceiling
Take a microfiber mop or a cloth wrapped around a broom and wipe down the ceiling. You’d be surprised how much dust clings to the moisture up there. This is a huge step in preventing that "musty" bathroom smell.
The Mirror and Sconces
Using your vinegar spray, wipe down the mirrors. If you have glass light fixtures, take them down and give them a quick wash. It’s amazing how much brighter the room feels when the light isn’t fighting through a layer of hairspray and dust.
Day 3: The "Gunk" Deep Dive
Today is the day we tackle the stuff we usually ignore.
The Toothbrush Station
Even if you’ve been following our How to Clean Your Electric Toothbrush guide, give the whole charging area and the cup holder a deep scrub today. If you have a ceramic holder, pop it in the dishwasher or soak it in hot water and lemon juice.
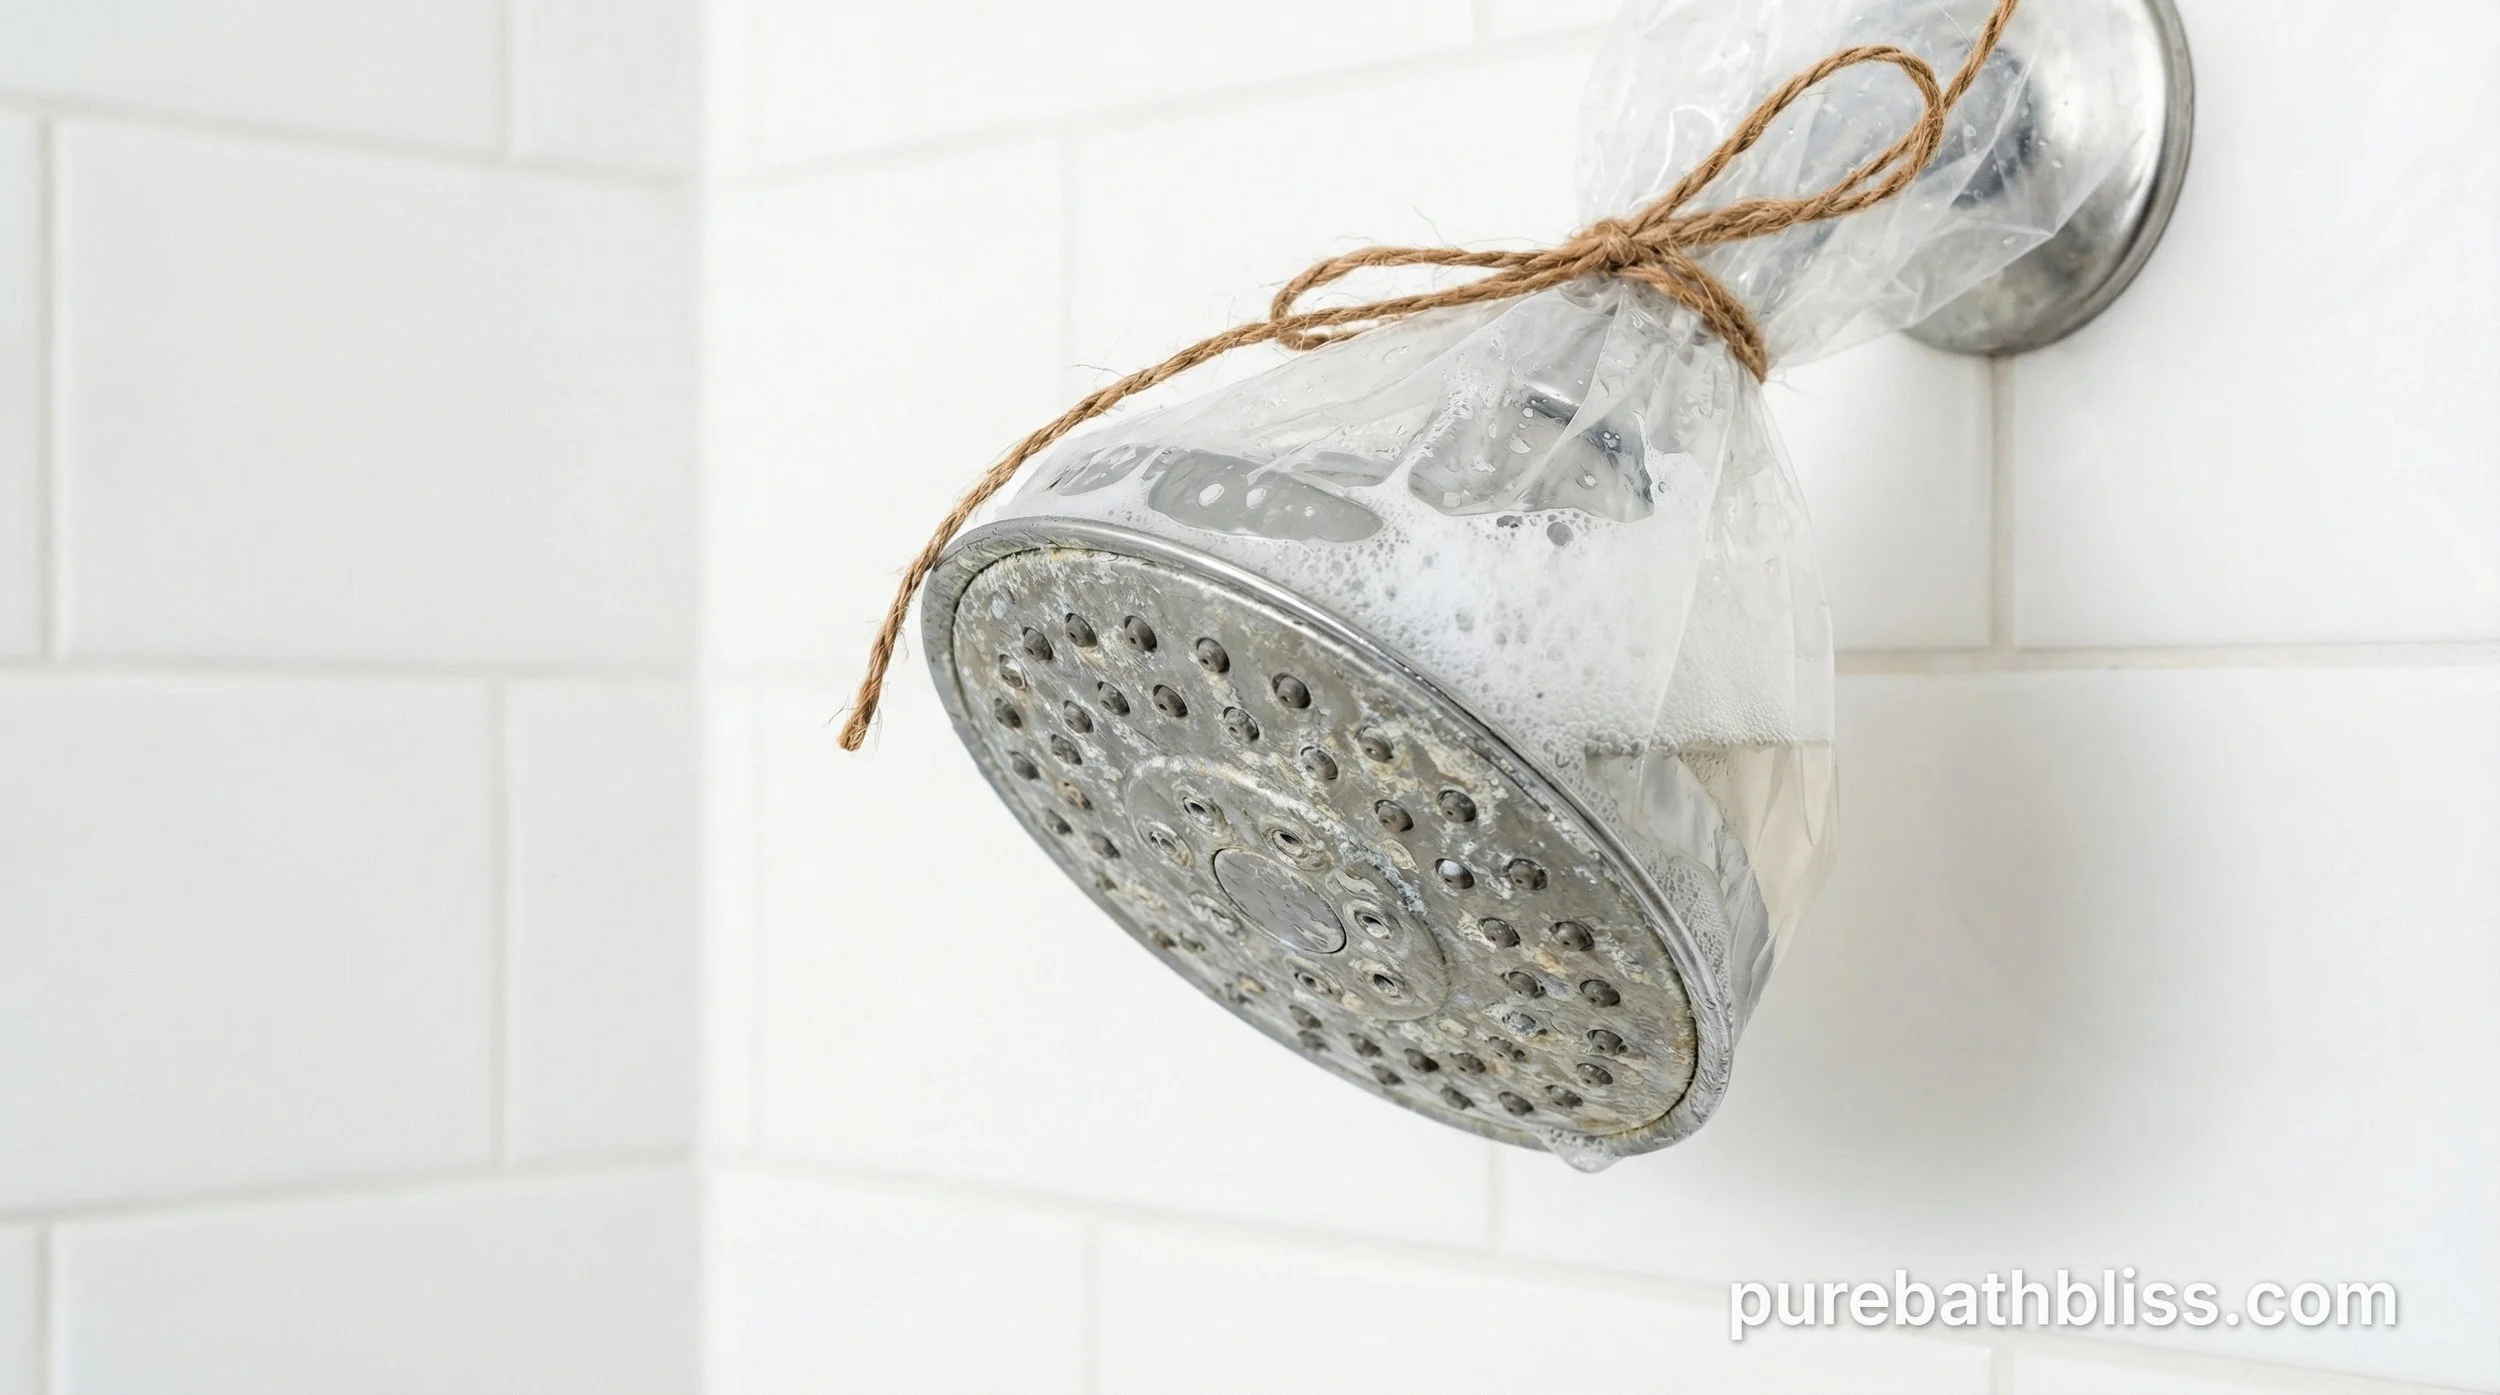
The Shower Head
If your water pressure feels a bit "wimpy," it’s likely calcium buildup. Tie a bag of white vinegar around your showerhead with a rubber band and let it soak overnight. In the morning, the mineral deposits will be gone, and it’ll spray like new.
Day 4: The Cabinet Cull (Zero-Waste Style)
We all have that "drawer of forgotten things." January is the time to face it.
Audit Your Products
Empty every drawer. Check the expiration dates on sunscreens and medications.
The Eco-Way: If you have half-used bottles of stuff you don't like, don't just toss them. See if a local "Buy Nothing" group wants them, or use old shampoos as a pre-wash for your delicate laundry.
Organize: This is the perfect time to use some of those 10 Zero-Waste Toilet Paper Storage ideas or upcycled jars to keep things tidy for the rest of the year.
The Plant Health Check
Check your bathroom plants while you're in there. If you notice a bit of white fuzz on the soil, it’s just the plant’s way of saying the winter air is too still. I usually just scrape that top layer off and sprinkle a little cinnamon on the spot; it's a fantastic natural antifungal that won't harm your pets or kids.
Day 5: The "Wet Zone" and Floors
We save the heavy lifting for the last day so the room feels brand new for the weekend.
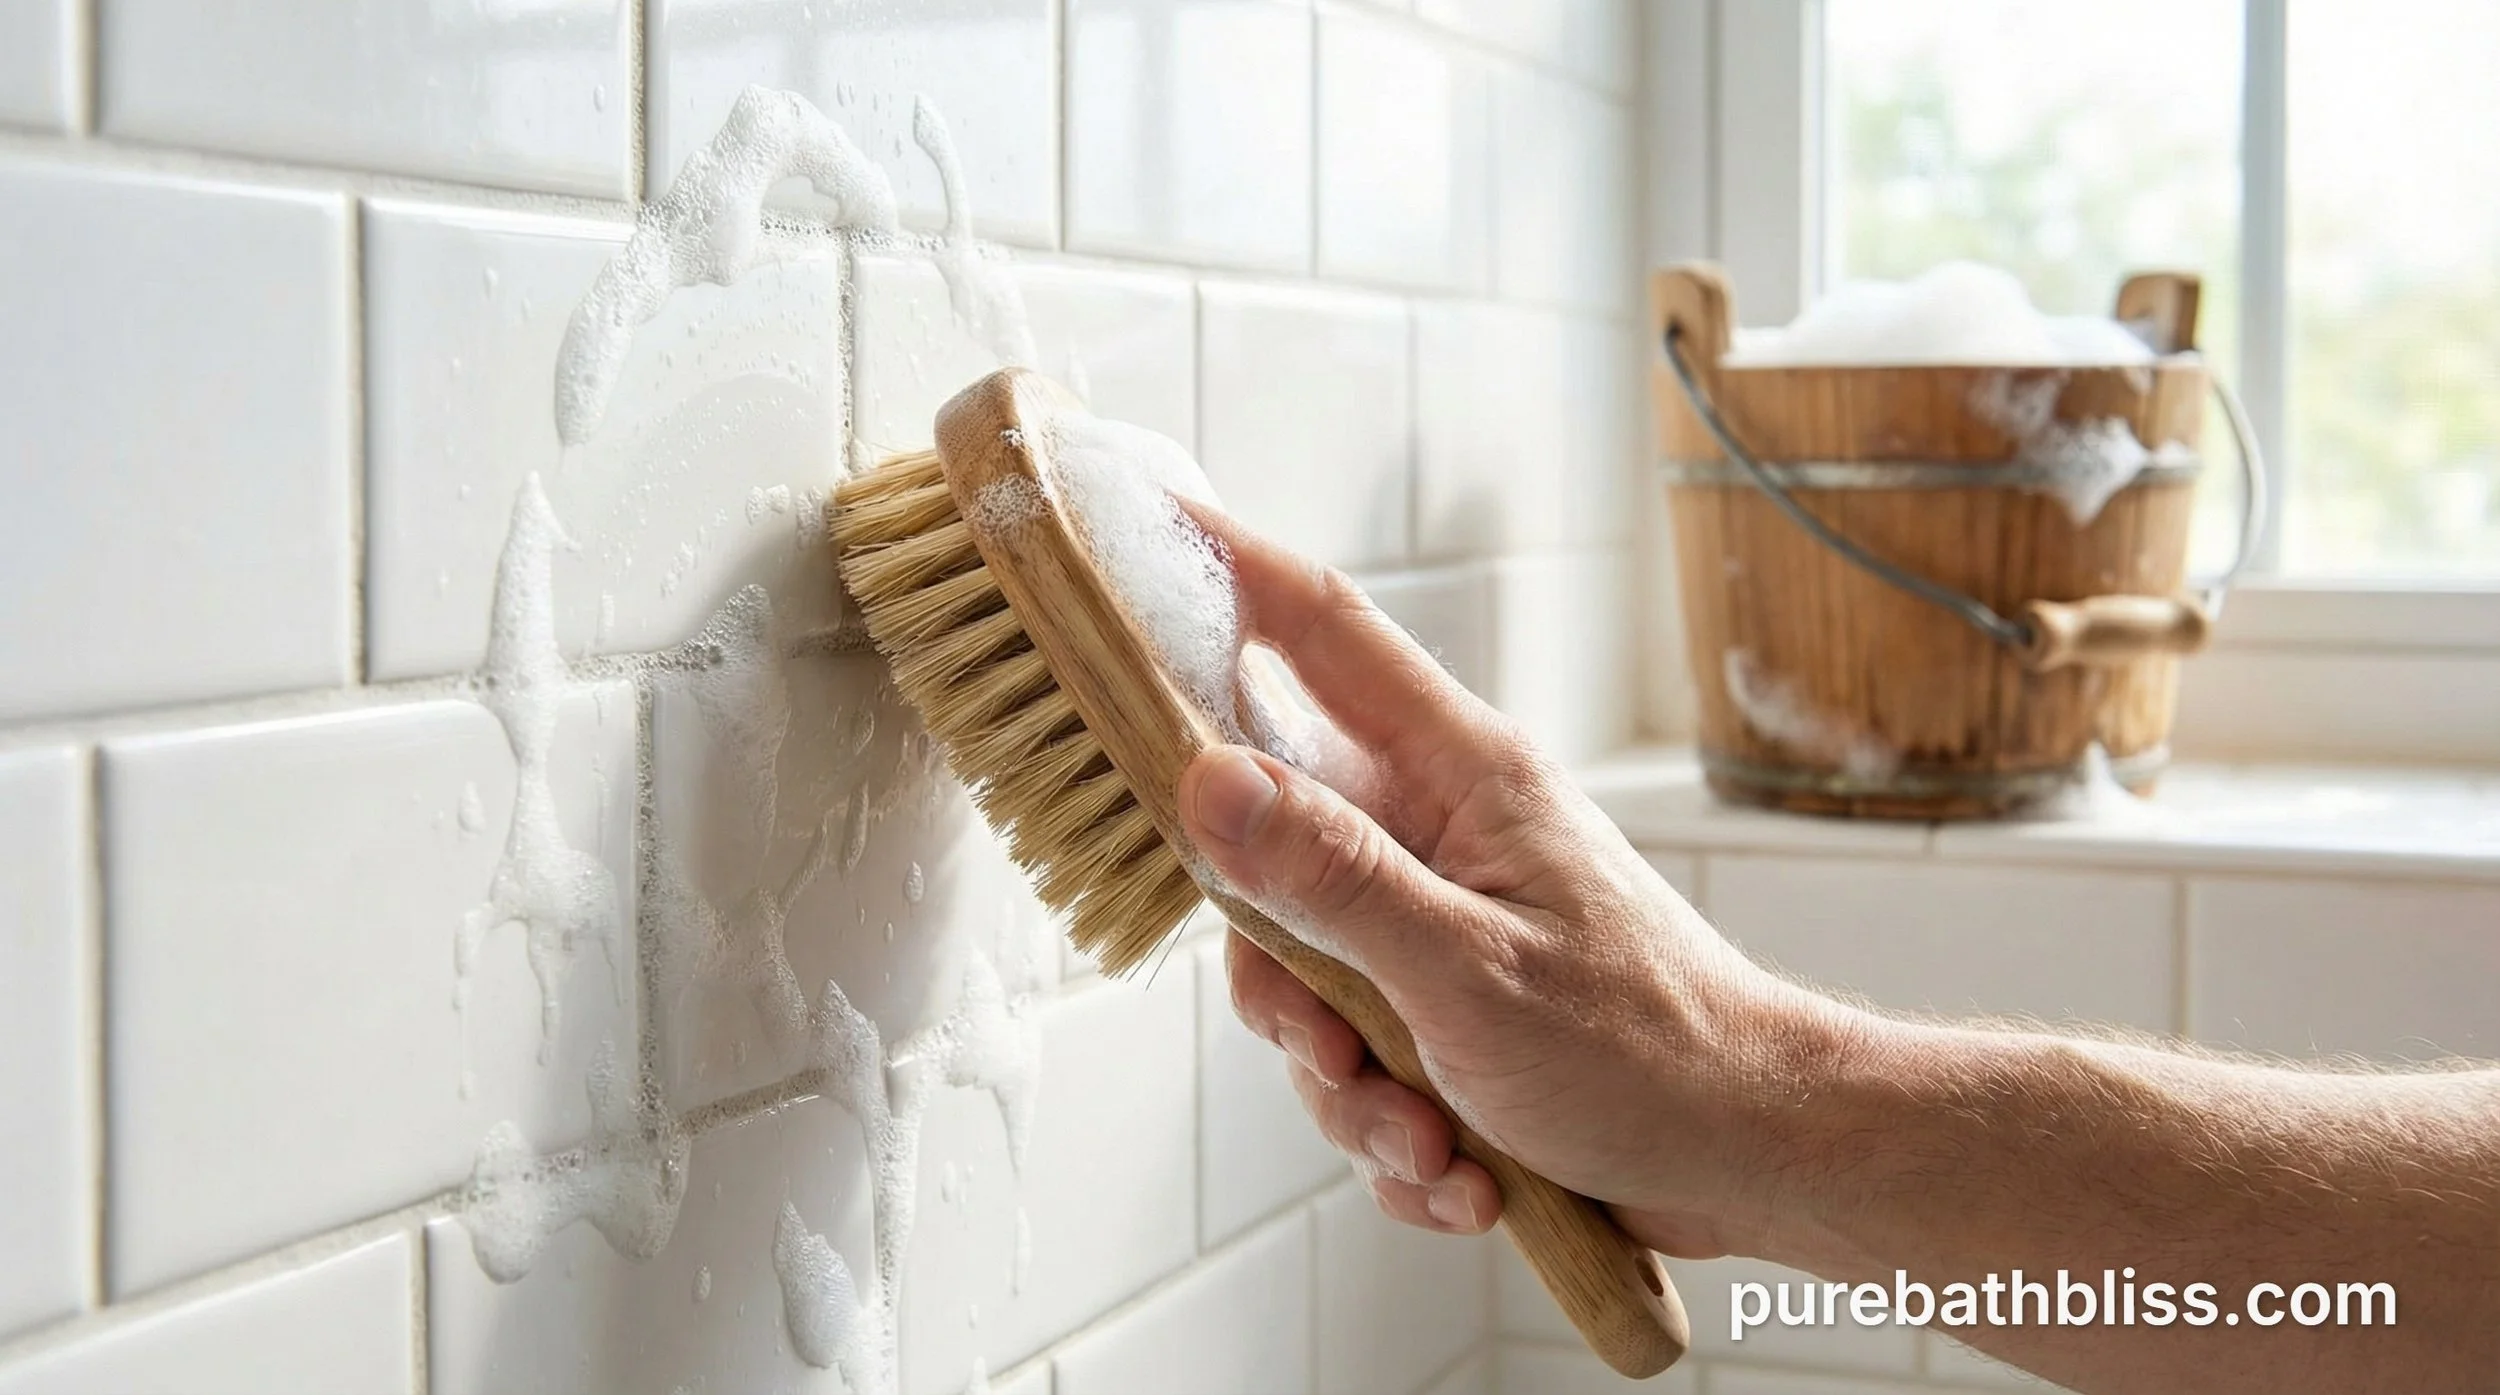
Tub and Tile
Instead of reaching for those harsh, bleach-heavy cleaners that make your eyes water, try making a paste out of baking soda and a little bit of castile soap. It’ll cut through soap scum better than just about anything else.
The "Old Reliable" Tool: I never toss my old bamboo toothbrushes. They are the absolute best tools for scrubbing those tiny grout lines and the tight corners around the taps where a big brush just can't reach.
Final Floors
Wipe down the baseboards with a damp cloth first, then mop the floor with warm water and a few drops of eucalyptus oil. It smells like a professional spa and helps keep the air feeling clear.
Conclusion: A Breath of Fresh Air
By the time you finish up on Day 5, you’ll notice your bathroom doesn't just look better, it feels lighter. You’ve cleared out the winter stagnation and sanitized the hidden corners, and you did it all without a single harsh chemical.
That’s the beauty of a January reset. You aren't just cleaning; you're setting a healthy, vibrant tone for the rest of your year. Now, if I were you, I’d go run a bath with that DIY Lavender Oat Soak we made; you’ve certainly earned a little break!