The Ultimate Guide to Renter-Friendly Bathroom Upgrades That Look High-End
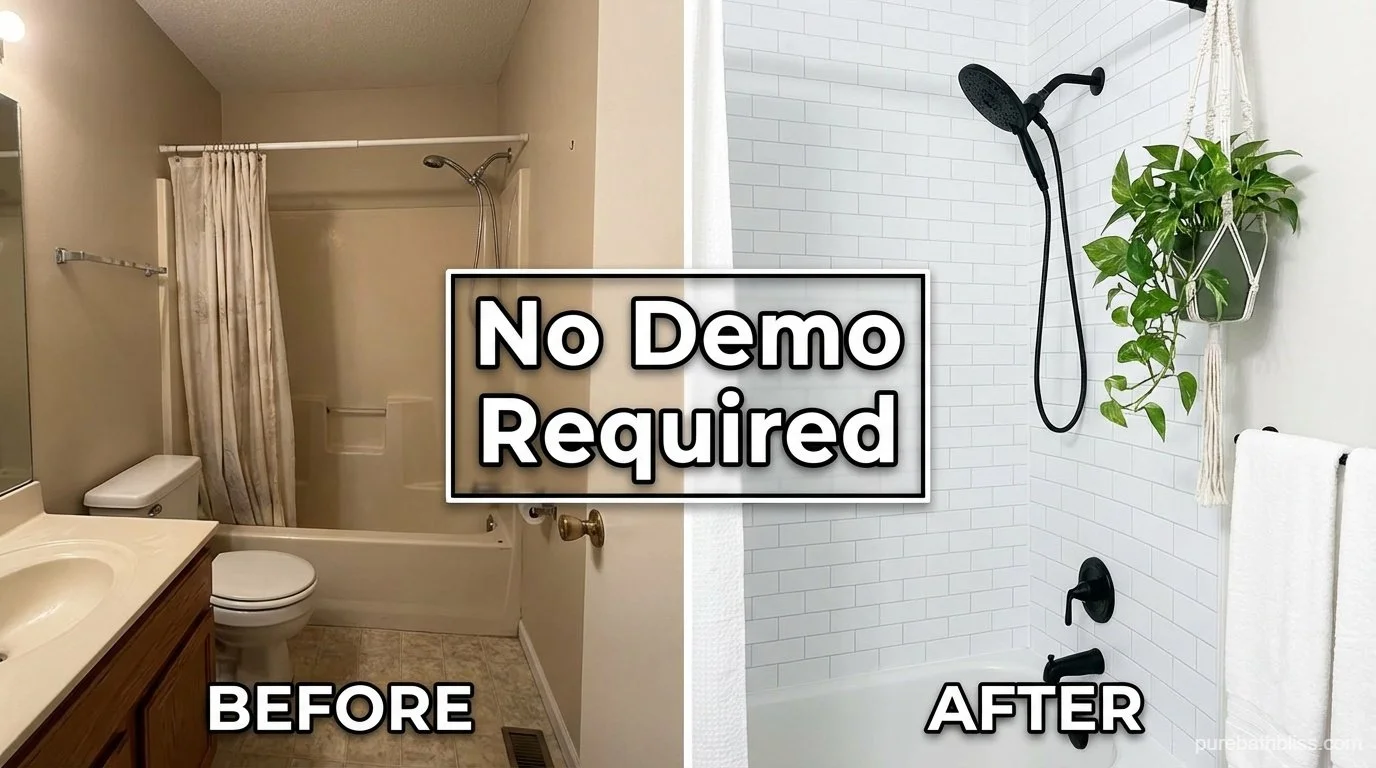
Living in a rental (or a home you aren't ready to gut-renovate yet) often means living with someone else’s questionable design choices.
Maybe it’s the "landlord special" beige paint, the chipped linoleum floors, or a vanity light that looks like it belongs in a backstage dressing room circa 1985. You want a spa-like sanctuary, but your lease says "no permanent changes."
The good news? You don't need a sledgehammer to transform a space.
The era of "Renter-Friendly" design has exploded. We now have access to high-quality, removable materials that look and feel just like the real thing. You can cover ugly floors, swap outdated hardware, and upgrade your lighting—all without risking your security deposit.
Here is the PureBathBliss guide to the "No-Demo Renovation." These 5 upgrades are fully reversible, eco-conscious, and can be done in a single weekend.
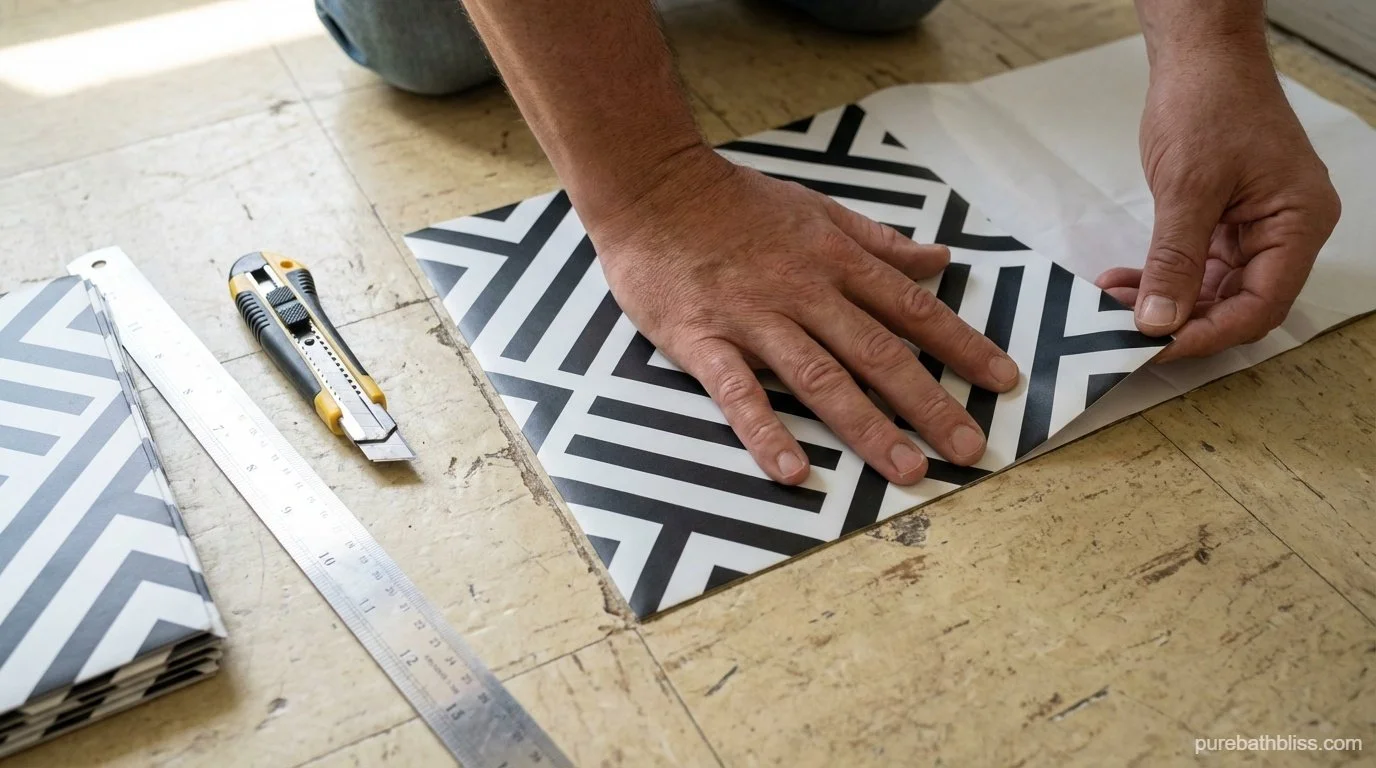
1. The Floor: Covering the "Ugly" with Peel-and-Stick
Nothing dates a bathroom faster than yellowing vinyl or cracked 1970s tile. Since you can’t rip it out, you cover it up.
The Solution: Heavy-Duty Peel-and-Stick Vinyl Tile. Forget the flimsy stickers of the past. Modern renter-friendly floor tiles are thick, textured, and water-resistant. They go right over the existing floor.
The Prep: This is non-negotiable. You must clean the existing floor thoroughly. We recommend using our Distilled Vinegar Ritual to remove every ounce of grease and hair before applying.
The Look: Go for a high-contrast pattern (like a black-and-white encaustic look) or a faux slate. Avoid faux wood planks in a bathroom—they often look cheap next to a real wood vanity.
The Removal: When you move out, use a hair dryer to warm up the glue, and they peel right off without leaving residue.
2. The Shower: The $40 Spa Upgrade
Most rentals come with a showerhead that is either caked in calcium or sprays water with the pressure of a garden hose.
The Solution: Swap the Head. This is the single easiest plumbing change you can make.
Unscrew the old showerhead (you might need a wrench).
Keep it in a box. (Crucial step! You must put it back when you move out).
Screw on a new, high-pressure rainfall showerhead or a filtered model.
Why it Matters: Beyond the aesthetics, a filtered showerhead protects your skin and hair from hard water and chlorine. (Read more about water quality in our Water Audit Guide).
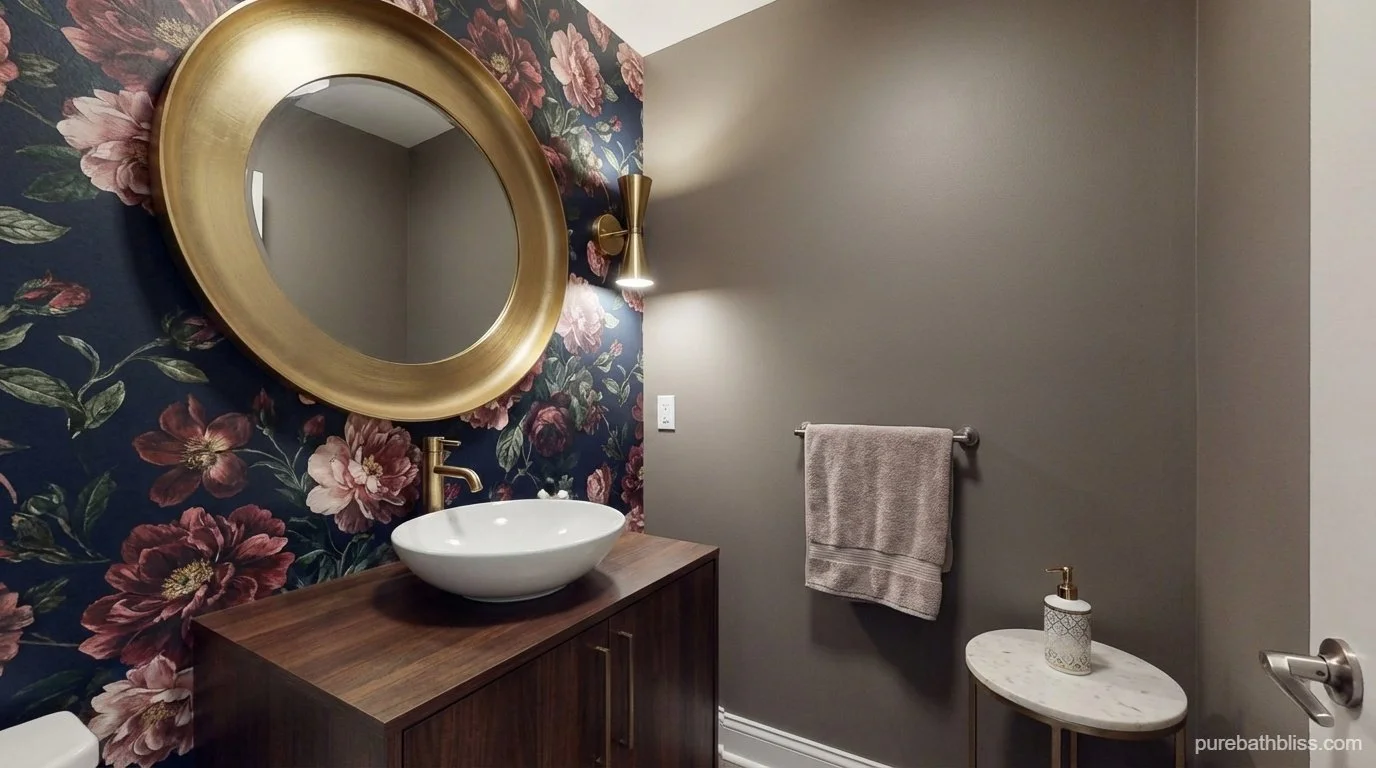
3. The Walls: Wallpaper & "Sharpie Shiplap"
Bathrooms are small, which makes them the perfect canvas for bold walls. But painting is a pain, and landlords often charge you to paint it back.
Option A: Removable (Peel-and-Stick) Wallpaper. Use a "Vinyl" based wallpaper that is designed for high-humidity areas.
Design Tip: Don't wallpaper the whole room. Create one "accent wall" behind the vanity or the toilet. It creates a focal point that distracts the eye from less desirable features.
Option B: The "Sharpie Shiplap." If you have white walls and a steady hand, use a black paint pen and a long level to draw horizontal lines every 6 inches. It mimics the look of modern farmhouse shiplap for the cost of a marker.
4. The Vanity: Hardware & Contact Paper
You probably can't replace the cabinet, but you can give it a facelift.
The Hardware Swap: Cabinet knobs are the "jewelry" of the bathroom. Unscrew the generic builder-grade knobs and replace them with matte black, brushed gold, or leather pulls.
Tip: Measure the "center-to-center" distance of the screw holes on your current handles before buying new ones to ensure they fit.
The Countertop Hack: If your vanity top is a stained, faux-marble nightmare, cover it with Marble Contact Paper.
Buy a "wide width" roll to avoid seams.
Use a squeegee to smooth out bubbles as you go.
Seal the edges with clear silicone caulk to prevent water from peeling it up.
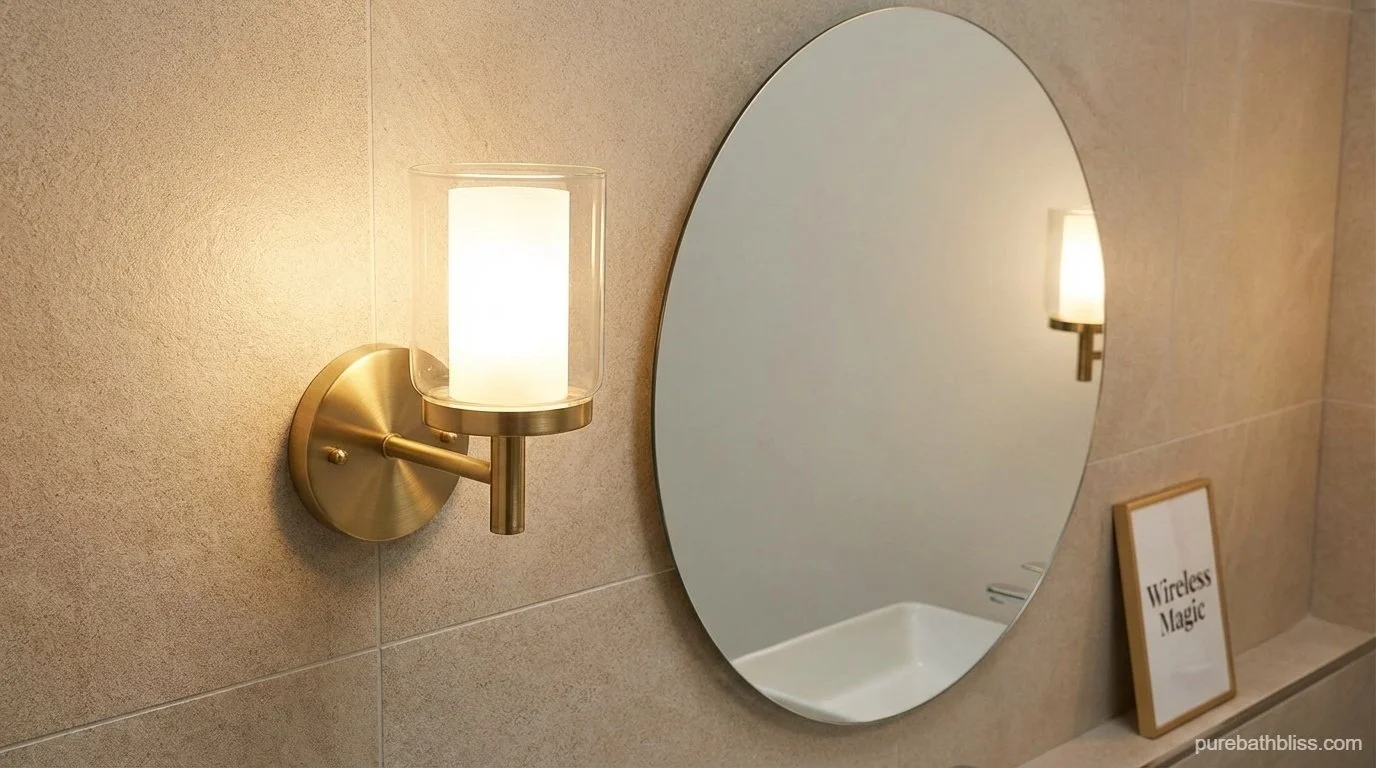
5. The Lighting: No Electrician Needed
Rental lighting is notoriously harsh and unflattering.
The Sconce Hack: Love the look of wall sconces but have no wiring for them?
Buy a pair of beautiful sconces.
Mount them to the wall (no wires needed).
Instead of a lightbulb, place a remote-controlled "Puck Light" inside the shade.
Voila: moody, ambient lighting that you can control with a clicker.
The Bulb Swap: If you can't change the fixture, change the bulb. Swap cool-white (blueish) bulbs for "Warm White" (2700K) or Full Spectrum bulbs to instantly make the room feel cozier and healthier.
6. The Finishing Touches: Texture & Life
Once the "hard" materials are covered, soften the space.
The Curtain: Ditch the cheap plastic rod. Install a tension rod high up (near the ceiling) and hang a long, waffle-weave or hemp curtain. The height makes the room feel massive.
The Greenery: No window? No problem. Add a Snake Plant or ZZ Plant to the counter. It adds life and filters the air.
The Rug: Swap the tiny "bath mat" for a small vintage-style runner rug (washable, of course). It covers more ugly floor and adds character.
Conclusion: It's Your Home (For Now)
Just because you don't own the deed doesn't mean you can't own the experience.
Your bathroom is where you start and end your day. It should reflect your taste, not your landlord's budget. With a few rolls of adhesive vinyl and a Saturday afternoon, you can turn a rental "box" into a Pure Bath Bliss sanctuary.
Ready to tackle the clutter now that the room looks great? Dive into our guide on The Zero-Waste Sanctuary: Organizing Your Vanity.