Detox & Purifying Shower Steamers: The Lemongrass + Tea Tree Reset
Transparency Note: We independently select these products based on research and user reviews. If you buy something through our links, we may earn a commission.
As a carpenter, I spend my days covered in sawdust, wood glue, and insulation. By the time I get home to my four kids, I don’t just need a shower, I need a total system reset. In my experience, the bathroom is the most important "Utility Room" in the house for mental health. If the air is heavy and the vibe is sluggish, you aren't getting the recovery you need to tackle the next day's build.
In 2026, the trend in Air Quality & Healthy Home is all about "Aromatic Infrastructure." We aren't just masking odors; we are using essential oils to physically alter our environment. These DIY Detox & Purifying Shower Steamers are my go-to for days when the "mental fog" is thick. Lemongrass provides an immediate energy jolt, while tea tree offers that clean, medicinal purity that makes a standard bathroom feel like a high-end spa.
In this guide, I’ll show you the "Builder’s Method" for crafting these steamers so they don’t crumble, along with the specific Amazon-sourced materials I use to get a professional, long-lasting fizz.
Why You’ll Love This Steamer
If you’ve been following our January Reset: 5-Day Non-Toxic Bathroom Detox, you know that synthetic "fragrance" is a no-go. This recipe uses 100% pure plant extracts. It’s perfect for days when you feel heavy or sluggish.
The lemongrass is an "Olfactory Anchor" that signals to your brain that it’s time to wake up, while the tea tree acts as a natural purifier. It’s the ultimate companion to a Morning Cold Plunge for those who want to maximize their alertness.
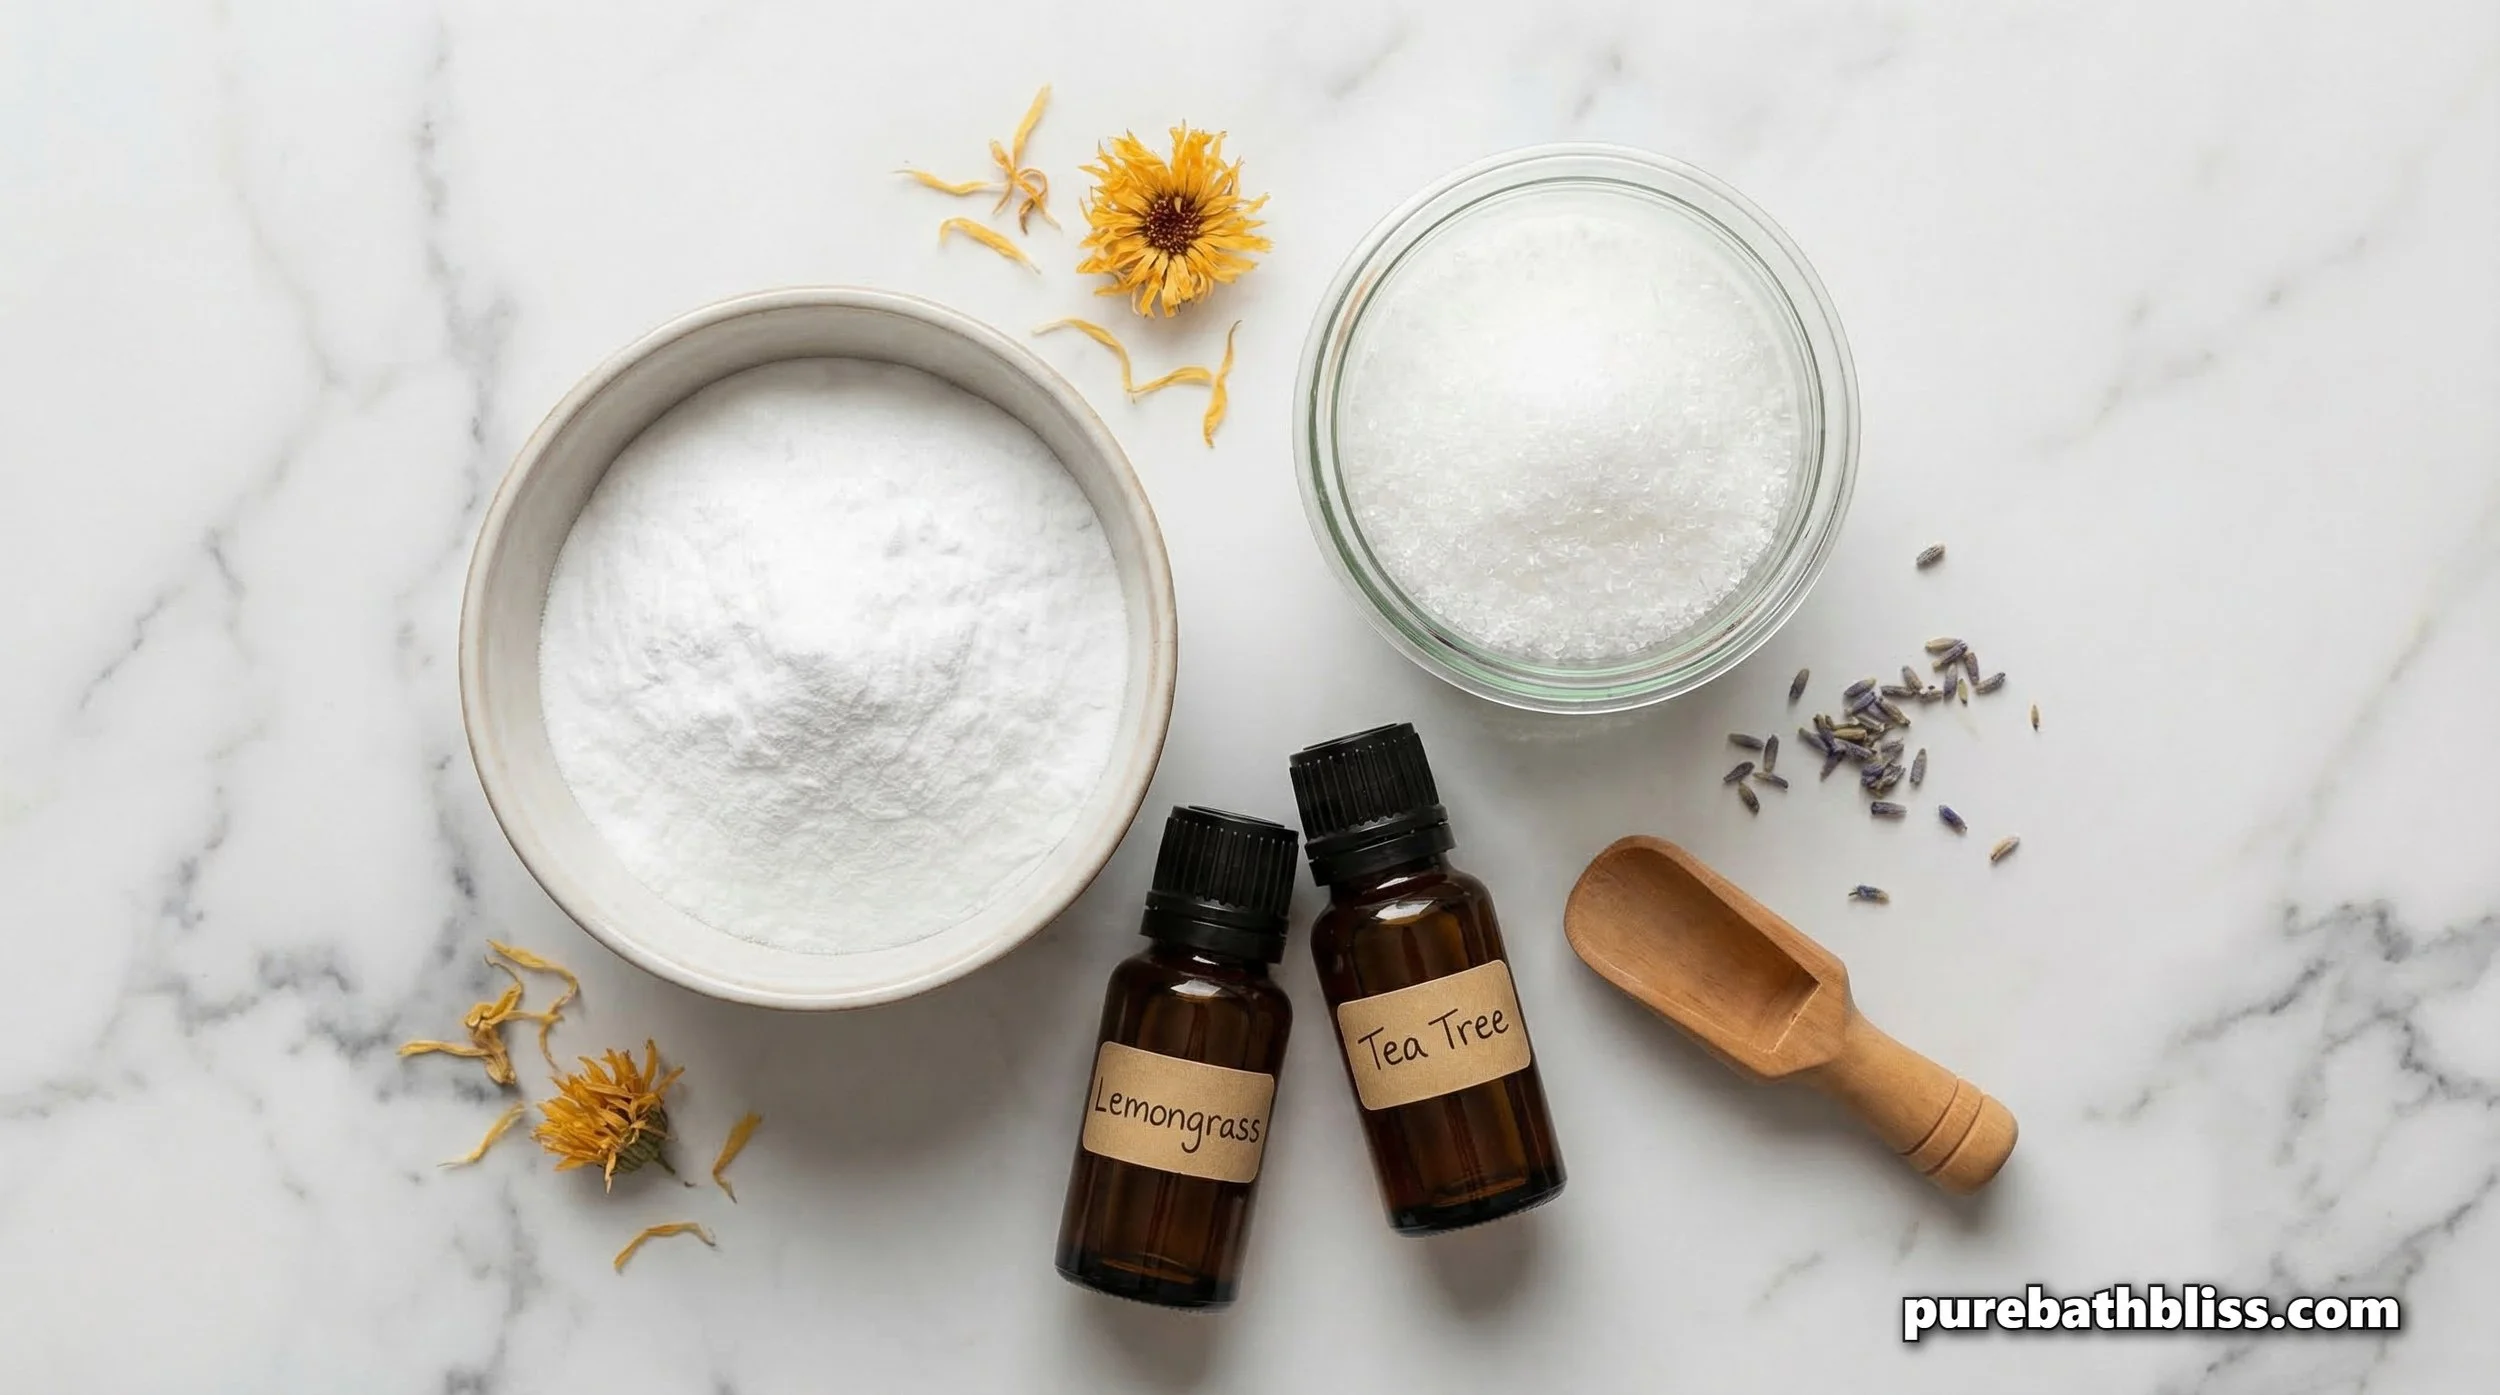
The Ingredient List
To get the right "set" on these steamers, quality matters. If your baking soda is clumpy or your citric acid is weak, they’ll fall apart before they hit the shower floor.
Food-Grade Citric Acid – This is the "Engine" of the steamer. Without high-purity citric acid, you won't get that satisfying, spa-like fizz.
Pure Lemongrass & Tea Tree Essential Oil Set – Look for therapeutic grade. Avoid anything labeled "Scented Oil," which is code for synthetic.
Silicone "Puck" Molds – I prefer the puck shape over hearts or stars. As a carpenter, I find they sit "flatter" on the shower floor and dissolve more evenly.
Cosmetic-Grade Yellow Mica Powder – This is optional, but a pinch of yellow mica gives the steamers a high end level of aesthetic finish.
The Recipe: Lemongrass + Tea Tree Blend
1 cup Baking Soda (The base)
½ cup Citric Acid (The fizz)
2 tbsp Cornstarch (The binder)
1–2 tbsp Water (Added slowly!)
20 drops Lemongrass Essential Oil
10 drops Tea Tree Essential Oil
Optional: Light yellow mica for color and dried calendula for texture.
Step-by-Step Instructions
As a builder, I know that the "Mix" is everything. If you add the water too fast, you’ll activate the citric acid in the bowl, and your steamers will be "duds" in the shower.
1. Prep the Dry Infrastructure
In a glass bowl, whisk together the baking soda, citric acid, and cornstarch. If you see clumps, sift them out. You want a consistent "Aggregate" for a smooth finish. Stir in the mica powder now if you’re using it.
2. Infuse the Scent
Add your lemongrass and tea tree oils directly into the powder. Stir well with a metal spoon. You’ll notice the scent immediately, it should feel like a Morning Reset for your senses.
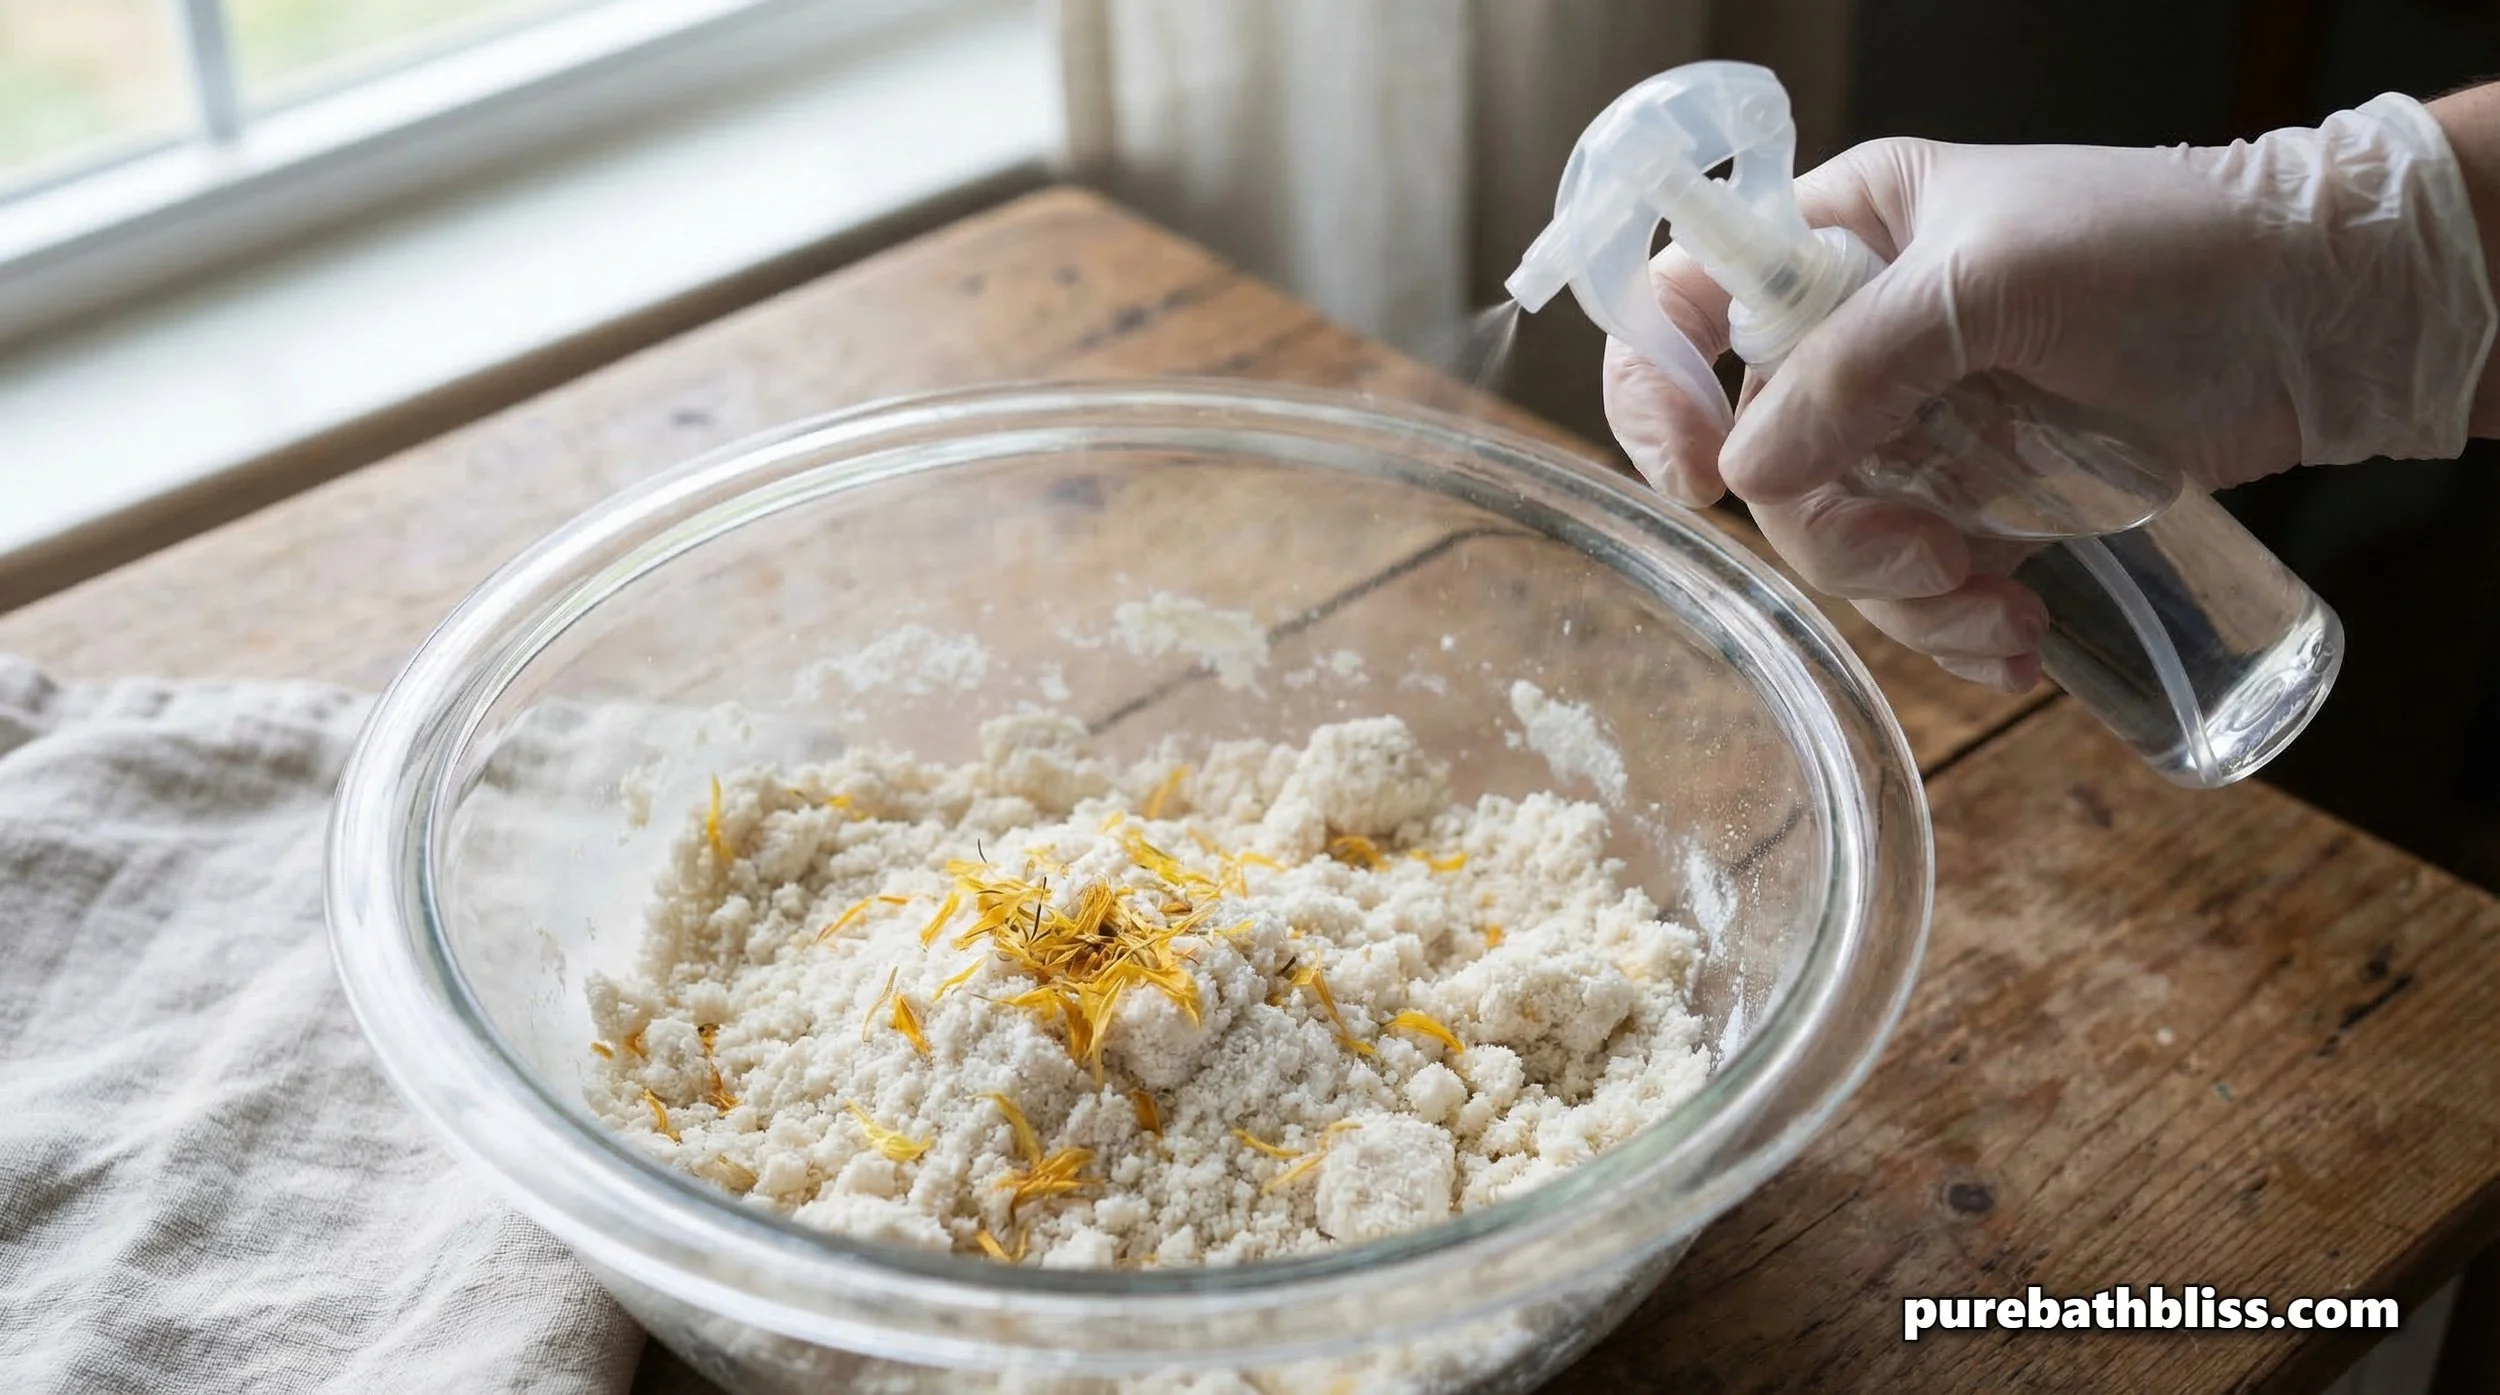
3. The "Damp Sand" Mist
This is the most critical step. Fill a small spray bottle with water. Spritz the mixture 2–3 times, then stir immediately. You are looking for the consistency of damp sand, the kind you’d use for a sandcastle. If you grab a handful and squeeze, it should hold its shape. If it crumbles, add one more spritz.
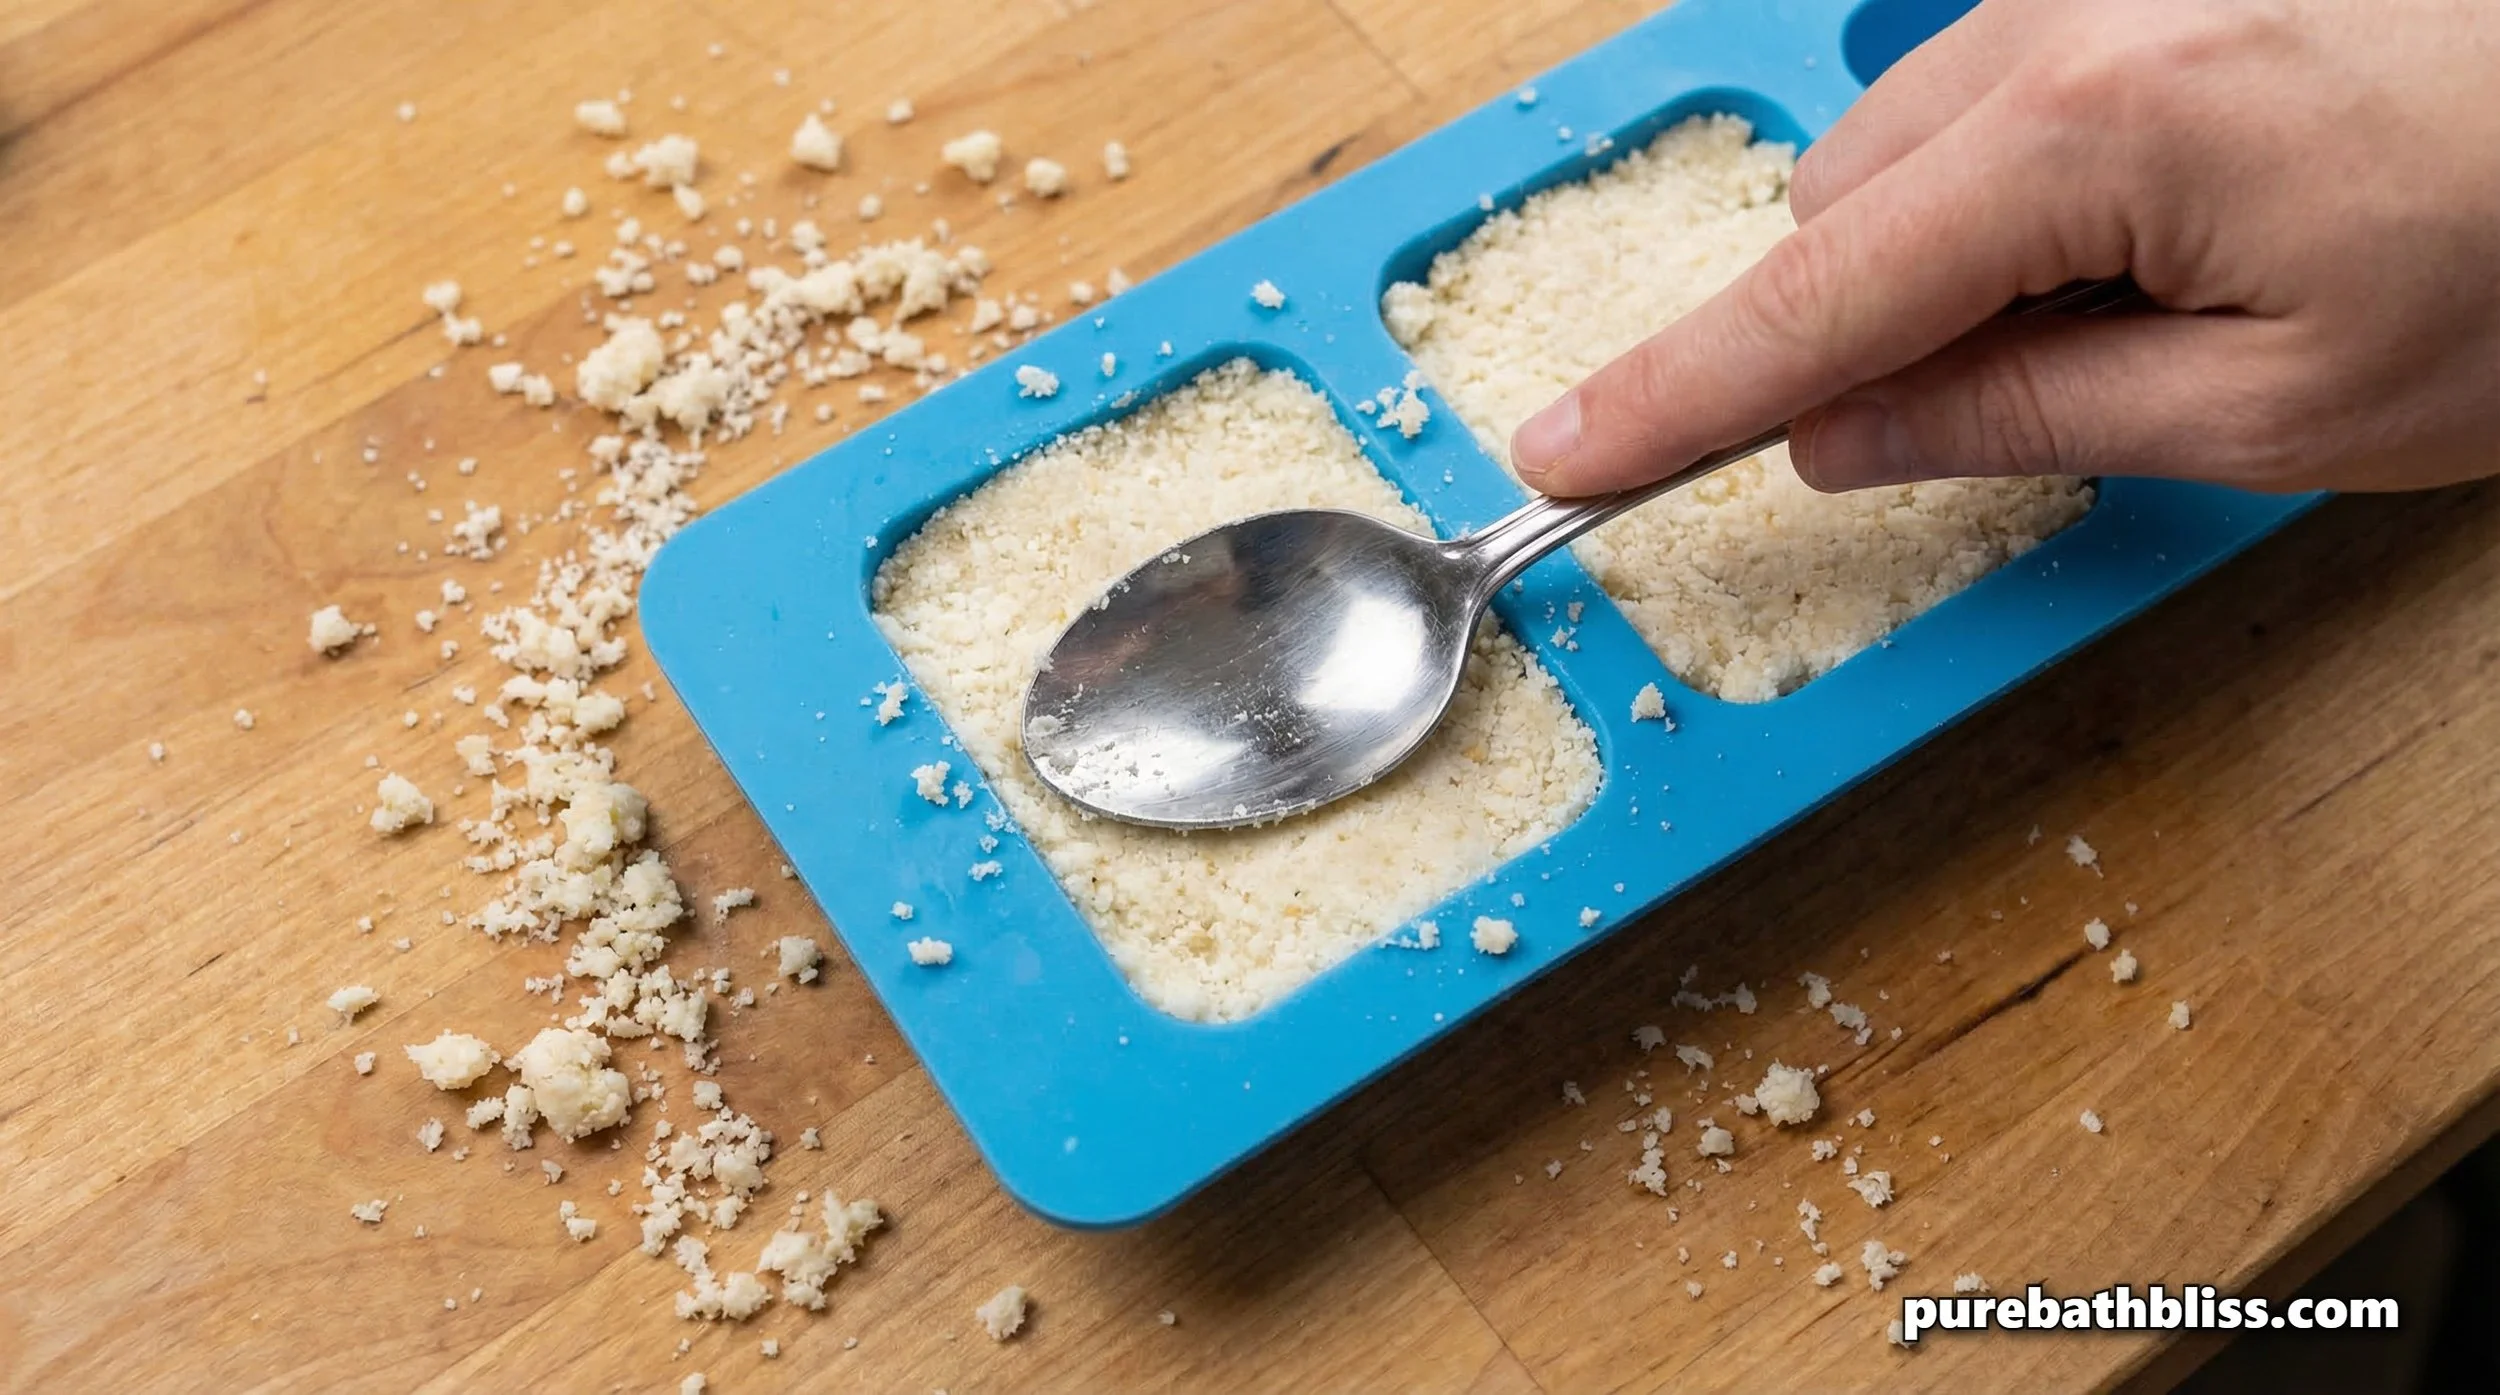
4. Mold and Set
If you’re using dried calendula, sprinkle a few petals into the bottom of your molds first. This creates a beautiful "Top" once you pop them out. Pack the mixture into the molds as tightly as possible. Use the back of a spoon to "tamp" it down, this is the same logic we use when recaulking a tub to ensure there are no voids.
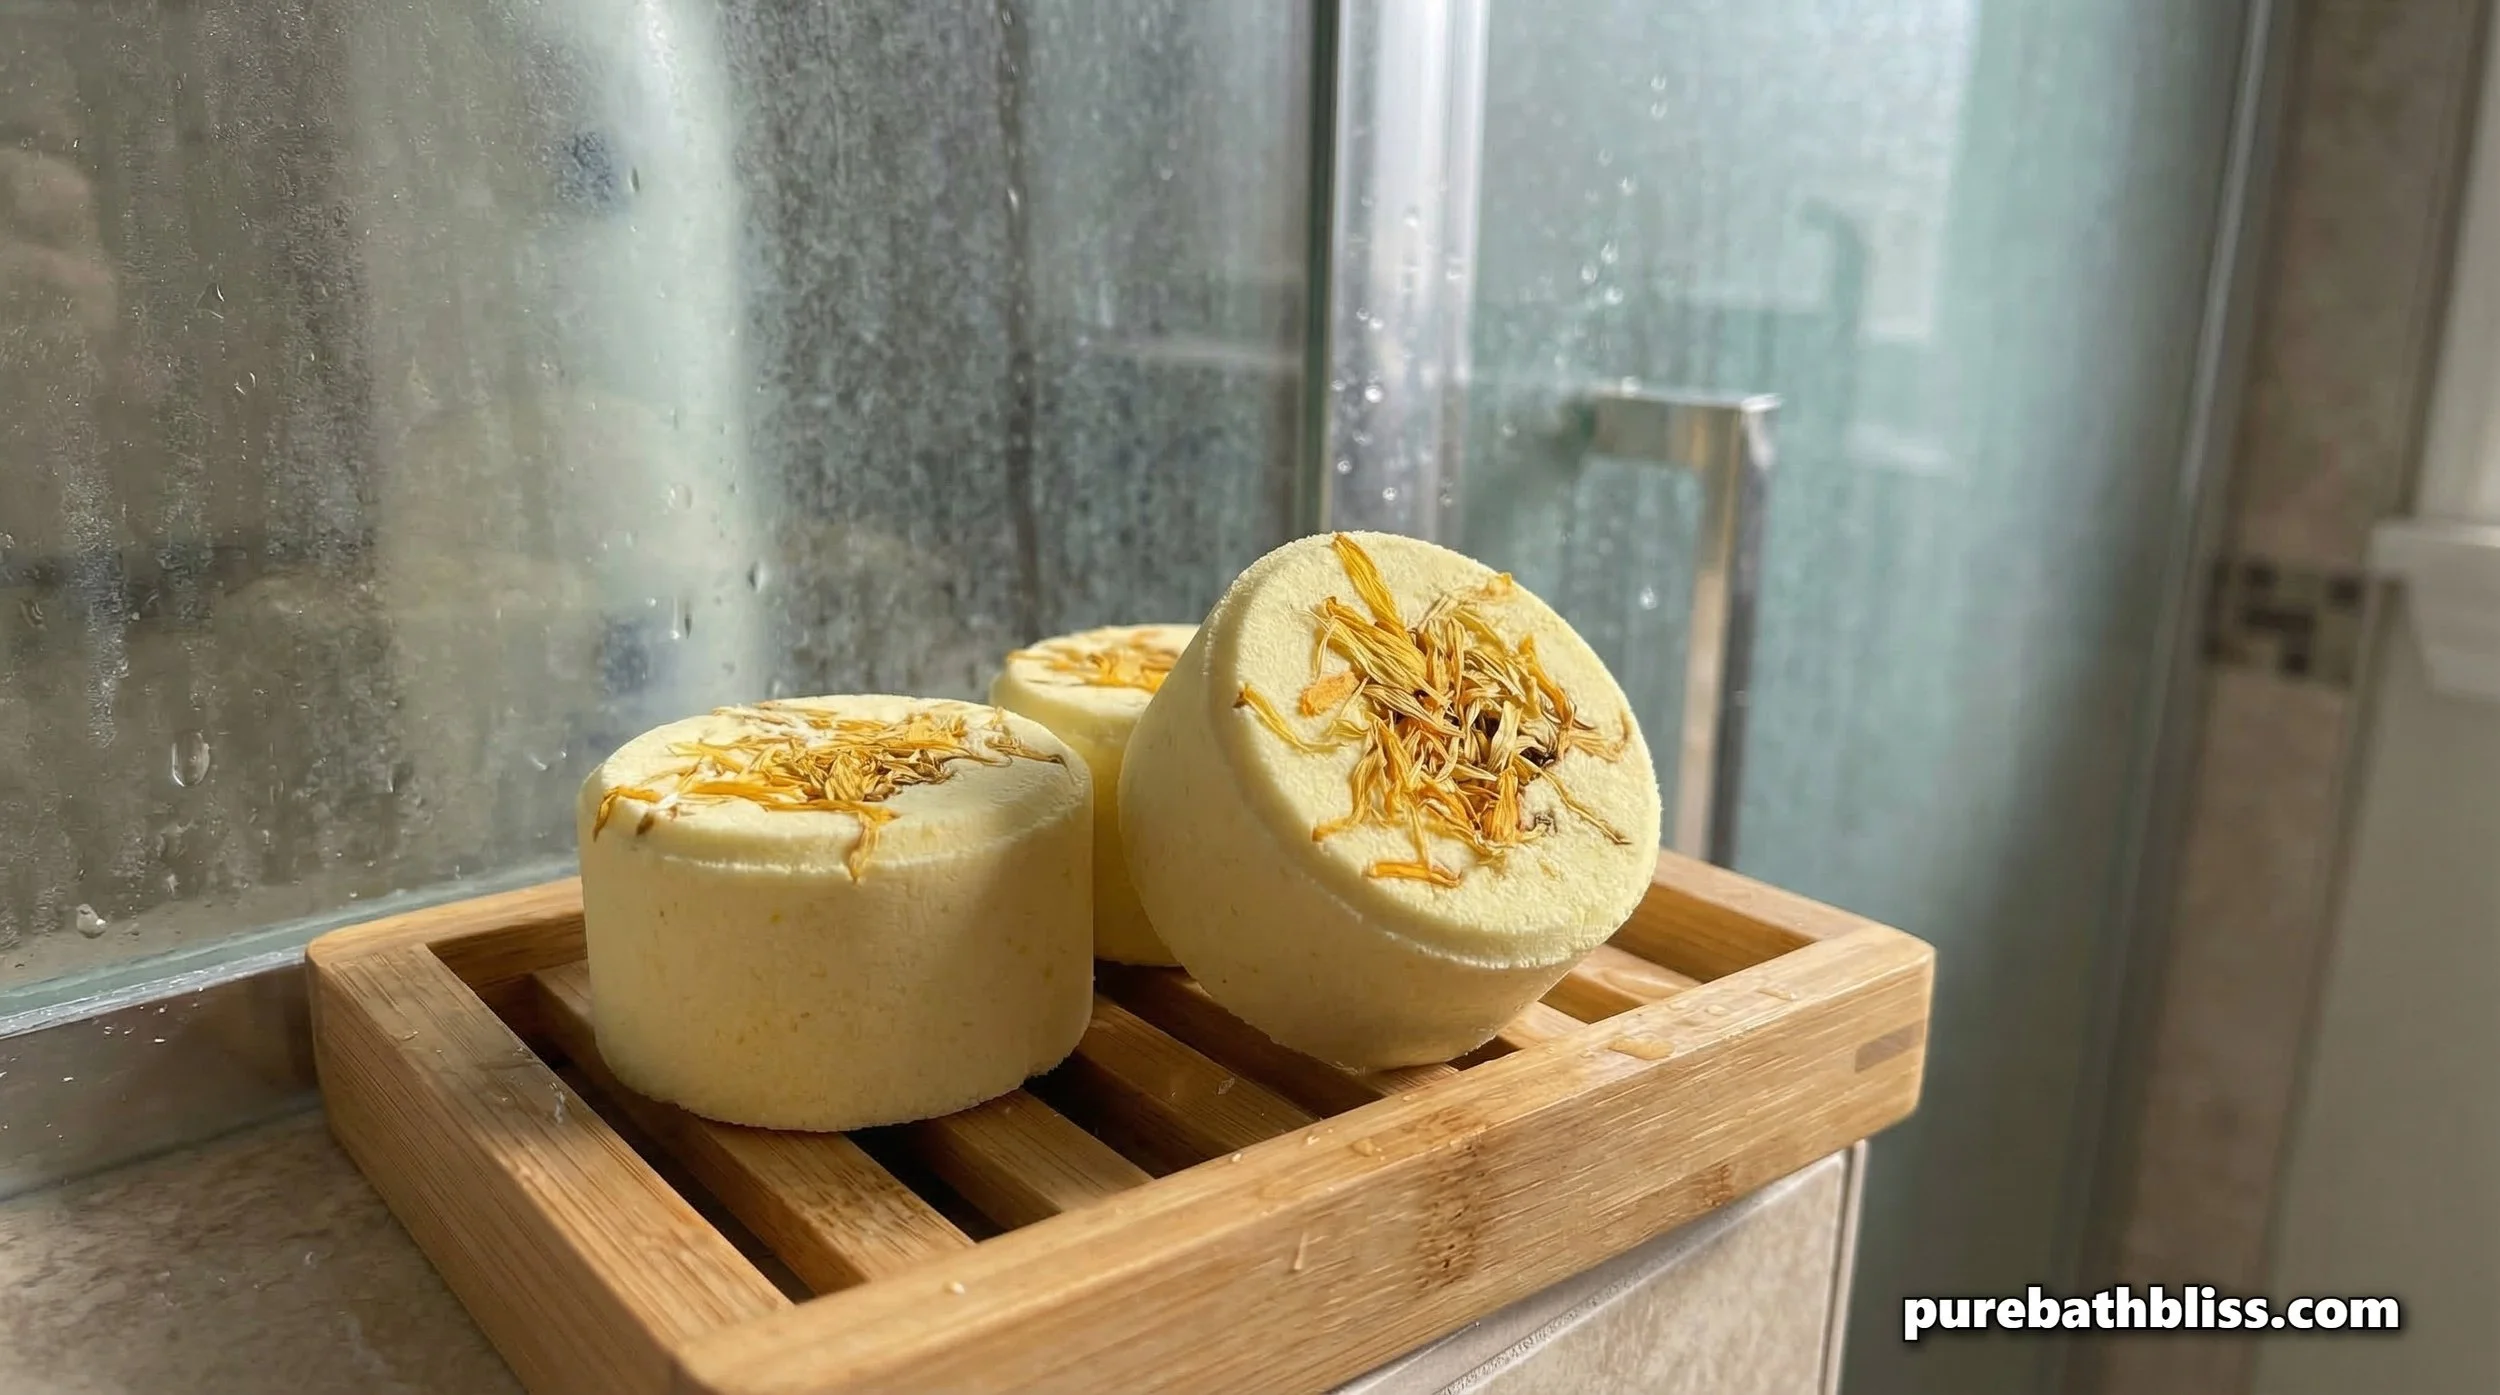
5. The Cure
Let the steamers sit in a dry place for 12–24 hours. In a humid bathroom, they might take longer. Ensure your bathroom fan is functioning properly to help pull the moisture out of the air during the curing process.
Pro-Tip for Longevity
Don't place the steamer directly under the showerhead. It will disappear in seconds. Instead, place it on a shelf or in the far corner where it only gets a light splash. This allows the steam to carry the oils upward, supporting the Psychology of a Clean Bathroom without wasting the product.
Summary: The DIY Steamer Checklist
Sift Your Dry Goods: No clumps allowed in professional-grade DIY.
Mist, Don't Pour: Avoid "accidental activation" of the fizz.
Pack it Tight: Pressure is what prevents crumbling.
Air Flow is Key: Cure your steamers in a well-ventilated room.
Placement Matters: Keep it out of the direct stream for a longer "Spa Experience."
Storage: Once dry, store them in an airtight jar to preserve the essential oils.
By making your own steamers, you are taking control of your home's air quality and creating a personalized wellness ritual that fits the reality of a busy family. It’s a simple, high-impact project that makes every shower feel like a "reset."