The Silent Water Thief: A Builder’s Guide to Diagnosing and Fixing a Leaky Toilet
A toilet that appears to leak can signal much more than just a plumbing annoyance; it is a disruption to your bathroom’s tranquility and a threat to your home's structural health. In a Sustainable Sanctuary, we see every drip as a wasted resource and every puddle as a potential risk for subfloor rot and mold growth.
Identifying the root cause of a leak is crucial for maintaining a clean, sustainable space. Whether it’s a phantom "trickle" in the middle of the night or dampness around the base, this guide will help you look behind the porcelain to find the "The Silent Water Thief" and restore your bathroom's efficiency.
1. The Signs: Listening to Your Home
Your home is always communicating with you; you just need to know what to listen for. A leaking toilet rarely stays "silent" for long.
Puddles or Dampness at the Base: This is the most visible sign of a "seal failure." If you see water creeping across the tiles, the connection between your toilet and the drain line has been compromised.
The "Phantom Flush" (Constant Running): If you hear water trickling into the bowl or the tank suddenly refilling when no one has used it, you have a "tank-to-bowl" leak. This can waste up to 200 gallons of water a day.
The Sewer Scent: A persistent "musty" or "sewer" smell, even after cleaning, almost always points to a wax ring failure. The wax ring isn't just a water seal; it’s a gas seal that keeps methane from the sewer system out of your home.
Discoloration and Soft Floors: If the floor around your toilet feels "spongy" or if the linoleum is bubbling, the leak has already reached your subfloor. This is a structural emergency that requires immediate attention.
2. Common Causes: Why Toilets Fail
Understanding the "why" helps you prevent the "next time."
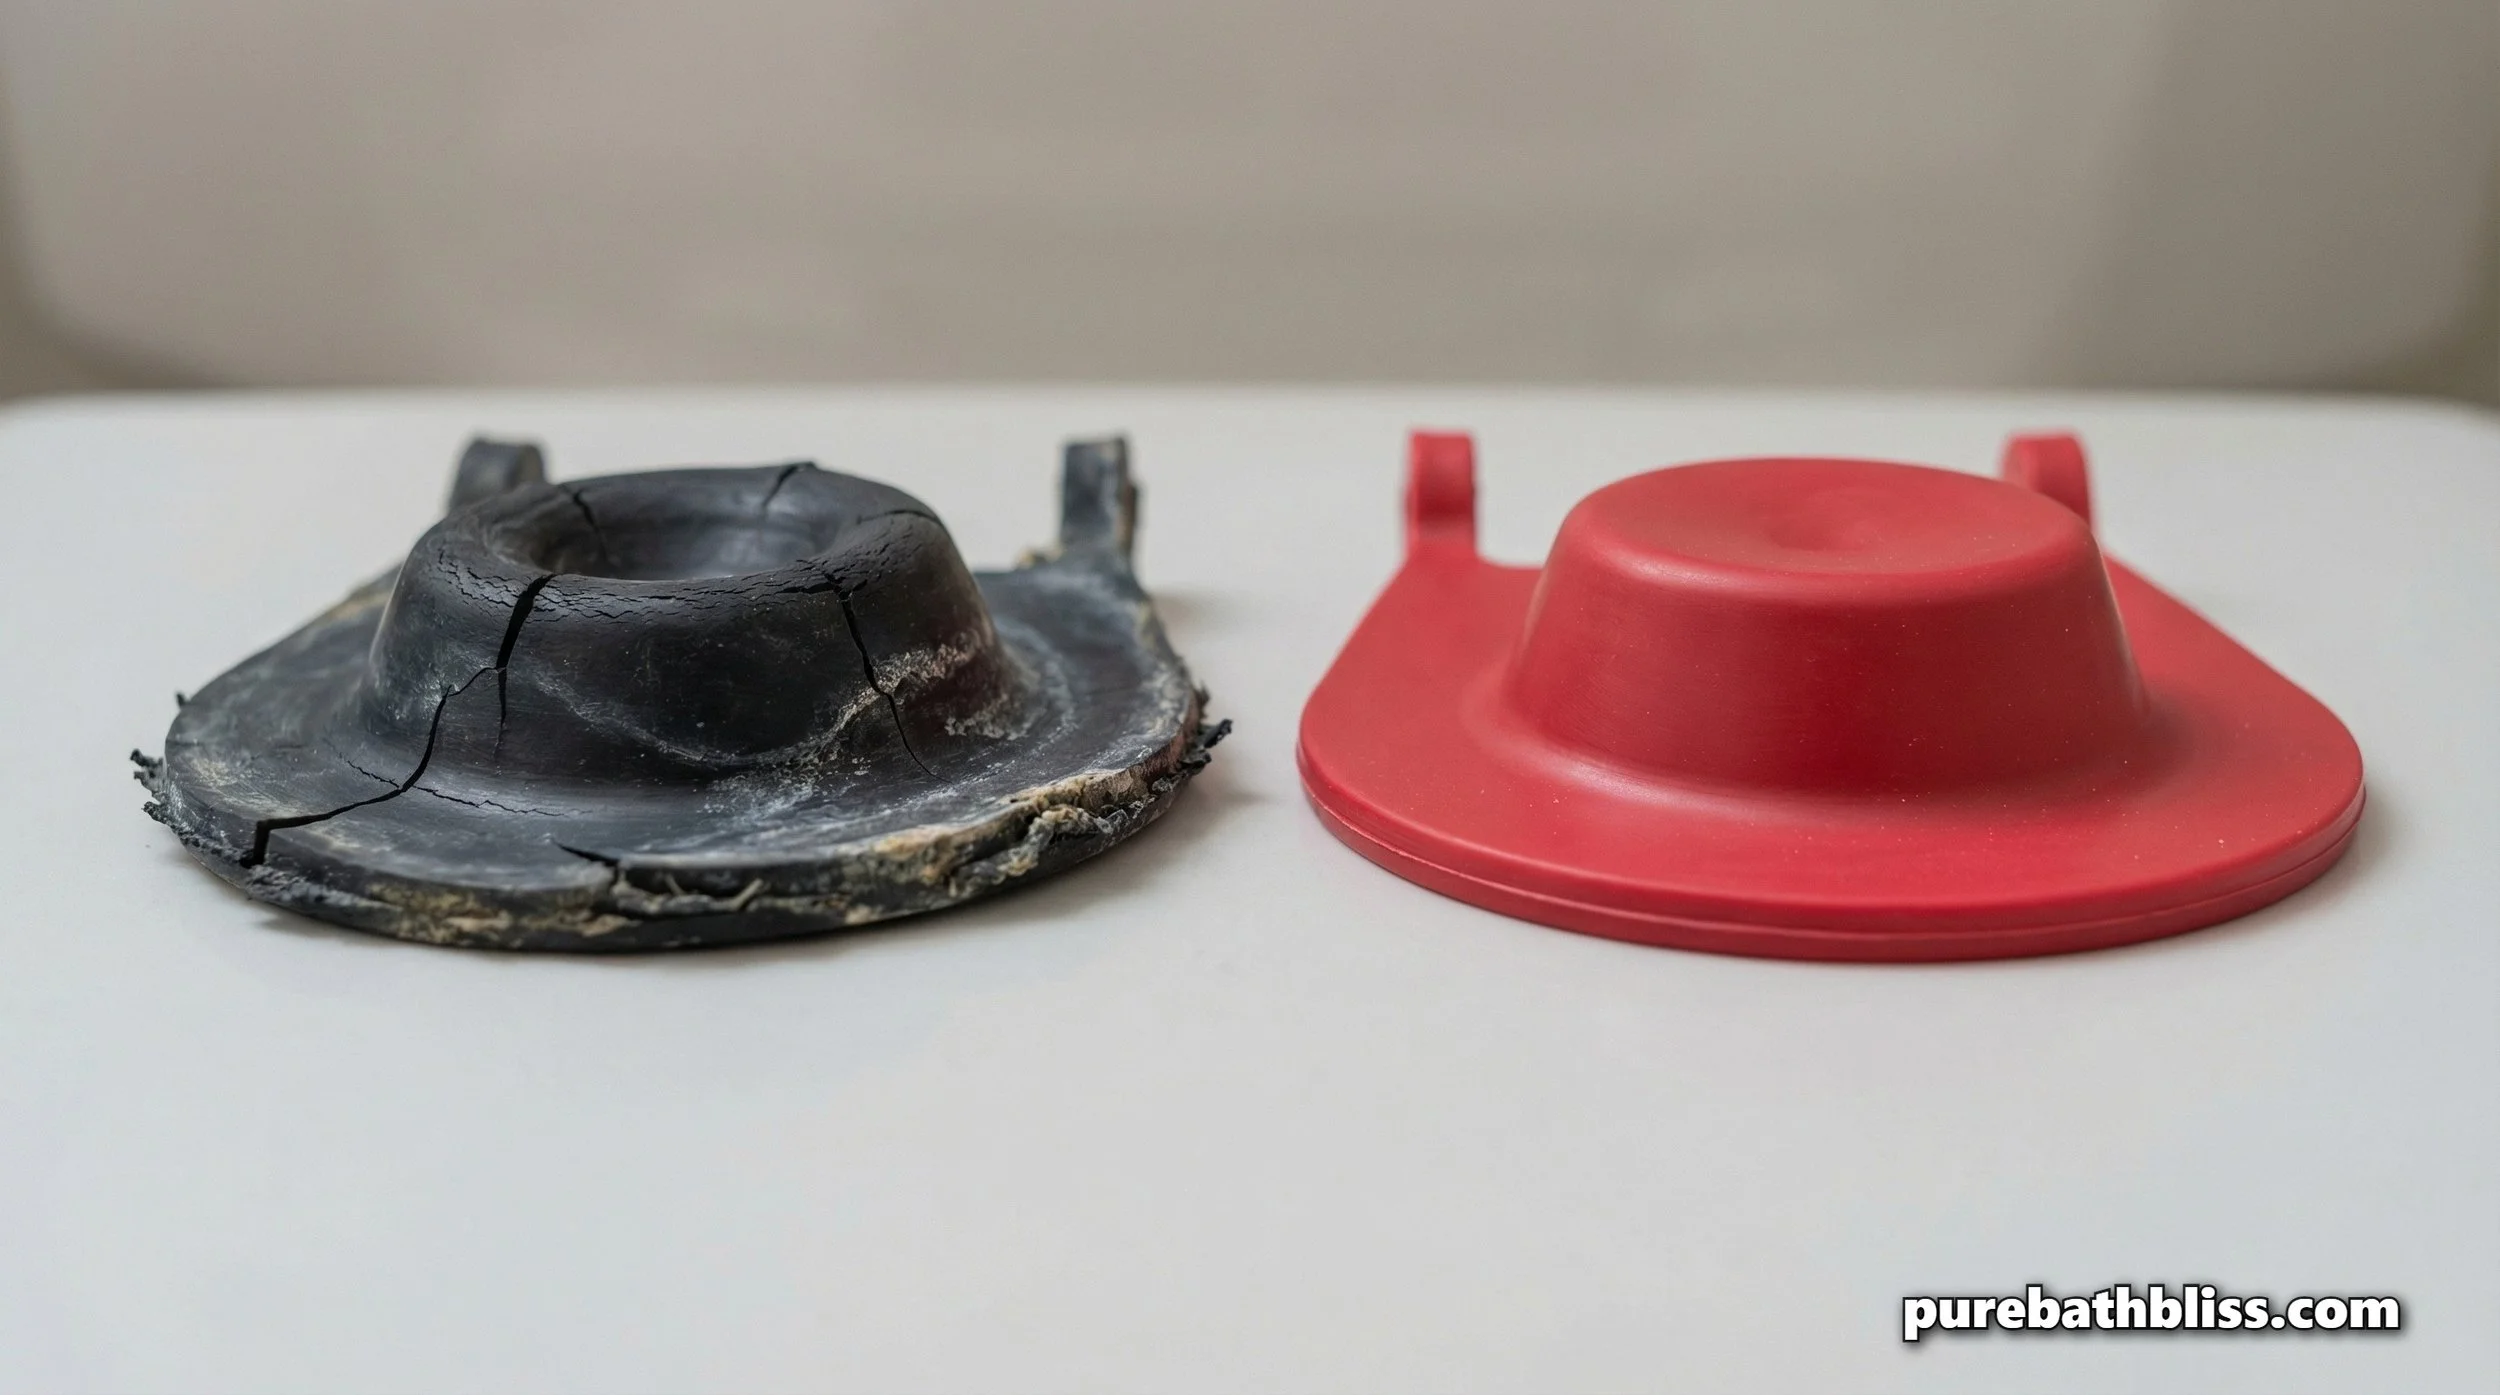
Wax Ring Degradation: Over 10–15 years, the wax seal between the toilet and the floor can dry out or be crushed by a "wobbly" toilet. Once that seal is broken, every flush sends a tiny amount of water into your floor.
The Worn-Out Flapper: This is the #1 cause of high water bills. Over time, chlorine in municipal water (or harsh chemical "drop-in" bleach tabs) causes the rubber flapper to warp, preventing it from creating a watertight seal.
Corroded Bolts: The bolts that hold the tank to the bowl are often made of brass or steel. If they aren't tightened correctly or if the rubber gaskets have rotted, water will drip directly from the bottom of the tank.
Hairline Porcelain Cracks: Sometimes, through thermal expansion (switching from very cold water to a very hot room) or physical impact, the porcelain itself can develop hairline cracks.
3. The "Pure Bath" Diagnostic Protocol
Before you call a plumber, use these builder-tested steps to confirm exactly where the water is coming from.
Step 1: The Dry-and-Wait Test
Wipe the entire exterior of the toilet and the floor around it completely dry. Lay down a single sheet of toilet paper around the base. Wait 10–15 minutes. If the paper becomes damp or wrinkled, you have a confirmed base leak.
Step 2: The Dye Test for Silent Leaks
Drop 5 drops of food coloring (dark blue or green) into the tank—not the bowl. Do not flush. Wait 20 minutes. If the water in the bowl changes color, your flapper is leaking and needs to be replaced.
Step 3: The "Wobble" Check
Gently place your hands on the sides of the bowl and try to rock it. If there is even a millimeter of movement, your closet bolts (the floor bolts) are loose. A wobbling toilet will destroy a wax ring in weeks.
4. Sustainable Fixes for a Healthier Home
In a Sustainable Sanctuary, we prioritize repairs that last and use materials that don't off-gas or corrode.
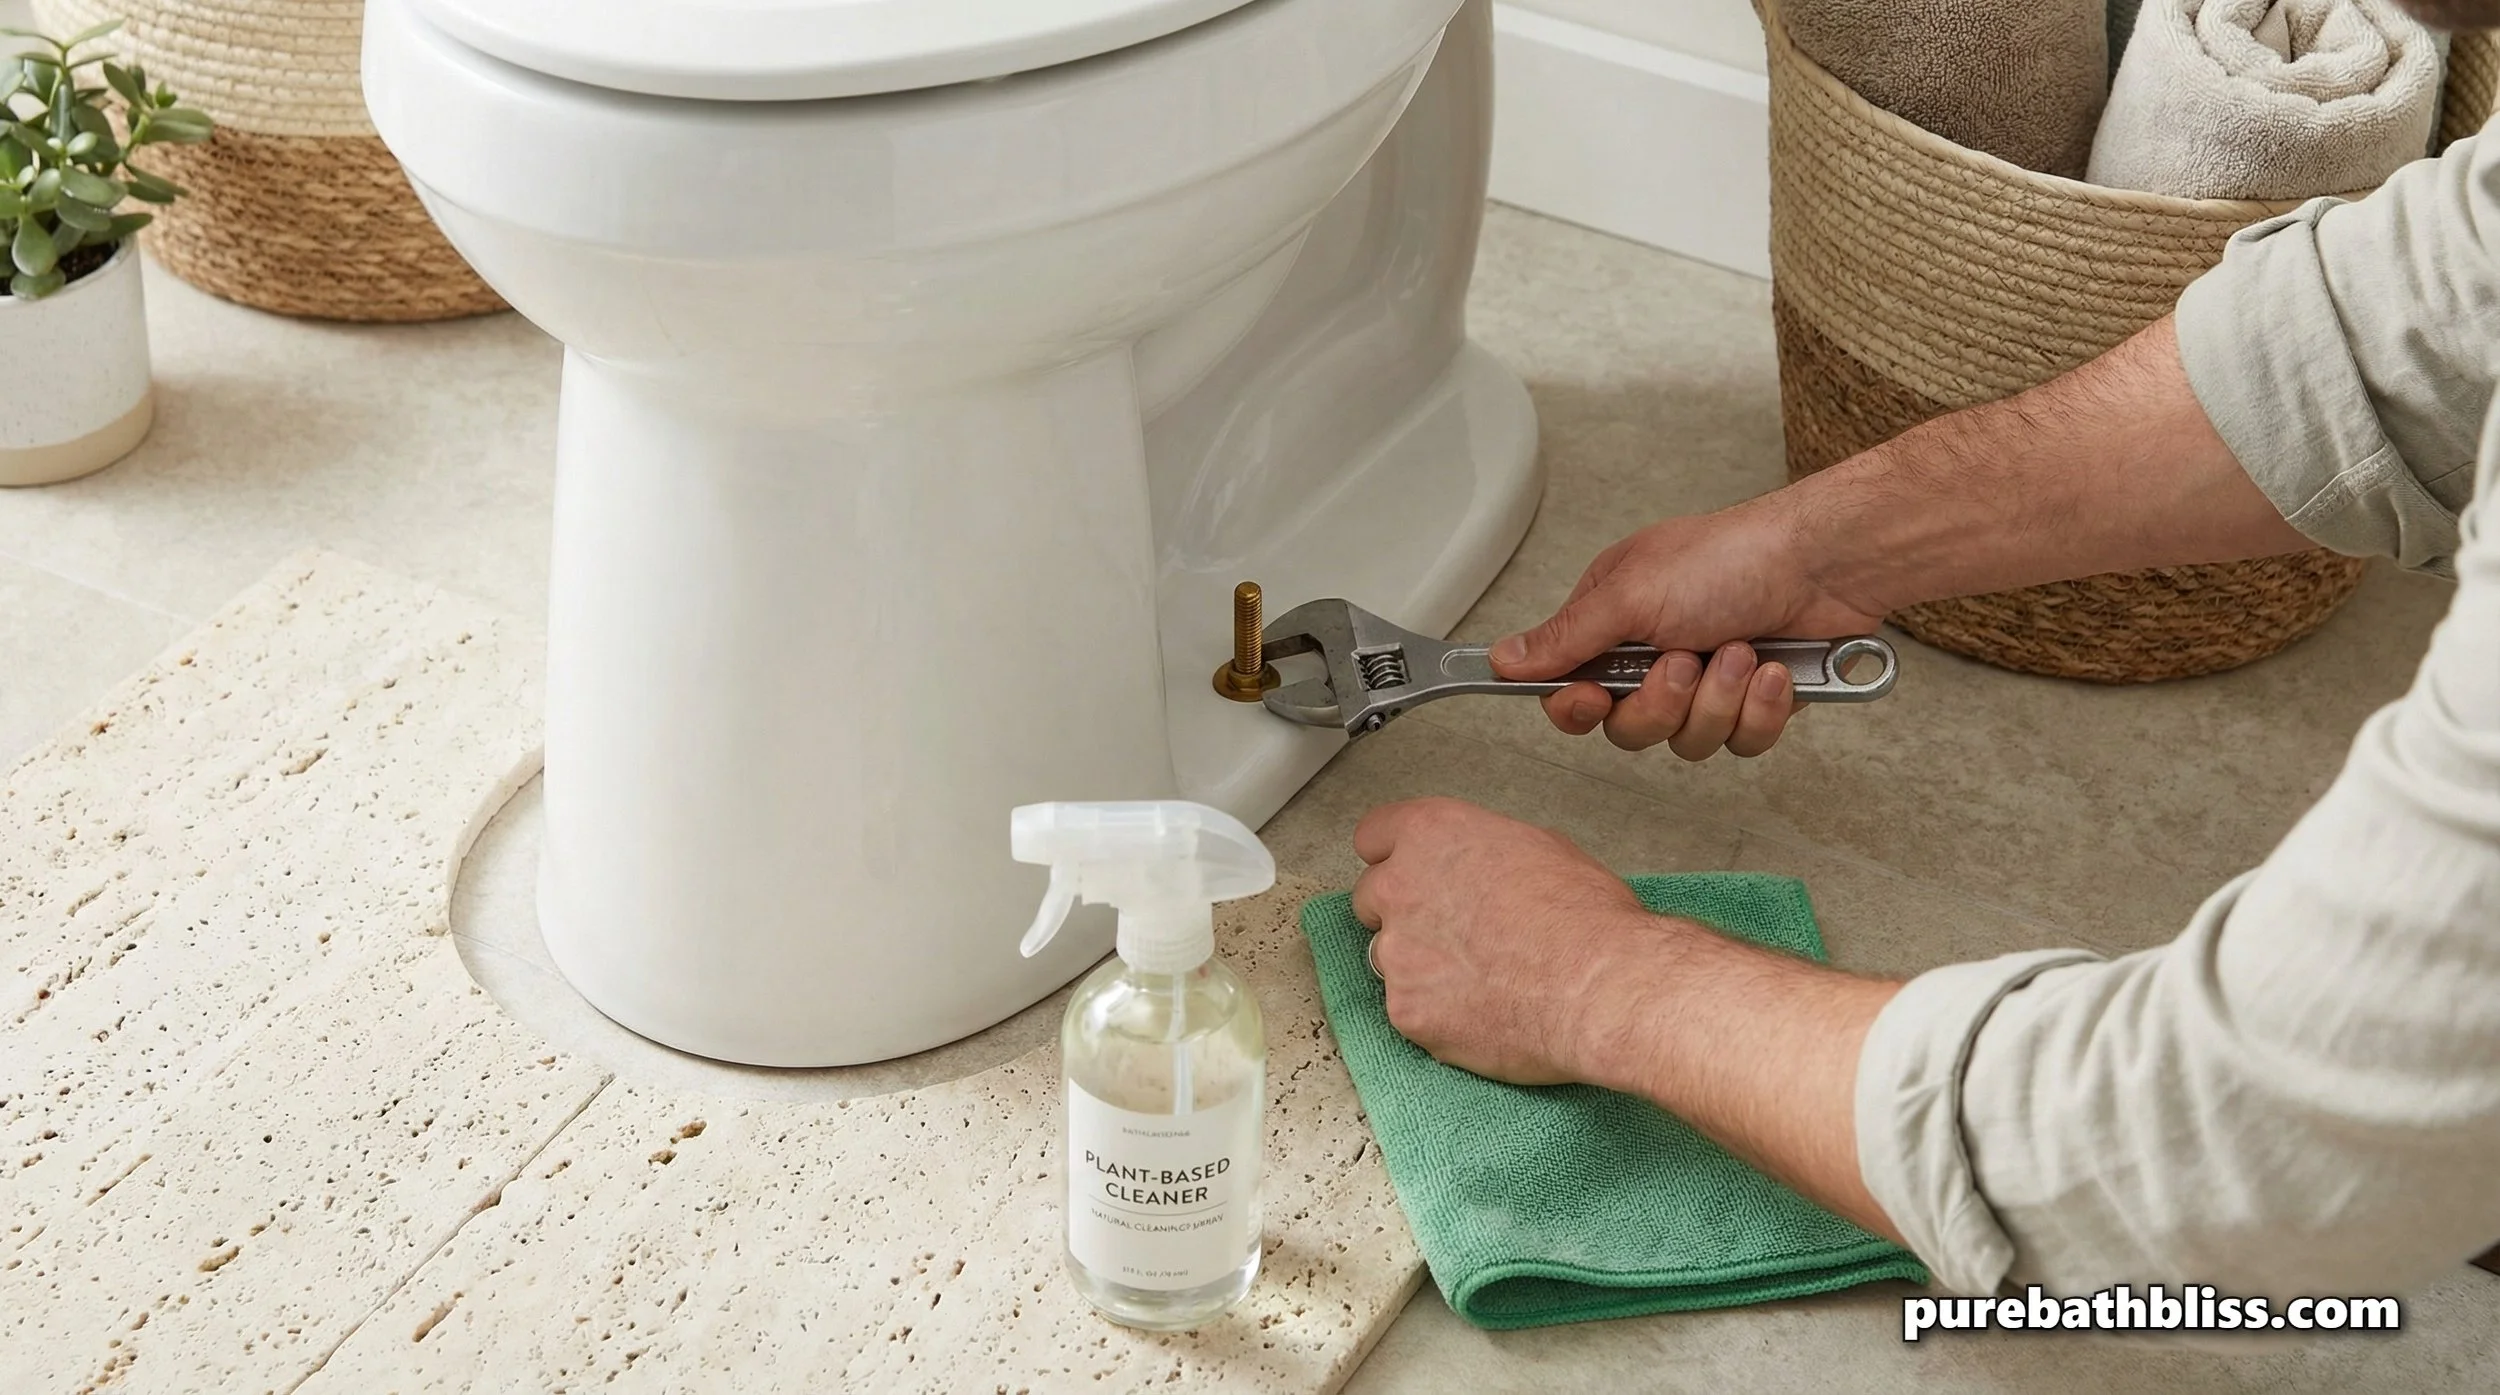
Tightening the Foundation: If your toilet is wobbling, use a wrench to snug down the closet bolts. Pro Tip: Do not over-tighten! Porcelain is brittle; if you crank the wrench too hard, you will crack the base of the toilet, turning a $5 fix into a $500 replacement.
Replacing the Flapper: This is the easiest DIY fix. Opt for a "High-Performance" silicone flapper. Silicone lasts significantly longer than standard rubber and is resistant to the minerals in hard water.
The Wax Ring Upgrade: If you have to pull the toilet to replace the seal, consider a wax-free silicone gasket. Unlike traditional wax, these don't dry out and can be "reset" if you don't get the toilet positioned perfectly on the first try.
5. Preventing Future Leaks: The Maintenance Ritual
Maintenance is the ultimate form of sustainability. By tending to your fixtures, you extend their life and reduce the "waste" of a full bathroom remodel.
High humidity can cause 'tank sweating,' which mimics a leak. To manage this moisture naturally, consider placing a Salt Bowl nearby or introducing Moisture-Absorbing Shower Plants to balance the air.
Avoid the "Blue" Tabs: Never use chemical drop-in cleaners in your tank. They are incredibly corrosive to the rubber and plastic components inside.
The Vinegar Flush: Once a month, pour a cup of white vinegar into your tank and let it sit for an hour before flushing. This helps dissolve calcium and lime buildup on the intake and flush valves.
Monitor the Humidity: Ensure your bathroom fan is functional. High humidity can cause condensation on the outside of the tank (called "sweating"), which can be mistaken for a leak but can still cause floor rot over time.
6. When to Call the Pros
While we love a DIY sanctuary, some things require a specialist. If you find a crack in the porcelain bowl itself, or if the floor beneath the toilet feels soft and "punky," it’s time to call a pro. Replacing a subfloor is a structural job that ensures your sanctuary remains safe and sound for decades to come. Beyond fixing the leaks, ensuring you use a Septic-Safe Bamboo Toilet Paper is the final step in protecting your home’s unseen plumbing."
Conclusion: Restoring the Flow
A leak-free toilet is a foundational element of a Sustainable Sanctuary. By diagnosing these issues early, you are protecting your home’s "bones," saving thousands of gallons of water, and maintaining the tranquil, high-efficiency environment you've worked so hard to build.