How to Clean a Bathroom Accident
Transparency Note: We independently select these products based on research and user reviews. If you buy something through our links, we may earn a commission.
Parenting is a beautiful, messy, and unpredictable journey. As a father of 4, this is something I had to learn about, and was something I used for many years. Sometimes, that journey happens on your bathroom floor. When a bathroom accident occurs, it is easy to feel flustered, but the best approach is to strip away the emotion and look at the situation with the logic of a home care expert.
At PureBathBliss, we believe that stewardship of your sanctuary includes being prepared for the realities of life. Whether you are dealing with a potty training toddler or a sick child, the goal is the same: to sanitize the space effectively, eliminate odors entirely, and protect the infrastructure of your home, especially if you have tile and grout, which can be surprisingly porous. You don't need harsh, industrial chemicals to do this; you just need a reliable, step-by-step system that restores your peace of mind.
1. The Mechanics of the Clean
The biggest mistake many people make is rushing the process. When an accident happens, your instinct is to wipe it up as quickly as possible. However, if you have a tiled bathroom floor, you are likely dealing with grout lines. Grout is essentially a hardened, porous sponge. If you simply wipe the surface, you leave organic matter trapped deep within the pores of the grout, which will eventually lead to lingering odors.
The key to a true "Pure" clean is to treat the surface and the grout as one single system. You aren't just cleaning the tile; you are extracting the bacteria and biological matter from the texture of the floor.
2. Your Step-by-Step Sanitation System
You don't need a professional crew to handle this. You likely have the effective tools in your cleaning closet already.
Step 1: Bulk Removal
Use disposable paper towels to remove the bulk of the mess. Do not try to scrub yet, this will only spread the bacteria across a wider surface area. Use a "blot and lift" motion to collect as much solid and liquid matter as possible.
Step 2: The First Wipe
Once the bulk is gone, use a dedicated cleaning cloth or paper towel to wipe the area with hot water and a mild, plant-based dish soap. This is the "surfactant" stage; the soap helps lift the organic oils and bacteria away from the tile surface so they can be rinsed away.
Step 3: The Disinfection Phase
This is where you handle the sanitation. While many reach for bleach, it can damage grout and cause respiratory irritation. Instead, use a 3% Hydrogen Peroxide solution. It is a natural oxidizer that kills bacteria and neutralizes odors on contact. Spray the area liberally and let it sit for at least 5 to 10 minutes. If you are worried about your floor finish, test a small, hidden corner first, but generally, hydrogen peroxide is safe for most sealed tile surfaces.
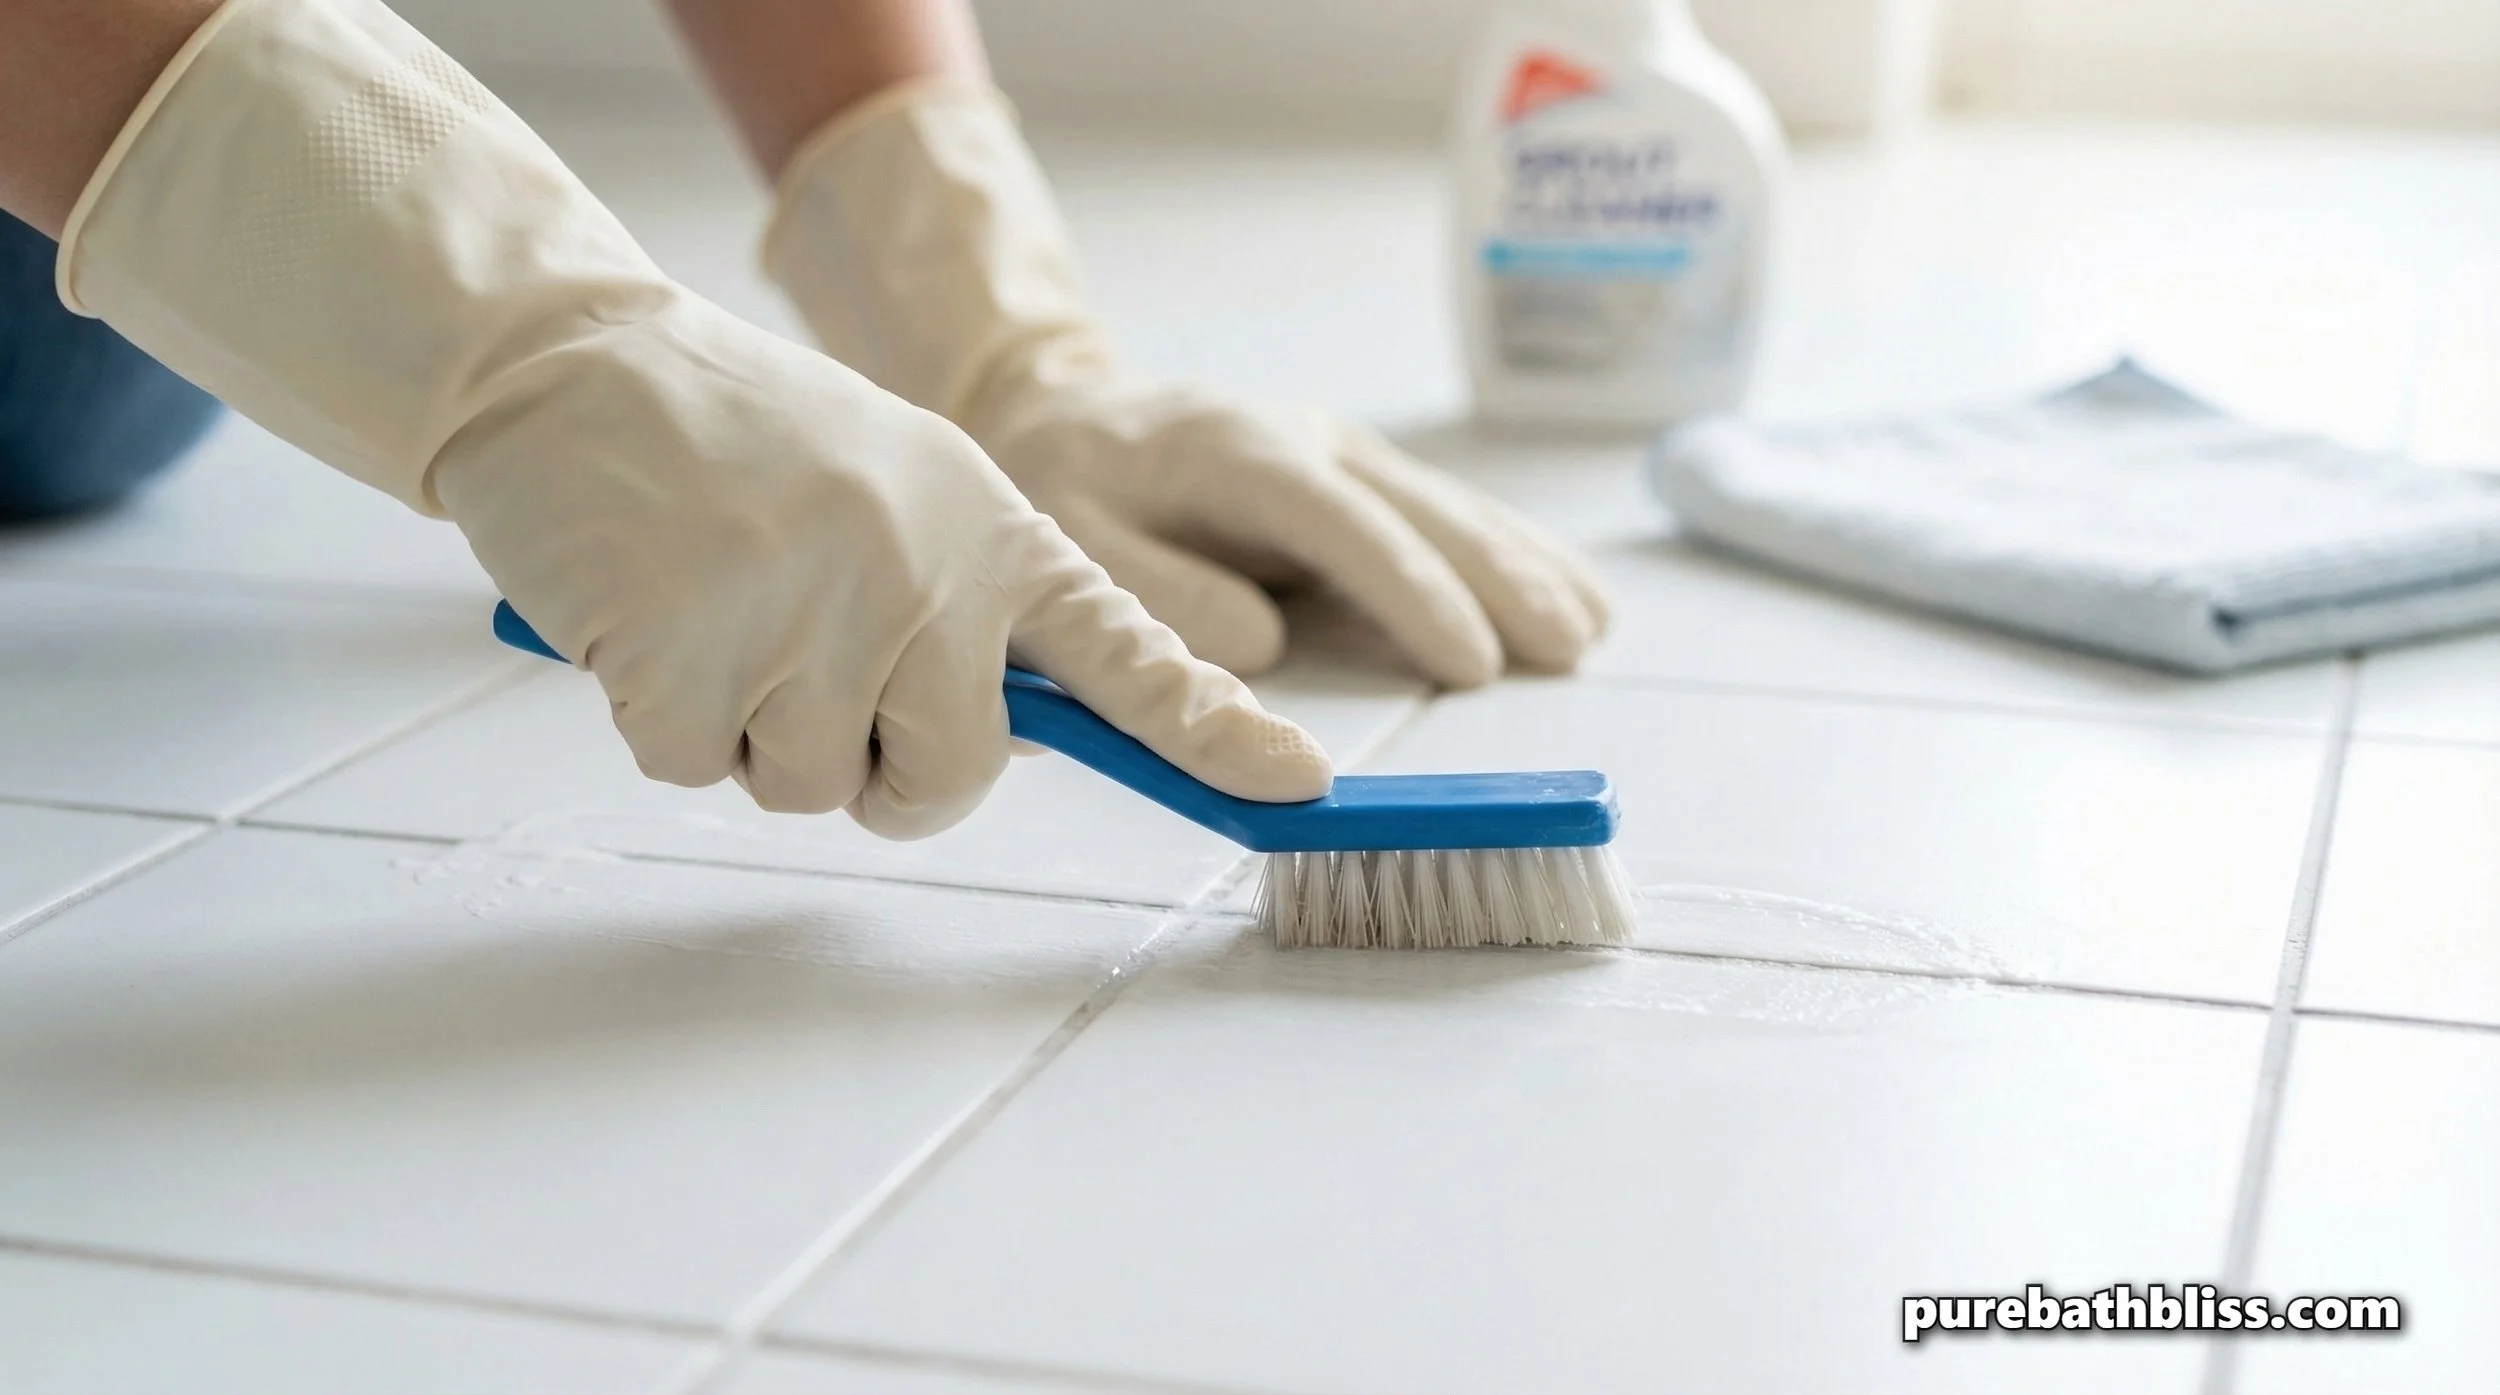
Step 4: The Deep Extraction
For the grout lines, use a nylon scrub brush (not metal). Even after the hydrogen peroxide has done its work, you want to mechanically agitate the grout lines to ensure nothing is left behind. Scrub in a circular motion to lift out any residual particles.
Step 5: The Final Rinse
Wipe the entire area clean with a fresh cloth dipped in clean water. Finally, use a dry, clean towel to buff the floor until it is completely dry. Leaving the floor damp invites new bacteria to settle in, dryness is your ally in maintaining a hygienic space.
3. The Odor Elimination Ritual
If there is a lingering scent, it is a sign that biological material has permeated the grout or is trapped in the corners where the floor meets the wall. This is a common "infrastructure" failure point in bathrooms.
The Baking Soda Paste: Mix baking soda with a little bit of water until it forms a thick paste. Spread this paste over the affected area, particularly the grout lines. Let it sit for 30 minutes to an hour. Baking soda is a natural deodorizer that draws out moisture and odors.
The Vinegar Activation: After the baking soda has sat, spray a light mist of white vinegar over it. It will fizz, this chemical reaction helps to dislodge trapped debris. Wipe it all away with a clean cloth.
If the odor persists, check the "wet zones", the edges of the vanity, the base of the toilet, and the edges of the shower. If the silicone caulk in these areas is cracked or peeling, the accident may have seeped into the crack, where it cannot be reached by surface cleaning. In this case, you may need to remove and re-caulk that section.
4. Why Grout Integrity Matters
We talk often about Maintenance & Care because we want your home to be a resilient sanctuary. If your grout is unsealed, it acts like a permanent reservoir for anything that touches the floor. This is why bathroom accidents, spills, and even water splashes can cause lasting staining.
If you find yourself frequently dealing with "hard to clean" grout, it is a sign that your grout sealer has worn away. Once you have fully cleaned and deodorized the floor and allowed it to dry for 24-48 hours, apply a fresh coat of penetrating grout sealer. This simple piece of home infrastructure maintenance will make your next cleanup significantly faster and easier.
5. Cleaning Reference Guide
Use this guide to keep your cleaning rituals effective and consistent.
| Stage | Tool/Ingredient | Why it works |
|---|---|---|
| Containment | Disposable paper towels | Prevents spreading bacteria. |
| Sanitization | 3% Hydrogen Peroxide | Natural oxidizer; kills germs. |
| Odor Removal | Baking Soda | Neutralizes and absorbs odors. |
| Mechanical Agitation | Nylon scrub brush | Cleans deep into grout pores. |
6. Pro-Tip: The "Accident Kit"
Being prepared is the best way to reduce the stress of an accident. Keep a small "accident kit" in your cleaning closet, specifically labeled for these moments. This reduces the time you spend scrambling for supplies when you are already dealing with a stressed child or a busy morning.
Your kit should include:
One pair of nitrile gloves.
A bottle of 3% Hydrogen Peroxide (with a spray nozzle).
A small container of Baking Soda.
A dedicated nylon grout brush.
A pack of disposable towels.
Having this kit ready doesn't mean you expect accidents, it means you are a steward of your home, prepared to handle whatever life brings into your sanctuary with calm efficiency.
7. When to Call for Help
Most bathroom accidents are surface-level events. However, if the accident occurred near a vanity with a wood base that is not properly sealed, or if you suspect the liquid has seeped under the flooring (creating a "wet wall" condition), be mindful. If the area remains damp or the smell doesn't dissipate after thorough cleaning and drying, you may be looking at a deeper structural issue.
If you suspect moisture has entered the subfloor, it is better to call a professional to perform a moisture check. Protecting your floor’s integrity is far cheaper than replacing a rotted vanity or subfloor.
8. A Note on Stewardship
Caring for a bathroom is not just about keeping it "showroom clean." It is about understanding the materials, the porous nature of your surfaces, and the importance of thorough sanitation. By following this method, you aren't just cleaning a mess, you are protecting your home’s air quality and ensuring that your space remains a safe, comfortable place for your family.
Life is messy, but your sanctuary doesn't have to be. Stay calm, use the right tools, and remember that with a little bit of science and the right approach, you can restore your home to a state of peace in just a few minutes.
Builder-Curator Essentials
The Sanitizer: 3% Hydrogen Peroxide - The gold standard for safe, effective bathroom disinfection.
The Deodorizer: Bulk Baking Soda - Essential for neutralizing odors.
The Scrubber: Stiff-Bristled Grout Brush - Gets into the micro-texture of your tile.
The Protection: Penetrating Grout Sealer - Ensures your tile and grout stay resistant to moisture and stains.