Preventing "Pink Slime" and Mold on Baby Toys
Transparency Note: We independently select these products based on research and user reviews. If you buy something through our links, we may earn a commission.
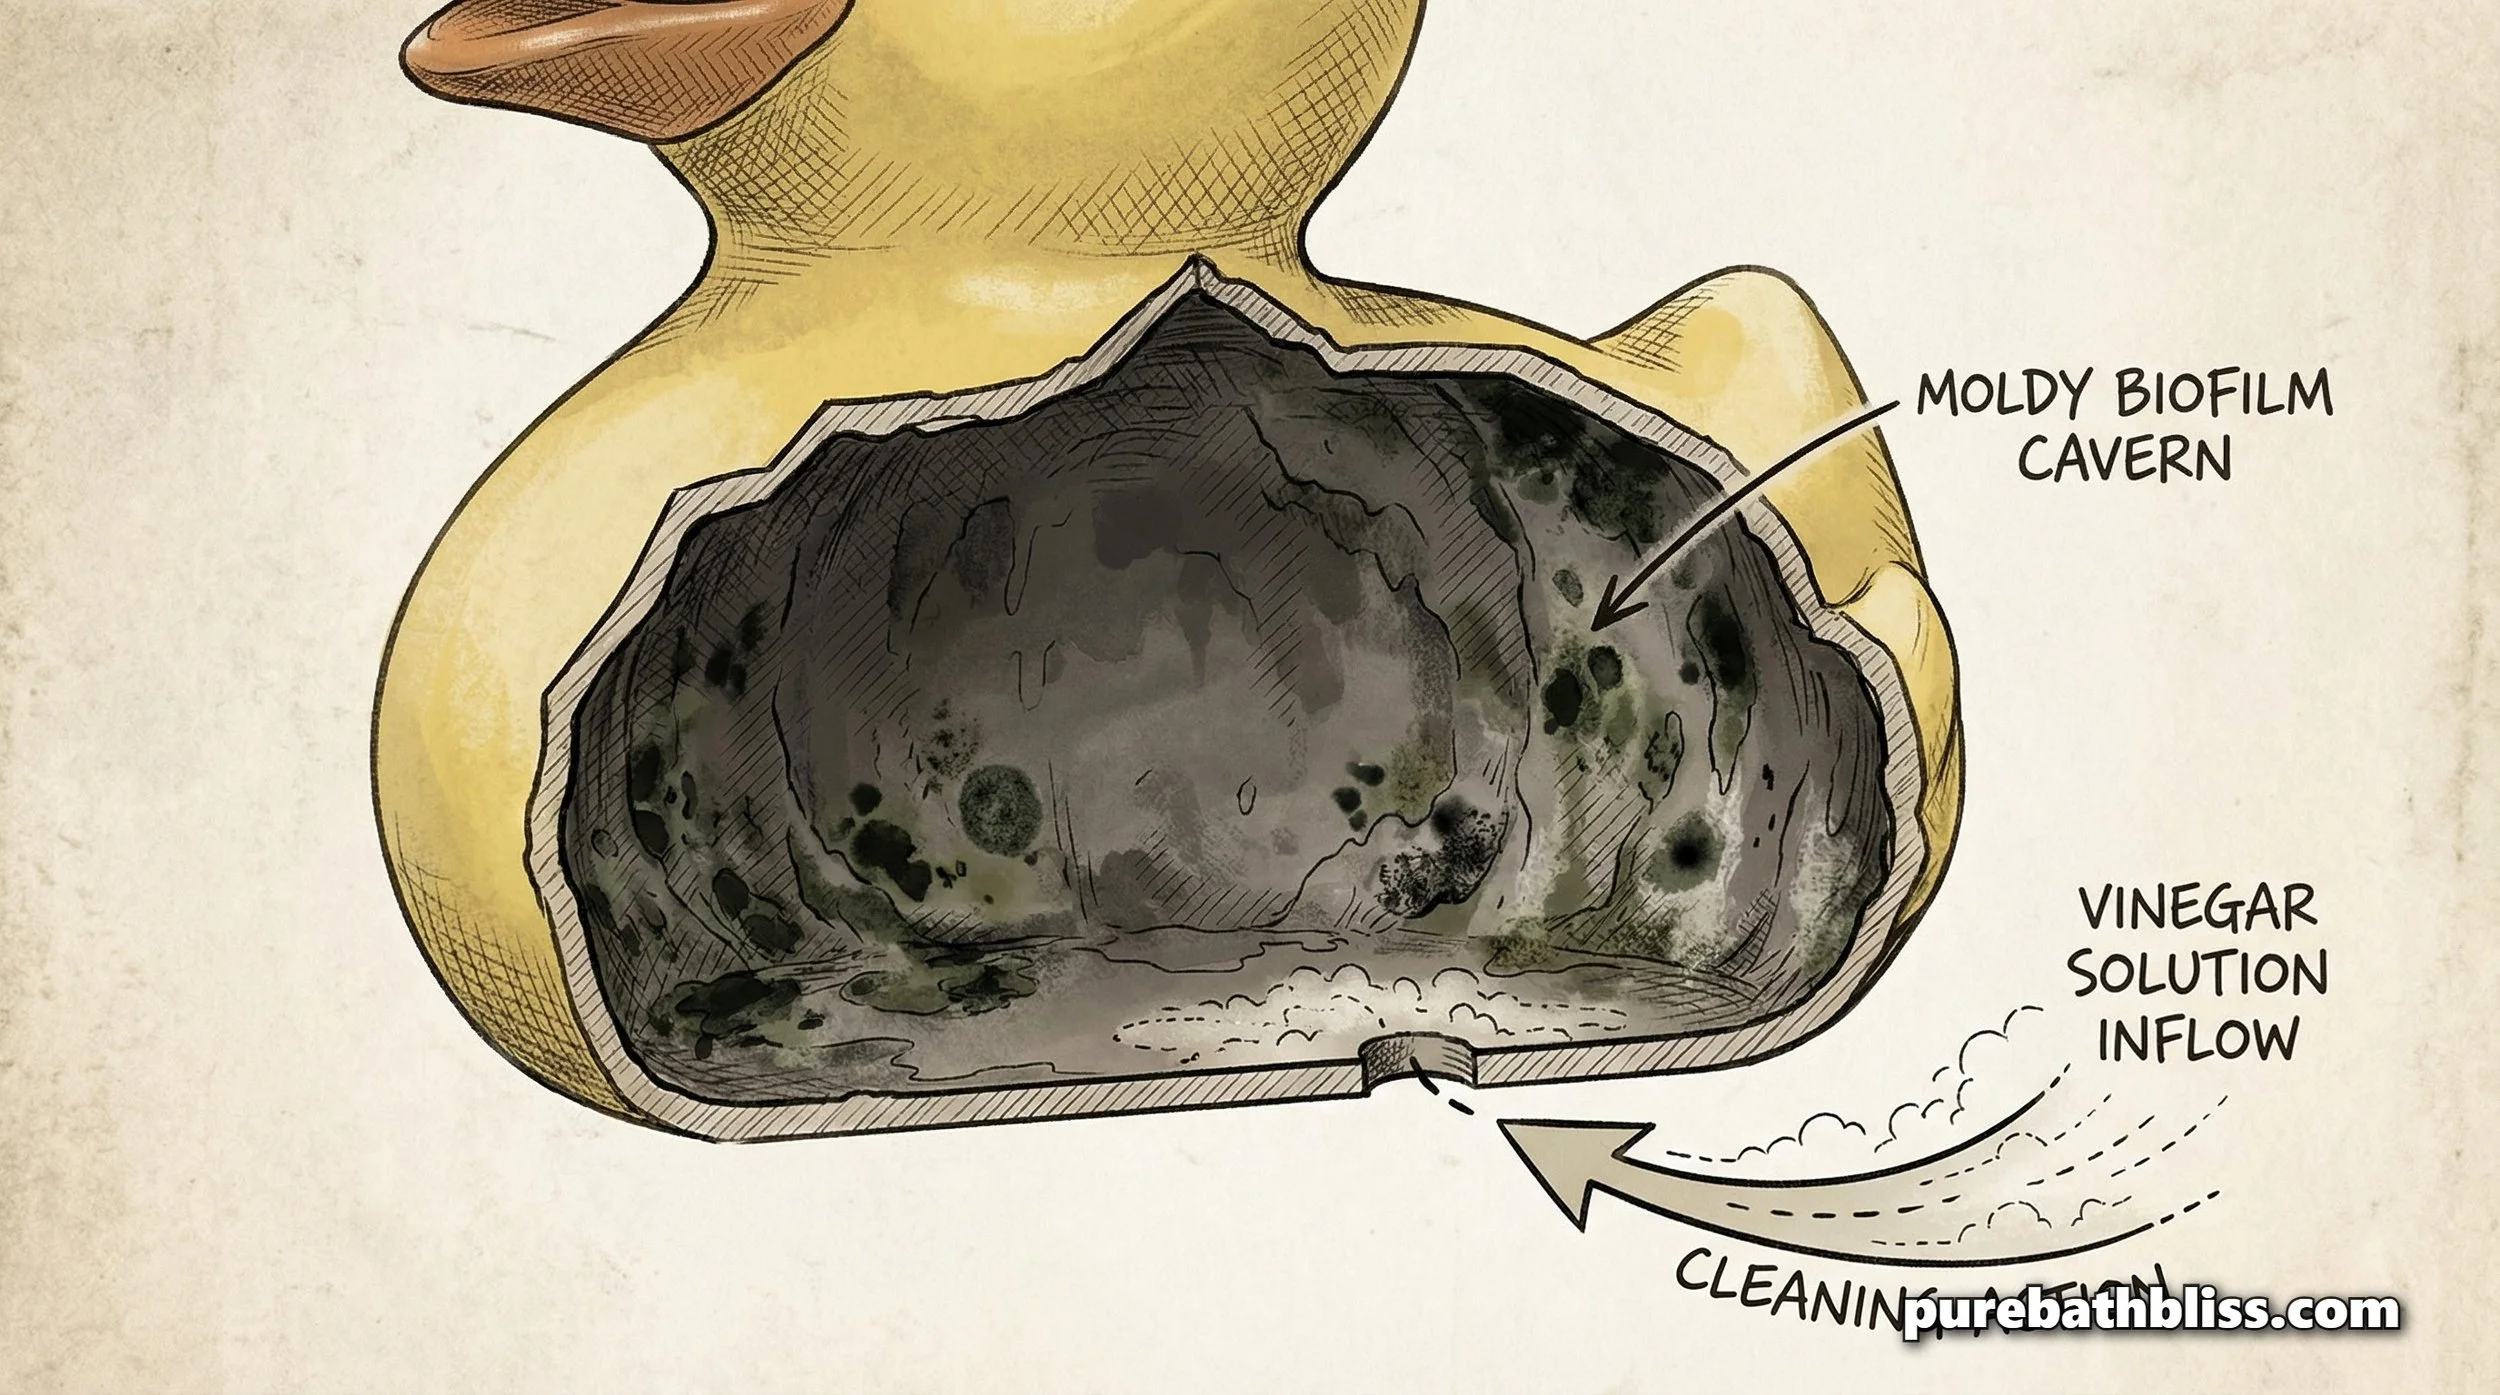
If you’ve ever squeezed a rubber duck and seen a flurry of black flakes or a streak of orange "slime" come out, you know that immediate feeling of dread. In the industry, we call that orange-pink buildup Serratia marcescens (commonly known as pink slime bacteria). Because bathrooms are high-moisture environments, any hollow toy becomes a literal petri dish for mold and biofilm.
As a parent, your first instinct might be to reach for a heavy bleach solution. But in a room where your child is literally soaking in the water, we want to prioritize a non-toxic approach. We need to attack the "Internal Infrastructure" of the toy, the dark, damp cavity where bacteria thrives, without leaving behind harsh chemical residues that end up in your child's mouth.
Here is the professional guide to identifying, cleaning, and permanently "fixing" bath toys to ensure bath time remains a safe sanctuary.
1. Why Bath Toys Are "Mold Magnets"
Most bath toys are designed with a small "squirter" hole. This hole allows water in, but because there is no airflow, the water never fully evaporates. Combined with soap residue and body oils, it creates a perfect breeding ground for mold.
If you’ve noticed your bathroom fan is vibrating or failing to clear the humidity, the problem is compounded. The longer the bathroom stays "swampy," the faster that pink slime takes over the toys sitting on the rim of the tub.
2. The Non-Toxic "Deep Clean" Method
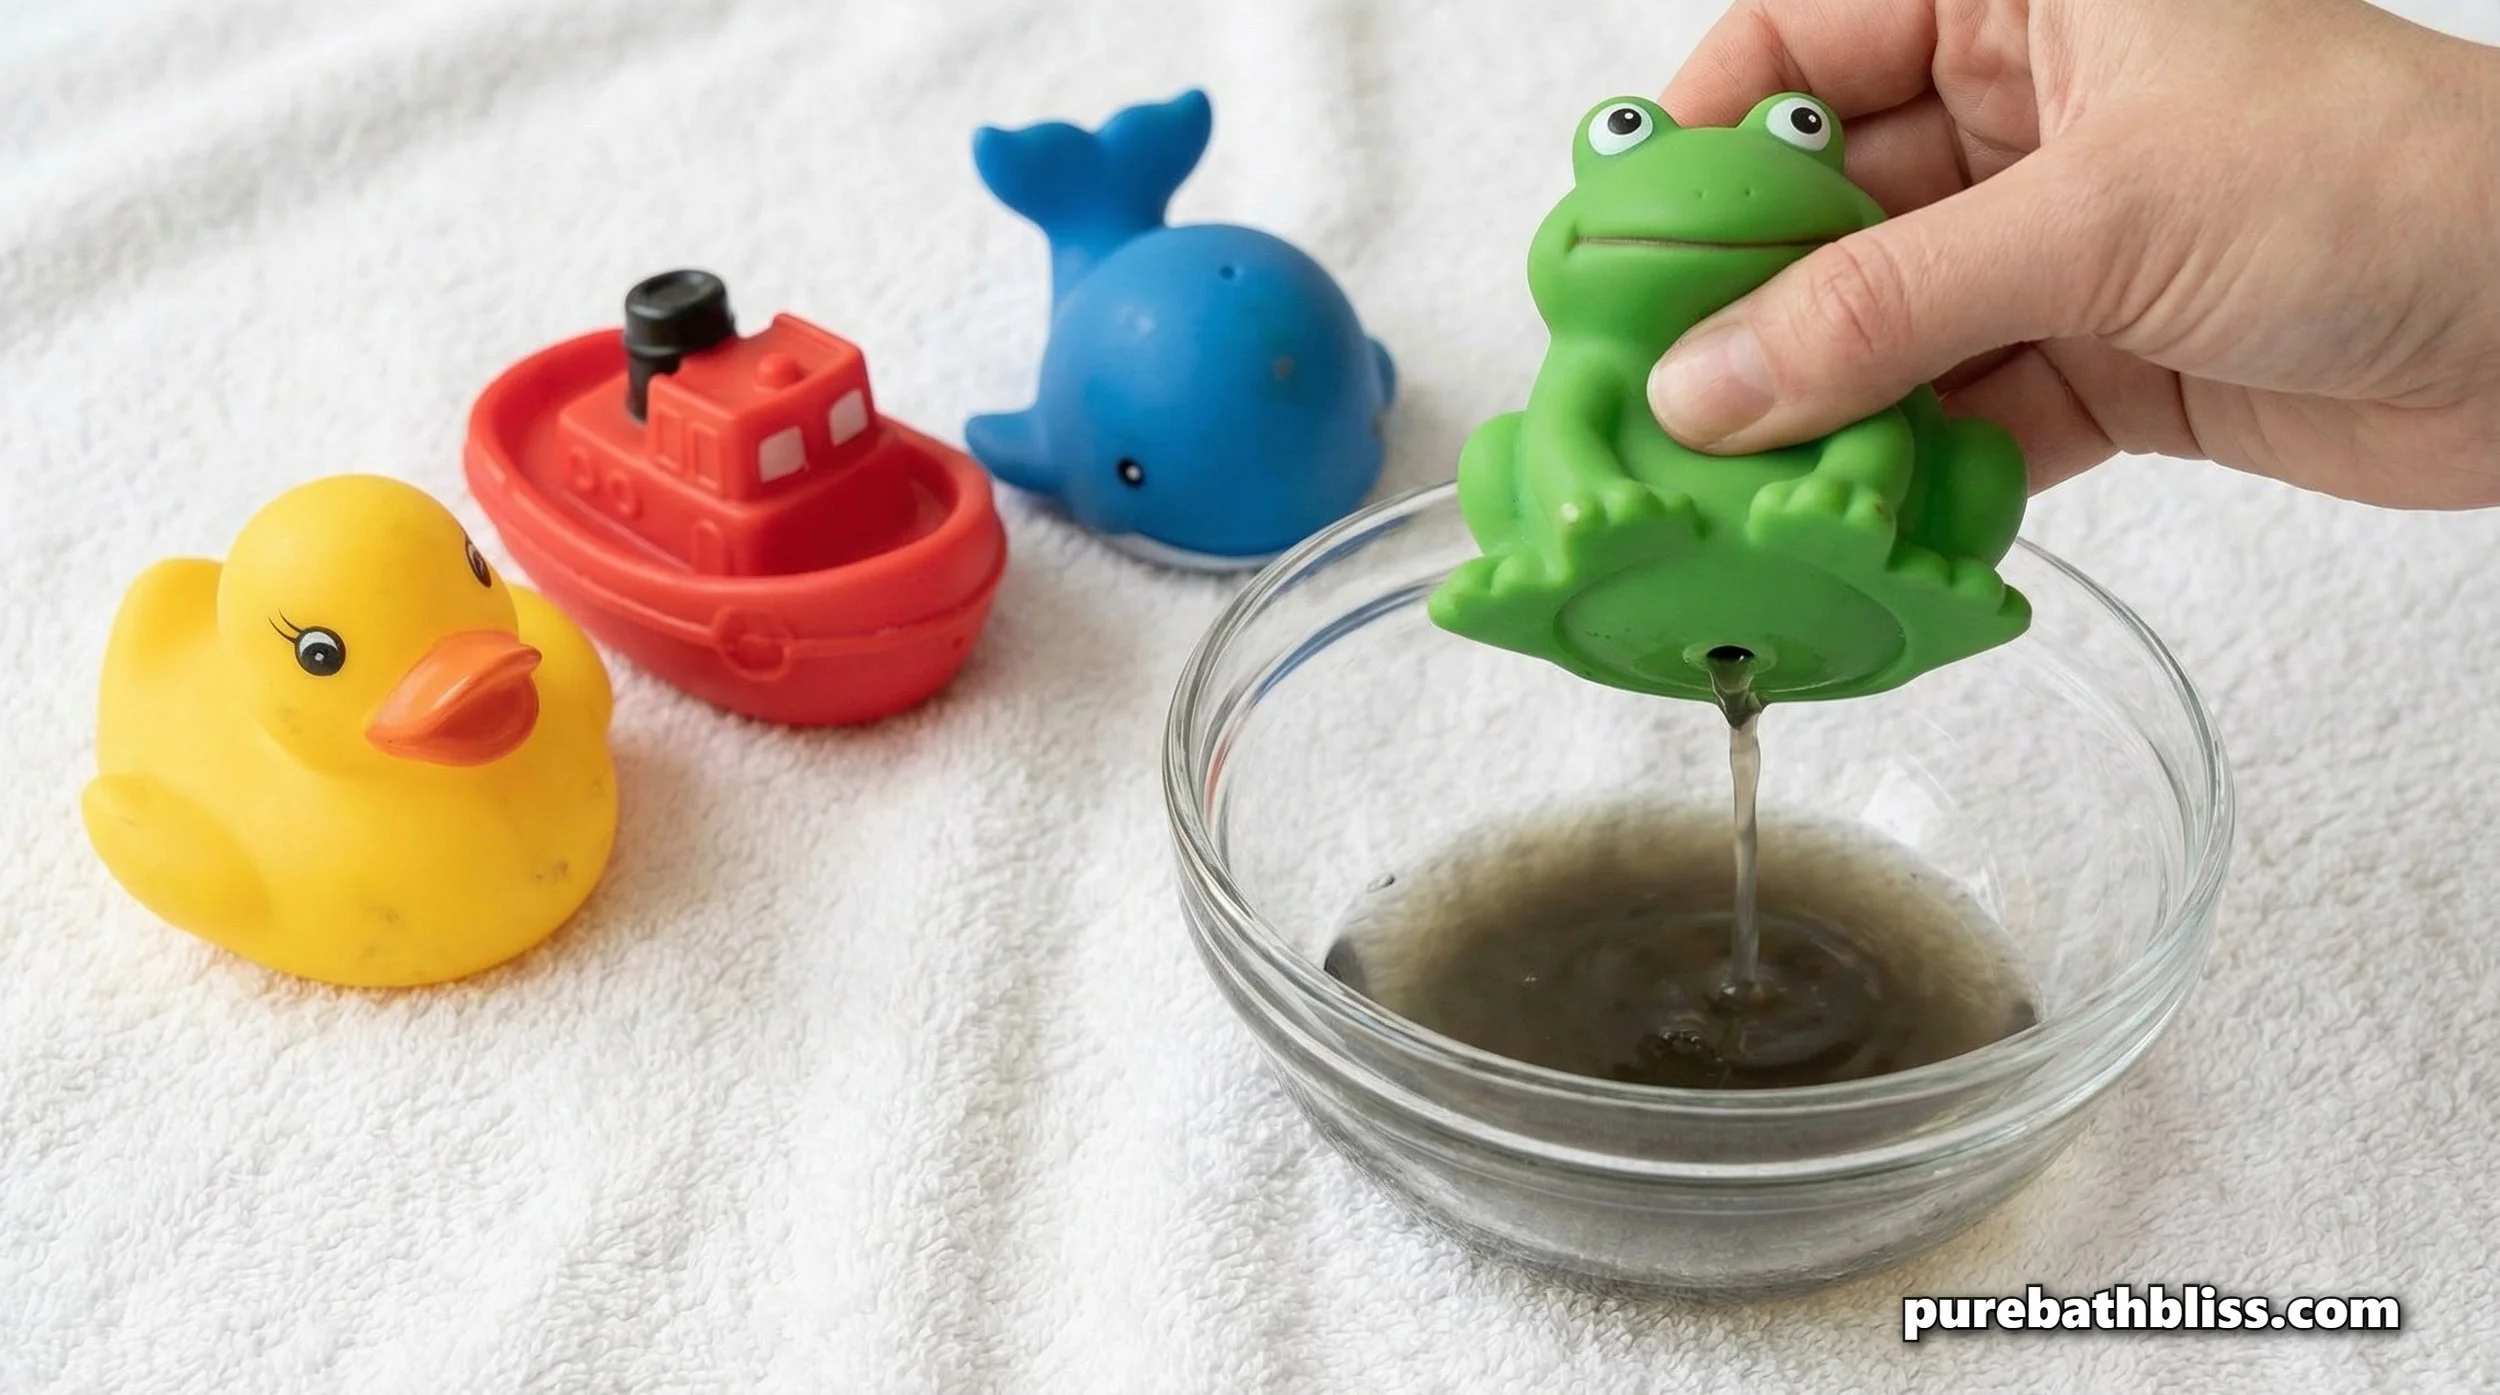
For weekly maintenance, you don't need industrial chemicals. Distilled white vinegar is a powerful, food-safe acetic acid that kills 80% of mold species and dissolves the mineral scale that mold likes to cling to.
The Vinegar Soak Recipe:
1 Gallon of Warm Water
1 Cup of Distilled White Vinegar
5 Drops of Tea Tree Oil (Optional natural disinfectant)
The Process: Submerge the toys and, most importantly, squeeze the solution into the toys so it fills the internal cavity. Let them soak for at least one hour. Squeeze the solution out, rinse with fresh water, and let them dry in a well-ventilated area.
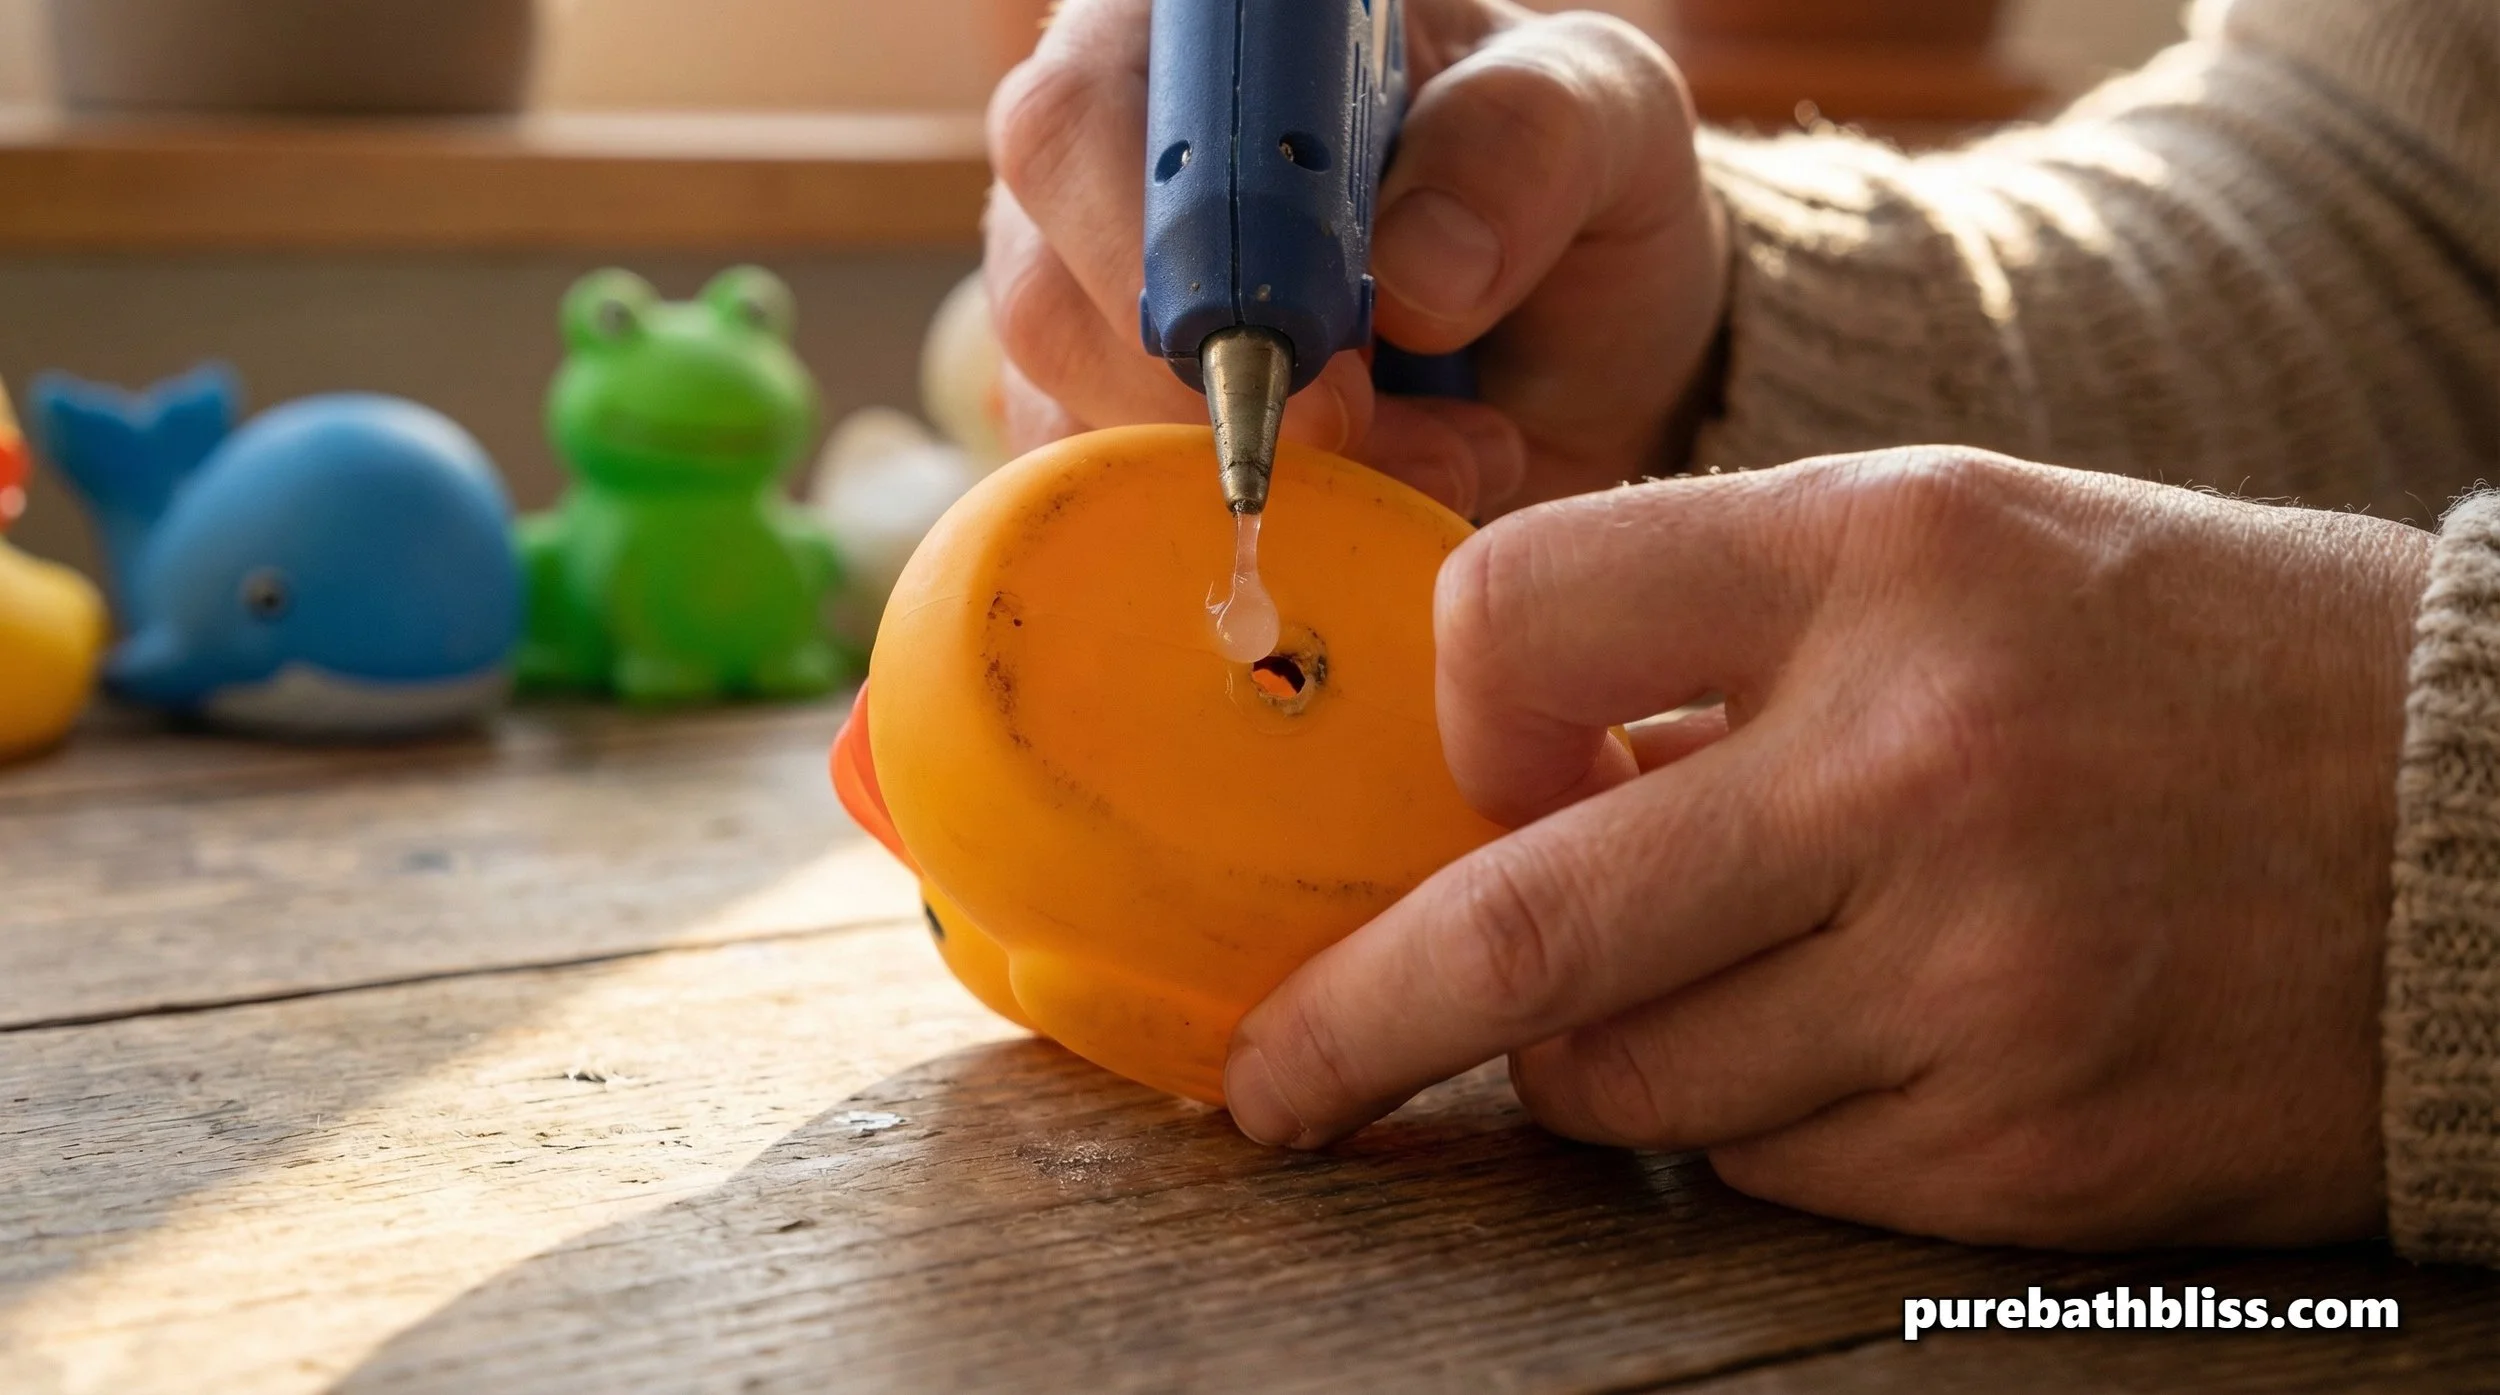
3. The "Builder's Hack": Permanent Mold Prevention
If you want to stop the cycle of cleaning, you have to change the toy's "Infrastructure." You have two professional options to make bath toys permanently mold-resistant:
The Hot Glue Plug: Before a new toy ever hits the water, use a small dab of waterproof hot glue to seal the squirter hole. If water can't get in, mold can't grow. This is the simplest way to maintain a Psychology of a Clean Bathroom without the weekly scrub.
The "Drill Out" Method: If your child loves the squirting feature, use a 1/4-inch drill bit to enlarge the hole. A larger hole allows for significantly more airflow, which helps the inside of the toy dry out between uses, much like how we insulate pipes to prevent condensation.
4. Essential Bath Safety Tools from Amazon
To help manage the moisture and keep things hygienic, I recommend these specific organization and cleaning tools:
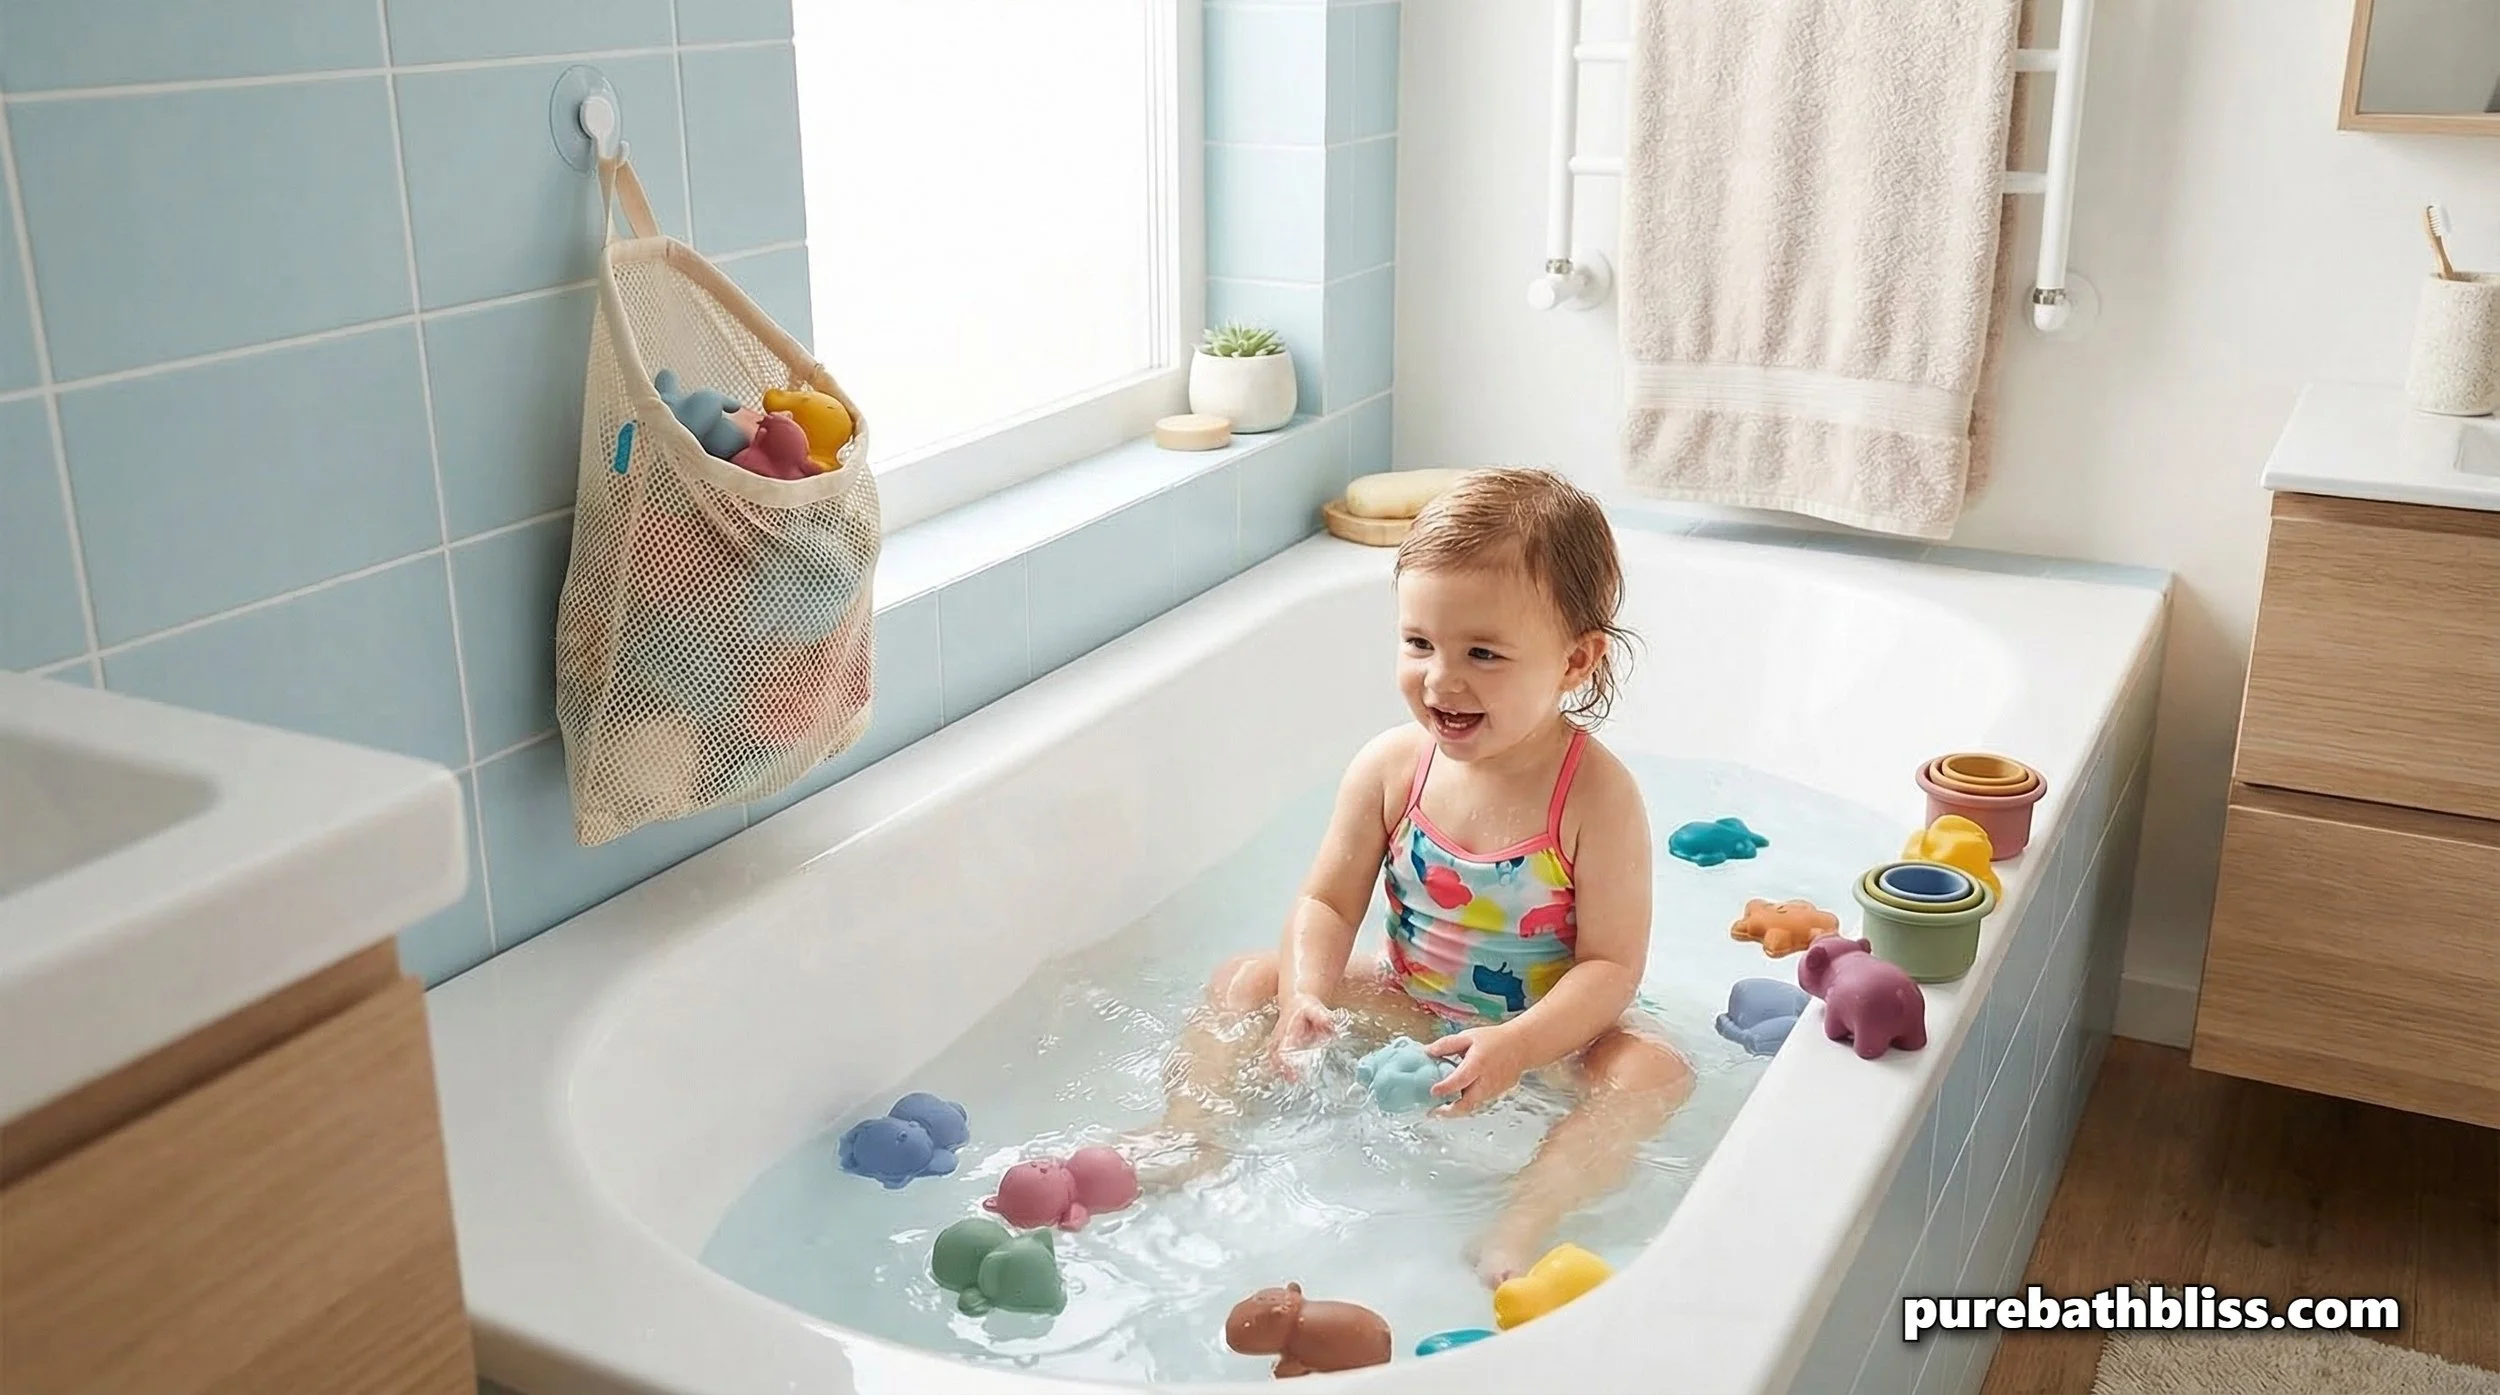
Mesh Hanging Toy Organizer – Never store toys in a solid plastic bucket. A mesh bag allows 360-degree airflow, which is the most effective "passive" mold prevention tool you can buy.
3% Food-Grade Hydrogen Peroxide – For stubborn black mold, a 50/50 mix of peroxide and water is a safer "whitener" than bleach.
Silicone Bath Toys (Hole-Free) – In 2026, many brands are moving to solid-core silicone. These have no internal cavities, making them a "set it and forget it" safety upgrade.
5. When to Throw Them Away
As a rule of thumb, if you see black mold inside a toy that cannot be scrubbed, or if the toy has a persistent "musty" smell even after a vinegar soak, toss it. The risk of a child ingesting moldy water during a Morning Reset bath isn't worth the $5 replacement cost. For foam toys, I recommend replacement every 4–6 months, as they are even more porous than rubber.
Summary: The Bath Toy Safety Checklist
Seal New Toys: Use hot glue to block water entry before the first use.
Weekly Vinegar Soak: Use a 1:1 vinegar/water mix to disinfect naturally.
Squeeze and Dry: Never leave water sitting inside a toy overnight.
Mesh Storage Only: Ensure toys have airflow to dry out completely.
Check the "Scent": If a toy smells like a damp basement, it’s time for the trash.
Boost Ventilation: Run the bathroom fan for 20 minutes post-bath to lower the room's humidity.
By taking these small "maintenance" steps, you ensure that your child's bath time is spent getting clean, not playing in a petri dish. It’s about building a healthy home environment from the bottom up, starting with the rubber duck.