How to Replace a Bathroom Faucet Cartridge: The 10-Minute Fix
Transparency Note: We independently select these products based on research and user reviews. If you buy something through our links, we may earn a commission.
If your bathroom faucet is dripping from the spout or leaking around the handle, you don’t necessarily need a new fixture. Most modern faucets are built around a "cartridge", a self-contained plastic or brass cylinder that regulates water flow and temperature. When the internal seals or ceramic discs inside that cartridge wear down, the faucet fails.
In the past, fixing a leak meant wrestling with bibb washers and specialized seats. Today, it’s a modular repair. You simply pull the old "engine" out and drop a new one in. It’s a project that takes about 10 minutes, requires only basic tools, and costs a fraction of a plumber's service call.
In this guide, we’ll walk through the "Infrastructure" of your faucet and the professional steps to swap out a cartridge, ensuring your sink stays as functional as the latest low-flow toilets.
1. Signs Your Cartridge Has Failed
How do you know the cartridge is the culprit? Unlike a clogged aerator, which causes low pressure, a faulty cartridge usually presents with these symptoms:
The Off-Drip: A steady drip from the spout even when the handle is firmly in the "off" position.
The Handle Leak: Water pooling around the base of the handle when the faucet is running.
The "Grind": A stiff or "scratchy" feeling when you move the handle, often caused by mineral buildup similar to what we see on unsealed grout.
Temperature Swings: Difficulty finding a "middle ground" between scalding hot and freezing cold water.
2. Tools and Materials You’ll Need
Before you start, gather your "Builder’s Kit." Having everything on hand prevents the mid-project dash to the hardware store.
8-Inch Adjustable Wrench – Essential for removing the large retaining nut.
Hex Key (Allen Wrench) Set – Most faucet handles are held on by a tiny 2.5mm or 3/32" set screw.
Needle-Nose Pliers – Useful for pulling the cartridge out if it’s stuck.
Waterproof Silicone Plumber's Grease– Crucial for lubricating the new O-rings to ensure a smooth "Hunker" style handle movement.
Replacement Cartridge: Specific to your faucet brand (Moen, Delta, Kohler, etc.).
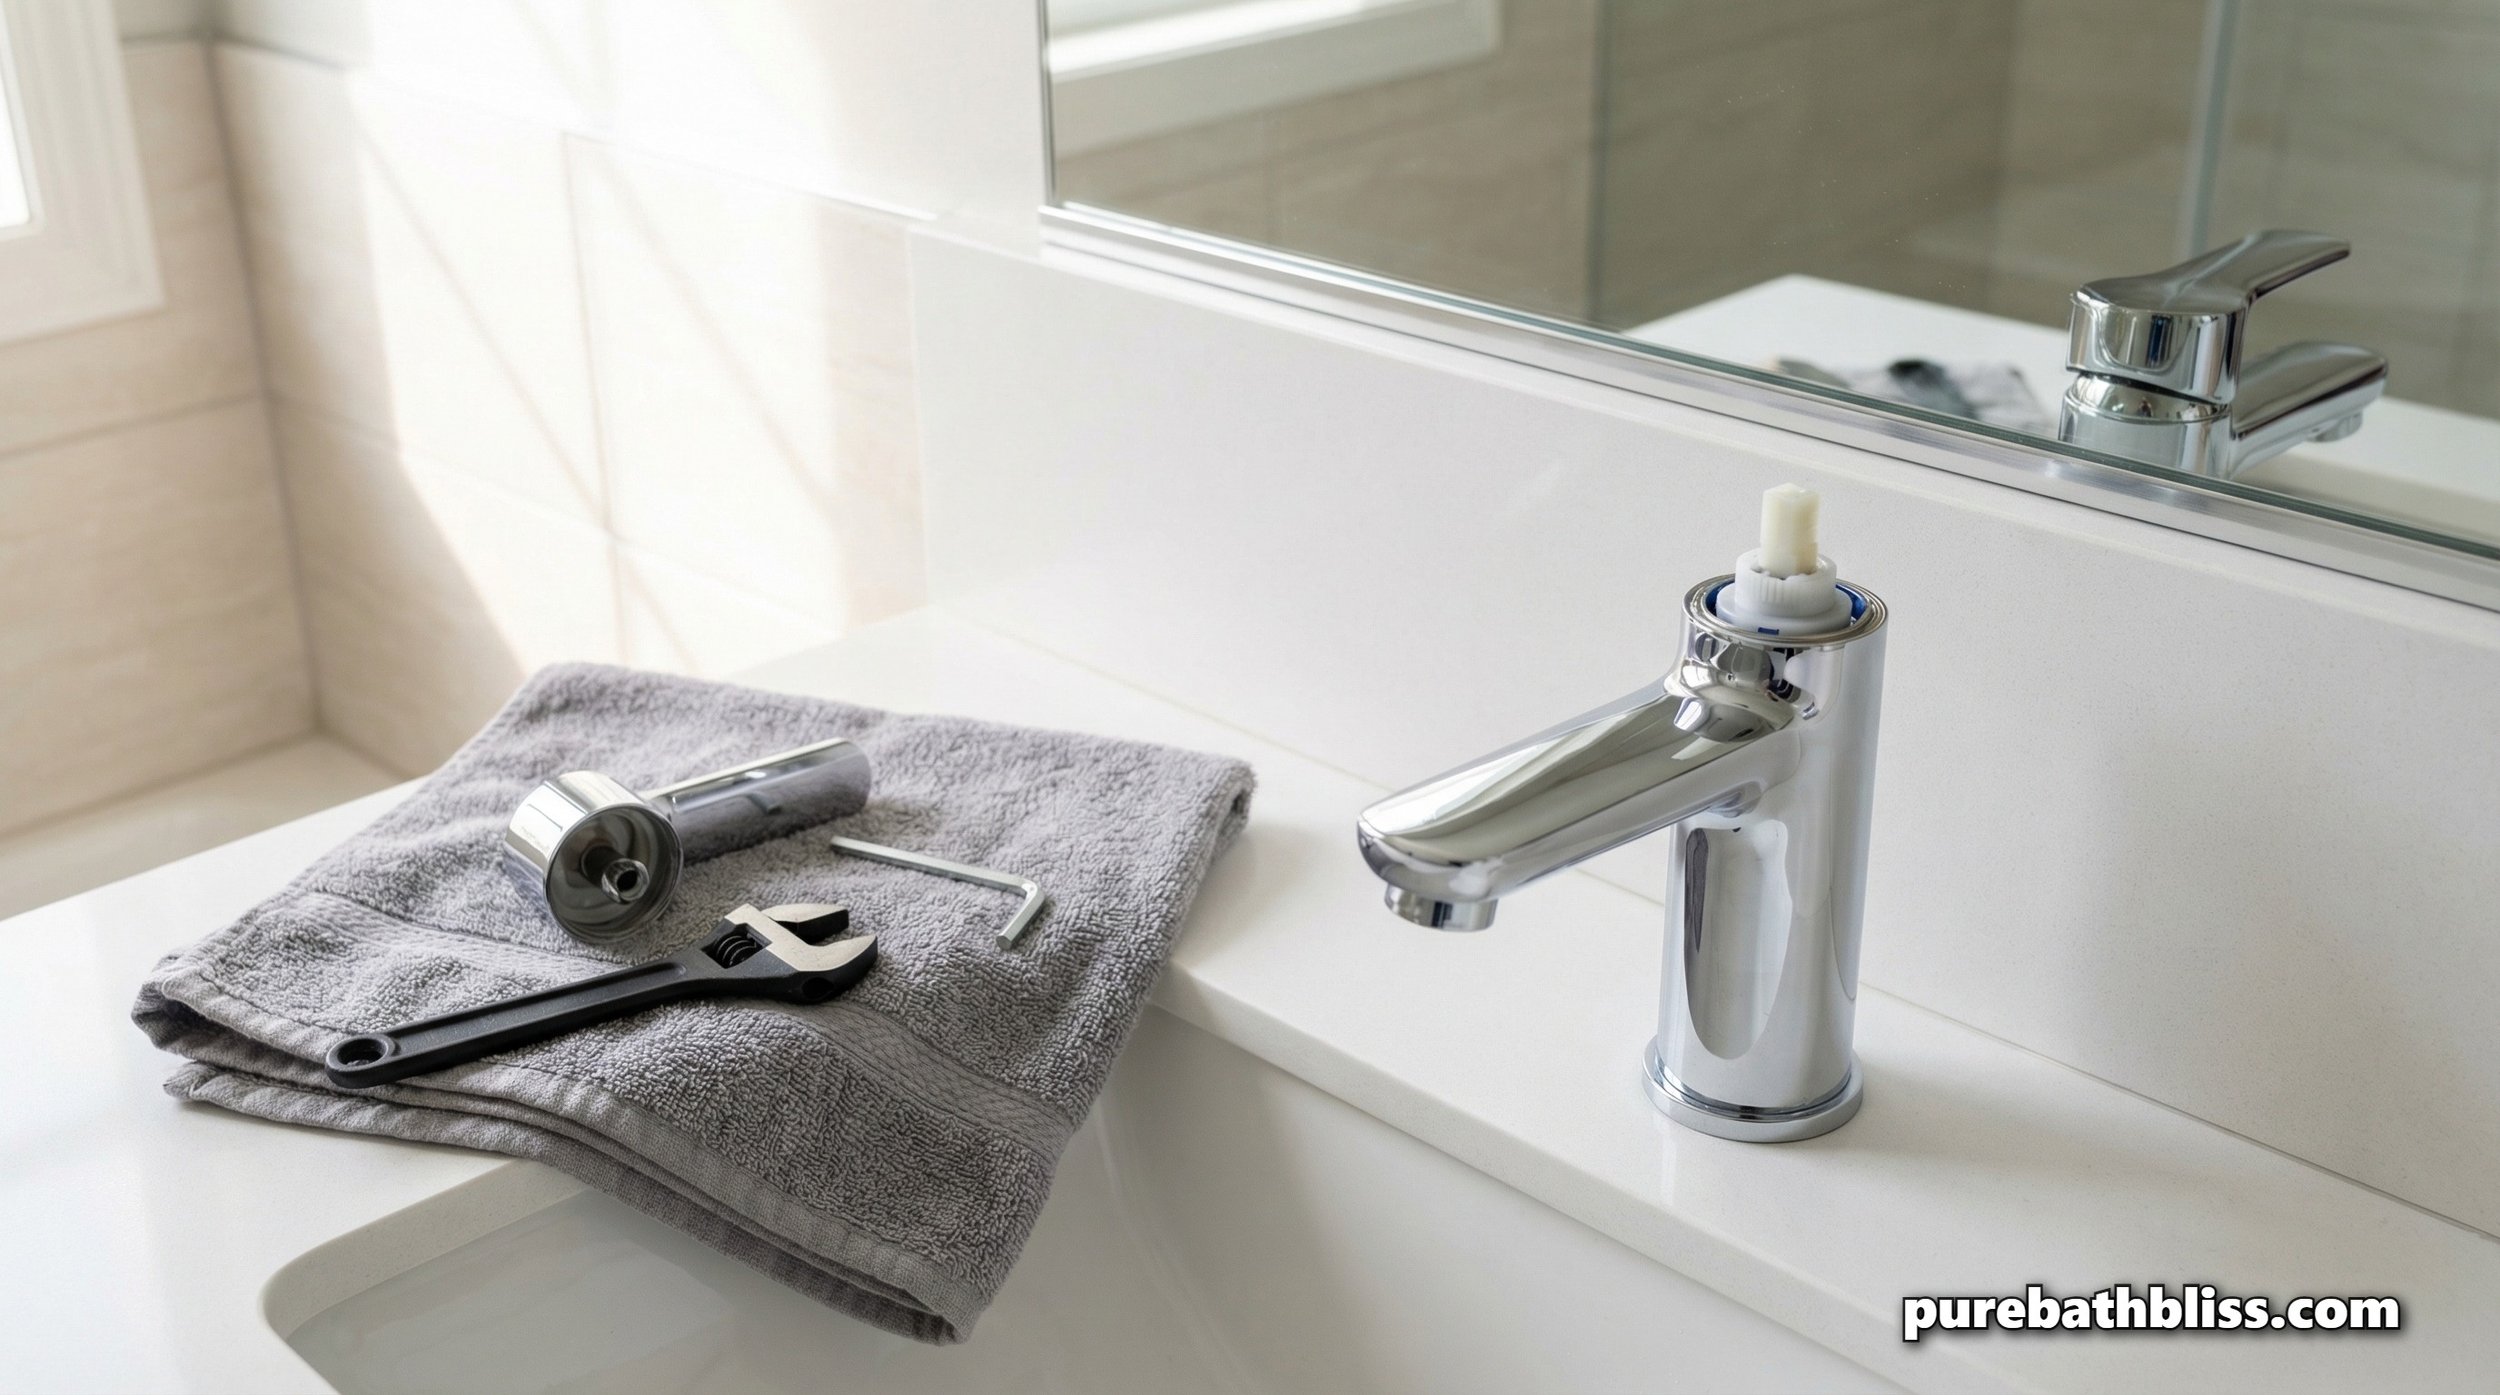
3. Step-by-Step: The Replacement Process
Step 1: Shut Down the Water
Locate the shut-off valves under the sink. Turn them clockwise until tight. Open the faucet to drain any remaining water and relieve pressure. If you skip this, you’ll have a "mini-geyser" the moment you loosen the cartridge.
Step 2: Remove the Handle
Most handles have a decorative cap (a small plastic "index" showing red/blue). Pop this off with a flathead screwdriver to reveal the set screw. Loosen the screw with your hex key and pull the handle straight up. If it's stuck due to hard water minerals, give it a gentle wiggle or use a hairdryer to warm the metal.
Step 3: Access the Cartridge
Unscrew the decorative dome cap (if present) by hand. Underneath, you’ll find a large brass or plastic retaining nut. Use your adjustable wrench to turn this counterclockwise. Pro Tip: If the nut is stubborn, don't force it. A quick spray of penetrating oil can help break the mineral bond.
4. Identifying and Seating the New Cartridge
Pull the old cartridge straight out. Take note of its orientation, most have "tabs" or "notches" that must align with the faucet body.
The Identification: If you don't have the model number, take the old cartridge to the store with you. Small differences in O-ring placement or stem length can cause a new leak.
The Prep: Before installing the new one, clean the inside of the faucet body with a soft cloth. Apply a thin layer of silicone grease to the new cartridge's O-rings. This is the secret to a "pro" feel and prevents the sticky handle issues we often see in older fixtures.
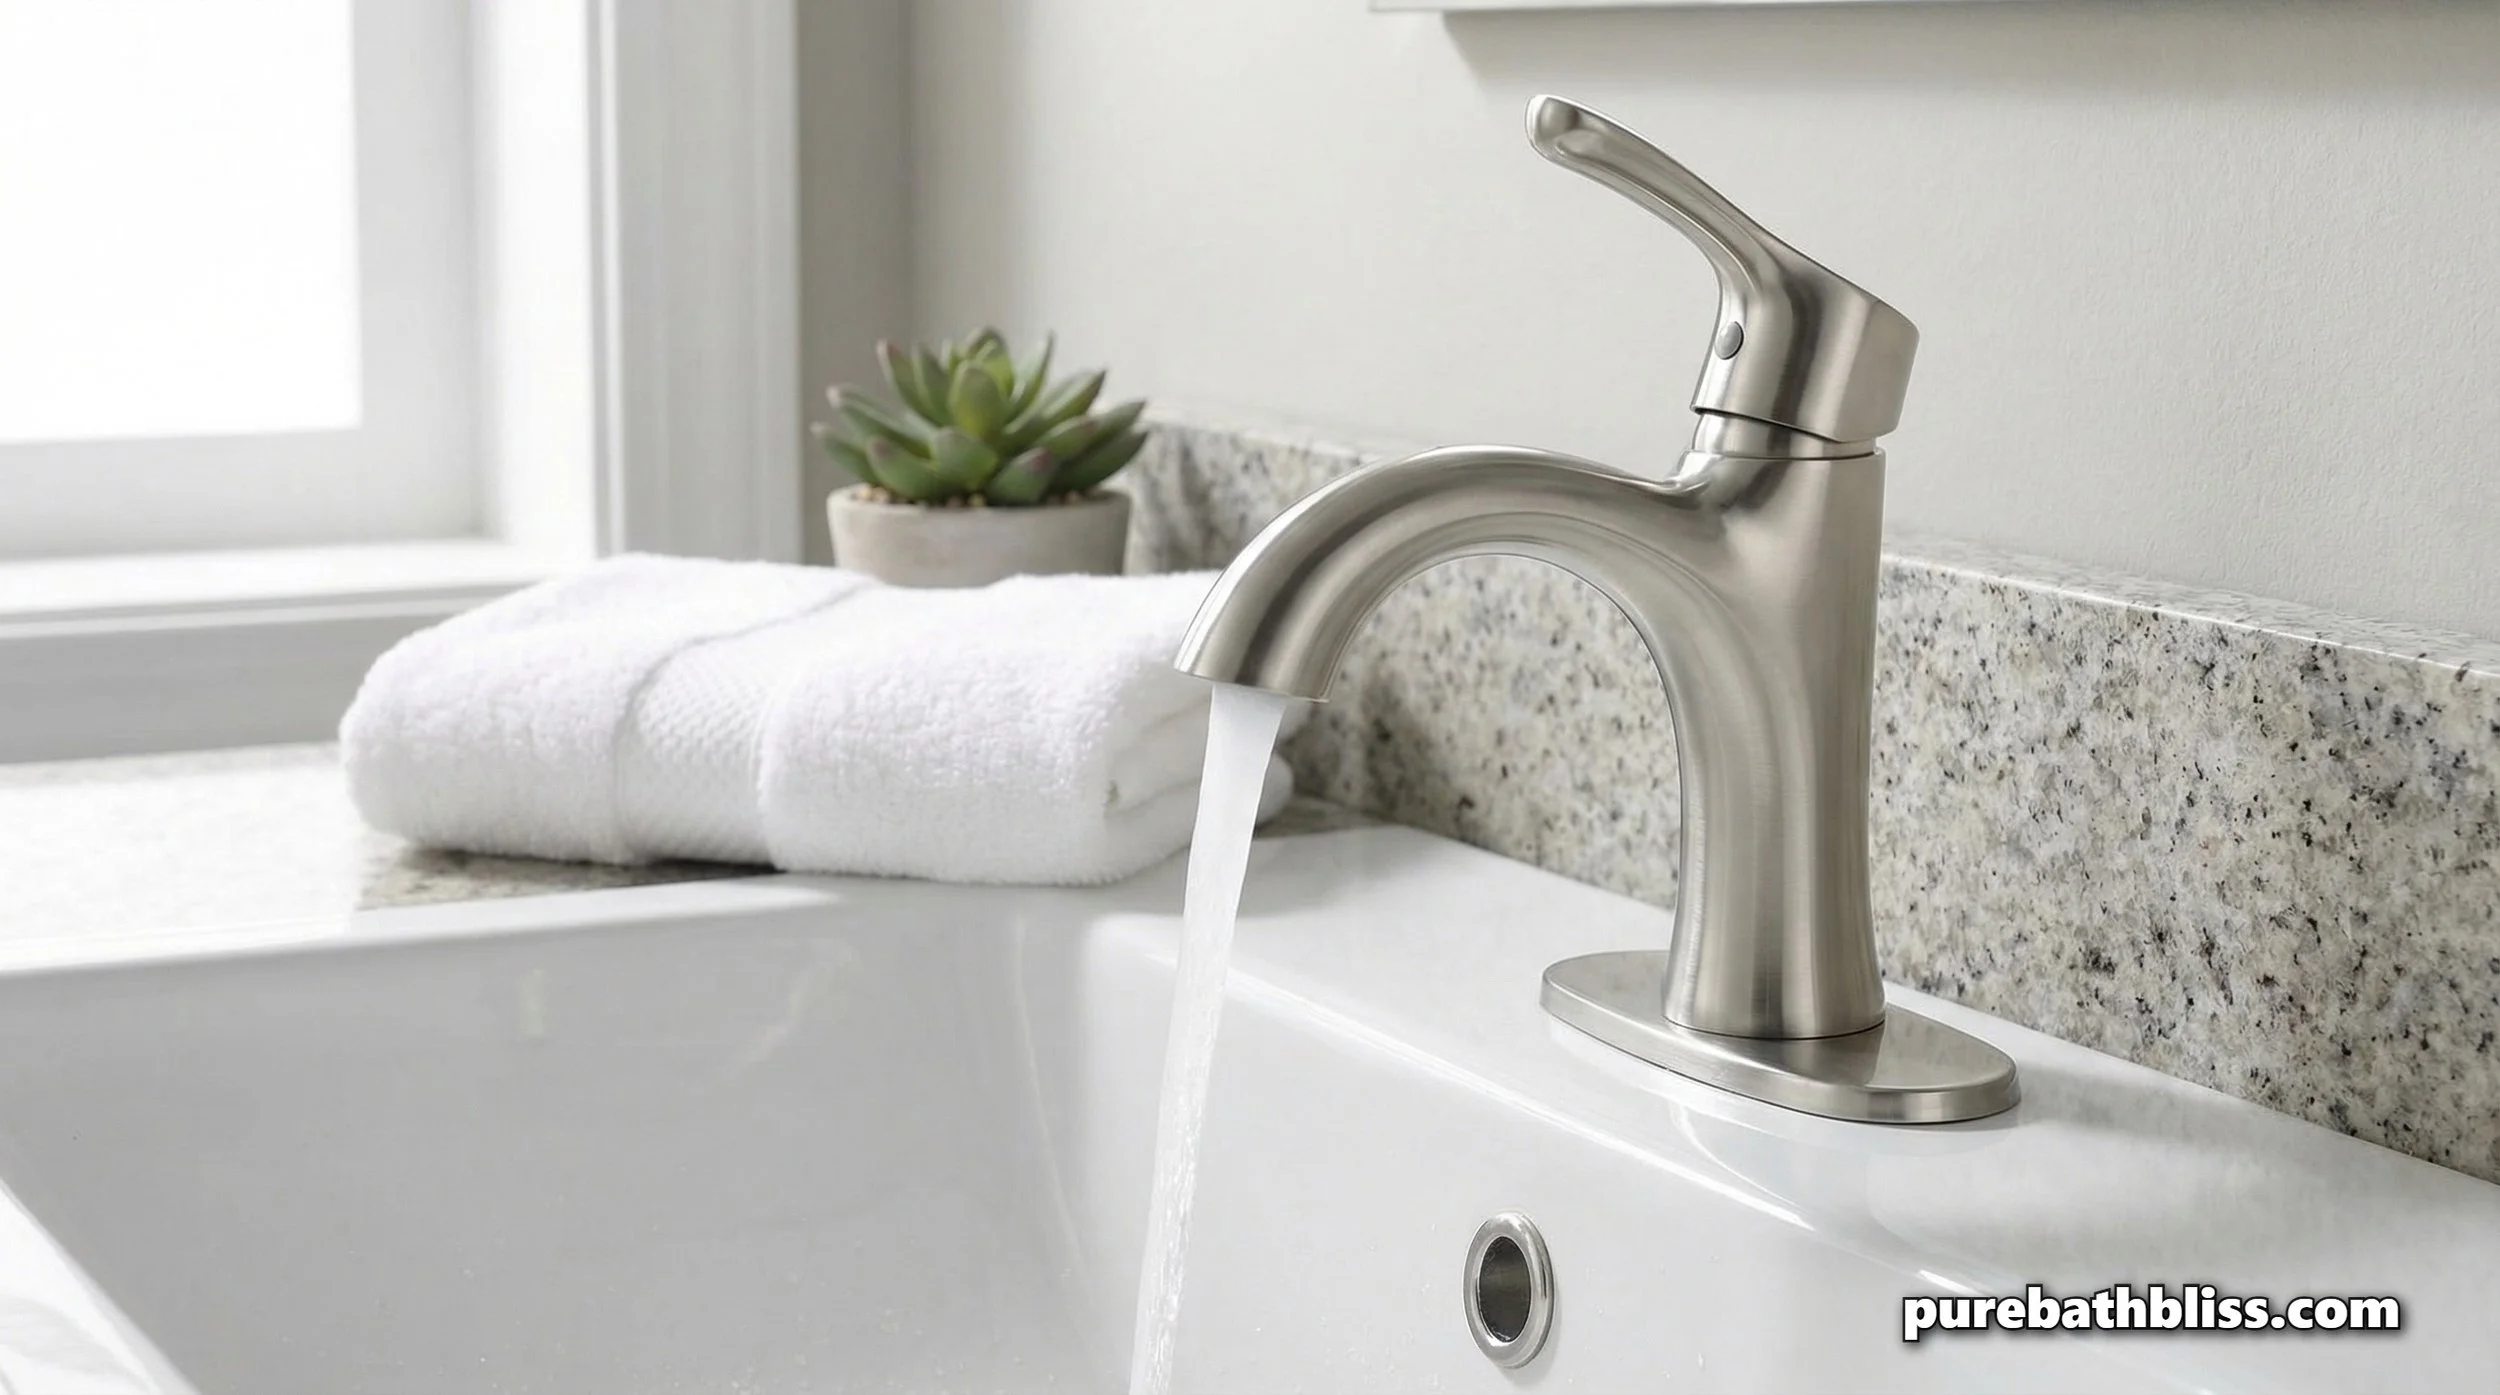
5. Reassembly and Testing
Drop the new cartridge in, ensuring the tabs "lock" into their designated slots. Reinstall the retaining nut (snug, but do not over-tighten) and the handle.
The First Run: Turn the water valves back on slowly. Open the faucet to let any air sputter out of the lines.
The Check: Check for leaks around the base of the handle. If it’s dry, you’ve successfully restored your fixture’s internal infrastructure.
Summary: The Cartridge Replacement Checklist
Shut Off Water: Always the first step in plumbing maintenance.
Protect the Finish: Use a cloth under your wrench to prevent chrome scratches.
Note Orientation: The new cartridge must sit exactly like the old one.
Clean the Bore: Remove any grit or scale from the faucet body before inserting new parts.
Grease the O-Rings: Use silicone grease for a smooth, high-end handle feel.
Don't Over-Tighten: The retaining nut only needs to be "hand-tight plus a quarter turn."
Match the Brand: Cartridges are rarely universal; always buy the OEM (Original Equipment Manufacturer) part if possible.
By replacing the cartridge yourself, you're practicing sustainable home maintenance. You're keeping a perfectly good faucet out of the landfill and ensuring your bathroom remains a functional sanctuary without the cost of a full renovation.