Originally published Nov 16, 2025 · Updated October 9, 2026
Transparency Note: We independently select these products based on research and user reviews. If you buy something through our links, we may earn a commission.
Painting a bathroom is one of the most satisfying weekend projects in the house. It is a small room, it takes a couple of quarts of paint, and the change is dramatic. It is also the room where a good paint job is most likely to fail, and the reason is almost always the same: someone takes a hot shower the next morning, the fresh paint gets soaked in steam before it has had a chance to cure, and within a week there are sticky streaks running down the walls or gray spots of mildew creeping across the ceiling.
The short answer to the question in the title is that you should wait at least 24 hours before taking a shower in a freshly painted bathroom, and 48 to 72 hours is better if you have another bathroom you can use. But the longer answer matters more, because the wait is only one part of it. How you prepare the walls, which paint you choose, and how you ventilate during and after painting decide whether the job lasts ten years or starts peeling in one.
I have painted and repainted a lot of bathrooms as a Red Seal Carpenter, including plenty where the previous paint job failed because steam got to it too early or because it went straight over mildew. This guide covers how paint actually dries and cures, how long to wait before the first shower, how to ventilate while you work, and the prep steps that stop mildew from coming back through your new paint.
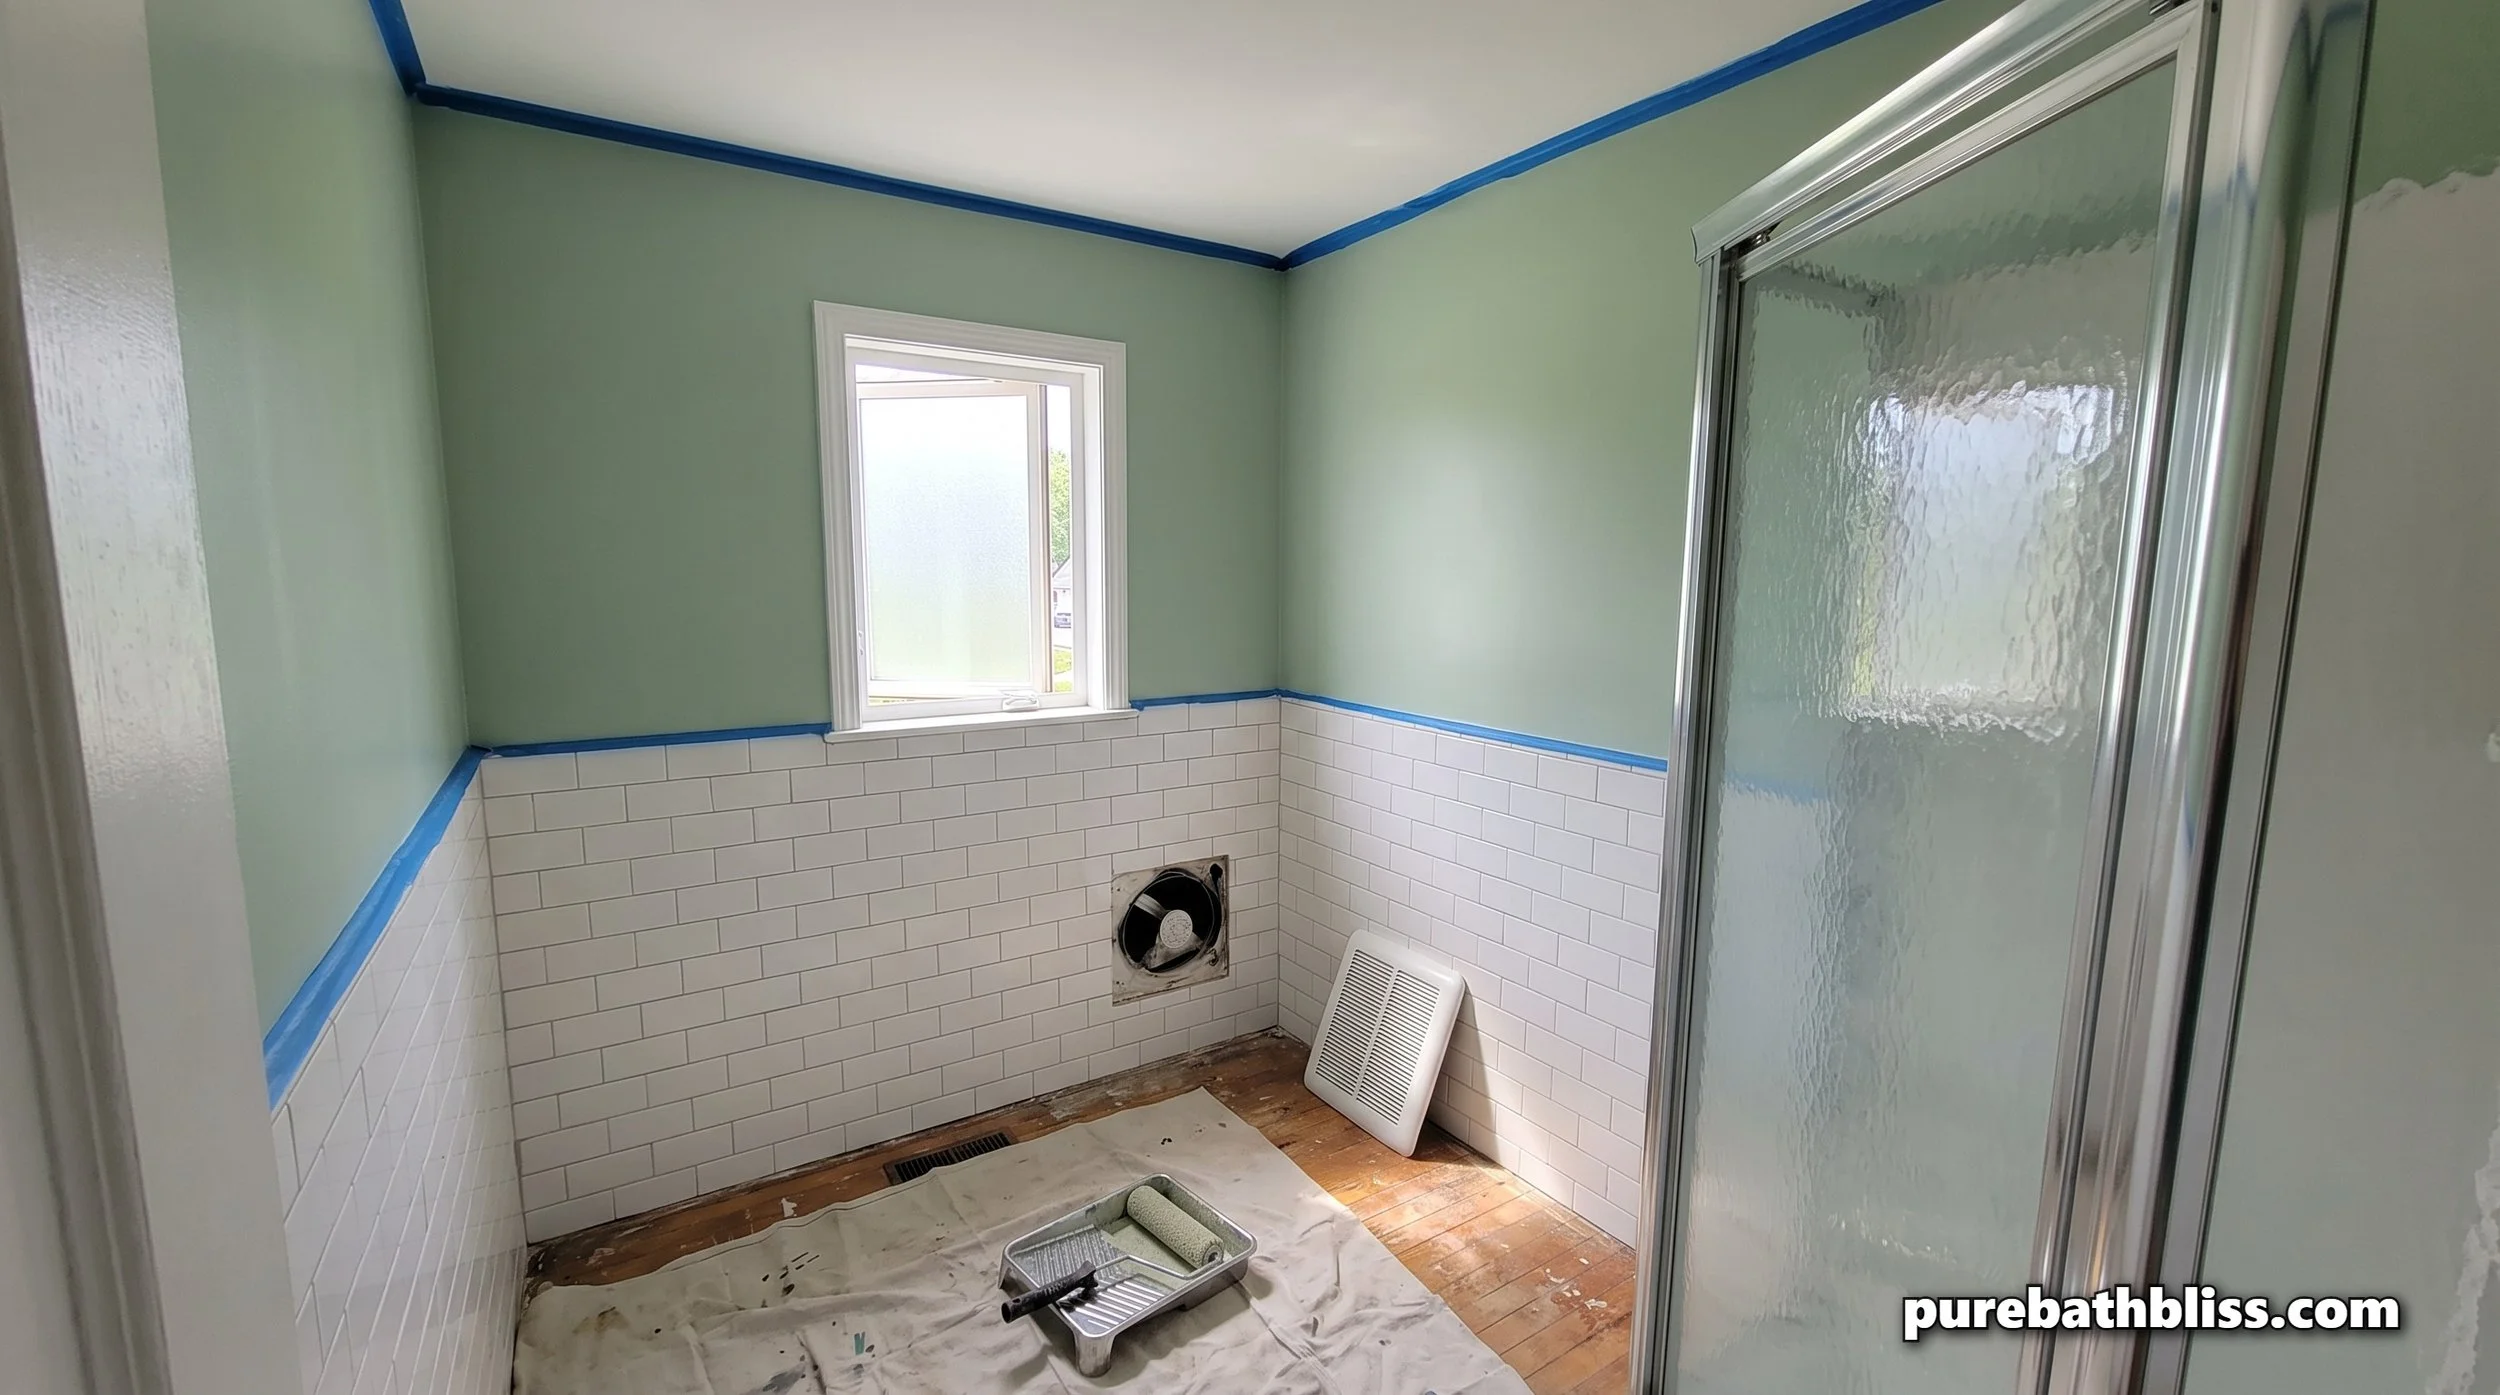
Dry to the Touch Is Not the Same as Cured
The most important thing to understand about paint is the difference between dry and cured. Most modern interior latex paints are dry to the touch in about an hour and ready for a second coat in two to four hours, depending on the product, the temperature, and the humidity. At that point the surface feels finished, and it is tempting to put the towels back up and get on with your week.
Curing is a separate, slower process. As latex paint dries, the water evaporates first, and then the tiny particles of binder in the paint gradually fuse together into a continuous, hard film. That fusing continues for days after the paint feels dry, and most manufacturers say a full cure takes somewhere between two and four weeks. Until the film has had time to set, it is softer, more porous, and much more vulnerable to moisture than it will be later.
That is why bathrooms are a special case. In a bedroom, partly cured paint just needs a little care for a couple of weeks. In a bathroom, a single hot shower can push the humidity close to 100 percent, coat every wall in condensation, and keep it there for half an hour. Water sitting on paint that has not yet set can soften it, interfere with how the film forms, and draw ingredients out of the paint onto the surface.
Always check the label on the can, because dry times, recoat times, and moisture guidance vary between products. Some paints sold specifically for bathrooms are formulated to tolerate humidity sooner and list a recommended wait before exposing them to steam. If the label gives a number, follow it, even if it is longer than the general guidance in this article.
| Stage | Typical Time for Latex Paint | What You Can Do |
|---|---|---|
| Dry to the touch | About 1 hour | Keep fan running; do not touch or lean on walls |
| Ready to recoat | 2 to 4 hours (check label) | Apply second coat |
| First shower (only bathroom) | At least 24 hours after final coat | Short, warm shower; fan on; door open after |
| First shower (ideal) | 48 to 72 hours after final coat | Normal showers with good ventilation |
| Surfactant streaks appear | First few days to weeks | Wash gently with warm soapy water |
| Full cure | About 2 to 4 weeks | Normal cleaning and scrubbing |
How Long to Wait Before Your First Shower
If you have a second bathroom, the simplest approach is to not shower in the newly painted one for two to three days. That gives the paint enough time to firm up so that steam and condensation will not damage it, and it is a small price for protecting a job you spent a weekend on. In a house with kids, it also stops someone from leaning against a wall that is still soft.
If it is your only bathroom, wait a minimum of 24 hours after the final coat, then keep the first few showers gentle. Use warm rather than hot water, keep the shower short, run the exhaust fan the whole time and for at least 30 minutes afterward, and leave the door open once you are out so the room dries faster. Do not wipe condensation off the freshly painted walls with a towel, since rubbing can burnish or mark paint that is still soft. Let the fan and open door do the work instead.
For the following two to four weeks, while the paint finishes curing, treat it gently. Do not scrub the walls, do not use harsh cleaners on them, and keep up with the ventilation. After a full cure, a good bathroom paint can handle daily showers and regular cleaning with no trouble.
If you see tan, yellow, or brown sticky drips or streaks appear on the new paint after the first few showers, do not panic, and do not assume it is mildew. This is a well known issue called surfactant leaching. Surfactants are soap like ingredients in latex paint, and when fresh paint is exposed to high humidity before it cures, some of them migrate to the surface and leave a glossy, sometimes tacky residue, most visible on darker colors and ceilings. It does not damage the paint and usually stops once the paint has cured. Wash it off gently with warm water and a little dish soap, rinse, and expect it may reappear once or twice before it stops.
Prep: Never Paint Over Mildew
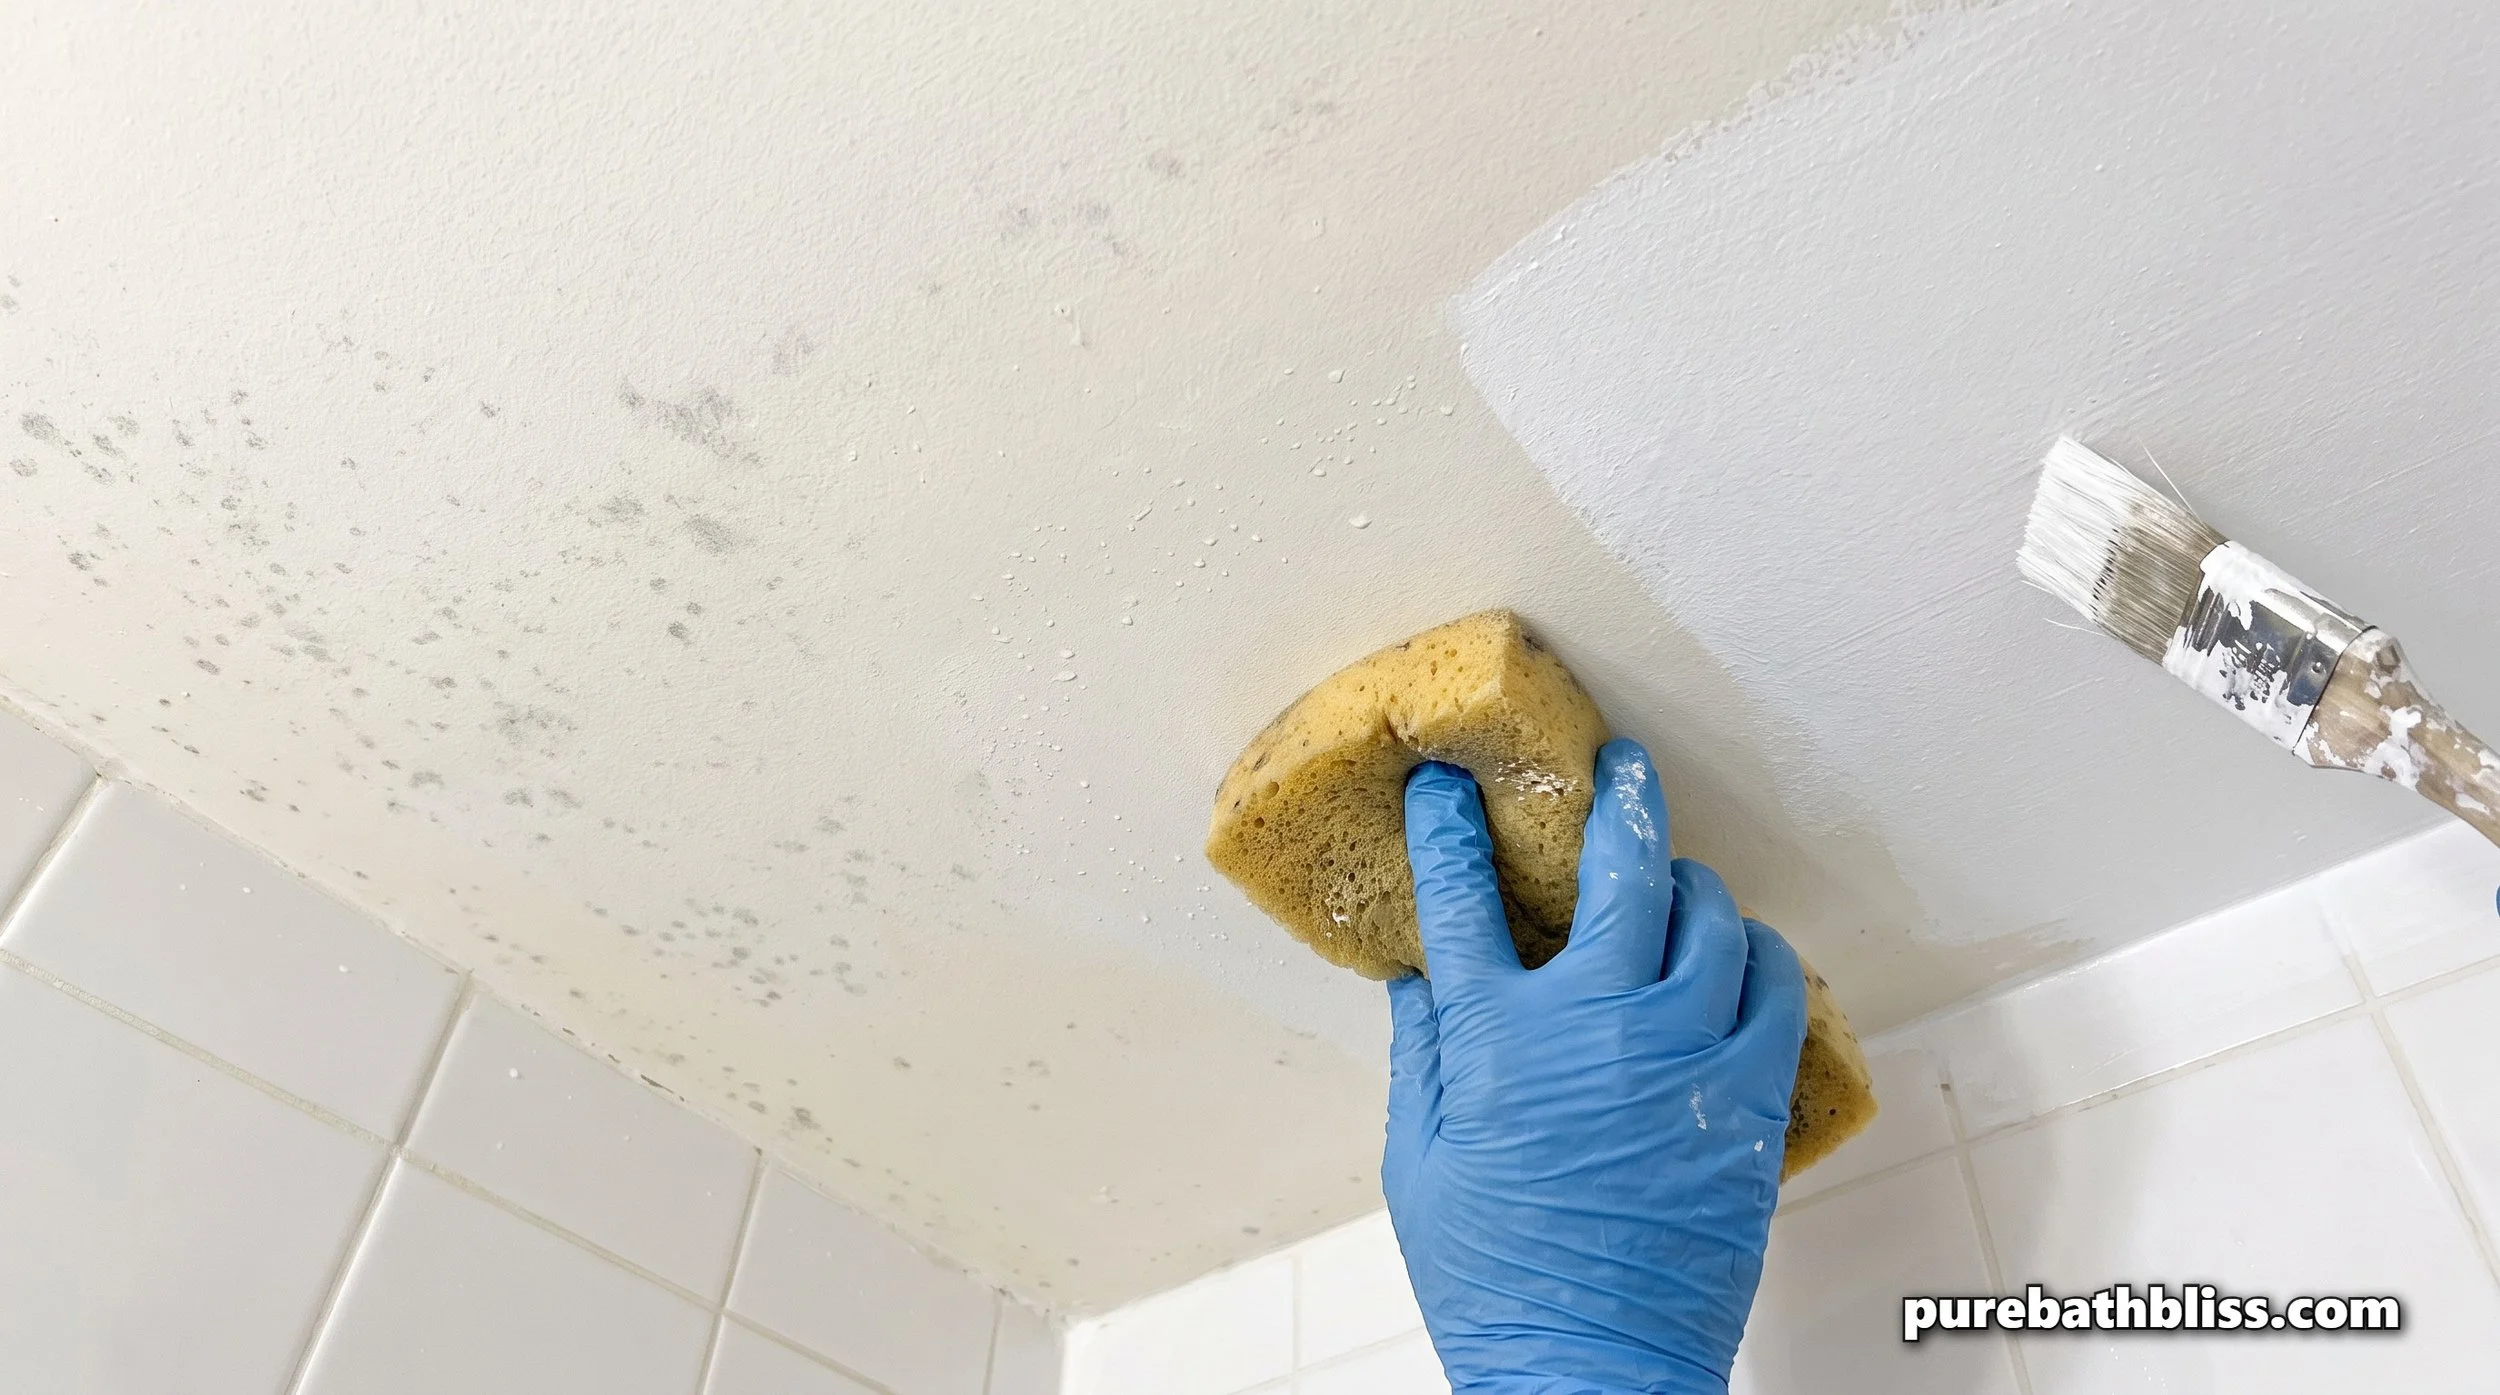
The single biggest reason bathroom paint fails is mildew that was already there before the new paint went on. Paint does not kill mold or mildew; if you roll fresh paint over gray or black spots, the growth often comes back through the new finish within months, and now it is trapped under a fresh coat. Clean every wall and the ceiling before you paint, paying particular attention to the corners, the area above the shower, and the ceiling around the exhaust fan.
For light surface mildew on painted drywall, the EPA's guidance for mold on hard surfaces is to scrub it off with detergent and water and let the surface dry completely. A mildew cleaner works too. Wear gloves and eye protection, ventilate well, and never mix bleach with ammonia or other cleaners. If the spots keep returning in the same place, or the drywall feels soft or crumbles, the problem may be behind the surface rather than on it, and painting over it is the wrong fix.
Once the walls are clean and completely dry, prime any areas that had mildew or water stains. A mold killing primer kills remaining mildew on the surface and leaves a protective film underneath the paint, and it also helps block old stains from bleeding through. If the existing paint is glossy, lightly scuff sand it and wipe off the dust so the new paint can grip. Fill any nail holes, and while you are at it, replace any cracked or moldy caulk around the tub, sink, and trim.
A note on caulk: if you plan to paint over it, use a paintable acrylic latex or siliconized acrylic caulk, and give it the cure time on the label before painting. Pure silicone caulk is excellent in wet areas, but most paint will not stick to it, so keep silicone for the joint between the tub and tile where it will not be painted.
Choosing the Right Paint and Finish
Paint chosen for a bedroom is not always right for a bathroom. Look for a paint labeled for bathrooms or as mildew resistant, which means it contains a mildewcide that discourages growth on the paint film itself. It will not fix a moisture problem, but it gives the surface real protection between cleanings. Do not add bleach or homemade additives to ordinary paint; it can affect how the paint cures and does not do the same job as a properly formulated mildew resistant paint.
Finish matters just as much as formula. Flat and matte paints are porous and hard to clean, which is why they tend to stain and mildew in bathrooms. Satin and semi gloss finishes form a tighter, smoother surface that sheds moisture and wipes clean far better. Our full comparison of satin vs. semi gloss for bathrooms goes into which works best on walls, ceilings, and trim. The short version is that satin is the sweet spot for most bathroom walls, and semi gloss is a good choice for trim and doors.
The ceiling deserves special attention. Many people paint a bathroom ceiling with ordinary flat ceiling white because that is what is used in the rest of the house, and it is a mistake. Warm, moist air rises, so the ceiling, especially above the shower, takes the most condensation in the room. Use the same mildew resistant satin on the ceiling as you do on the walls.
Choose a low VOC or zero VOC paint if you can. Volatile organic compounds are the solvents that give fresh paint its smell, and in a small room with limited airflow they build up quickly. Most quality latex paints now come in low VOC formulas, which makes the job more pleasant and the room usable sooner. The same principle applies anywhere in the house, and our sister site's guide to improving indoor air quality in the kitchen covers why it matters for the rooms where your family spends the most time.
Ventilating During and After Painting
Good ventilation serves two purposes when you paint a bathroom. During the job, it clears paint fumes so the room is safe and comfortable to work in. Afterward, it removes the moisture the drying paint releases, which helps the paint dry and cure evenly. Bathrooms are small and often have one small window or none at all, so they need more deliberate airflow than other rooms.
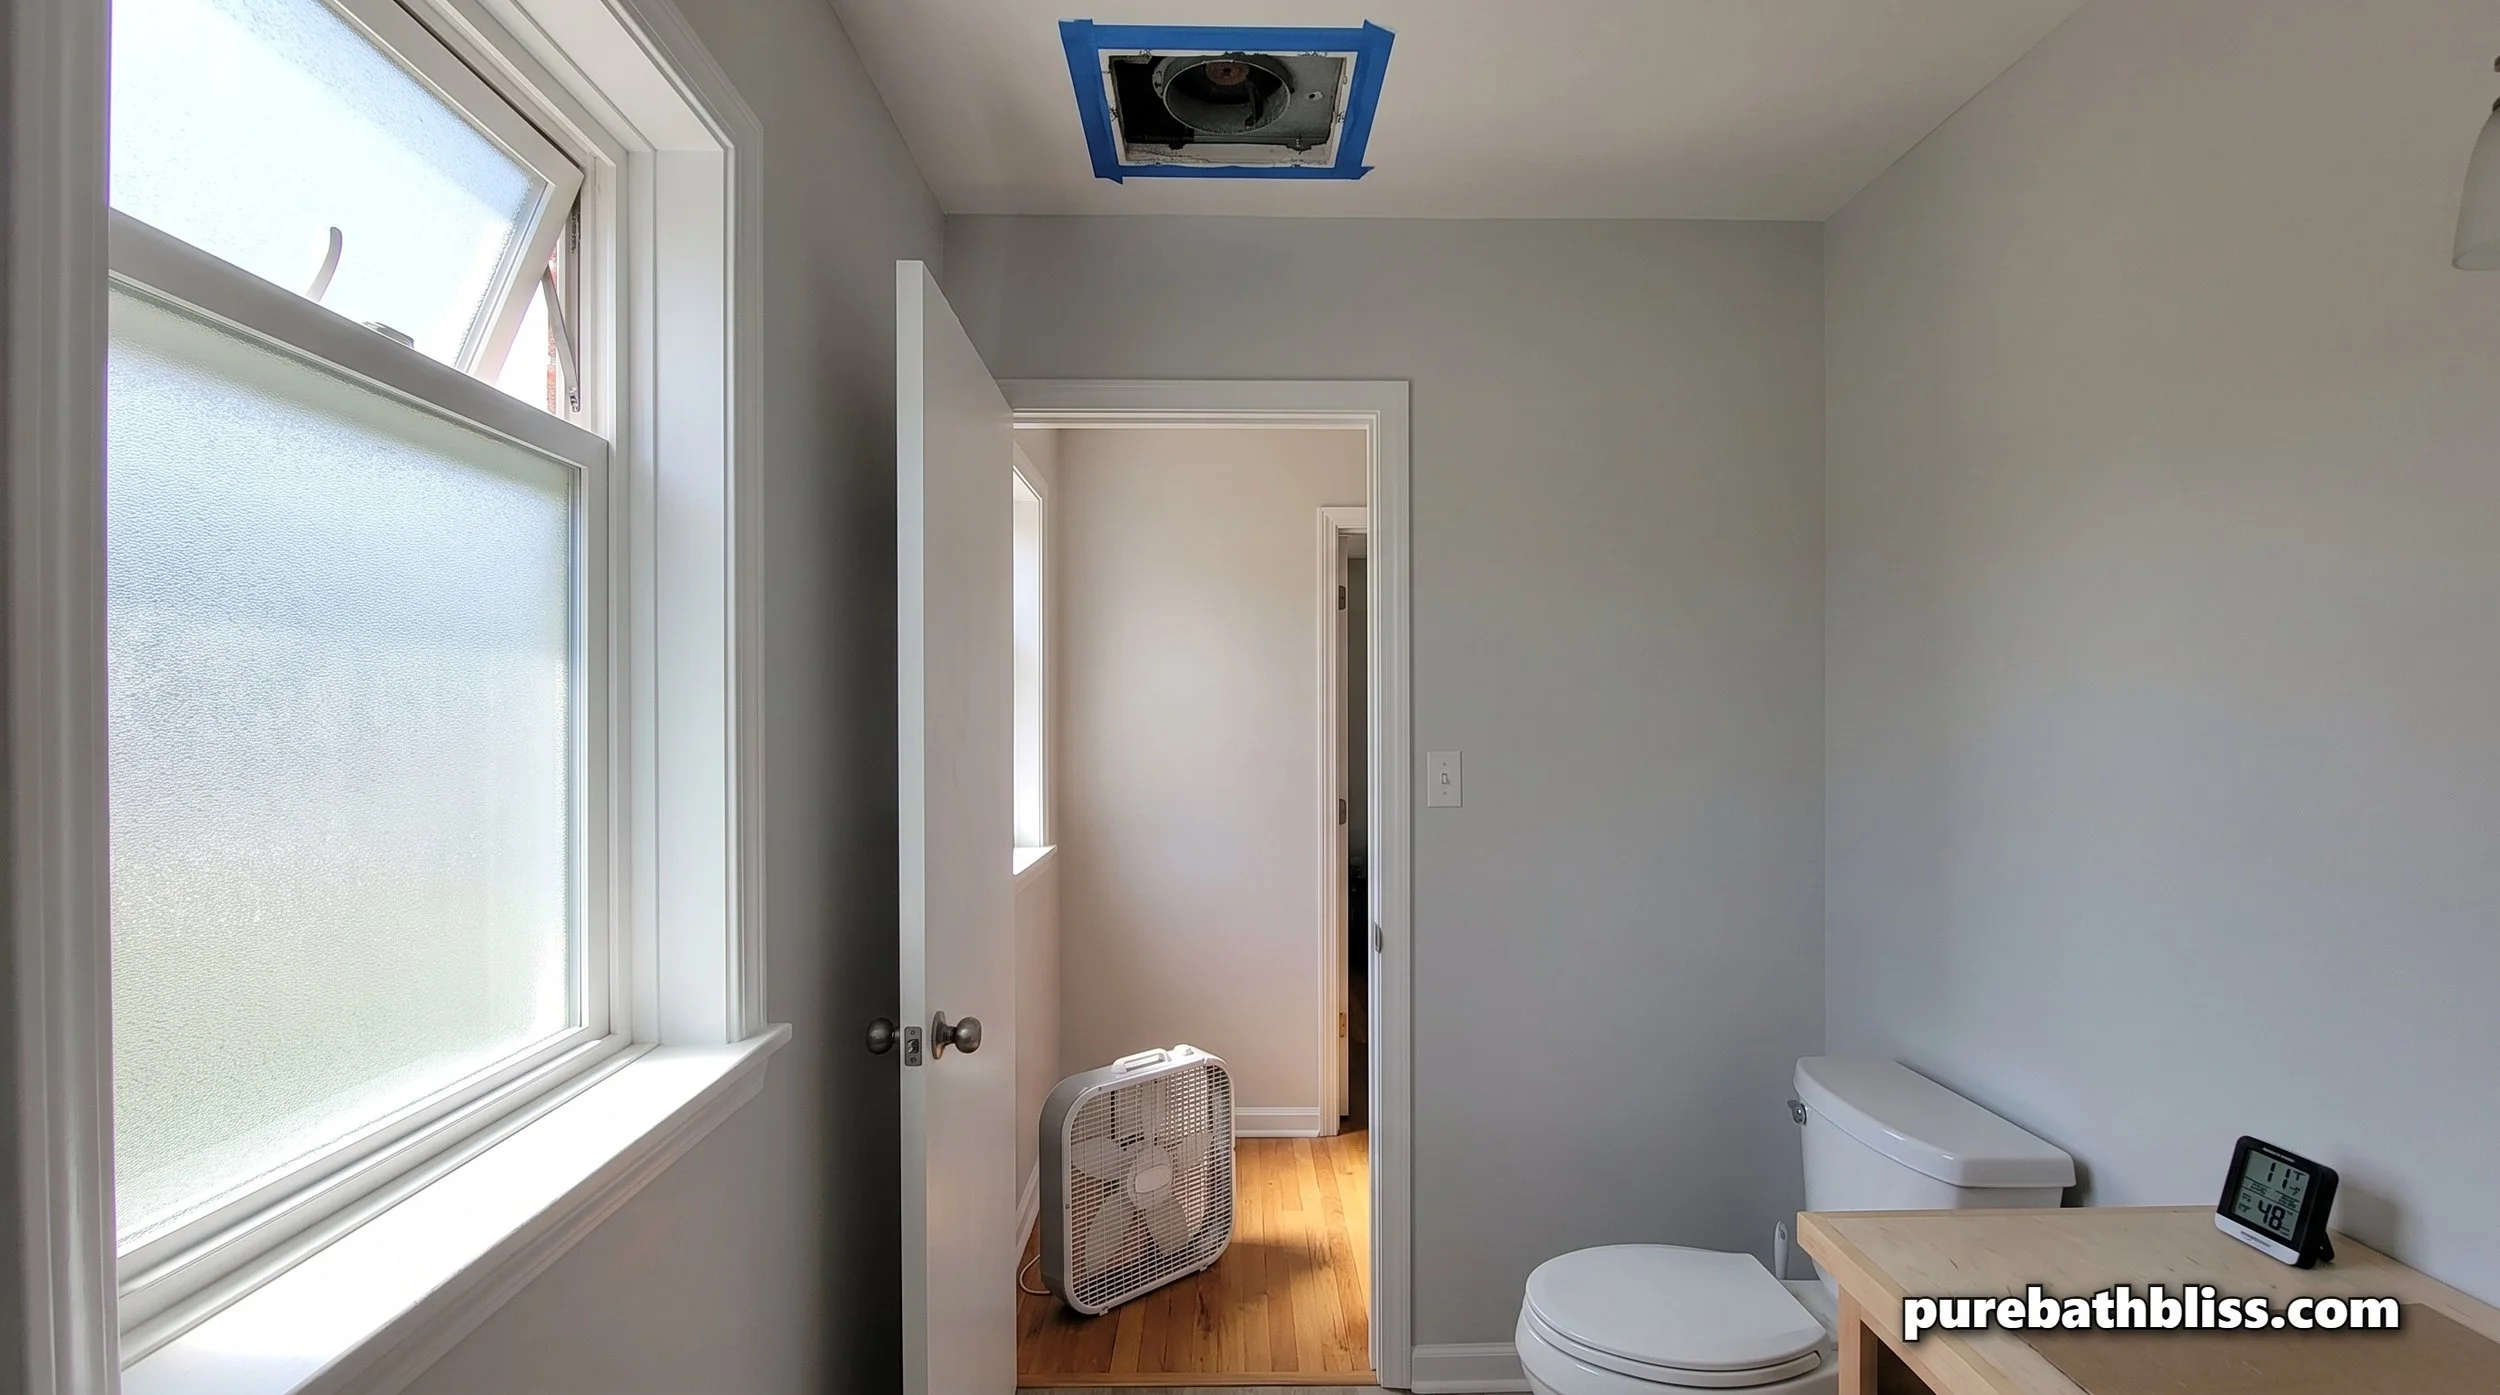
Before you start, remove the exhaust fan grille and set it aside, and mask around the opening, so you do not paint the grille shut or drip into the fan. Then run the fan while you paint and for several hours afterward; it is the most direct way to pull fumes and moisture out of the room. If you have a window, open it, and if you can, put a box fan in the window or in the doorway blowing outward to push air through the room. Keep the door open when you are not actively working on the area behind it.
Pay attention to the weather and conditions. Latex paint generally needs a minimum temperature, often 50°F, which is listed on the can, and it dries slowly and less evenly in very humid conditions. If you can, paint on a dry day, keep the bathroom at a normal room temperature, and avoid running a hot shower anywhere else in the house that could push steam into the room while the paint dries. A simple hygrometer on the counter tells you how humid the room really is.
Finally, check that your exhaust fan is actually working before you rely on it. Hold a single square of toilet paper up to the grille opening with the fan running. If the fan does not hold it in place, it is not moving enough air, and your new paint will be fighting the same moisture that likely damaged the old paint. Our comparison of dehumidifiers vs. exhaust fans covers when a fan alone is not enough, and our guide to drying out your bathroom after a bath or shower covers the daily habits that keep fresh paint looking new for years.
Keeping the New Paint Mildew Free
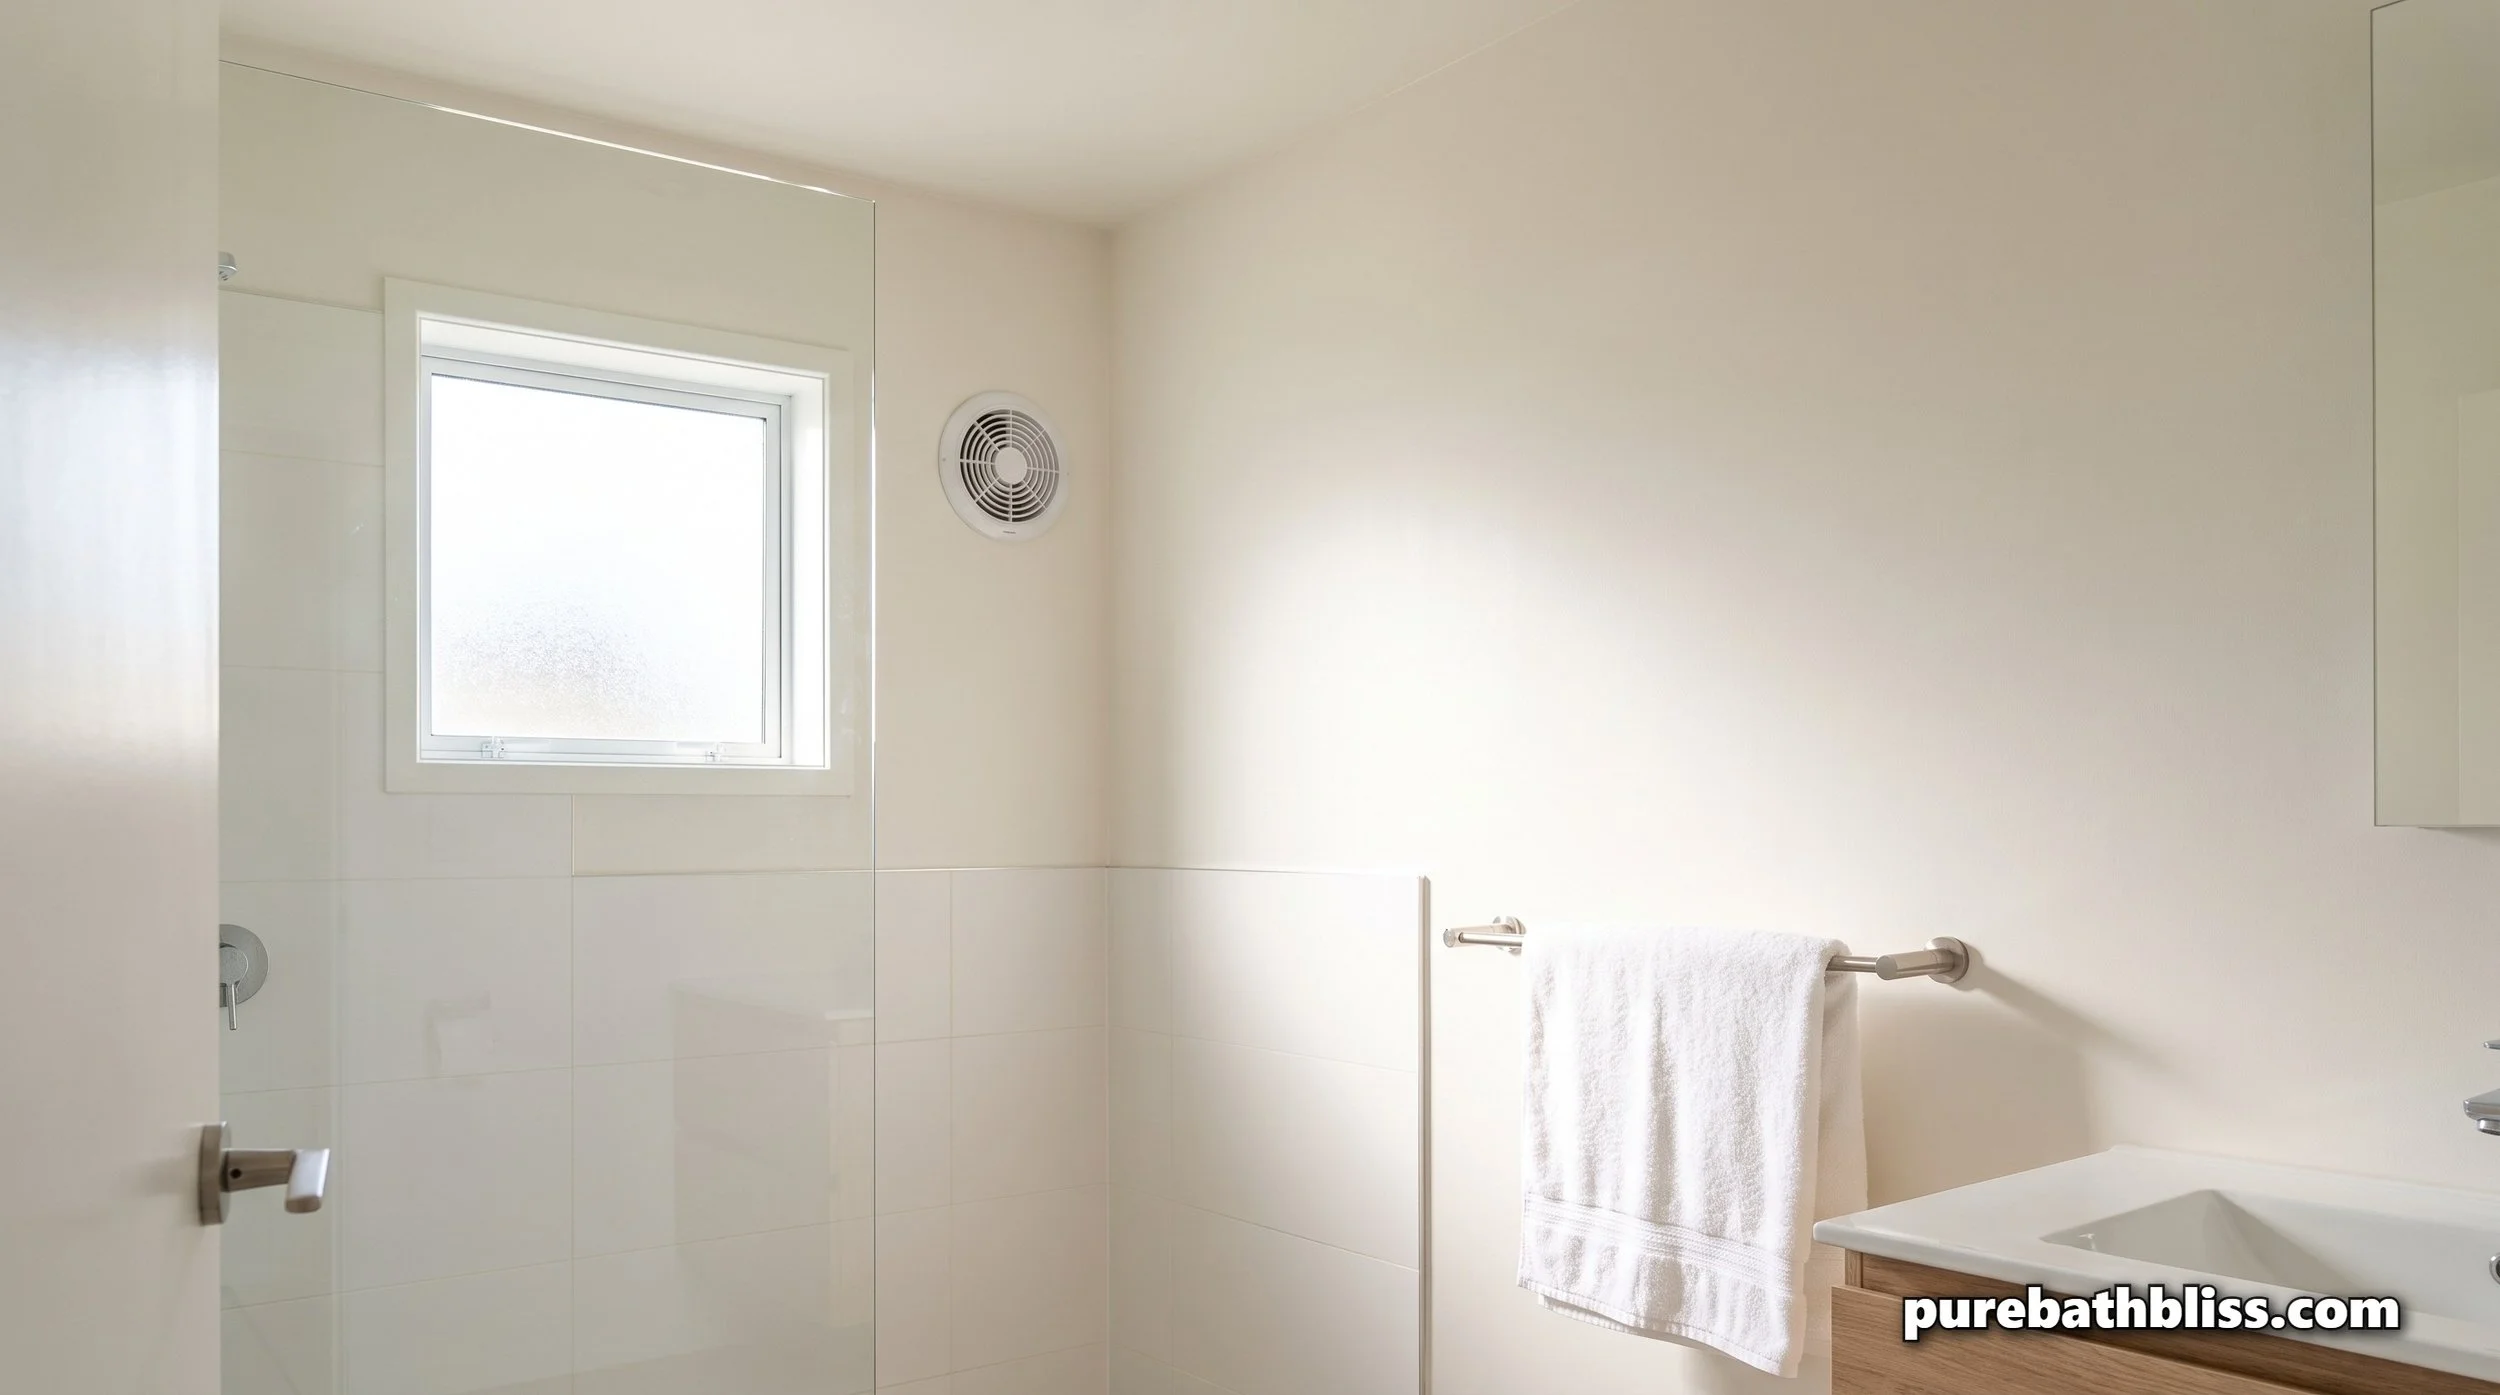
Once the paint has cured, keeping it clean comes down to managing moisture every day. Run the exhaust fan during every shower and for at least 20 to 30 minutes afterward. Leave the door open once you are done. Hang towels and bath mats where they can dry fully, rather than leaving them in a heap. Every one of those habits shortens the time your walls and ceiling spend wet, which is the single biggest factor in whether mildew can get started.
Clean the walls gently every few months with mild soap and water, especially the ceiling above the shower and the corners where moisture lingers. A satin or semi gloss mildew resistant paint wipes clean easily, so catching small spots early is quick work. Avoid abrasive pads and strong solvents, which can dull the finish and wear away the protective surface over time.
If mildew does start reappearing on new paint within a few months, take it as a sign that the room is staying damp too long rather than a problem with the paint. Check that the fan is pulling well, that it vents outside rather than into the attic, and that the door has enough of a gap at the bottom to let replacement air in. Fixing the ventilation fixes the mildew; repainting without fixing it just restarts the clock.
Our Top Picks for a Bathroom Paint Job That Lasts
These are the products I would use to prep, paint, and protect a bathroom so the paint stays clean for years.
1. Zinsser Mold Killing Primer
A water based primer with an EPA registered antimicrobial that kills existing mold, mildew, and odor causing bacteria on the surface and protects the primer film from new growth. Use it on any area that had mildew or water staining, after cleaning, so your new paint goes over a protected base. It cleans up with soap and water.
2. Zinsser Perma White Mold and Mildew Proof Interior Paint, Satin
A self priming, mildew resistant satin paint made for bathrooms, kitchens, and other damp rooms. It bonds to glossy surfaces without heavy sanding, is washable, and carries a five year guarantee that the paint film will resist mold and mildew. It comes in white and can be tinted to light colors, and the satin finish is the right choice for most bathroom walls and ceilings.
3. ThermoPro TP50 Digital Hygrometer
An inexpensive way to know whether conditions are right for painting and whether the room is drying out properly afterward. Keep it on the counter while the paint cures, and once you are showering again, watch how quickly the humidity drops back to normal levels after a shower. If it stays high for a long time, your ventilation needs work before the new paint pays the price.
The Bottom Line
Wait at least 24 hours after the final coat before showering in a freshly painted bathroom, and 48 to 72 hours if you can use another bathroom. For the first few showers, keep them short and warm, run the fan, and leave the door open. Remember that paint keeps curing for two to four weeks, so treat the walls gently during that time, and if sticky brown streaks appear, wash them off with soapy water rather than repainting.
The long term success of the job is decided before you open the can. Clean off every trace of mildew, prime stained areas with a mold killing primer, use a mildew resistant satin paint on the walls and the ceiling, and make sure the exhaust fan actually works. Get those steps right, and the paint will look fresh for years instead of months.
Greg is a Red Seal Carpenter, coffee shop owner, dad of four, and founder of Pure Bath Bliss. He writes about making smarter choices for your home and family.