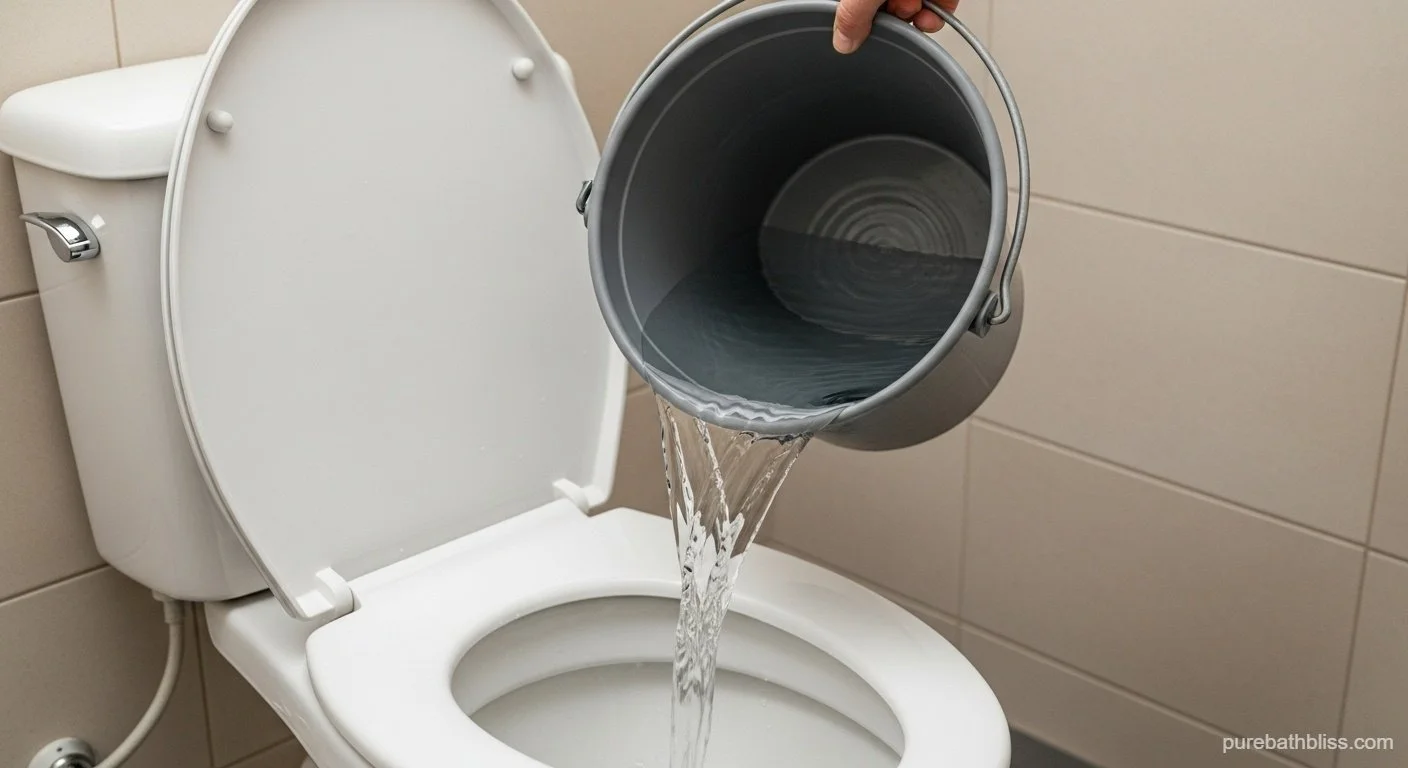
The Toilet Dye Test Decoded: How to Find and Fix the 3 Silent Leaks Wasting Your Water
It’s 2 a.m., and you hear it: a faint hiss… trickle… hiss. Or maybe you don’t hear anything at all. That’s the danger. Silent toilet leaks waste 200–4,000 gallons per day—enough to fill a swimming pool in a month.
One tiny flaw in your tank = $500+ down the drain yearly.
But here’s the relief: You can detect and fix it in under 30 minutes with zero plumbing skills. This guide hands you the foolproof dye test and three exact repairs that stop the bleed—immediately.
This essential fix is the first step in our master guide: The Zero-Waste Water Guide: How to Achieve Ultimate Efficiency in Your Eco-Friendly Bathroom.
The Diagnosis: Performing the Foolproof Dye Test
95% of toilet leaks are invisible. One 15-minute test reveals the truth.
Gathering Your Kit
Food coloring (any color, 10–15 drops) OR dye tablets ($1–$2/pack, hardware store)
Disposable gloves (optional, but clean)
Flashlight (for dark tanks)
Paper towel (for drips)
Total cost: Under $3.
Step-by-Step Execution
Lift the tank lid carefully—set on a towel.
Flush once to clear old water.
Wait for tank to refill completely.
Drop dye:
10–15 drops food coloring OR
1 dye tablet (let dissolve 1 min).
DO NOT FLUSH.
Wait exactly 15 minutes (set timer).
Check the bowl:
No color = sealed.
Any tint = LEAK.
Pro tip: Test all toilets in the house.
Decoding the Result
Clear bowl after 15 min → System sealed. Move to prevention (Section 4).
Colored water in bowl → Internal leak. Proceed to fixes.
Trickle sound = flapper or fill valve.
Constant hiss = float or fill valve.
One test = 73,000 gallons saved if you act.
The 3 Silent Leaks: Causes and Quick Fixes
Three parts fail. Three fixes stop them. Tools: Adjustable wrench, screwdriver, towel, new parts ($5–$25).
Leak #1: The Faulty Flapper (The Most Common Culprit)
Diagnosis:
Dye appears in bowl.
Flapper (rubber seal) is warped, cracked, stiff, or mineral-crusted.
80% of leaks start here.
Fix: Replace the Flapper (10–15 minutes)
Turn off water valve (behind toilet—clockwise).
Flush and hold handle to drain tank.
Sponge out remaining water (optional).
Unhook chain from flush lever.
Unclip old flapper from pegs on overflow tube.
Remove old flapper (twist off base if needed).
Install universal flapper ($5–$8):
Match shape to drain hole.
Clip onto pegs.
Hook chain with ¼–½ inch slack.
Turn water on.
Test flush—flapper must drop flat.
Upgrade: Silicone flapper ($10) → lasts 5–10 years.
Leak #2: The Maladjusted Float (The Easy Tweak)
Diagnosis:
Water level at or above overflow tube.
Fill valve runs even after flush.
Float cup or arm set too high.
Fix: Adjust the Float (3–5 minutes)
Float cup (modern):
Locate clip on fill valve.
Pinch and slide cup down → water stops 1 inch below overflow top.
Release clip.
Float arm (older):
Turn adjustment screw counterclockwise.
OR bend arm gently downward.
Verify: Flush. Water should stop 1 inch below overflow.
No parts needed. Instant savings.
Leak #3: The Faulty Fill Valve
Diagnosis:
Dye leaks despite new flapper and correct float.
Hiss continues after tank fills.
Fill valve (tall column) is cracked, clogged, or worn.
Fix: Replace the Fill Valve (20–30 minutes)
Turn off water, flush, drain tank.
Disconnect water supply line (wrench—have towel ready).
Unscrew lock nut under tank (counterclockwise).
Lift out old valve.
Install universal fill valve ($15–$25):
Adjust height to match old (or per instructions).
Secure with lock nut.
Attach refill tube to overflow.
Reconnect supply line.
Turn water on slowly.
Adjust float (as above).
Test: Flush 3x. No hiss.
Pro tip: Fluidmaster 400H ($18) fits 99% of toilets.
Cost Savings & Long-Term Prevention
One fix = massive return.
Now that you've secured the toilet, it's time to apply these savings across the entire bathroom. To find and upgrade the next biggest water-waster—the showerhead and faucets—continue with the comprehensive steps in our master guide on efficient shower and faucet upgrades.
The Savings Tally
Small flapper leak (drip):
200 gallons/day
73,000 gallons/year
$400–$800 water bill
Moderate leak (stream):
1,000 gallons/day
$2,000+ yearly
Fix cost: $5–$25
Payback: Immediate
Eco win: 73,000 gallons = 1,000 showers saved.
The Clean Seat Test
After fix, flush tank clear.
Repeat dye test.
Wait 15 min.
Clear bowl = sealed.
Optional: Add dye to water meter—wait 2 hours—no movement = whole system tight.
Prevention Protocol
Every 6 months: Drop dye tablet.
Every 2–3 years: Replace flapper preemptively.
Monthly:
Vinegar soak (1 cup in tank, 1 hour) → removes mineral buildup.
Avoid bleach tablets—corrode rubber.
Habit = zero leaks forever.
Conclusion
You just silenced the biggest water thief in your home.
With one dye test and one simple fix, you’ve:
Stopped 200–4,000 gallons/day from vanishing
Saved $400–$2,000/year
Prevented sewer strain and carbon waste
You didn’t call a plumber. You didn’t wait. You fixed it—clean, fast, and green.
Now that your toilet is perfectly sealed, move on to the next biggest water-waster! Dive into the next step of our guide on efficient shower and faucet upgrades.


