The Rain-Repellent Shield: Banishing Shower Glass Water Marks Forever
Transparency Note: We independently select these products based on research and user reviews. If you buy something through our links, we may earn a commission.
There is a product sitting in most garages and car washes that does something genuinely remarkable on glass. It creates an invisible molecular barrier that causes water droplets to bead up into tight spheres and roll straight off the surface, taking every mineral, every soap particle, and every contaminant with them. It was invented for car windshields. And it works better on shower glass than almost anything else the bathroom cleaning industry has ever produced.
I first came across this trick the way most people do these days, through a short video where someone sprays Rain-X on a cloudy shower door, buffs it off, then runs the shower and films the water literally cascading down the glass in sheets with nothing sticking. The comments were full of people saying they had been doing this for years and would never go back. I was skeptical. Then I tried it.
We have hard water here. Our shower glass has always been the bane of my bathroom cleaning routine, a surface that I could spend twenty minutes getting perfectly clear only to have it look filmed over and spotty again within two showers. After applying a hydrophobic coating, that problem has essentially gone away. I squeegee once after showering, and the glass is clear. When I skip the squeegee, the water beads and runs on its own. I re-apply roughly every three months, and the whole process takes about fifteen minutes.
Here is exactly how it works, which products are worth buying, and how to apply them correctly so the coating actually lasts.
Why Shower Glass Gets Water Marks in the First Place
To understand why hydrophobic coatings work so well, you need to understand the actual problem they're solving, which is more specific than most people realize.
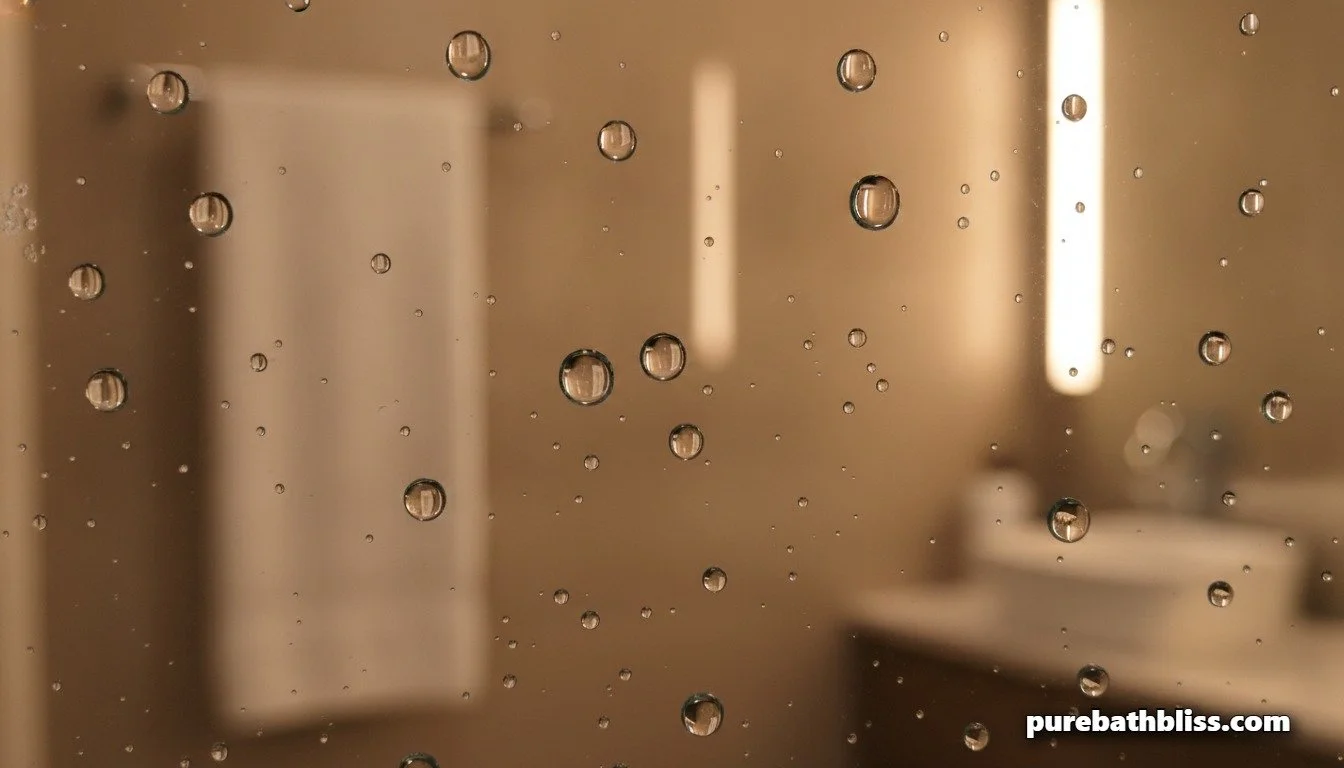
Water marks on shower glass are not actually caused by water. They are caused by what's dissolved in the water. Municipal tap water and well water both contain dissolved minerals, primarily calcium and magnesium carbonate. When water lands on your shower glass and evaporates, it leaves those minerals behind as a thin white deposit. Over time, those deposits build up in layers. Eventually they bond chemically with the glass surface through a process called silicate bonding, where the calcium ions interact with the silica in the glass at a microscopic level. That is when the cloudy haze becomes genuinely difficult to remove. That is also when you cross the line from water marks into actual etching, where the glass surface itself is being permanently altered.
Soap scum compounds the problem. The fatty acids in soap and shampoo bond with the same calcium ions in hard water and create calcium stearate, a sticky, waxy film that adheres to the glass and acts as a matrix for trapping more minerals. This is why standard glass cleaners fail on shower glass. They are designed to clean dirt from smooth surfaces. They cannot dissolve calcium carbonate bonds, and they slide off soap scum without touching the layer underneath.
We have a full guide on how to remove existing hard water stains from shower glass that covers the chemistry of using heated vinegar and dish soap to dissolve these deposits. That guide is where to start if your glass already has significant buildup. What we are talking about in this article is the next step: what you apply after the glass is clean to prevent those deposits from ever forming again.
The Science of Hydrophobic Coatings
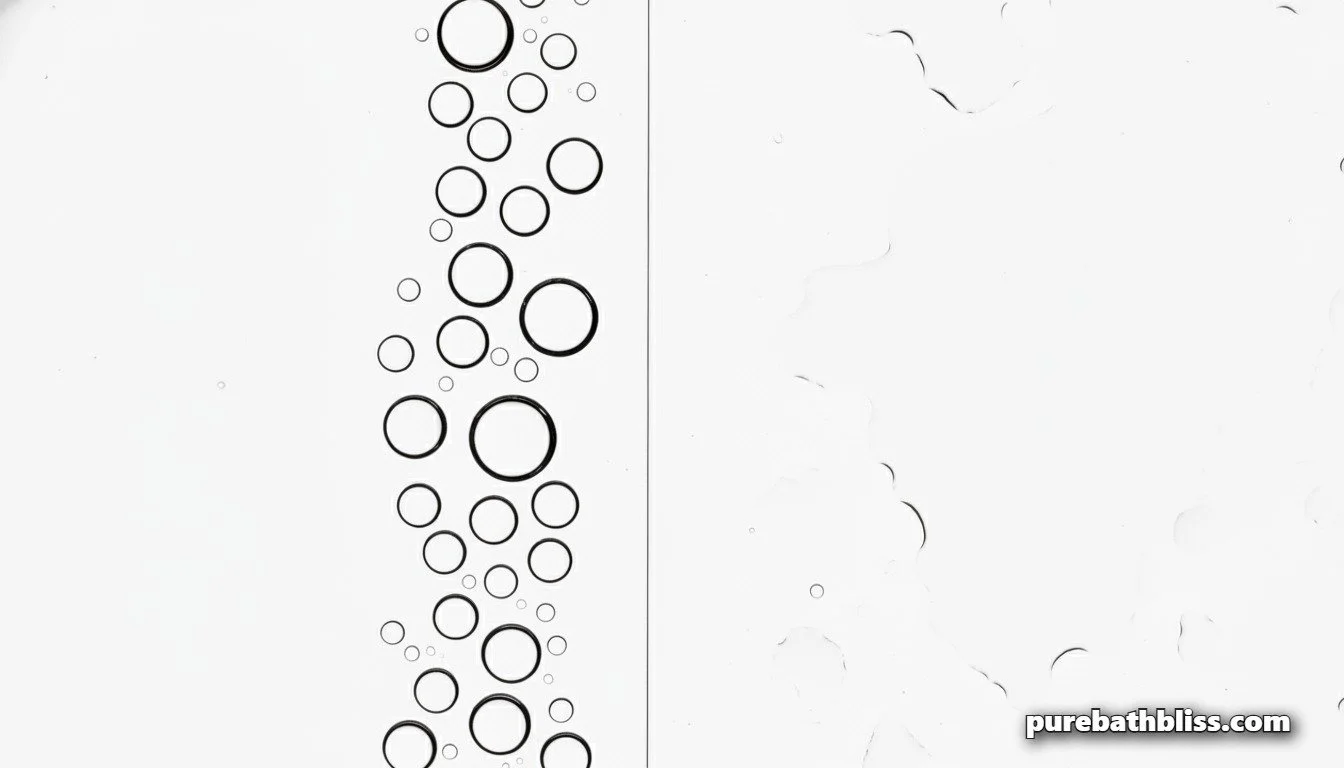
Hydrophobic means water-fearing. A hydrophobic coating is a compound that, when applied to a surface, changes its chemistry so that water molecules are repelled rather than attracted to it.
The physics concept at work is called contact angle. When water lands on an untreated glass surface, it spreads out flat because glass is naturally hydrophilic, meaning water-attracting. The contact angle between the water droplet and the surface is low, around 20 to 30 degrees, meaning the water is almost parallel to the surface. It spreads, sits, evaporates, and leaves its mineral load behind.
When water lands on a treated hydrophobic surface, the contact angle increases dramatically, typically to 90 to 110 degrees for consumer products and over 130 degrees for professional-grade nano-coatings. At those angles, water forms a near-perfect sphere and rolls off the surface under its own weight, taking dissolved minerals, soap particles, and contaminants with it. Nothing is left behind to evaporate and deposit because nothing stays long enough to evaporate.
Most consumer hydrophobic coatings for glass are silicone-based or fluoropolymer-based compounds. They work by bonding to the silica in the glass at a molecular level and creating a layer of molecules whose outer surface is non-polar, meaning it repels water. The coating is typically measured in nanometers thick, which is why it is completely invisible and does not affect the optical clarity of the glass.
Professional-grade coatings like Diamon-Fusion, which is used by shower door manufacturers and applied to commercial glass at the factory level, take this a step further by chemically bonding into the glass structure rather than just sitting on top of it. These products reduce cleaning time by up to 90 percent according to the manufacturer, and some come with lifetime warranties on residential glass. For the DIY market, the options sit between a simple spray-and-buff product that lasts a few months and a more involved two-step application that can last one to three years.
The Products Worth Knowing About
The market breaks down into three tiers based on how long the coating lasts and how much preparation the application requires.
Entry Level: Rain-X and Similar Spray-On Products
Rain-X Original was designed for car windshields and is the product that started the viral bathroom glass trend. Rain-X also makes a specific Shower Door Water Repellent formulated for bathroom use. Both work on the same principle. The application is simple, spray on, let it haze, buff off. The coating lasts approximately six to eight weeks before reapplication is needed, or about three months with consistent squeegeeing after each shower.
The windshield version and the shower-specific version perform similarly, but the shower-specific formula has been adjusted to handle the particular chemistry of soap scum and body oils that you do not encounter on a car windshield. Either works. The shower version is a reasonable first purchase if you want to test whether this approach works for your glass before committing to a longer-lasting product.
Mid-Tier: EnduroShield and Similar Glass Treatment Kits
EnduroShield is a two-part glass treatment that applies a more durable hydrophobic bond than a simple spray-and-buff product. The application involves a cleaning step with their included preparation solution, followed by the treatment itself applied with a microfiber cloth and buffed off. The coating bonds more thoroughly to the glass and typically lasts six to twelve months per application, with some users reporting longer.
EnduroShield claims a 90 percent reduction in cleaning time, which aligns with what the science would predict. When water and soap cannot bond to the surface, the only cleaning required is a rinse and squeegee. The product is more expensive than Rain-X per application but considerably cheaper when you account for the reduced frequency of reapplication and the reduced need for cleaning products throughout the year.
Professional Tier: Diamon-Fusion and Nano-Ceramic Coatings
Diamon-Fusion is a patented two-step coating that chemically bonds into the glass at a molecular level rather than sitting on top of it. The DIY consumer version is sold as Clear-Fusion V and lasts one to three years per application. It requires thorough surface preparation and careful application but delivers the most durable and highest-performing result available to a homeowner. Automotive-grade nano-ceramic coatings originally developed for vehicle paint, such as those from Gtechniq and Gyeon, have also been successfully adapted for shower glass by enthusiasts and can deliver twelve to twenty-four months of protection with proper preparation and application.
Step-by-Step: How to Apply a Hydrophobic Coating Correctly
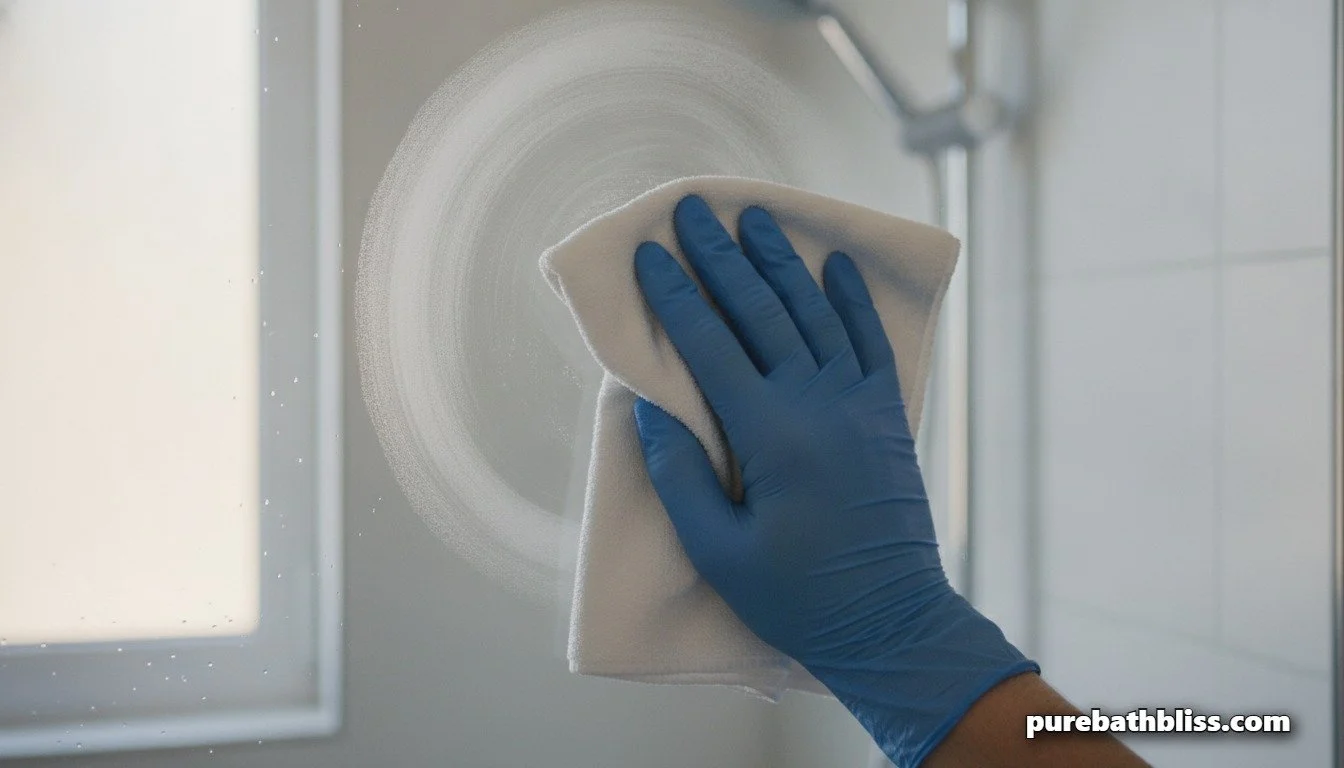
The single biggest reason hydrophobic coatings fail or perform poorly is improper surface preparation. If the glass is not completely clean before you apply the coating, you are sealing mineral deposits and soap scum under the hydrophobic layer. The coating will look fine initially but will not perform properly and will not last as long as it should.
Step 1: Start with truly clean glass
If your glass has existing hard water stains or soap scum buildup, remove them completely before applying any coating. The heated vinegar and dish soap method we cover in our hard water stain removal guide is the most effective DIY approach. For very heavy etching or calcium buildup, a plastic razor scraper at a 45 degree angle on wet glass can remove the calcified layer before the chemical treatment. Once the glass is clear, wipe it down with a clean microfiber cloth and a small amount of isopropyl alcohol to remove any remaining residue. The glass should be completely clear, dry, and streak-free before you open the coating product.
Step 2: Apply the coating in sections
Work in sections of roughly 30 by 30 centimeters at a time. Apply the product to a clean microfiber applicator cloth rather than directly to the glass, and work it into the surface with firm circular motions. You should see the product begin to haze as it starts to bond. Do not apply too much product. A thin, even coat performs better than a thick application and hazes more evenly.
Step 3: Buff off before it fully cures
Once the haze reaches a uniform, slightly chalky appearance across your working section, buff it off with a clean, dry microfiber cloth using circular motions. Do not let it cure completely before buffing or it becomes much harder to remove and can leave streaks. Work in the same sections you applied in, buffing each section clean before moving to the next.
Step 4: Allow to cure before first use
Most consumer products need at least two hours of cure time before water contact. Some products recommend waiting 24 hours for the best initial performance. Check the specific product instructions and respect the cure time. Using the shower too early can wash away the coating before it has fully bonded.
Step 5: Test with water
After the cure period, run water over the treated surface. You should see immediate and dramatic beading. Water droplets should pull up into tight spheres and run to the bottom of the glass quickly. If water is sheeting rather than beading, the coating either was not buffed evenly or the glass was not fully clean underneath. A spot re-application on those areas is usually all that is needed.
How to Maintain the Coating and Make It Last
A hydrophobic coating is not maintenance-free. It is maintenance-reduced. The coating degrades over time through physical contact, exposure to soap products, and the natural effect of hard water minerals repeatedly hitting the surface. How long it lasts depends significantly on how you treat it between applications.
The most important daily habit is squeegeeing after every shower. A single pass from top to bottom removes most of the water before it can sit and deposit anything. On a treated surface this takes about fifteen seconds and leaves the glass essentially dry. On an untreated surface the same squeegee leaves streaks and residue because the water does not sheet cleanly. This is also why a squeegee works so much better after coating than before. The Dishmatic hack we covered in our shower cleaning guide pairs well with a coated surface because the mild dish soap and vinegar solution is exactly gentle enough not to strip the coating while still removing any residue that builds up over time.
What will strip the coating faster than anything else is abrasive cleaners and abrasive scrubbing tools. This means no Magic Eraser on coated glass, no powdered cleaners, and no rough sponges or steel wool. The coating sits in the range of nanometers thick. Any mechanical abrasion removes it. Stick to microfiber cloths and gentle liquid cleaners, and the coating will last considerably longer than its stated duration. Also avoid ammonia-based cleaners, which can degrade certain silicone-based coatings over time.
When you notice water no longer beading properly and starting to sheet across the glass instead, it is time to reapply. With a spray-on product like Rain-X this typically means every six to eight weeks in a heavily used shower. With EnduroShield, most users find they are reapplying once or twice a year. The reapplication process is faster than the initial treatment because the glass is easier to clean on a previously coated surface.
What About Frameless Glass, Frosted Glass, and Shower Tiles?
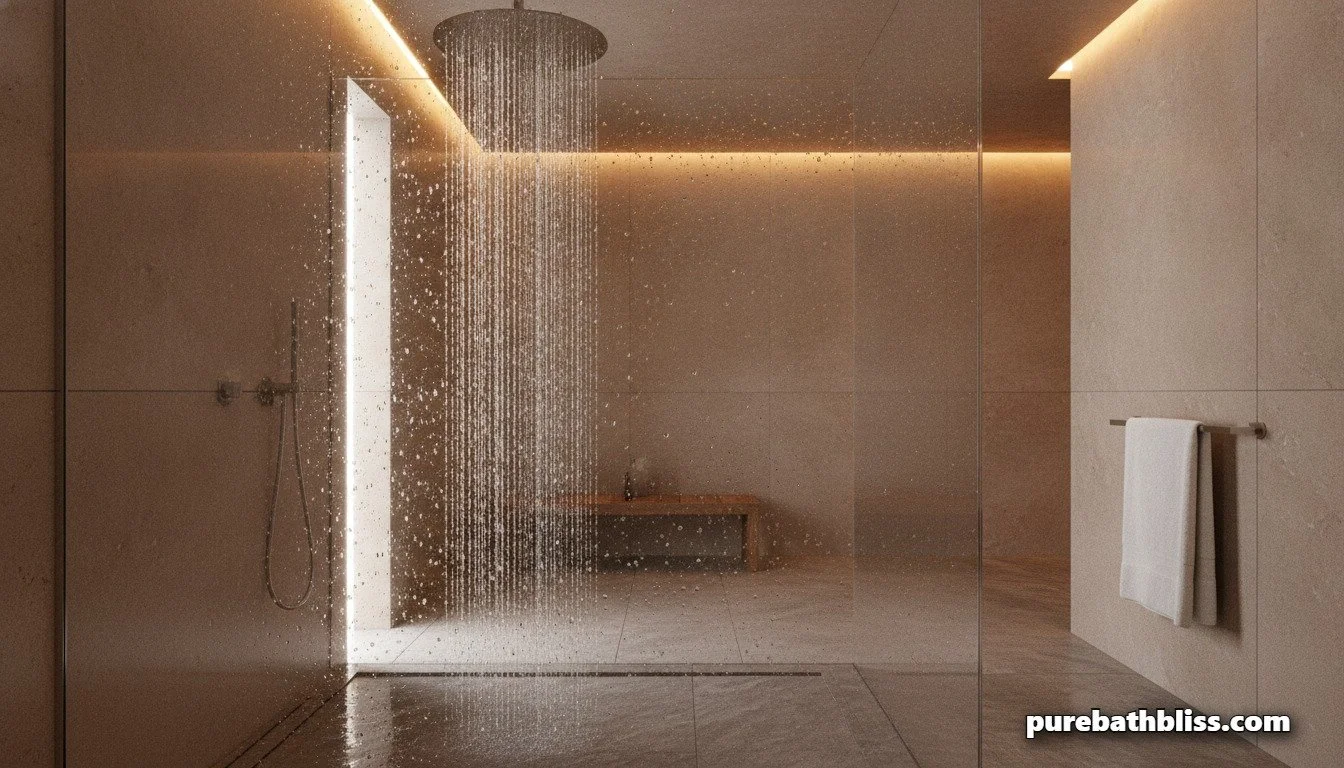
Hydrophobic coatings work on any glass surface including frameless shower enclosures, hinged glass panels, and fixed glass shower walls. They also work on mirror surfaces, though the application needs to be careful around mirror edges where the silvering is exposed.
Frosted or textured glass is more complex. The etched texture that creates the frosted appearance means the surface has a higher contact area and the coating does not apply as uniformly. Results vary depending on the product and the specific texture. Rain-X and similar spray-on products tend to work reasonably well on lightly frosted glass. Heavily textured glass is less predictable.
Some hydrophobic coatings can also be applied to ceramic and porcelain tiles, which helps with the same mineral deposit problem on shower walls. The application process is the same. The primary limitation is grout lines, which are porous and do not hold a hydrophobic coating as effectively as the tile face. If your grout is a persistent maintenance issue, sealing it with a dedicated grout sealer after cleaning is a separate but complementary step that addresses the porosity problem specifically.
One surface to specifically avoid: natural stone. Marble, travertine, onyx, and limestone should never have silicone or fluoropolymer coatings applied without first confirming compatibility with the specific stone type and a stone-specific sealer. Natural stone is porous, and the chemistry of hydrophobic glass coatings is designed for silica-based glass, not calcium-based stone. The wrong product on natural stone can cause discoloration or interfere with the stone's own sealing requirements. Our guide to onyx and marble in bathroom design covers the specific maintenance requirements for natural stone surfaces in detail.
My Honest Take After Using This for Over a Year
The viral enthusiasm around this hack is actually justified, which is not something I say often. The physics work, the results are visible and immediate, and the maintenance reduction is real. Our shower glass used to be something I cleaned thoroughly once a week and still never felt fully satisfied with. Now it gets a squeegee after each use and a light wipe with a damp microfiber cloth once a week, and it looks genuinely clear.
The most important thing is starting with completely clean glass. I have seen comments from people who tried this and said it did not work, and in almost every case the glass was not properly prepared before application. If you apply a hydrophobic coating over a layer of soap scum and mineral deposits, you seal in the problem and the coating will underperform and fail early.
Clean the glass properly first, let it dry completely, apply the coating in thin even sections, buff it off before it fully hazes over, respect the cure time, and then maintain it with gentle products and a squeegee. Do those five things and you will get the result everyone in the TikTok comments is talking about. Water beading, running, and leaving absolutely nothing behind. It is one of those bathroom upgrades that costs very little and changes the daily experience of the room in a way that feels disproportionate to how simple the fix actually is.