How to Paint a Bathroom: The Red Seal Carpenter's Guide to a Mildew-Resistant Finish That Lasts
I have painted a lot of bathrooms. Some of them were my own renovations, most of them were clients' bathrooms where I was called in after a previous paint job had failed. Peeling at the ceiling line where steam accumulates. Bubbling behind the toilet where condensation drips down the wall. Black mold blooming under the paint film at the grout lines because the primer was not mold-blocking. The failure modes are consistent and they are almost always traceable to one of three decisions made at the start of the job: wrong primer, wrong paint formula, or insufficient cure time before steam exposure.
Painting a bathroom correctly is not significantly harder than painting any other room. It requires understanding why the bathroom environment is different from every other room in the house, choosing materials that address that difference specifically, and following a cure protocol that most homeowners skip because it requires patience rather than effort. Every failure I have seen in a bathroom paint job was preventable with the right information before the paint can was opened.
Here is the complete guide: the material science behind why bathrooms fail, the prep sequence that makes the difference between a paint job that lasts two years and one that lasts ten, the specific products worth buying, the technique that eliminates lap marks and roller texture, and the cure protocol that most guides do not cover adequately.
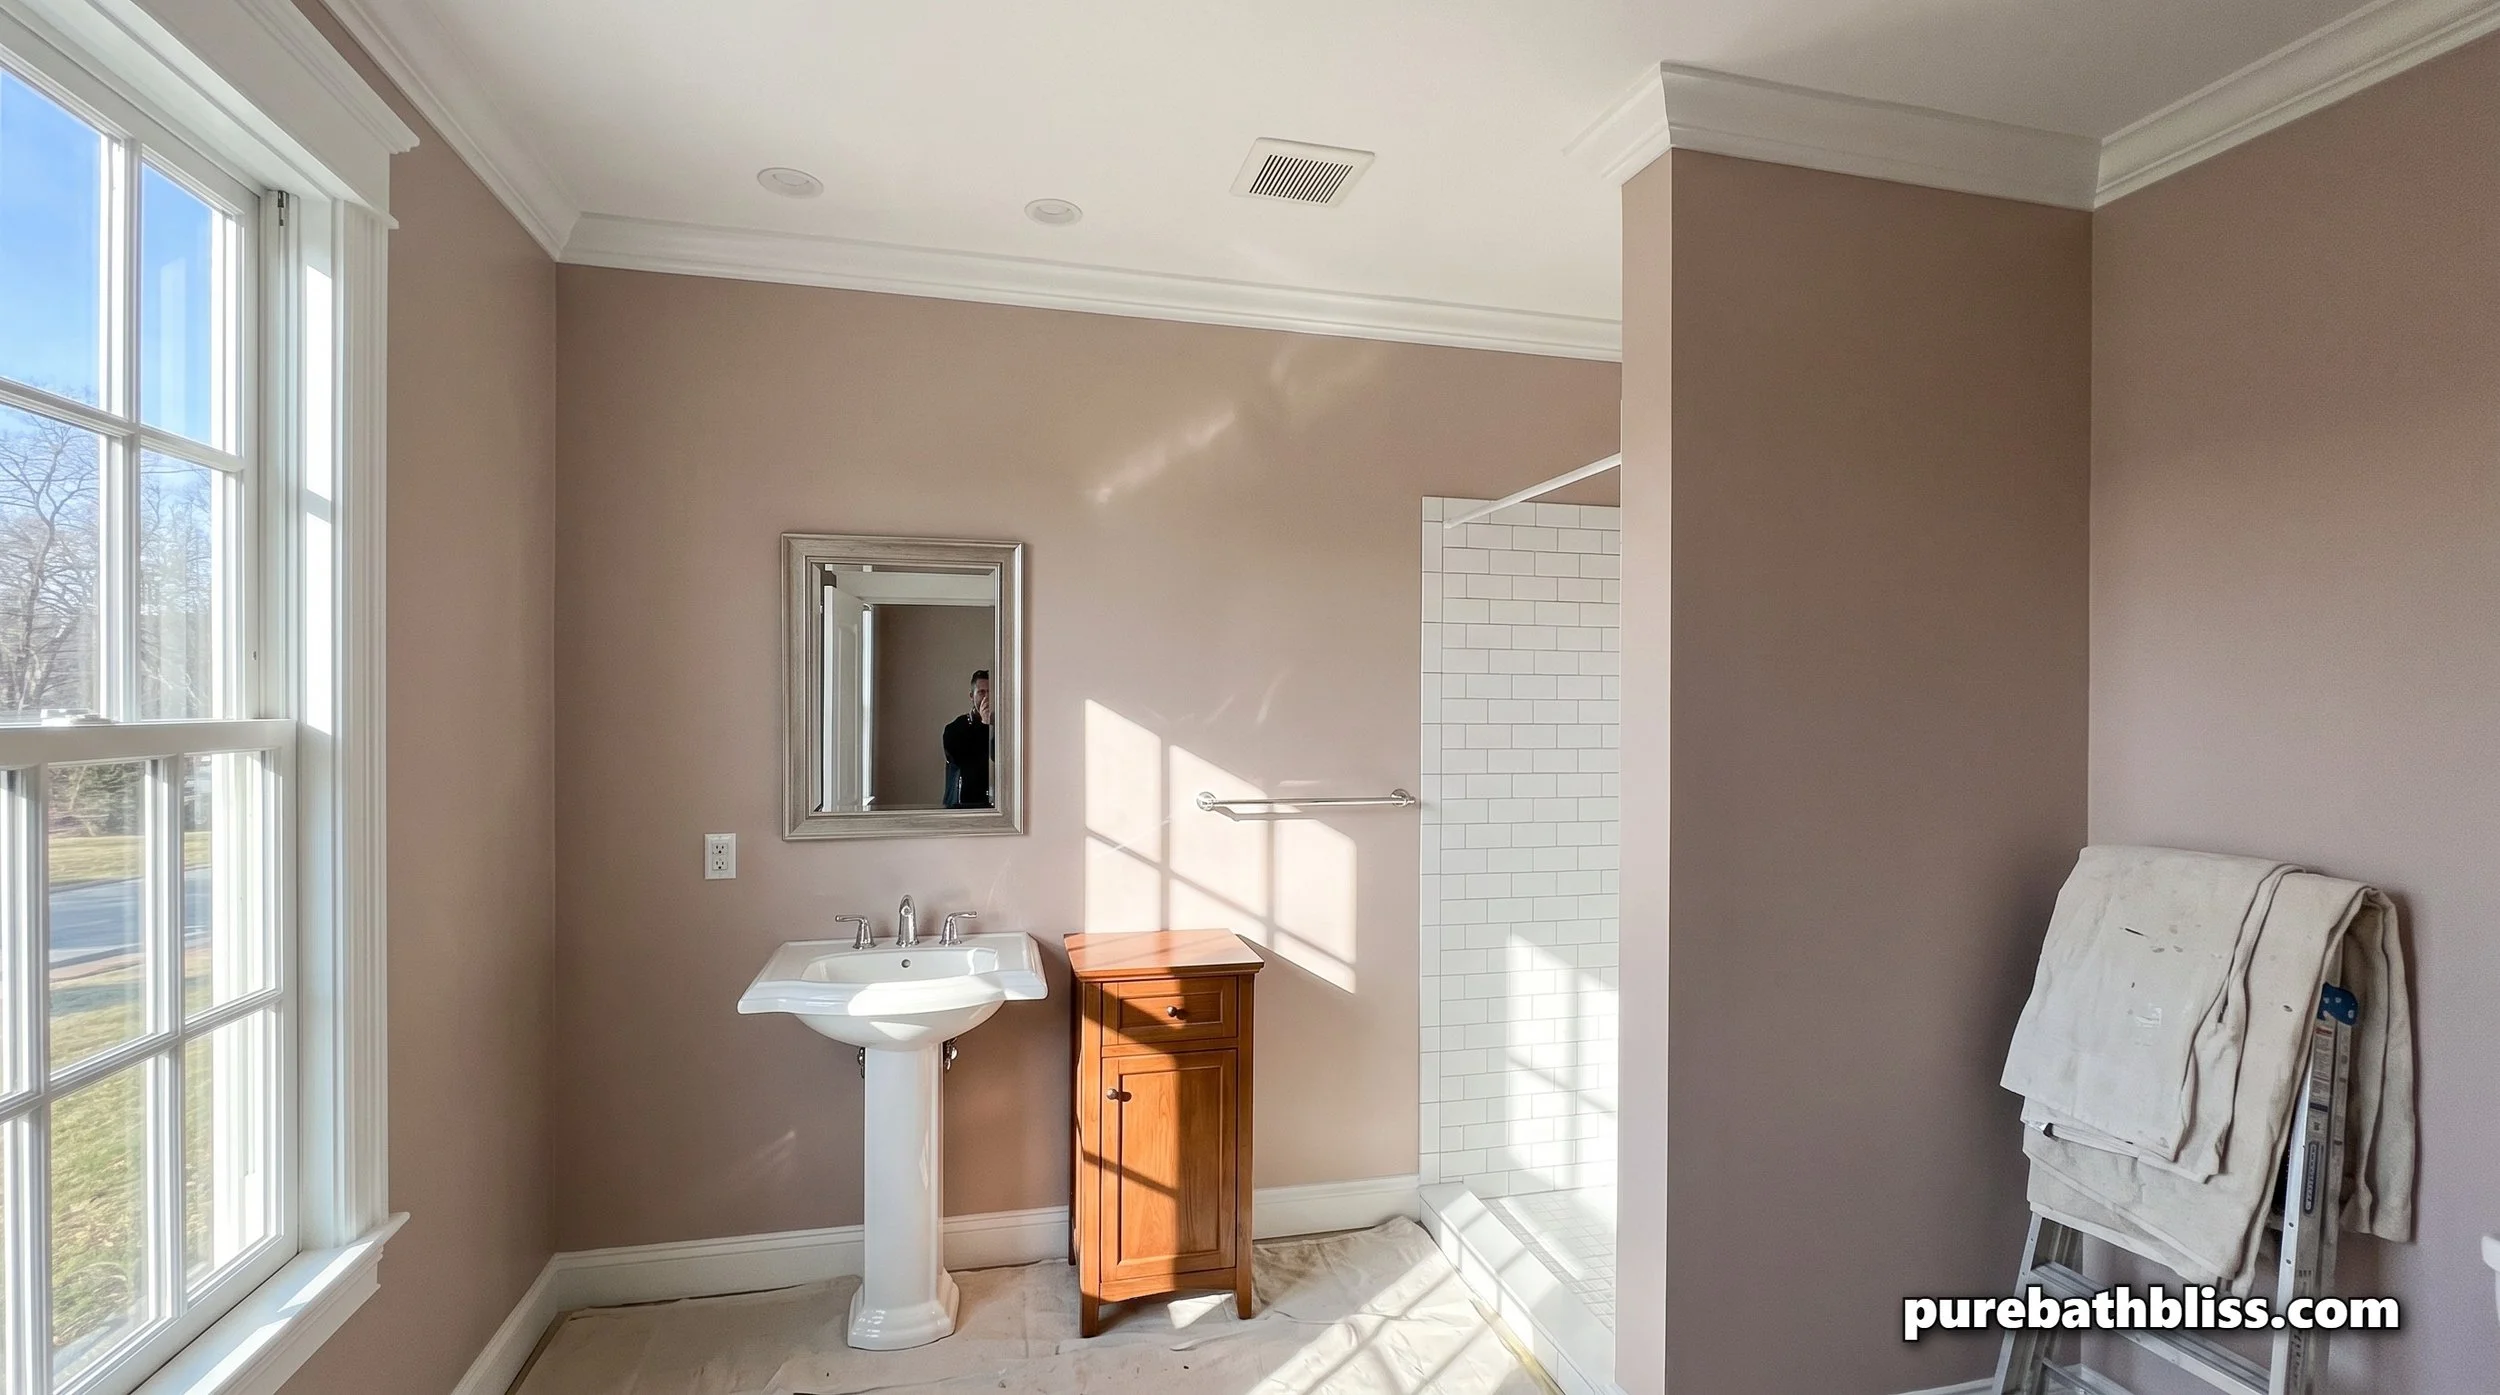
Why Bathrooms Are Different: The Moisture Vapor Problem
Understanding why bathroom paint jobs fail requires understanding what moisture vapor does to a painted wall surface that is not equipped to handle it.
A hot shower generates steam that raises the relative humidity in the bathroom to 90 percent or above within minutes. That humid air contacts every surface in the room, including the painted walls. At high relative humidity, moisture vapor exerts pressure against the painted surface, attempting to penetrate through the paint film into the wall substrate behind it. In a wall painted with the wrong paint, two failure modes occur depending on the paint's permeability.
If the paint is too permeable, moisture vapor passes through the film and reaches the drywall behind it, where it condenses and provides the damp substrate that mold requires to establish. The mold grows between the paint and the drywall, eventually pushing the paint off the wall in the bubbling and peeling pattern most bathroom paint failures produce. If the paint is insufficiently permeable, meaning it traps vapor rather than blocking it, the moisture accumulates behind the film and the hydrostatic pressure causes blistering. Both failure modes come from the same cause: a paint and primer combination not selected for the specific moisture vapor demands of a bathroom environment.
The solution is a 100 percent acrylic latex paint in the correct sheen combined with a mold-blocking primer that seals the substrate before the topcoat goes on. The 100 percent acrylic binder creates a tighter, more flexible film than vinyl acrylic or alkyd paint, with better moisture resistance and better adhesion through the expansion and contraction cycles that temperature changes produce. The mold-blocking primer is not a cosmetic step. It is the moisture barrier that protects the substrate behind the paint film from the vapor that will find its way past any topcoat over the life of the paint job.
The Materials That Determine the Outcome
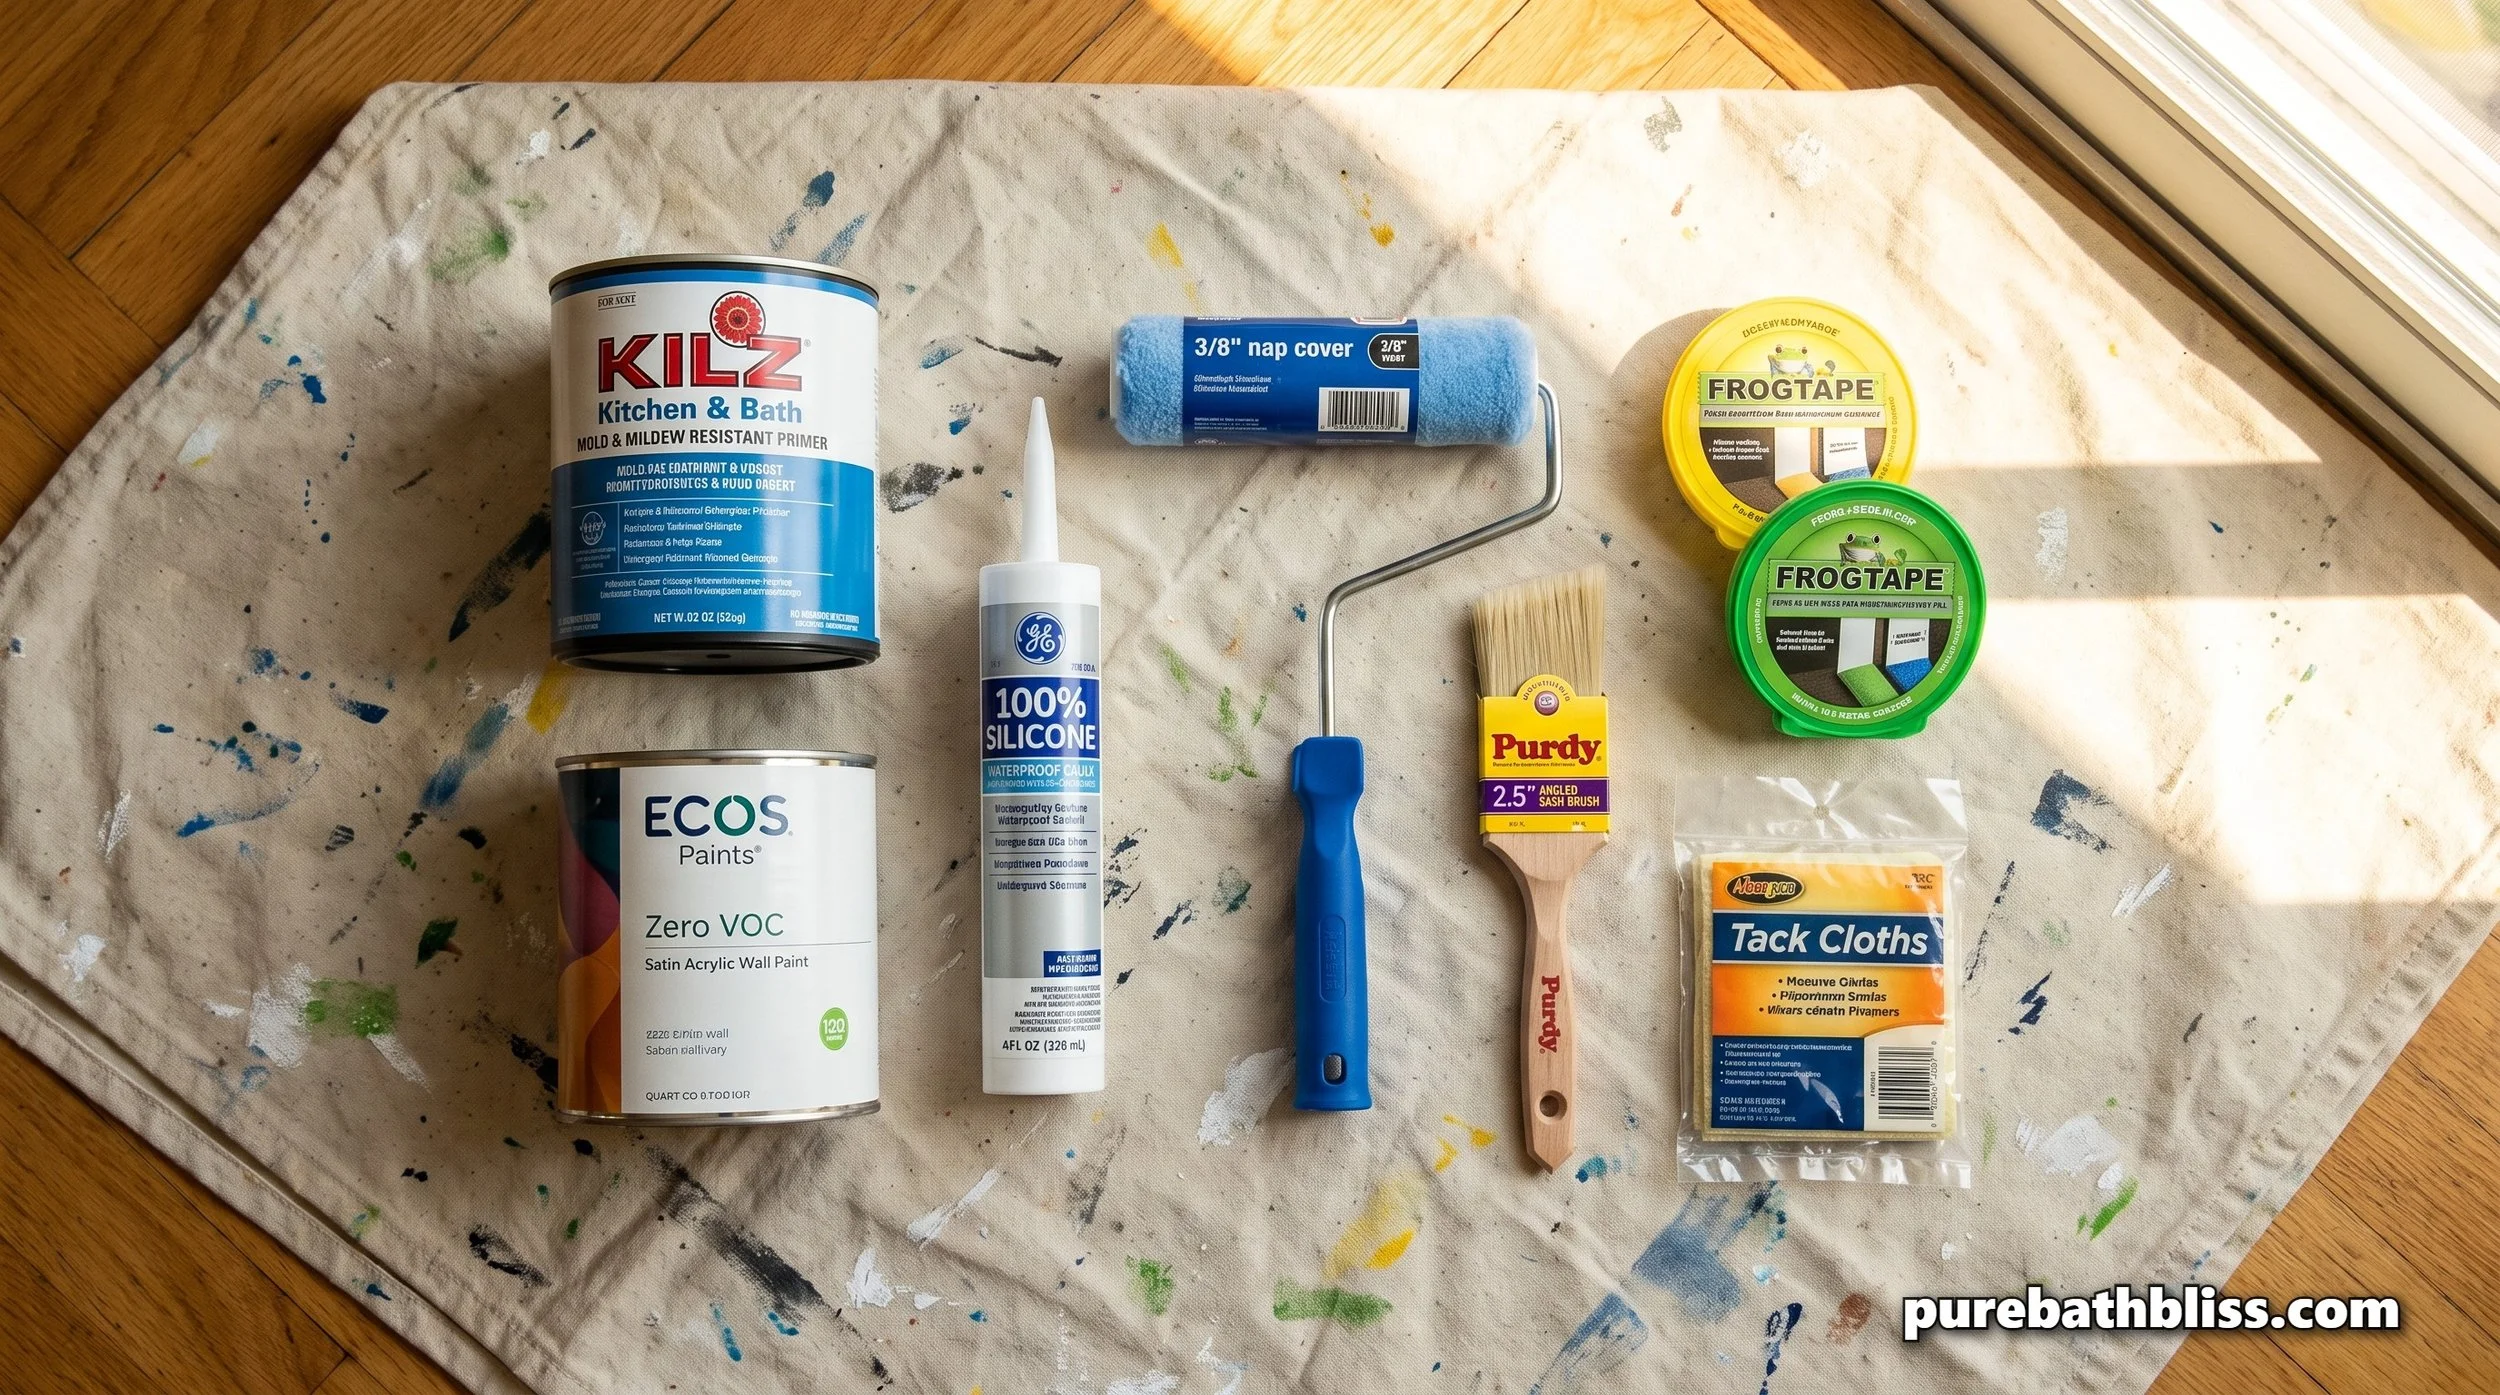
Primer: The Most Important Decision in the Job
Standard white primer is not appropriate for a bathroom. A mold-blocking primer, which contains a biocide that prevents mold and mildew growth in the primer film itself, is the specification for any bathroom surface that will be exposed to steam. Zinsser Bulls Eye 1-2-3 Water-Based Primer is water-based, mold-blocking, adheres to glossy surfaces without sanding, and dries in one hour. Zinsser Mold Killing Primer is the stronger option for any surface with a history of mold or significant moisture damage. ECOS Universal Primer is the zero-VOC option for households prioritizing indoor air quality above all other specifications.
One coat of mold-blocking primer is sufficient over properly cleaned, lightly sanded surfaces with no existing mold. Two coats are appropriate over bare drywall, heavily patched areas, or any surface with visible mold staining after cleaning. The primer must dry completely before topcoat application, which in a bathroom with adequate exhaust fan ventilation means a minimum of one hour for water-based primers and longer in high-humidity conditions.
Paint Formula and Sheen
100 percent acrylic latex is the only appropriate formula for bathroom walls. Vinyl acrylic, also called PVA, is cheaper and widely available but has lower moisture resistance and less flexibility through temperature cycling than 100 percent acrylic. Alkyd paint has excellent moisture resistance but off-gasses significantly during application and cure and is not appropriate for a small, enclosed space that will need to return to use quickly.
Sheen selection determines moisture resistance and cleanability. Flat and matte finishes are never appropriate for bathroom walls because they are porous, trap moisture, and cannot be scrubbed without paint removal. Eggshell is marginally better but still insufficient for the humidity levels a bathroom produces. Satin is the minimum appropriate sheen for bathroom walls, providing a soft, low-reflective finish with sufficient moisture resistance for normal bathroom use. Semi-gloss provides maximum moisture resistance and maximum cleanability at the cost of a higher-reflective finish that shows surface imperfections more prominently. Our dedicated guide to satin versus semi-gloss for bathroom walls covers the specific decision criteria for each finish level in detail.
Zero-VOC paint is the appropriate specification for a bathroom specifically because VOCs, volatile organic compounds that off-gas from paint as it cures, are concentrated in the small enclosed space of a bathroom at levels significantly higher than in larger rooms. A bathroom that returns to regular steamy shower use before the paint has fully off-gassed traps those compounds in the space and drives them into the paint film during the remaining cure time. Zero-VOC paints eliminate this concern. Benjamin Moore Natura, Sherwin-Williams Harmony, and ECOS Paints are the three brands with the strongest zero-VOC track record for bathroom applications. Our guide to eco-friendly paints for humid rooms covers each brand's specific bathroom formulation in detail.
Caulk: Sealing Before You Paint
100 percent silicone caulk at every junction between the wall and tub surround, between the wall and trim, and at any gap around fixtures before primer goes on is the waterproofing step that no amount of good paint can replace. Water that gets behind the paint at an unsealed joint bypasses the entire paint system and reaches the substrate directly. Our guide to recaulking a tub correctly covers the preparation, product selection, and technique for this step in full detail. The caulk must be fully cured before primer is applied over it, which for 100 percent silicone means a minimum of 24 hours.
The Prep Sequence
Prep accounts for the majority of the outcome in any paint job and more so in a bathroom where adhesion failure is more common than in any other room. Every step in this sequence exists to solve a specific adhesion or moisture problem.
Step 1: Remove everything possible. Switch plates, towel bars, toilet paper holders, and the toilet tank lid if accessible. Label the screws from each fixture in zip-lock bags taped to the removed item. Painting around fixtures produces inferior results and makes it impossible to paint behind them if they are ever removed later.
Step 2: Clean every surface. A bathroom wall that looks clean has soap scum, body oil residue, and mineral deposits on it that prevent primer adhesion. TSP substitute or Simple Green Oxy in warm water, scrubbed on every surface including ceiling and trim, then rinsed thoroughly and allowed to dry for a minimum of four to six hours with the exhaust fan running. Any visible mold must be treated with a hydrogen peroxide solution, allowed to dry completely, and the source of moisture that allowed the mold to establish must be identified and resolved before painting over it. Painting over active mold is not a solution. It is a delayed problem.
Step 3: Repair and sand. Lightweight spackle in holes and dings, allowed to dry, then sanded with 220-grit. All existing painted surfaces sanded lightly with 220-grit to dull the gloss and create mechanical adhesion surface for the primer. Wiped with a tack cloth. No dust.
Step 4: Caulk all joints. 100 percent silicone at the tub surround, at trim junctions, around fixtures. Allow 24 hours minimum cure before proceeding.
Step 5: Protect and tape. Canvas drop cloths on the floor. Painter's tape at ceiling line and trim. FrogTape Delicate Surface (yellow) on freshly painted or delicate surfaces. FrogTape Multi-Surface (green) elsewhere. Press tape firmly with a putty knife edge along the full length for bleed-proof lines.
The Painting Technique
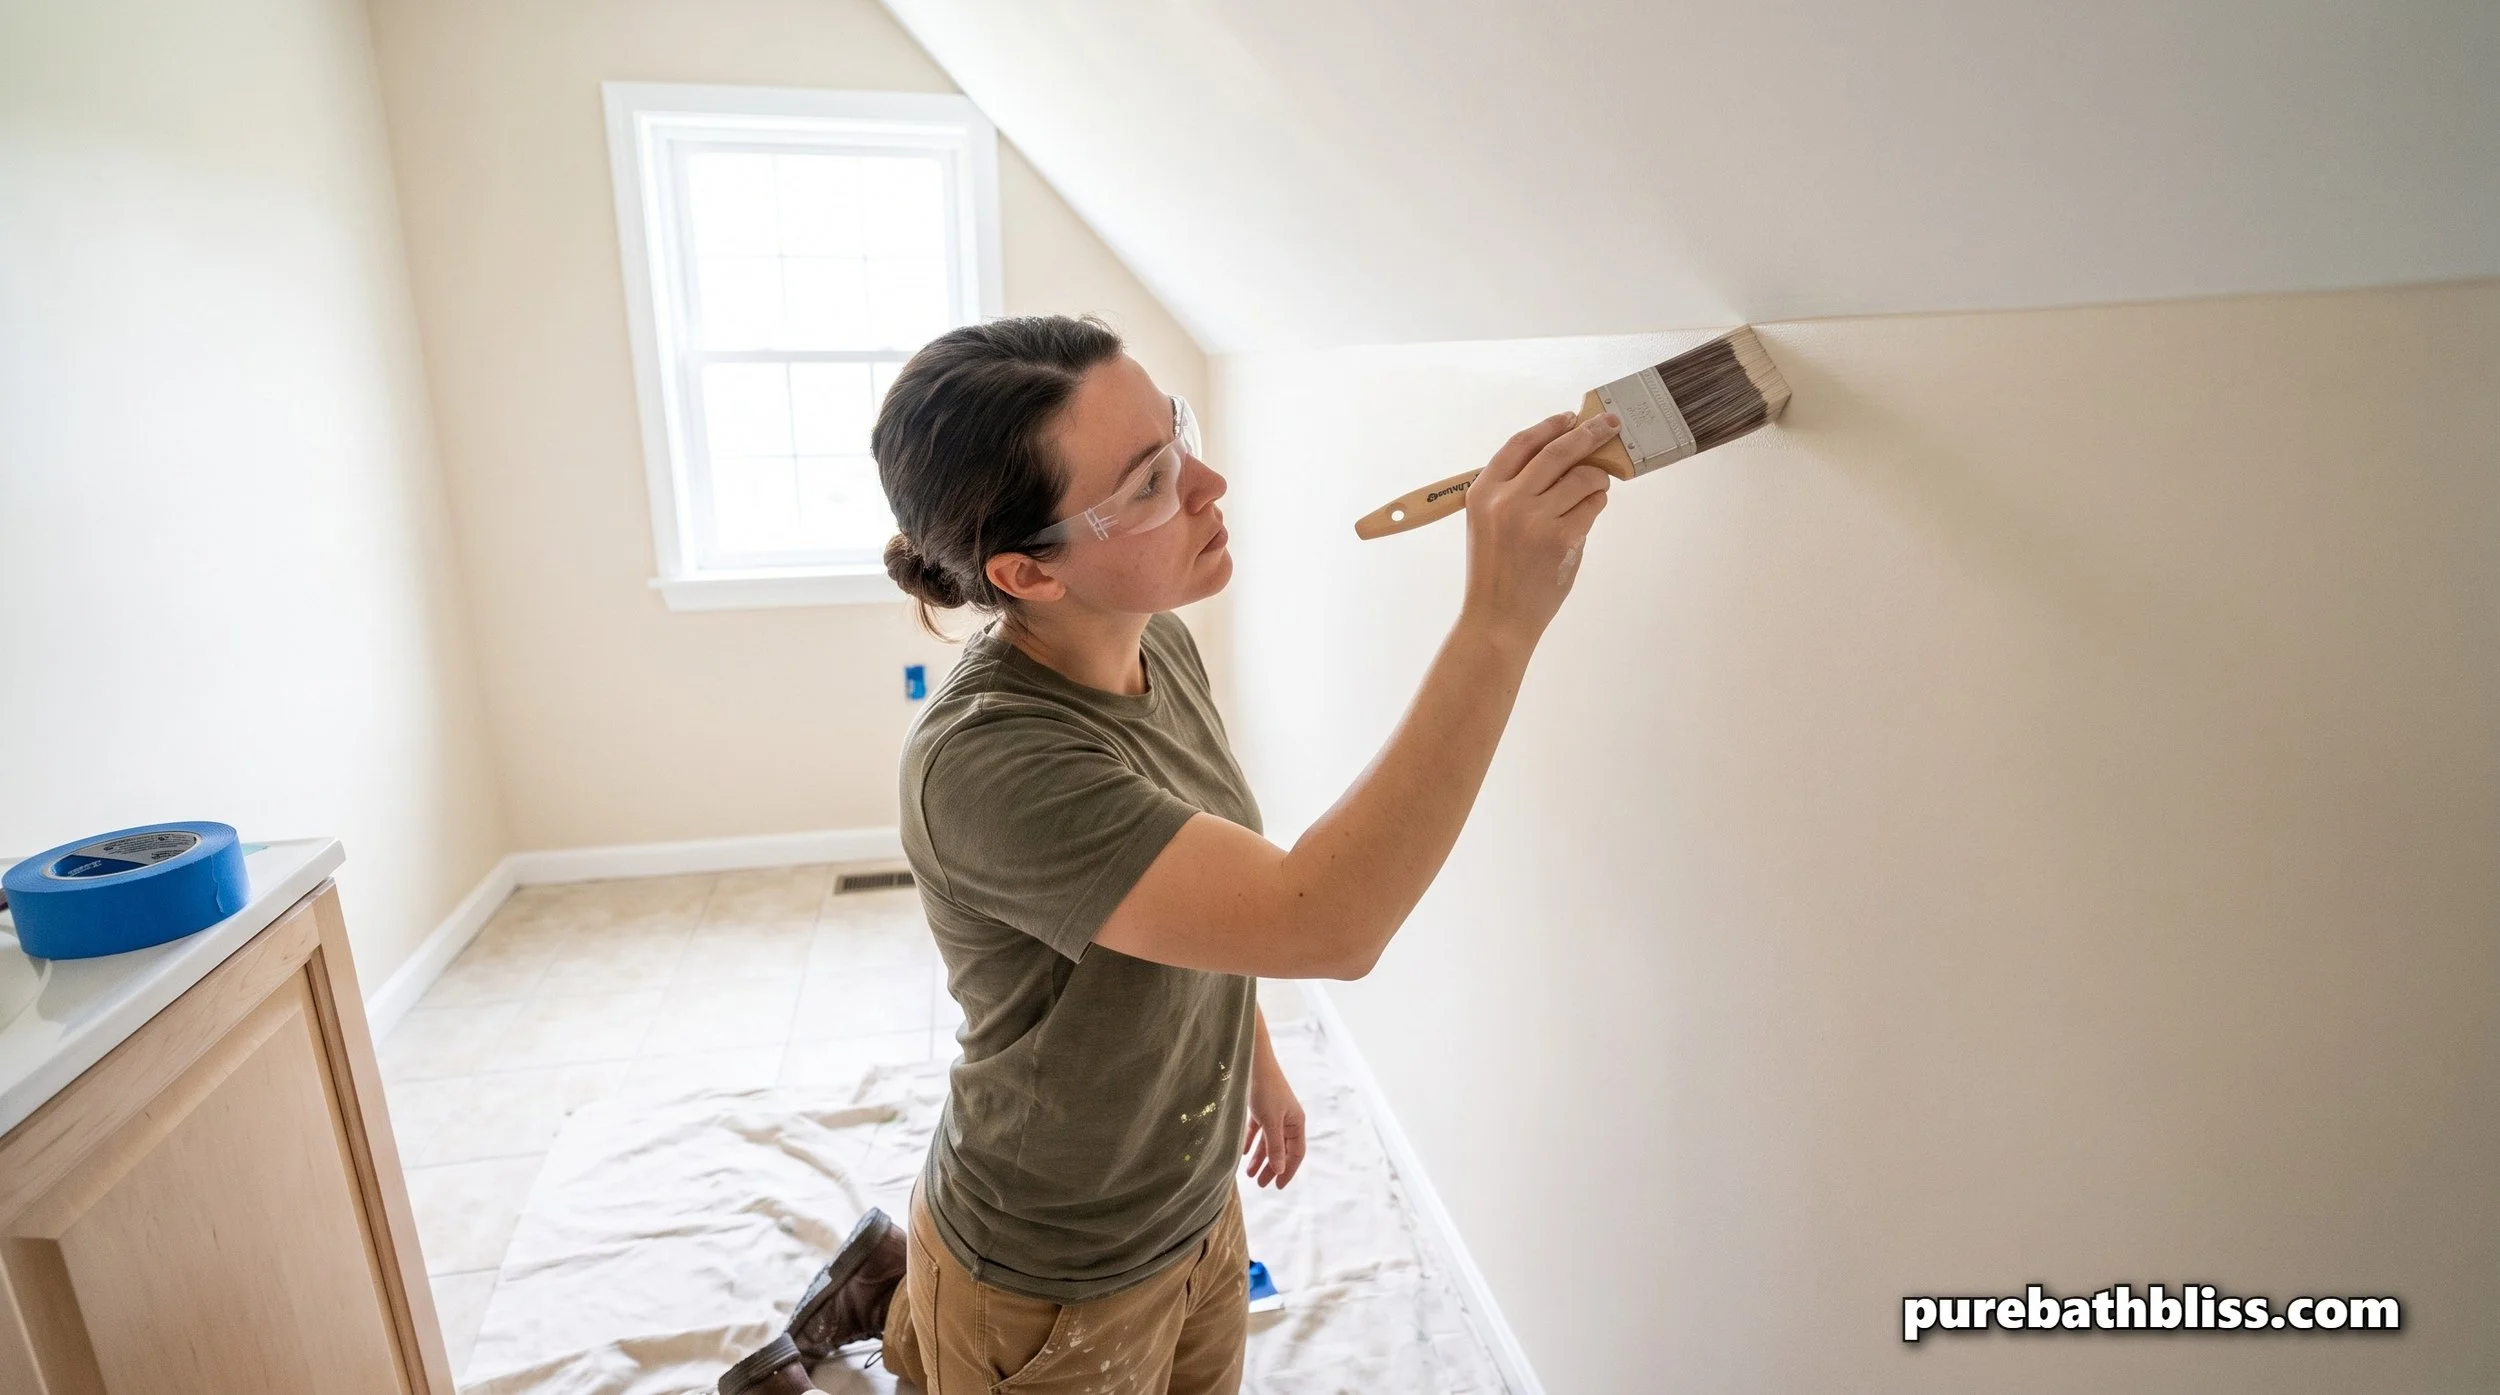
The Order of Operations
Ceiling first, then walls, then trim. Always. The ceiling drips onto walls during application, which is why cutting in the walls before rolling the ceiling and then rolling the ceiling after the wall cut-in produces drips on work you have already done. Paint the ceiling after the walls are cut in, then roll the walls, then paint the trim last.
Within each surface, cut in first with the brush along all edges, corners, and around fixtures, then roll the open field immediately while the cut-in edge is still wet. The wet edge between the cut-in and rolled section is where lap marks form if the cut-in dries before the roller reaches it. Work in sections of two to three feet so the cut-in edge stays workable when the roller arrives.
Cutting In
A 2.5-inch angled sash brush. Load the brush to approximately one third of the bristle length, tap off the excess rather than wiping it which strips too much paint. Start half an inch from the edge and push the brush tip into the corner with a light drawing motion, feathering the edge away from the corner so the roller can blend into it. Heavy loading or dragging the brush produces brush marks that remain visible in the finished coat. Light, confident strokes with moderate speed.
Rolling
A 3/8-inch nap microfiber roller for smooth walls. A 1/2-inch nap for textured walls. Load the roller evenly on a paint grid rather than a tray, rolling off excess until the roller deposits paint without spraying. Apply paint in a W or M pattern approximately three feet wide, then fill in the W without lifting the roller, overlapping the wet edge by 30 percent on each pass. Light pressure, letting the paint do the work rather than pressing the roller into the wall. Finish each section with light, vertical strokes from top to bottom to lay off any roller stipple texture before moving to the next section.
Second Coat
Wait the full recoat time specified on the paint can, minimum two hours for most water-based paints, longer in high humidity. Do not rush the recoat. A second coat applied over incompletely dried first coat traps solvent and extends cure time rather than shortening it. The second coat is applied lighter than the first, targeting coverage rather than thickness. Inspect in raking light, meaning a light source held at a low angle to the wall surface, to find any missed spots before the paint sets.
Tape removal: Remove painter's tape while the second coat is still wet, not after it has dried. Pull at a 45-degree angle back over itself, slowly and continuously. Tape removed after the paint has dried pulls the paint film with it at the edge, producing the ragged line that requires touching up. If the paint has already dried before you can remove the tape, score along the tape edge with a sharp utility knife before pulling.
The Cure Protocol: The Step Most Guides Skip
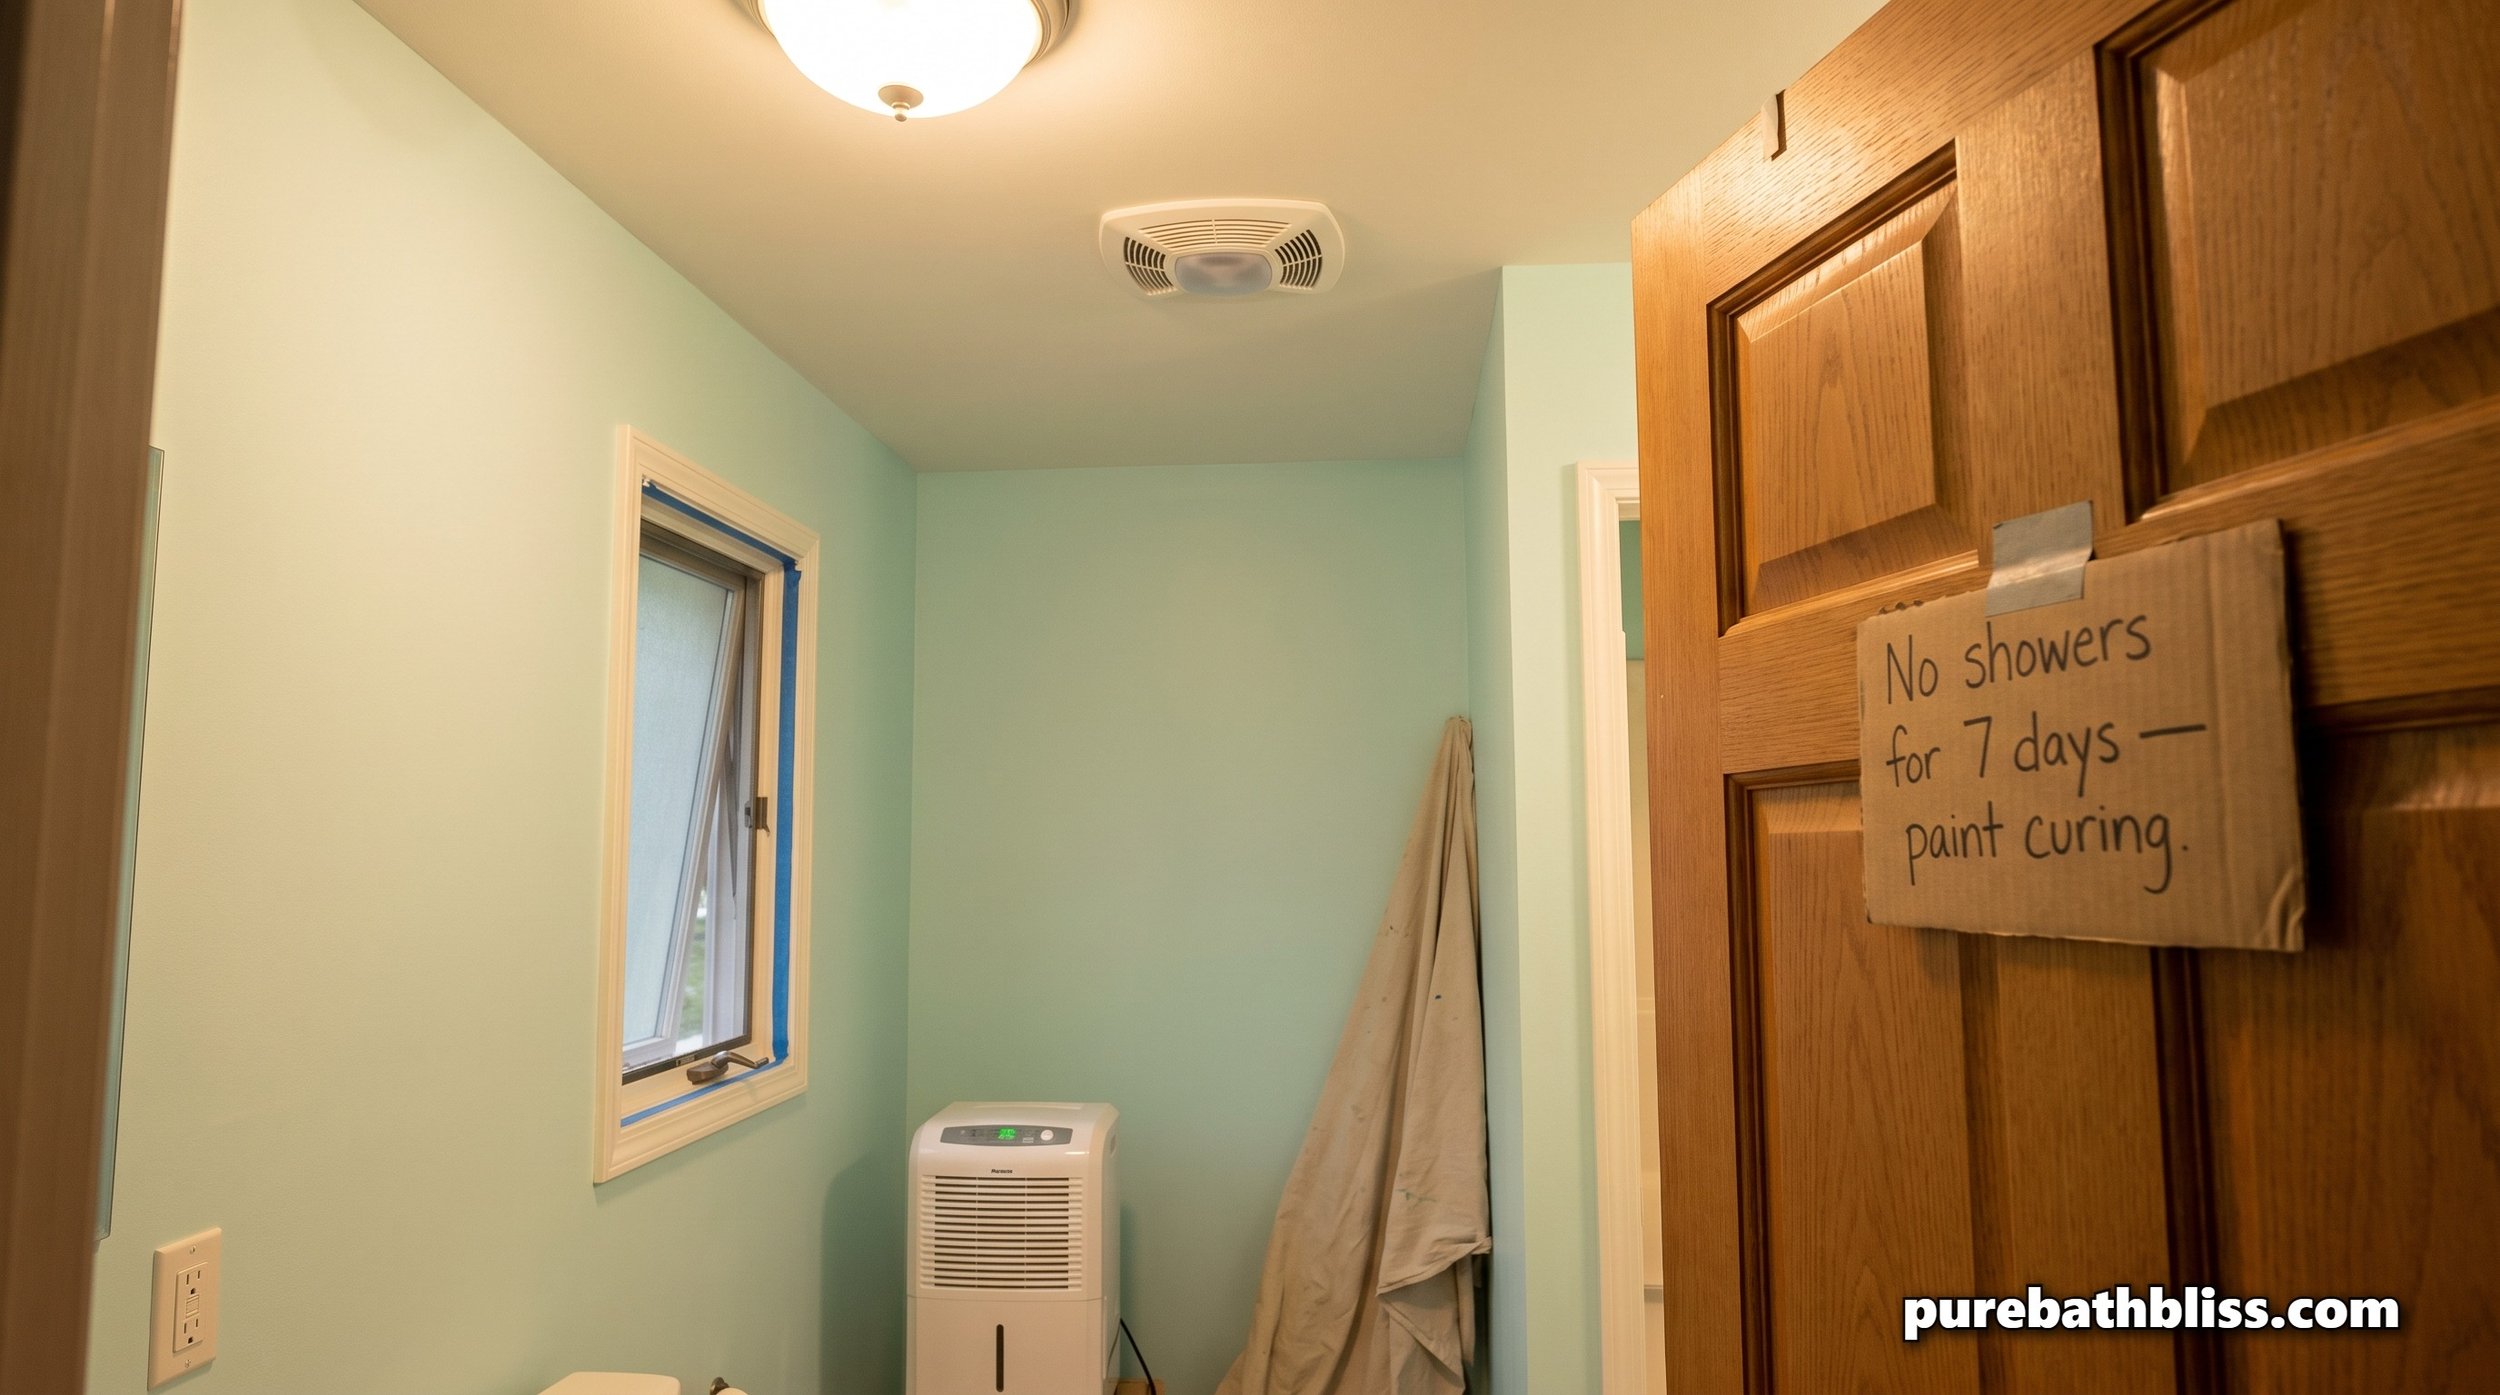
Dry to touch and fully cured are not the same thing and the difference between them is where most bathroom paint job failures begin. Acrylic paint is dry to touch within one to two hours of the final coat. It is not fully cured for seven days at minimum for zero-VOC formulas and up to fourteen days for standard latex. During the cure window the paint film is still developing its hardness, moisture resistance, and washability. Exposing an incompletely cured paint film to steam before the film has cross-linked fully produces a paint surface that is permanently softer and less moisture-resistant than a fully cured one.
The cure protocol is straightforward but requires genuine commitment. Run the exhaust fan continuously for 72 hours after the final coat. No steam showers for a minimum of seven days. If the bathroom is the only bathroom in the home, quick cool showers only during the first seven days, with the exhaust fan running before, during, and after. No scrubbing or washing the painted surface for the full fourteen-day cure window. Our guide to bathroom exhaust fans and dehumidifiers covers the ventilation specifications and CFM sizing that determines how effectively your fan can support the curing environment.
A dehumidifier running in the bathroom during the cure window, maintaining relative humidity below 50 percent, significantly accelerates the cross-linking process and reduces the seven-day minimum toward the lower end of the cure window. This is worth doing in any bathroom where high ambient humidity from the rest of the house is likely to slow the cure.
The Complete Material and Technique Reference
| Decision | Wrong Choice | Right Choice | Why It Matters | Specific Products |
|---|---|---|---|---|
| Primer | Standard white primer or no primer | Mold-blocking water-based primer | Seals substrate against moisture vapor. Biocide prevents mold growth behind the paint film. Not cosmetic — structural. | Zinsser Bulls Eye 1-2-3, Zinsser Mold Killing Primer, ECOS Universal Primer (zero-VOC) |
| Paint formula | Vinyl acrylic, alkyd, or any non-bathroom-specific formula | 100 percent acrylic latex, zero-VOC, with mildewcide | 100 percent acrylic creates tighter, more flexible film than vinyl acrylic. Better moisture resistance through temperature cycling. | Benjamin Moore Natura, Sherwin-Williams Harmony, ECOS Paints |
| Sheen | Flat, matte, or eggshell | Satin minimum. Semi-gloss for maximum moisture resistance. | Porous finishes trap moisture and mold. Cannot be scrubbed without paint removal. Fail rapidly in high humidity. | Satin for walls. Semi-gloss for trim. See satin vs semi-gloss guide for detailed comparison. |
| Caulk | Acrylic, latex, or "paintable" caulk at wet junctions | 100 percent silicone at tub surround and any joint that contacts water directly | Acrylic caulk shrinks over time and allows water infiltration. 100 percent silicone remains flexible and waterproof indefinitely. | GE Silicone II, DAP 100% Silicone. Must cure 24 hours before primer is applied over it. |
| Roller nap | 3/4-inch or thicker nap on smooth walls | 3/8-inch microfiber for smooth walls. 1/2-inch for textured. | Thick nap on smooth walls produces stipple texture that is visible in raking light and traps moisture in the texture. | Purdy or Wooster 3/8-inch microfiber roller covers. |
| Recoat timing | Recoating too soon — within 1 hour of first coat | Full recoat time per can — minimum 2 hours, longer in high humidity | Early recoat traps solvent and extends total cure time. Produces softer, less moisture-resistant finished film. | Check the specific can. Humidity slows drying — allow extra time in bathroom conditions. |
| Cure protocol | Steam shower within 24 to 48 hours of final coat | No steam showers for 7 days minimum. Exhaust fan running continuously for 72 hours. | Steam exposure before full cure permanently reduces the moisture resistance of the paint film. This is the most common cause of early bathroom paint failure. | Dehumidifier during cure window accelerates cross-linking. Post a reminder on the door. |
A bathroom paint job done correctly with the right primer, the right formula, adequate prep, and a full cure protocol lasts ten to fifteen years before it needs revisiting. Most of the bathroom paint jobs that fail within two to three years failed at one of the material selection or cure protocol decisions covered in this guide, not at the painting technique itself. The painting technique matters for the visual result. The material selection and cure protocol determine whether that visual result is still there in a decade.