DIY Clay & Oat Face Mask Bar (Zero Waste, 30 Uses)
Originally published November 2025, Updated June 2026
My wife has been into natural skincare for years, and for most of that time our bathroom counter had a rotating cast of glass and plastic jars, half-used tubs of clay mask, and little pump bottles of serums that cost more than they should. We were spending real money on products that were mostly water, preservatives, and packaging.
A while back she started making her own face masks from scratch, which I was skeptical about at first. But after watching her mix up batches that worked just as well as the store bought stuff, and then seeing how much less waste we were producing, I got curious about whether you could take it further. Could you make a solid bar version that doesn't need to be refrigerated, travels easily, and lasts for months? Turns out, yes you can.
These clay and oat face mask bars are now a staple in our bathroom. One batch makes three bars, each bar gives you about ten uses, and the whole thing costs maybe a dollar fifty to make. That's thirty full face treatments for less than the price of a single-use sheet mask. Here's exactly how to make them.
Why a Solid Bar Makes Sense
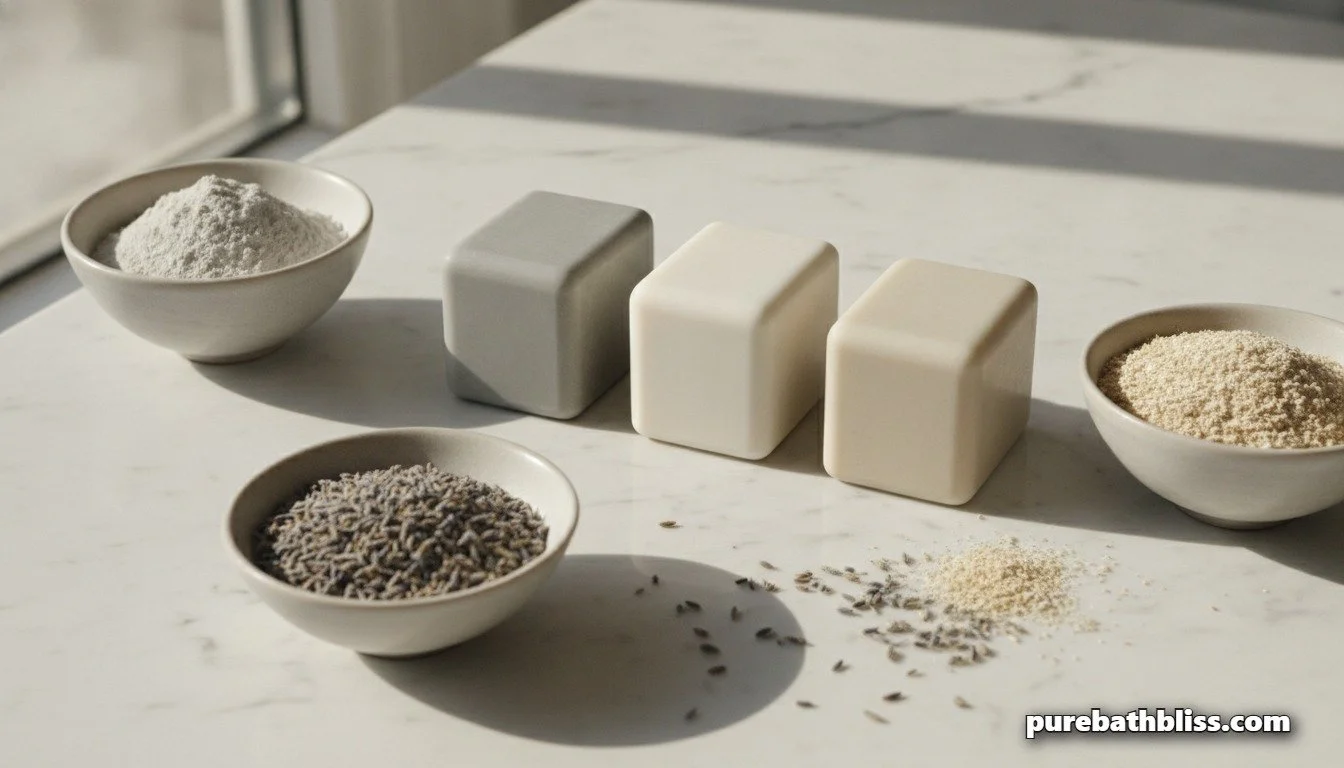
Most store-bought face masks in jars and tubes are anywhere from 60 to 80 percent water. You are paying for water, paying for preservatives to keep that water from going bad, and paying for the packaging that holds all of it. When you buy a clay mask in a plastic tub, you are essentially buying a jar of stabilized slurry.
A solid bar flips that entirely. It is 100 percent active ingredients with no water, which means no preservatives needed and no packaging waste. You mix in just enough water at the moment of use to create a paste, apply it, and rinse. The bar itself stays dry and stable, which is why it can sit on a shelf for six months without degrading.
The other practical advantage is travel. A solid bar goes in your carry-on with no liquid restrictions and takes up almost no space. We've started packing them on family trips instead of carrying full-size skincare products, and it's made packing noticeably simpler.
What Each Ingredient Actually Does
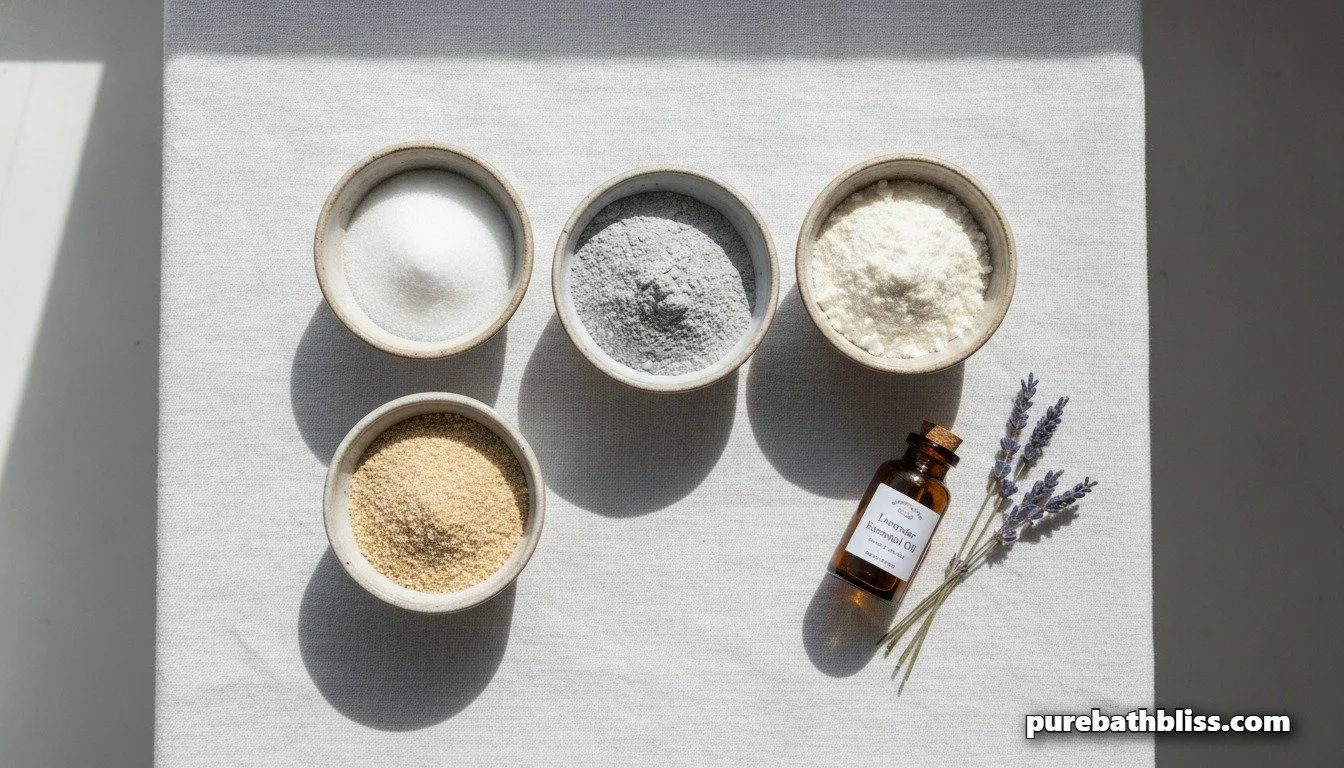
Understanding what each ingredient does helps you adapt the recipe for your own skin type, so it's worth spending a minute on this before jumping into the method.
Bentonite clay is the workhorse of the recipe. It carries a negative ionic charge that attracts positively charged toxins, heavy metals, and impurities and pulls them out of the pores as the mask dries. It also tightens pores and draws out excess oil, which makes it particularly effective for oily and combination skin. One thing to note: do not use metal bowls or utensils when working with bentonite clay. Metal can interfere with its ionic charge and reduce its effectiveness. Use glass, ceramic, or silicone instead.
Kaolin clay is considerably gentler than bentonite and does the softening and brightening work. Where bentonite pulls out oils aggressively, kaolin cleanses without stripping the skin's natural moisture barrier. For anyone with dry or sensitive skin, you can shift the ratio toward more kaolin and less bentonite and get a milder result. Our article on natural ingredients for sensitive and eczema-prone skin covers the skin barrier in more depth if that's relevant to you.
Ground oats are a well-documented anti-inflammatory ingredient for skin. Colloidal oatmeal has been used to soothe irritated skin for centuries and its effectiveness is backed by dermatological research. In this bar it provides gentle physical exfoliation as well as skin calming properties. Use the finest grind you can manage, pulse rolled oats in a blender until they're almost powder-like.
Coconut milk powder adds creaminess to the mask when mixed with water and provides a light moisturizing effect. It also helps the bar hold together without being crumbly.
Lavender essential oil is antimicrobial and anti-inflammatory, making it a genuinely functional ingredient rather than just a scent. It complements the clay's pore-clearing action and adds the spa-like fragrance that makes using the mask feel like a ritual rather than a chore. If you want to go deeper on lavender and tea tree as bathroom ingredients, we have a full guide on tea tree oil uses in the bathroom that covers the antimicrobial chemistry in detail.
Raw honey powder is optional but worth including if you have acne-prone skin. Honey is naturally antibacterial due to its hydrogen peroxide content and low water activity, and honey powder delivers those benefits without adding moisture that would destabilize the bar.
What You Need
Ingredients (makes 3 bars, approximately 30 uses total):
½ cup bentonite clay
¼ cup kaolin clay
¼ cup finely ground oats
2 tablespoons coconut milk powder
20 drops lavender essential oil
1 tablespoon raw honey powder (optional)
Filtered water, added a teaspoon at a time
Tools:
A glass or ceramic mixing bowl (no metal)
A wooden or silicone spatula
A silicone bar mold or mini muffin tray
Parchment paper
A small tin or beeswax wrap for storage
How to Make Them
Step 1 — Combine the dry ingredients
Add the bentonite clay, kaolin clay, ground oats, coconut milk powder, and honey powder (if using) to your glass or ceramic bowl. Whisk them together until completely uniform with no streaks or clumps. The mixture should feel silky and fine. This is the dry base that will stay shelf-stable almost indefinitely on its own.
Step 2 — Add the lavender oil
Drip the lavender essential oil into the dry mixture and stir immediately. The powder will clump slightly where each drop lands. Keep stirring and it will distribute evenly throughout. At this point the mixture should smell genuinely wonderful, like a high-end spa product.
Step 3 — Add water gradually
This is the step that requires the most patience. Add filtered water one teaspoon at a time, stirring thoroughly between each addition. You are looking for a texture like firm playdough, it holds its shape when you press it, doesn't crack, and isn't sticky. The exact amount of water varies slightly depending on the humidity in your kitchen and the specific clays you're using, but you'll typically need between three and five teaspoons total.
Go slowly. It is much easier to add a little more water than to fix a mixture that has become too wet. If you overshoot, add a teaspoon of bentonite clay to pull it back.
Step 4 — Press into molds
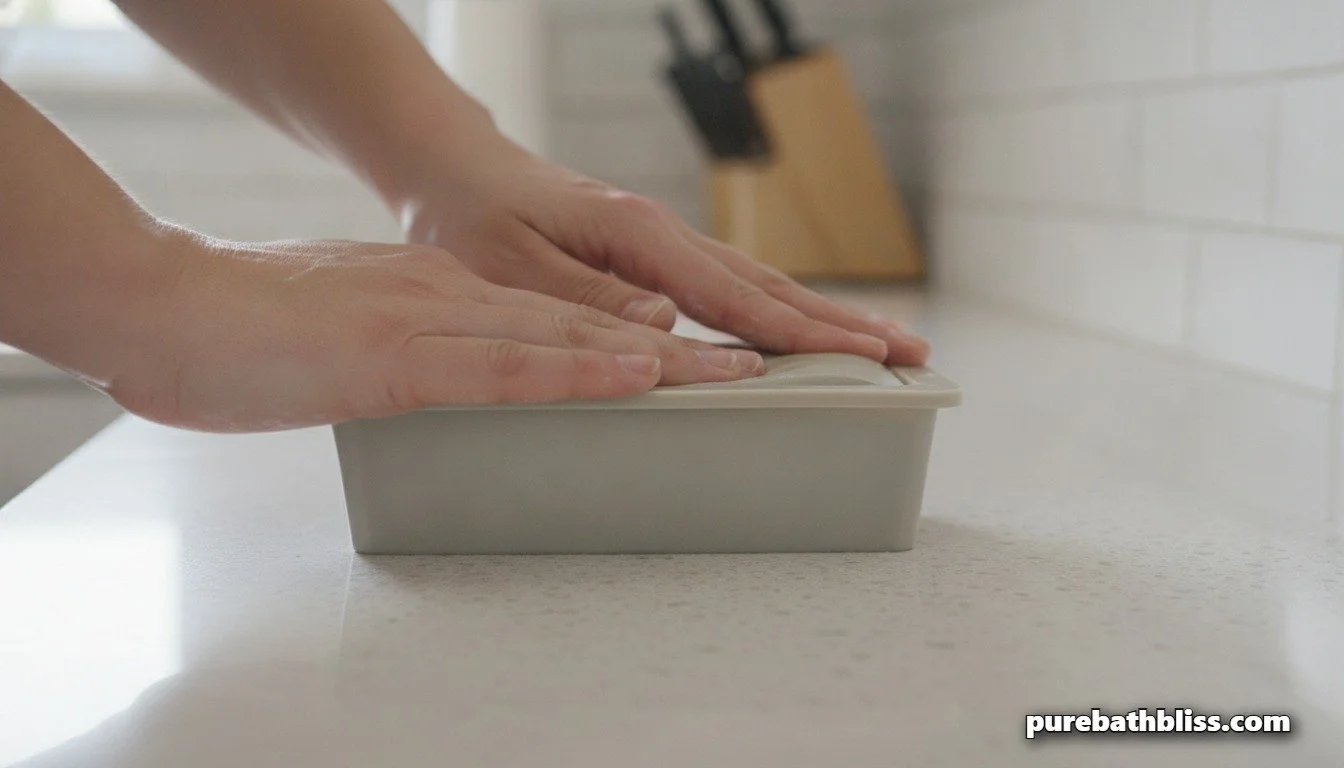
Press the mixture firmly into your silicone mold cavities. Pack it in layers, pressing down hard between each addition to remove air pockets. Overfill each cavity slightly, then scrape the top flat with the edge of your spatula. If you want a decorative touch, press a few dried lavender buds into the surface before it dries.
Step 5 — Cure overnight
Place the filled mold on a piece of parchment paper and leave it in a dry, warm spot for at least eight hours. The bathroom is the worst place to cure these, the humidity will prevent them from hardening properly. A kitchen counter, a bedroom shelf, or a dry cupboard all work well. By morning the bars should feel firm and hold their shape cleanly when you press them.
Step 6 — Unmold and store
Flex the silicone mold to release the bars. They should pop out cleanly and feel solid and slightly chalky to the touch, which is exactly right. Store them in a small tin or wrapped in beeswax cloth somewhere dry. Kept away from moisture, they will last six months or more.
How to Use the Bar
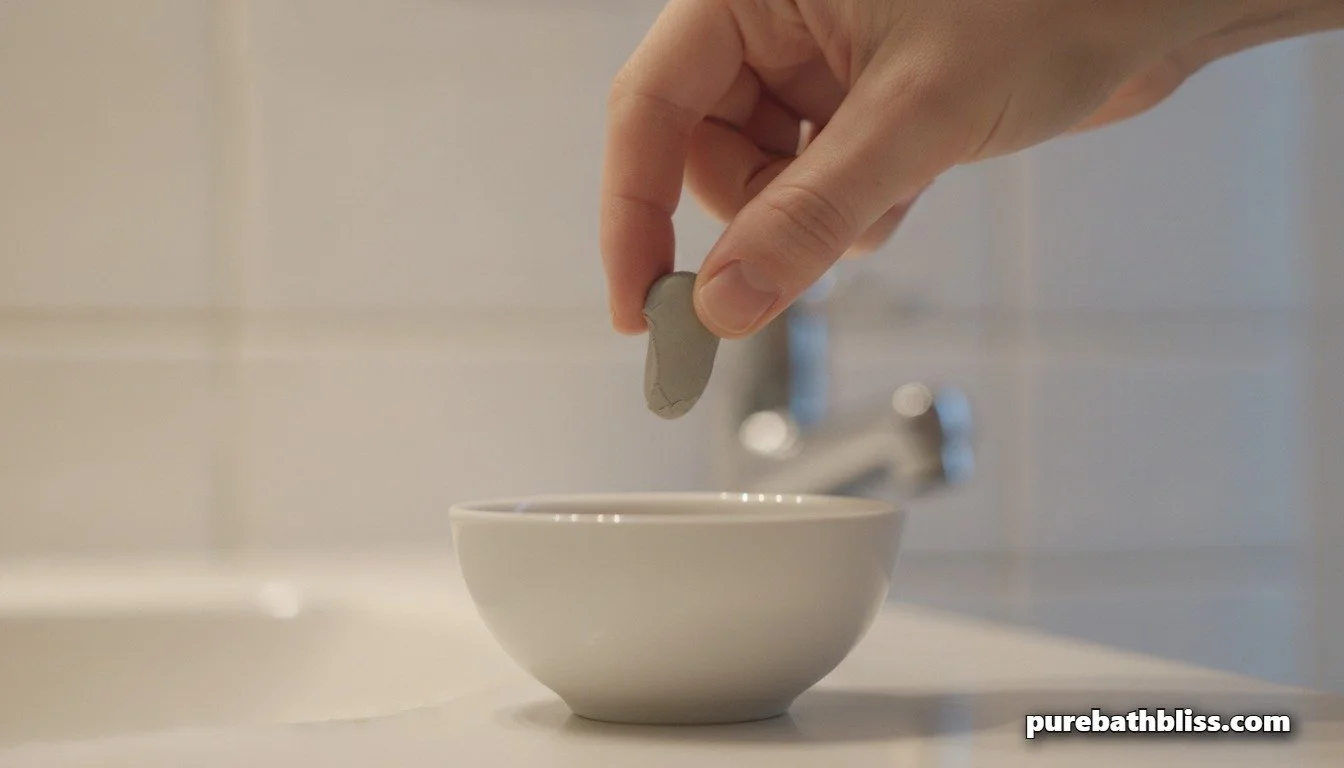
Break off roughly one third of a bar and place it in a small bowl. Add one teaspoon of water or rosewater and mix with a spoon until it forms a smooth, spreadable paste. The consistency you want is somewhere between yogurt and thick hummus, it should coat the back of a spoon without running.
Apply to a clean face, avoiding the eye area. Leave on for ten to fifteen minutes. You will feel the clay tightening as it dries, which is the bentonite doing its work. Rinse with warm water and pat dry. Your skin should feel noticeably smoother and cleaner than after a regular wash.
Once a week is a good starting frequency. If your skin feels tight or dry after using it, shift the ratio toward more kaolin clay in your next batch, or reduce the bentonite slightly. If you are using this on sensitive skin, our guide to the soak and seal method for eczema-prone skin has useful guidance on maintaining a healthy skin barrier alongside clay treatments.
Variations Worth Trying
Matcha Antioxidant Bar
Replace the kaolin clay with an equal amount of matcha powder and add five drops of tea tree oil alongside the lavender. Matcha is rich in EGCG, a catechin with strong antioxidant and anti-inflammatory properties that is particularly effective for acne-prone and dull skin. The bar comes out a beautiful sage green and has a fresh, slightly grassy scent.
Citrus Brightening Bar
Swap the lavender for 15 drops of sweet orange essential oil and 10 drops of frankincense. Add a teaspoon of dried orange zest to the dry mix. Frankincense has documented skin-regenerating properties and pairs well with the brightening effect of the citrus. Use this version in the morning for an energizing start to the day.
Gift Tin Version
Stack two or three bars in a small tin, tie a piece of jute around it, and add a card with usage instructions. These make genuinely thoughtful gifts for people who care about what goes on their skin. They're also a conversation starter, most people have never seen a solid face mask before and are immediately curious about how they work.
Troubleshooting
Bar is crumbly and won't hold its shape: The mixture was too dry when you pressed it into the mold. Add half a teaspoon of water to the remaining mixture, knead it through, and re-press. For future batches, add water a little more slowly and test the texture by squeezing a handful before molding.
Bar feels too gritty on skin: The oats weren't ground finely enough. Next time, pulse them in a blender for longer until the texture is almost powdery rather than grainy.
Mask leaves a slight grey tint on skin after rinsing: This is usually bentonite residue and means you didn't rinse long enough. Rinse with warm water for a full minute and it will come off completely. If it persists, reduce the bentonite slightly in your next batch.
Bar won't release from the mold: It either needs more drying time or the mold needs a very light coating of coconut oil before filling next time. Give it another few hours and try again.
The Bigger Picture
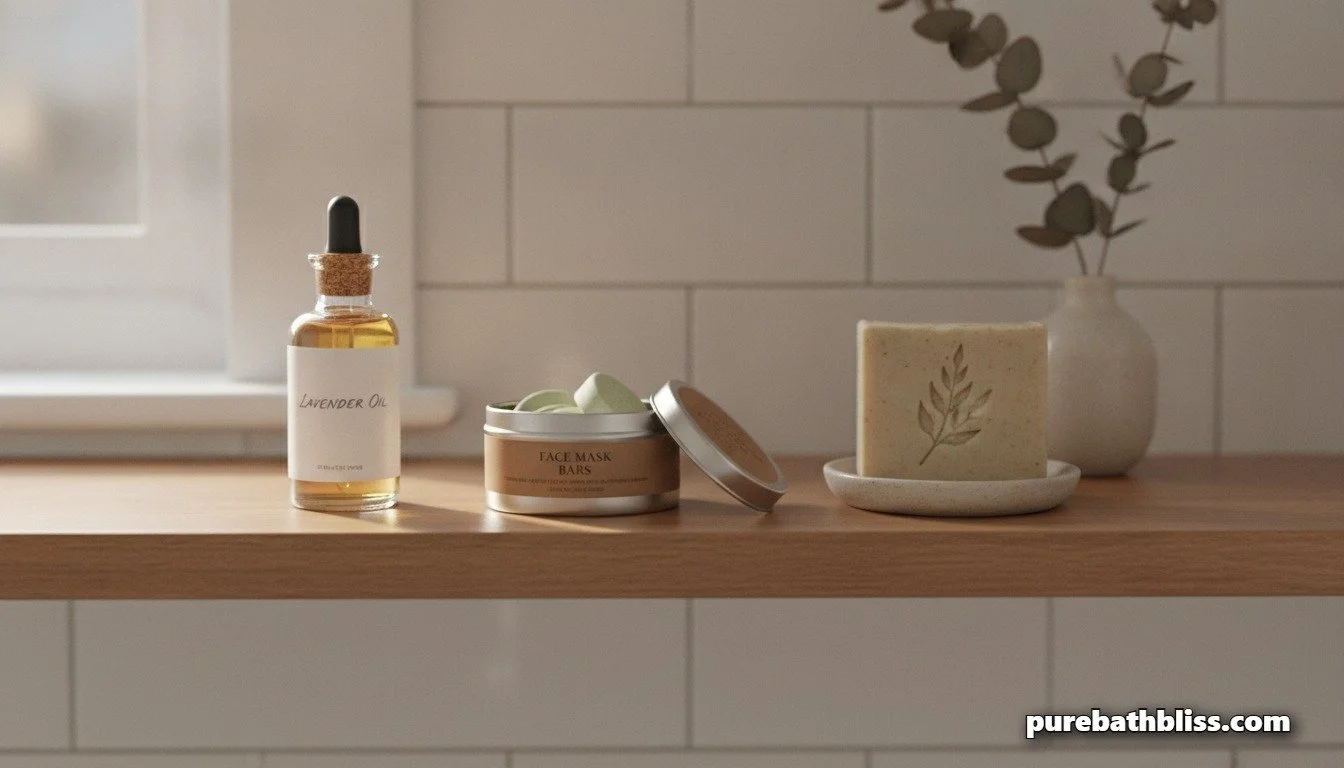
These bars fit into the same thinking behind the toilet bombs and the Dishmatic hack and the eco-friendly toilet brush. The bathroom accumulates a lot of single-use plastic and chemical-heavy products that don't need to be there. Each swap you make is a small but concrete reduction in what your household sends to landfill and washes into the water system.
A face mask bar that lasts three months and costs almost nothing to make replaces multiple plastic tubs of product over the course of a year. That's not a sacrifice in quality. If anything, the ingredient list is cleaner and more targeted than most commercial alternatives.
If you are doing a broader audit of what's in your bathroom and what could be replaced with something better, our Bathroom Purge guide is a good place to start. It covers the whole bathroom systematically and gives you a clear framework for deciding what stays, what goes, and what gets replaced with something that actually earns its spot on the shelf.