The Prep Secrets Pros Swear By: A Non-Toxic Guide to Cleaning and Repairing Bathroom Walls
Imagine rolling on a fresh coat of paint, only to watch it bubble, peel, or sprout mildew within weeks. That nightmare almost always starts with one fatal mistake: skipping the prep. In a bathroom, where steam, soap scum, and hidden mold lurk behind every tile, preparation isn’t optional—it’s 80% of the job. Skip it, and even the best eco-friendly paint will fail.
But here’s the good news: you don’t need harsh chemicals or toxic fumes to get pro-level results. This guide walks you through every non-toxic, eco-friendly step to clean, repair, and protect your bathroom walls before painting. You’ll eliminate soap scum, kill mold naturally, seal cracks, and create a flawless canvas that locks in your paint for years.
These crucial steps ensure the flawless finish detailed in our comprehensive guide, The Right Way to Paint a Bathroom: A Comprehensive Step-by-Step Guide to a Flawless, Mildew-Resistant Finish.
Let’s get your walls paint-ready—naturally, safely, and sustainably.
The Non-Toxic Deep Clean: Eliminating Soap Scum and Mold
Paint won’t stick to grime. Before you even think about primer, you must remove every trace of soap residue, mineral buildup, and mold spores. Here’s how—using only planet- and people-safe ingredients.
The Ultimate Soap Scum Cutter (Vinegar & Dawn Alternative)
Why it matters: Soap scum is a waxy film made of body oils, hard-water minerals, and detergent residue. It creates a slick barrier that prevents paint adhesion—leading to peeling in as little as 3 months.
Your Non-Toxic Recipe (makes 16 oz):
1 cup distilled white vinegar (5% acidity)
1 cup hot filtered water
1 tsp eco-friendly castile soap (unscented Dr. Bronner’s or similar)
10 drops lemon essential oil (optional, for grease-cutting boost)
Tools:
Glass spray bottle (reuse or buy amber glass)
Natural cellulose sponge or microfiber cloth
Soft-bristle brush (for grout)
Step-by-Step Technique:
Heat the mixture (microwave 60 sec) to activate vinegar’s acidity.
Spray liberally on walls, tiles, and fixtures—focus on high-splash zones.
Let dwell 10–15 minutes—the vinegar dissolves mineral bonds.
Scrub in circular motions starting at the top, working down.
Rinse with clean water using a fresh microfiber cloth.
Repeat if heavy buildup remains (it usually dissolves in one pass).
Pro Tip: For textured walls, use a natural boar-bristle brush—it gets into crevices without scratching.
Battling Mildew and Mold Spores
Why bleach is a bad idea: It kills surface mold but doesn’t remove dead spores (which trigger allergies), and its fumes are toxic in enclosed spaces. Plus, it degrades paint adhesion over time.
Your Natural Mold Killer (choose one):
Option 1: Hydrogen Peroxide Spray
1 cup 3% hydrogen peroxide + 1 cup water
Spray, wait 10 min, scrub, rinse.
Option 2: Tea Tree Oil Solution
1 tsp tea tree essential oil + 1 cup water
Shake in spray bottle, apply, let sit 1 hour, scrub.
Safety First:
Wear nitrile or latex-free gloves (eco-friendly brands like If You Care).
Open windows and run the exhaust fan—fresh air is your best ally.
Never mix cleaners (especially vinegar + peroxide = corrosive acid).
Why it works: Hydrogen peroxide oxidizes mold on contact; tea tree oil is a natural antifungal with a 10-year shelf life.
The Crucial Rinse and Dry
No residue = perfect adhesion. Any leftover cleaner, dead mold, or mineral film will cause fisheyes (tiny bubbles) in your paint.
Rinse Protocol:
Fill a clean bucket with warm filtered water.
Wipe walls top-down with a damp microfiber cloth, changing water when cloudy.
Final wipe with distilled water to prevent hard-water spots.
Drying Protocol:
Run bathroom fan + ceiling fan (if available) for 4–6 hours.
Use a portable dehumidifier if humidity >60% (check with a $15 digital hygrometer).
Wait 24 hours minimum before repairs—walls must be bone-dry.

Repair and Preparation: Creating a Flawless Canvas
Now that your walls are clean, it’s time to fix imperfections. One crack or glossy spot can ruin your paint job.
Filling the Flaws (Nail Holes and Dings)
Best Product: DAP DryDex Low-VOC Spackling or ECOS Non-Toxic Patch (zero-VOC, sandable in 30 min).
Technique:
Overfill slightly—spackle shrinks as it dries.
Use a flexible putty knife to feather edges (no hard lines).
Let dry until color changes (pink → white for DryDex).
Sand with 220-grit sponge in circular motions until flush.
Wipe with tack cloth (or damp microfiber) to remove dust.
Pro Tip: For deep holes (>¼ inch), fill in two layers—let first dry fully.
Sealing the Seams: Choosing the Right Caulk
Why silicone? It flexes with temperature changes, resists water 100%, and won’t crack like acrylic.
Eco Pick: GE Silicone II Kitchen & Bath (Low Odor) or AFM Safecoat Caulk (zero-VOC).
Application Technique:
Cut tip at 45°—opening should be smaller than the gap.
Hold caulk gun at 45° angle, push (don’t pull) for smooth bead.
Smooth immediately with a wet finger or caulk tool dipped in water + castile soap.
Let cure 24 hours before painting (silicone needs full cure to accept paint).
Where to caulk:
Tub/shower edges
Baseboard-to-wall joints
Around windows and outlets
The Essential Sand and Tack
Purpose: Glossy paint or old caulk creates a slick surface—new paint slides right off.
Sanding:
Use 220-grit sanding sponge on all previously painted surfaces.
Focus on high-gloss trim and caulk lines.
Goal: Dull the sheen, not remove paint.
Dust Removal:
Tack cloth (sticky resin cloth) grabs 99% of dust.
Alternative: Lightly damp microfiber cloth (dry before painting).
Vacuum with HEPA filter for floors and corners.

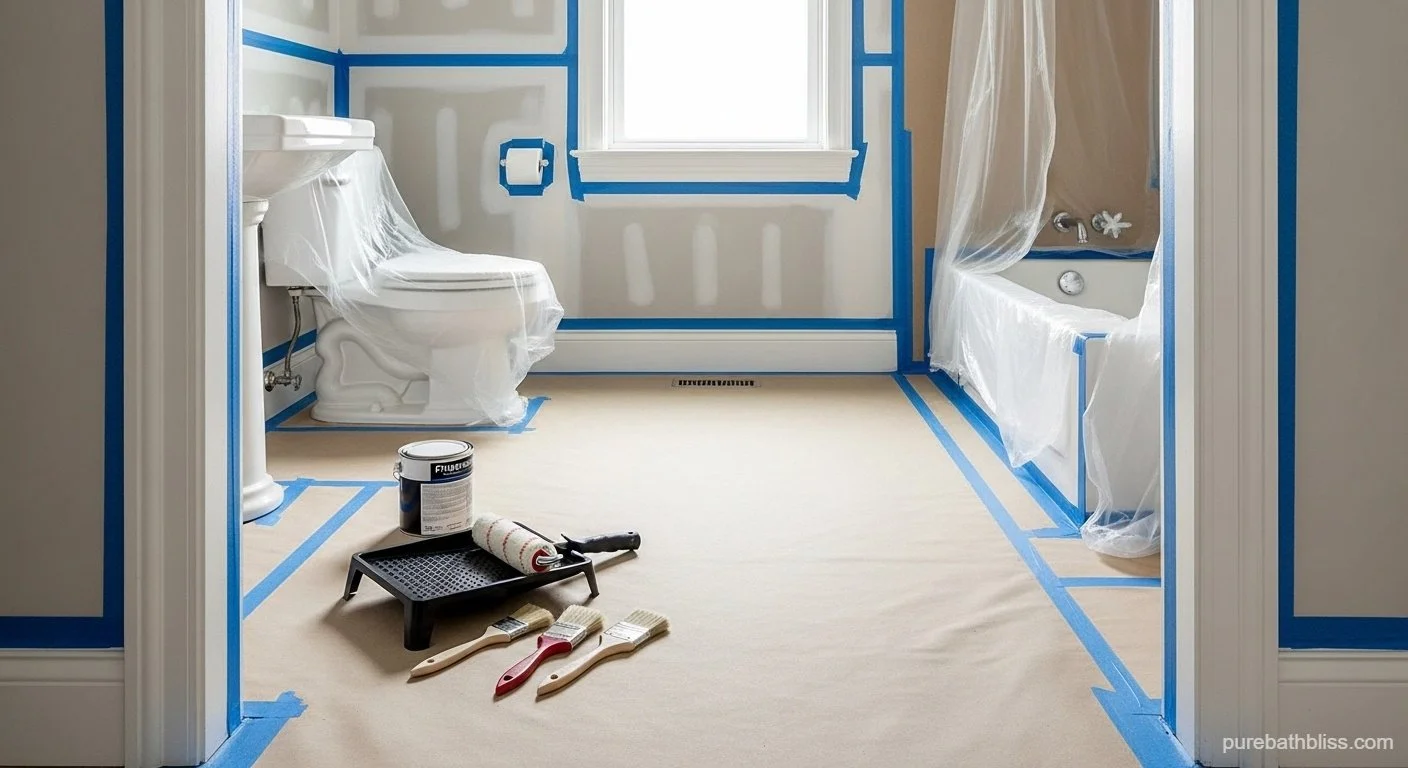
Pro Taping and Protection: Setting the Stage
One drip on your vanity or a fuzzy tape line can ruin the whole vibe. Here’s how to protect and perfect.
The Best Tape for Bleed-Free Lines
Winner: FrogTape Delicate Surface (yellow) for fresh paint; FrogTape Multi-Surface (green) for cured surfaces.
Technique:
Apply tape after repairs, before priming.
Press edges firmly with a plastic putty knife—activates the seal.
Paint toward the tape, not away—prevents bleed-under.
Remove while paint is wet—pull at 45° for crisp lines.
Protecting Fixtures and Floors
Floor:
Lay canvas drop cloth (reusable, non-slip) or rosin paper (recycled, biodegradable).
Secure edges with painter’s tape.
Fixtures:
Remove hardware (towel bars, TP holder)—store screws in labeled zip bags.
Wrap faucets in plastic wrap + tape or aluminum foil (reusable).
Cover toilet with old sheet secured with tape.
Pro Tip: Take a phone photo of hardware placement—you’ll reinstall in seconds.
Conclusion
You’ve just transformed your bathroom walls from grimy and cracked to pristine, paint-ready perfection—all with non-toxic, eco-friendly methods that are safer for your lungs, your family, and the planet.
The three key phases:
Deep Clean — Remove scum, mold, and residue.
Repair — Fill, caulk, sand, and seal.
Protect — Tape sharp, cover clean.
Success in painting is 80% preparation. You’ve done the hard part. Now your walls are ready to accept eco-friendly primer and paint that will stay put for a decade.
Ready for the fun part? Dive into our main guide for flawless application: The Right Way to Paint a Bathroom: A Comprehensive Step-by-Step Guide to a Flawless, Mildew-Resistant Finish.
Your spa-worthy bathroom starts with clean walls. You’ve got this—naturally.