The Invisible Mend: A DIY Guide to Professional Drywall Repair
In my early days on the job site, I learned a hard truth: drywall is 10% application and 90% "feathering." Most homeowners fail at wall repairs because they try to fill a hole in one thick, heavy layer. This leads to cracking, sagging, and a visible "bump" that no amount of paint can hide.
In a Sustainable Sanctuary, we treat our walls like a canvas. A house with "scar tissue" on the walls feels cluttered and unfinished. By mastering the mechanical ritual of the repair, you can maintain the pristine, high-end aesthetic of your home without hiring a contractor for every ding.
1. The Anatomy of the Repair: Small vs. Large
Before you head to the hardware store, you need to categorize your "breach." The tool and material choice depend entirely on the size of the void.
The "Nail Pop" or Ding (Under 1 inch): These are surface-level. They only require Spackle or "Lightweight" compound. No tape or mesh is needed because there is no structural movement.
The "Door Knob" Hole (1–4 inches): This is the most common home injury. It requires a self-adhesive mesh patch or the "California Patch" (my personal favorite for a flush finish).
The "Soccer Ball" Breach (4+ inches): This is a structural repair. It requires "backing" (wood furring strips) to be screwed behind the existing drywall to give the new patch something to hold onto.
2. The Professional Tool Kit: The "Pure" Essentials
Don't buy those all-in-one "kits" with the tiny plastic scrapers. If you want it to look professional, you need tools that don't flex.
6-inch and 10-inch Taping Knives: Stainless steel only. Plastic knives leave ridges and "chatter marks" in the mud.
Joint Compound (The "Mud"): I recommend "Dust Control" mud for indoor repairs. It’s engineered so that the sanding dust clumps together and falls straight to the floor rather than floating into your HVAC vents.
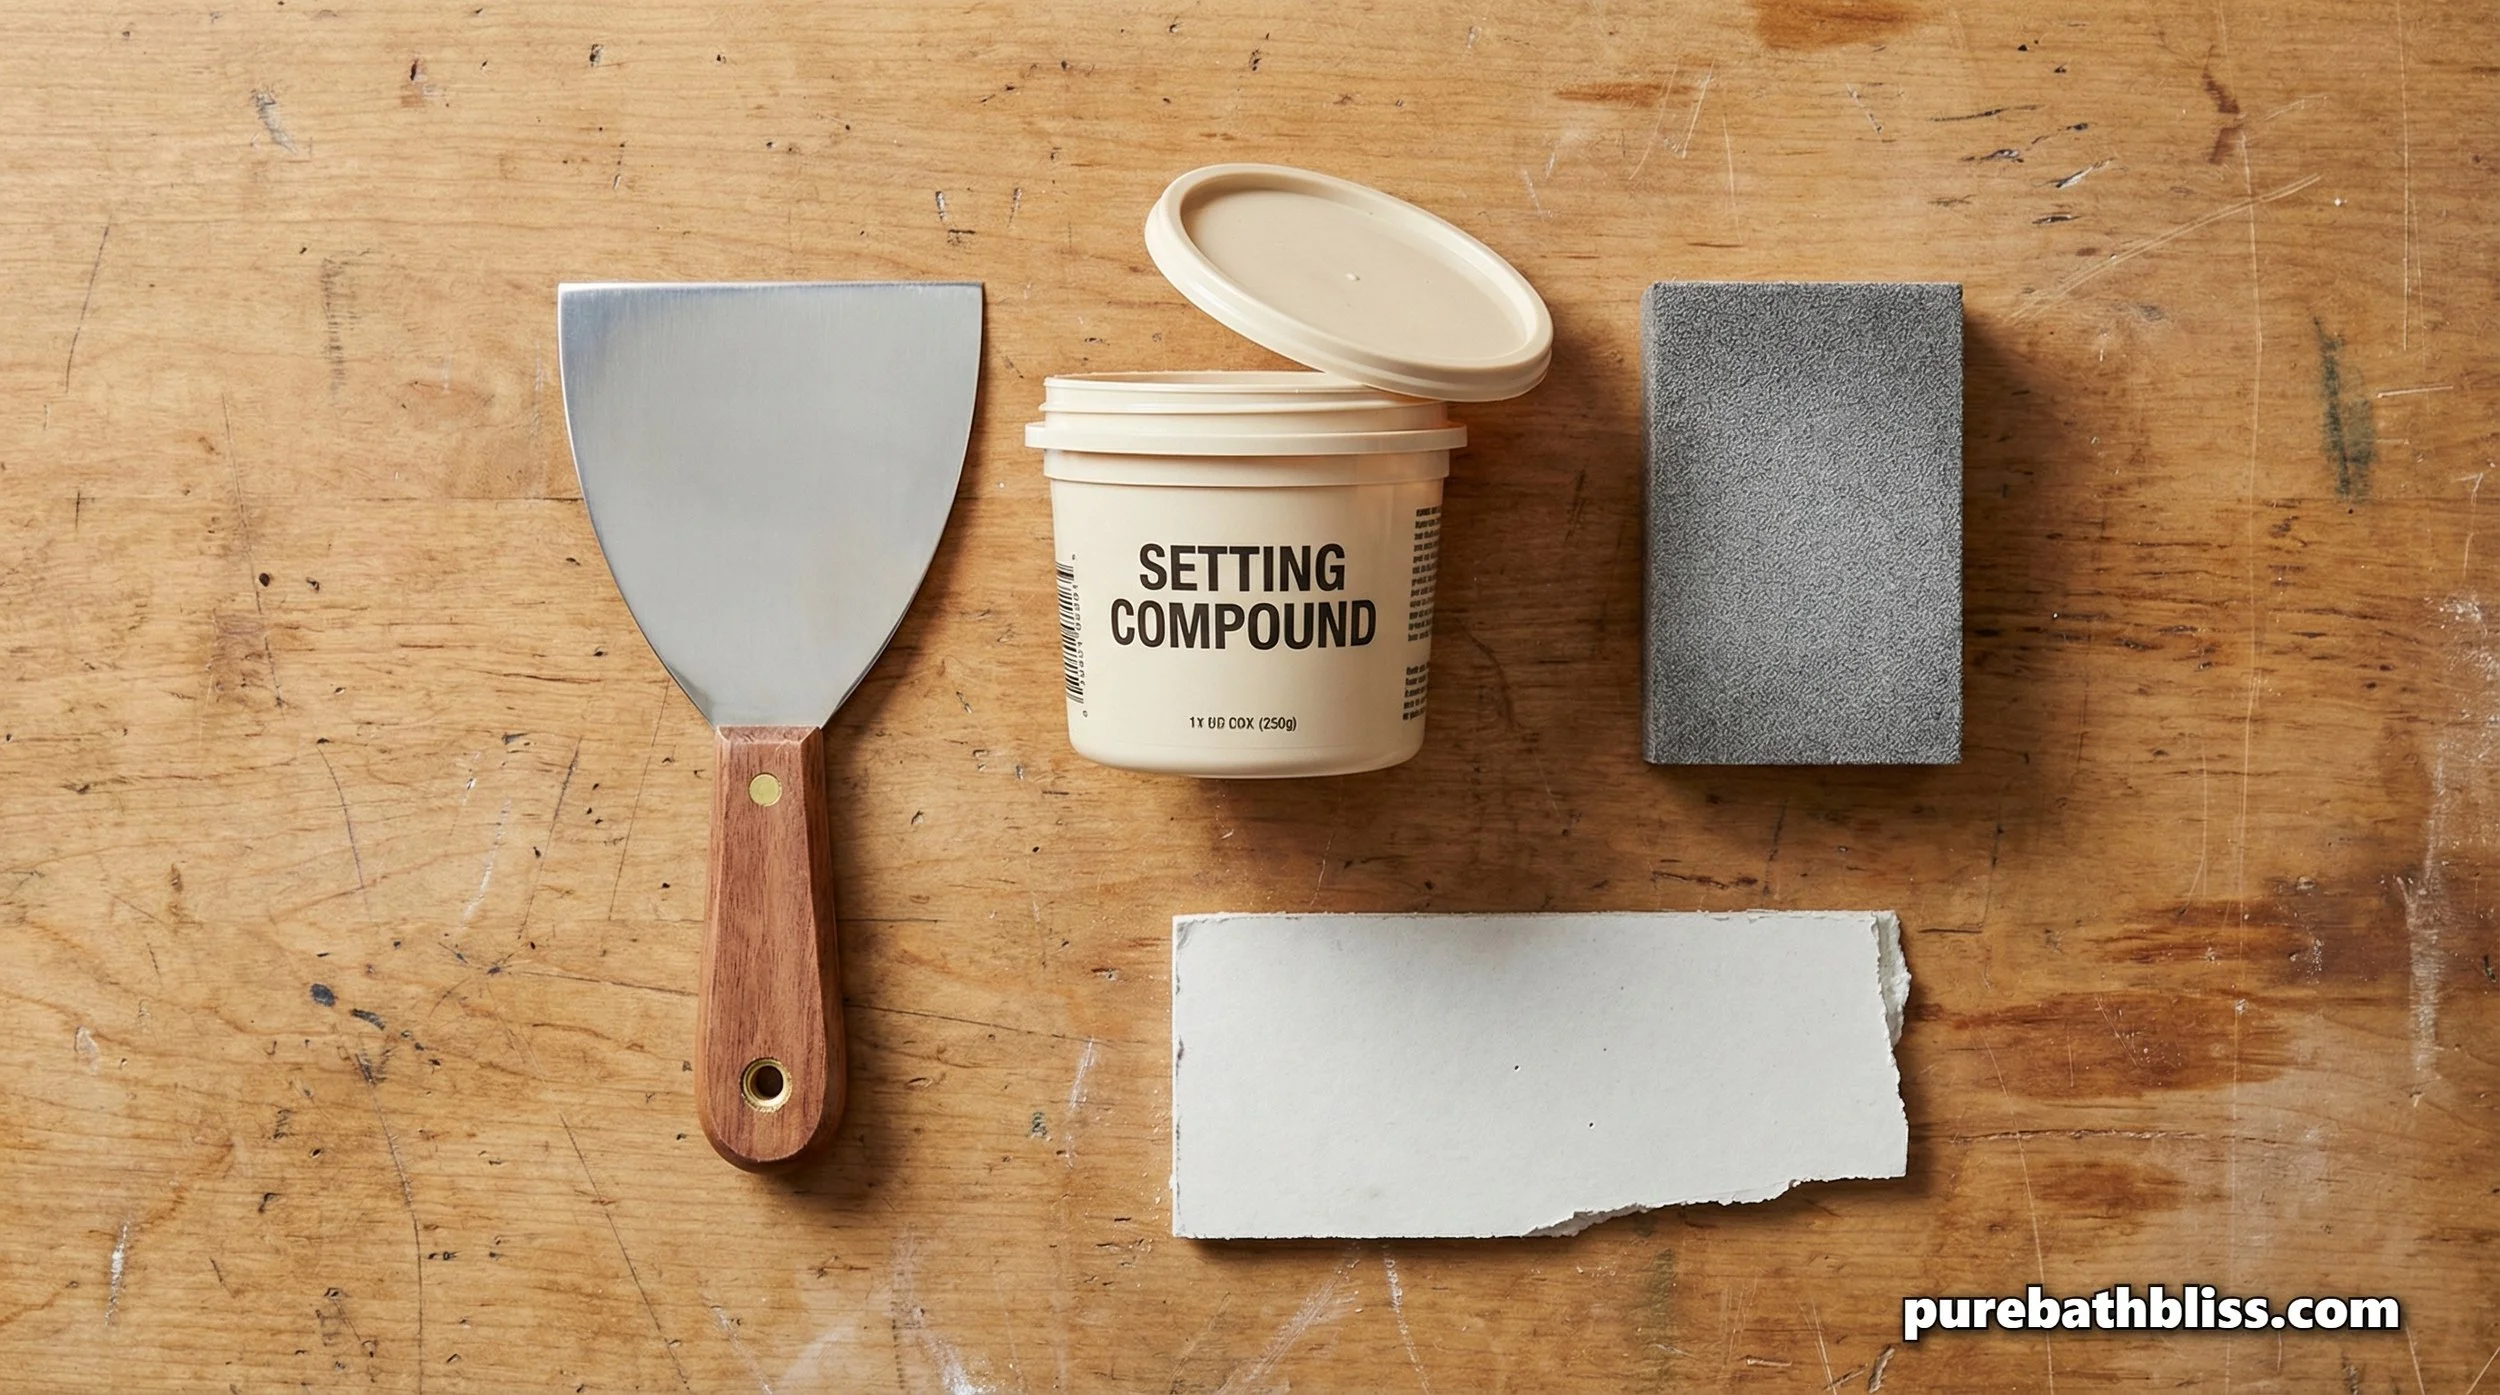
Setting Compound (Optional): If you are in a rush, use "Easy Sand 20." It hardens through a chemical reaction rather than evaporation, allowing you to do multiple coats in one day.
Fine-Grit Sanding Sponge: (220 grit). Anything coarser will scratch the paper face of the drywall.
3. The Step-by-Step Ritual
Step 1: Prep the "Wound"
Use a utility knife to cut away any loose paper or crumbling gypsum. If the edges are protruding outward, lightly tap them inward with the butt of your screwdriver. You want a "crater," not a "mountain." If the mud has to go over a bump, you'll never get it flat.
Step 2: The "California Patch" (The Builder’s Secret)
For a hole about 3 inches wide, skip the mesh.
Cut a square of new drywall that is 2 inches wider than your hole on all sides.
On the back of that square, score a square line 1 inch in from each edge.
Snap the gypsum off, but leave the front paper intact.
You now have a "butterfly" patch—a piece of drywall that fits the hole with a wide paper border that acts as your tape.
Step 3: The First Coat (The "Bedding")
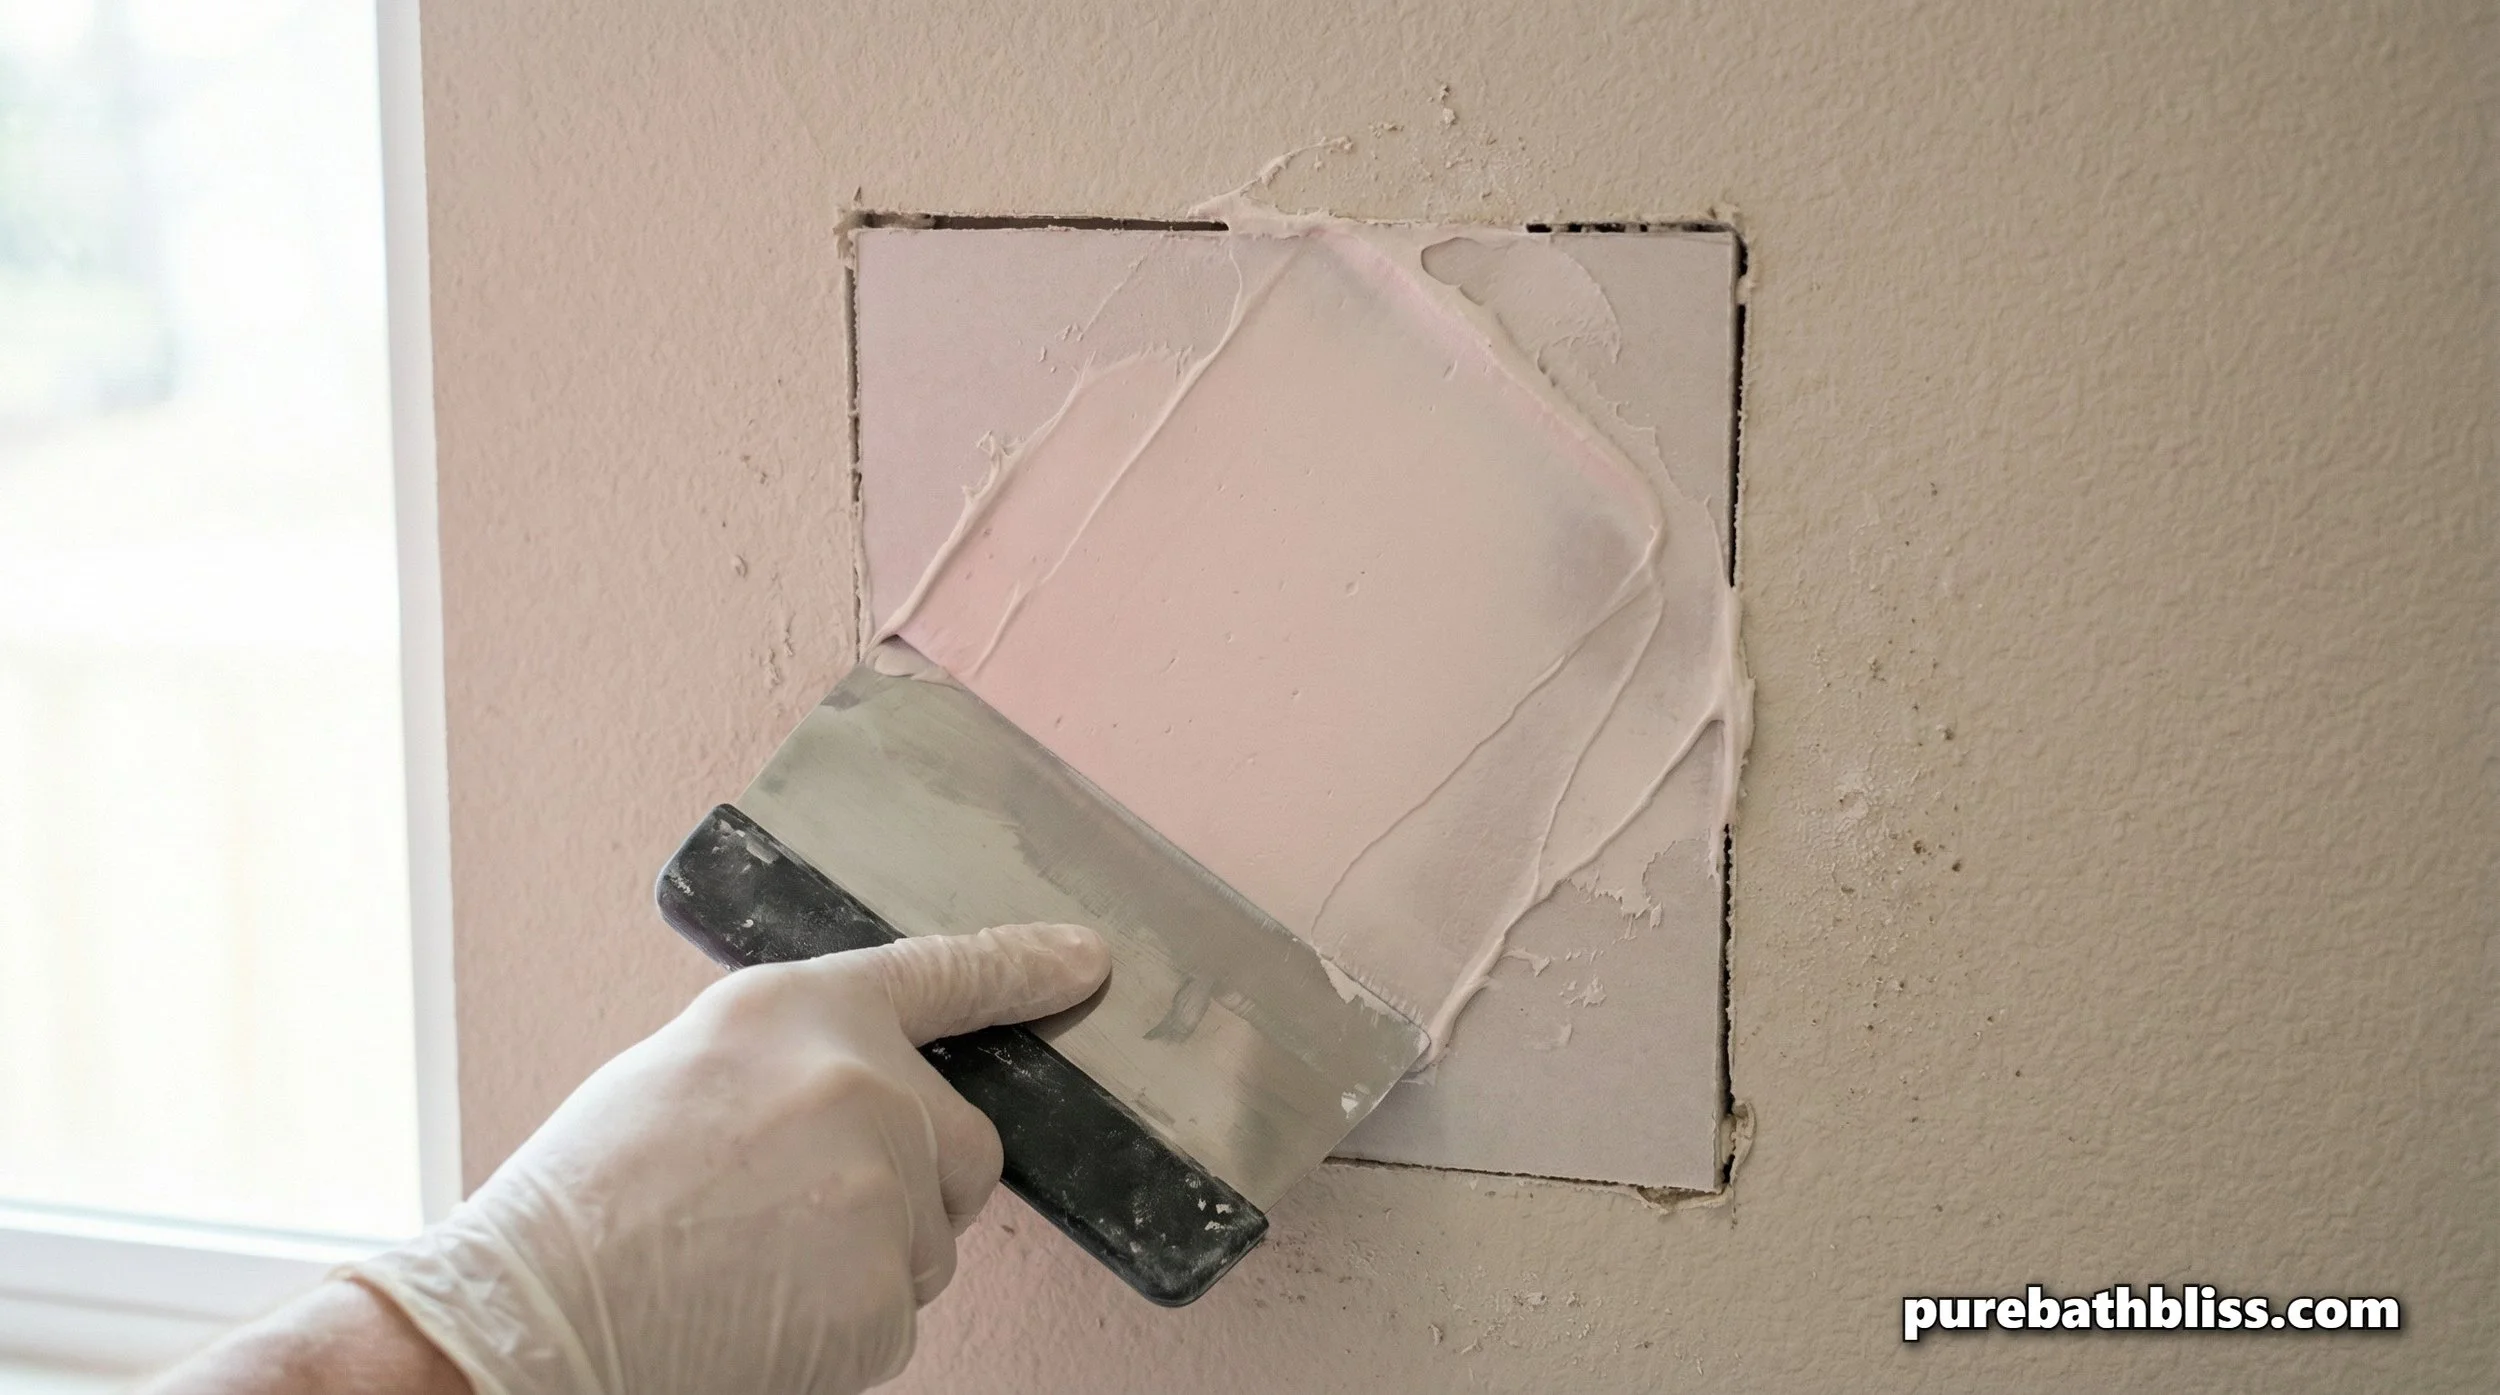
Apply a thin layer of mud around the hole. Press your patch into the mud. Use your 6-inch knife to squeegee out the excess mud from behind the paper. You want the paper as close to the wall as possible.
Step 4: The "Feather" (The Invisible Step)
Once the first coat is dry (wait for it to turn from pink/grey to bone white), switch to your 10-inch knife. Apply a wider layer of mud, starting 4 inches outside the patch and pulling inward. Then, pull from the center out.
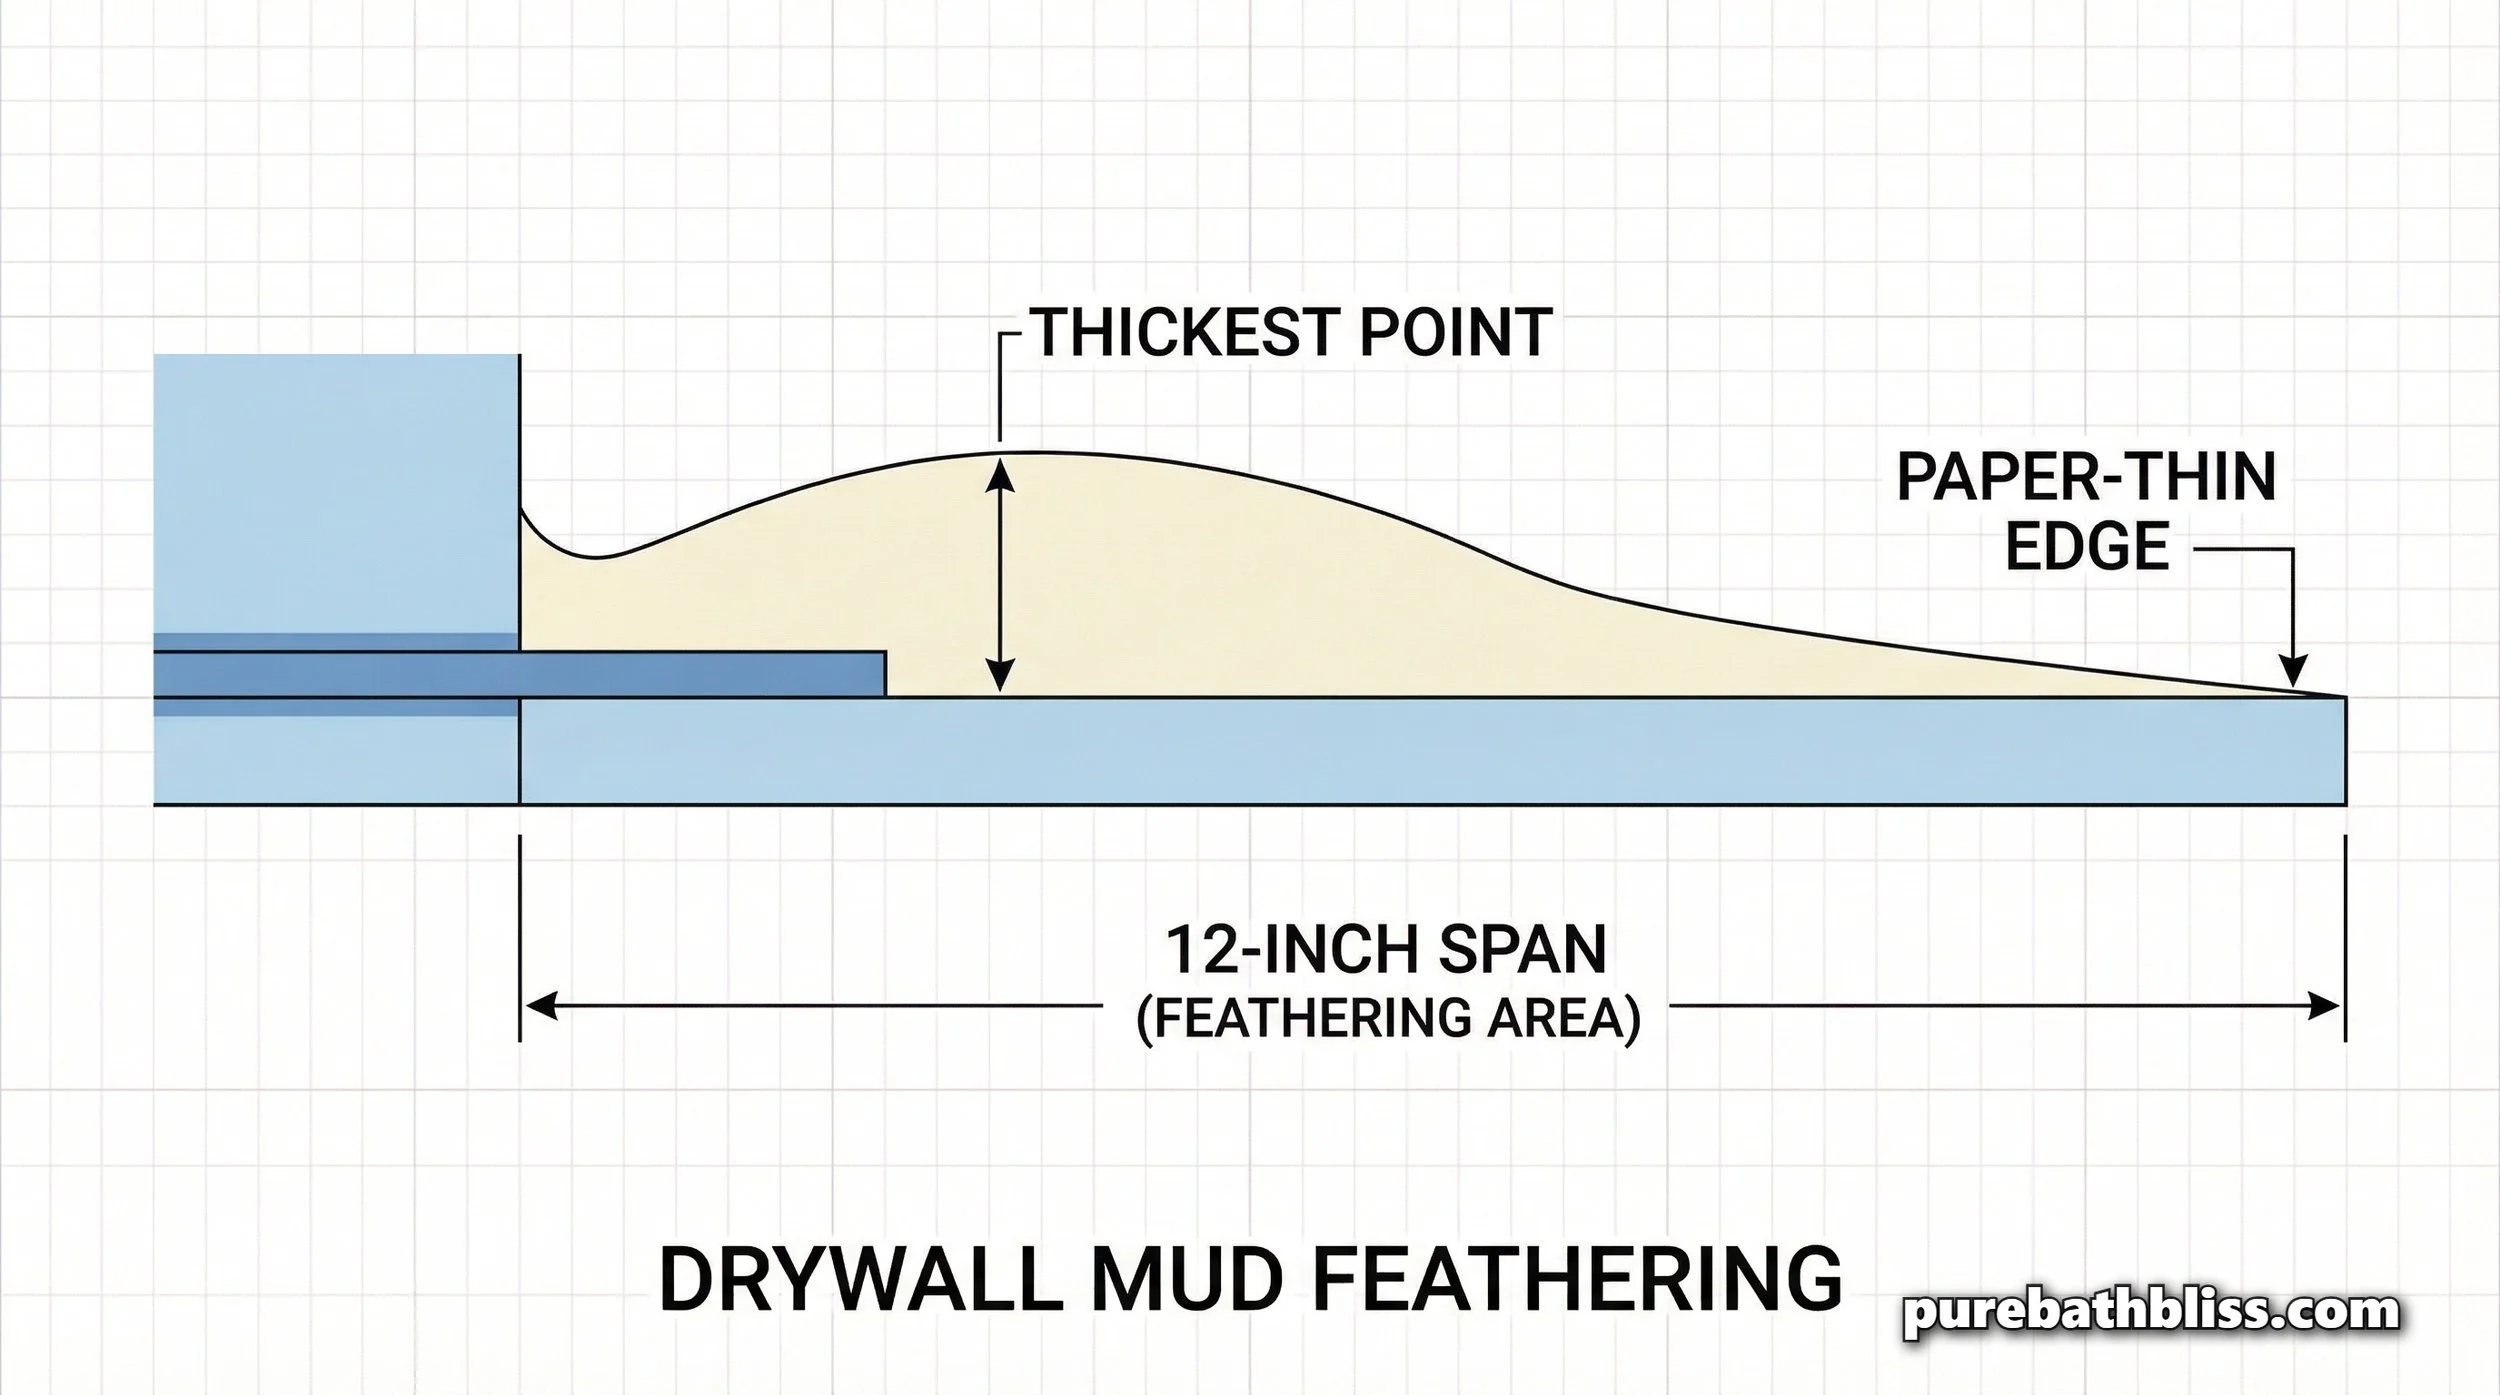
The Physics of Feathering: You are trying to distribute the thickness of the patch over a 12-inch span. This creates a slope so gradual that the human eye cannot detect the transition.
4. Comparison Table: Repair Matrix
| Repair Type | Size | Material Needed | DIY Difficulty |
|---|---|---|---|
| Micro-Repair | < 1" | Spackle / 6" Knife | 1/10 |
| Medium Breach | 1" - 4" | California Patch / Mesh | 5/10 |
| Structural Hole | 4" + | Wood Backing / New Drywall | 8/10 |
| Corner Bead | N/A | Metal or Paper Bead | 9/10 (Call a Pro) |
5. The "Parent-of-Four" Infrastructure Rules
As a parent, I know that an indoor DIY project can quickly turn into a household-wide dust crisis. Follow these safety protocols:
The "Dust Curtain": Even "Dust Control" mud is messy. Tape a piece of plastic or a damp bedsheet under the work area to catch the fallout.
The Drying Law: Do not—I repeat, do not—sand until the mud is bone white. If you sand while it’s still damp, you will tear the paper and the patch will fail.
The Primer Law: Drywall mud is a "thirsty" sponge. If you paint directly over it, the patch will look "flat" or "dull" while the rest of the wall is glossy (this is called "flashing"). You must use a dedicated drywall primer to seal the patch first.
6. Sustainability in Repair
In a Sustainable Sanctuary, we avoid unnecessary waste.
Save Your Scraps: Never throw away small pieces of drywall from a renovation; keep a small box in the garage for future patches.
Zero-VOC Mud: Look for GREENGUARD Gold certified joint compounds to ensure you aren't releasing formaldehyde or phthalates into your home's air during the drying process.
Conclusion: Maintaining the Sanctuary
Mastering the "Invisible Mend" is about more than just aesthetics; it’s about the stewardship of your space. When you take the extra 24 hours to feather your edges, sand with a fine touch, and prime your work, you are preserving the "Pure" environment of your home.
The next time a door handle goes through the wall or a soccer ball hits a little too hard, don't panic. Grab your 10-inch knife and embrace the ritual of the feather.