Is Your Toilet "Ghost Flushing"? How to Stop the Leak and Save Money in 10 Minutes
It’s 2:00 AM. The house is silent. Suddenly, you hear it, the sound of water running in the bathroom, followed by a short flush.
You get up to check, but the bathroom is empty. Nobody used it.
This phenomenon is called "Ghost Flushing." While it sounds spooky, the reality is much more mundane and much more expensive. It means water is slowly, silently leaking from your toilet tank into the bowl. When the water level in the tank drops low enough, the float valve kicks in to refill it, causing that random "flush" sound.
A single running toilet can waste up to 200 gallons of water per day. That’s thousands of dollars a year literally flushed down the drain.
The good news? You don’t need a plumber. You just need a $6 part and ten minutes. Here is how to diagnose the leak and fix it yourself.
For a deeper look at how much water your bathroom might be wasting, check our master guide: The Ultimate Bathroom Water Audit: Save Thousands of Gallons and Hundreds of Dollars Starting Today.
The Diagnosis: The Food Coloring Test
Sometimes the leak is so slow you can't hear it. Before you head to the hardware store, use this classic plumber’s trick to confirm the problem.
Open the Lid: Remove the porcelain lid from the back of the toilet tank (careful, it's heavy).
Add Color: Squeeze 10–15 drops of dark food coloring (red or blue works best) into the tank water. Do not flush.
The Wait: Let it sit for 20–30 minutes.
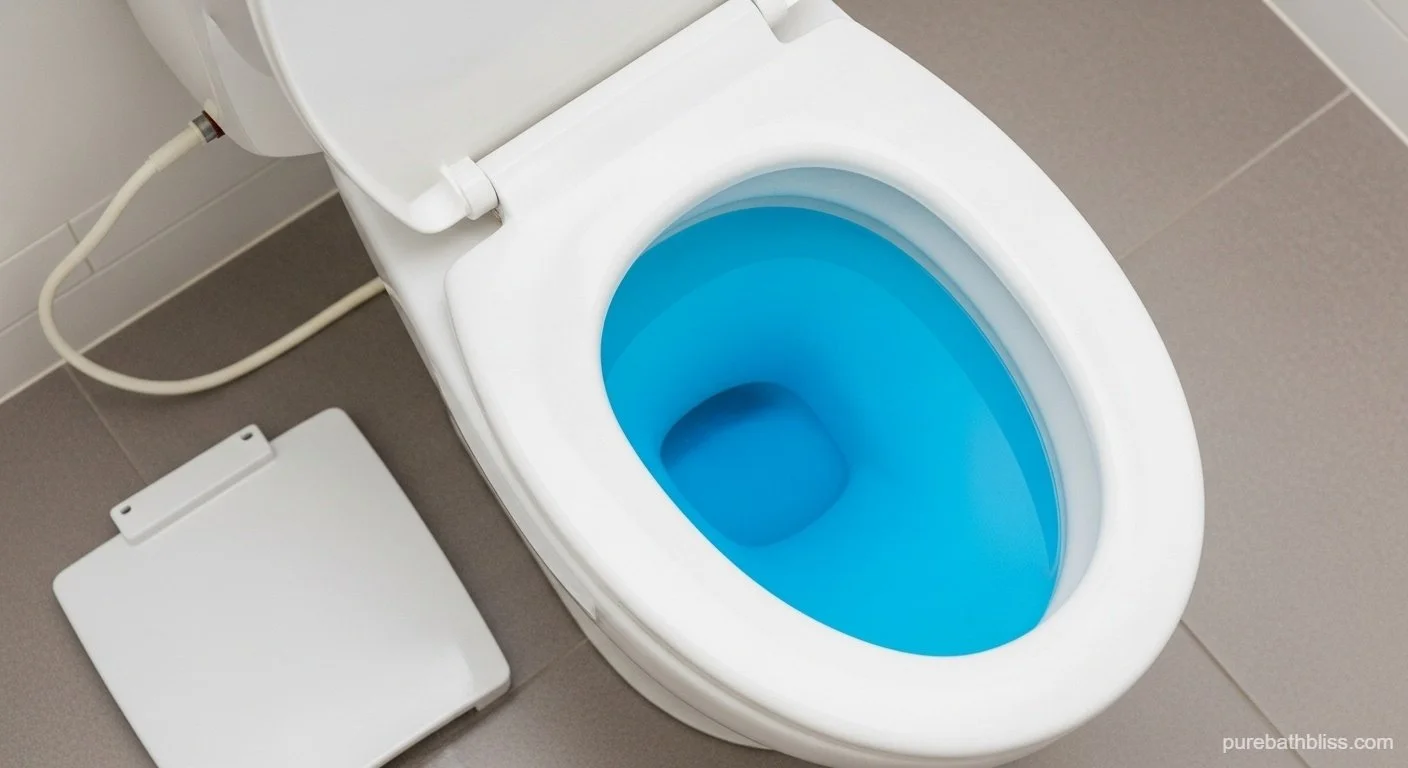
The Reveal: Look into the toilet bowl.
Clear Water: You don't have a leak.
Colored Water: If the water in the bowl has turned blue or red, the seal is broken. You have a leak.
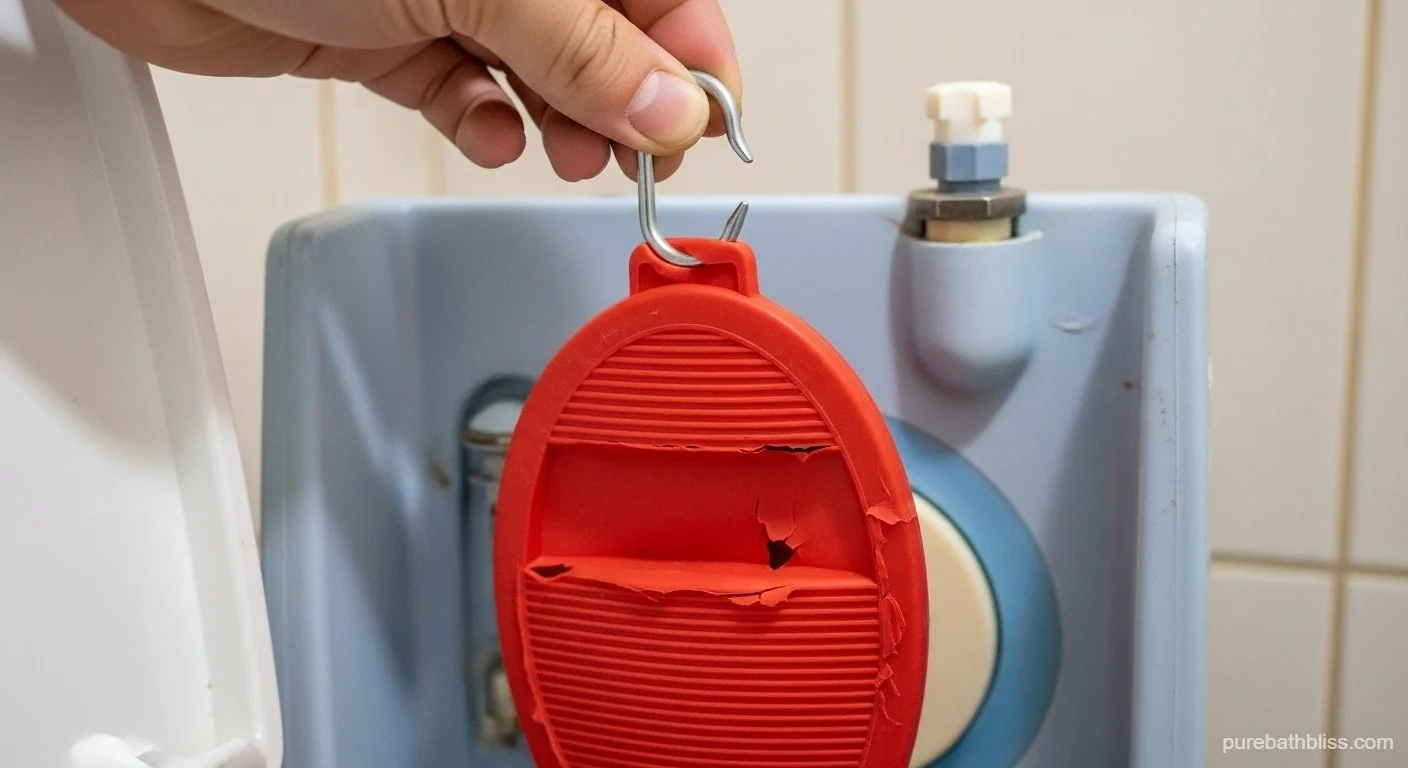
The Culprit: The Flapper
90% of the time, the problem is a small rubber disc at the bottom of the tank called the Flapper.
Its job is to lift up when you flush (letting water out) and seal shut to hold water in. Over time, chlorine, minerals, and cleaning tablets break down the rubber. It becomes brittle, warped, or covered in algae, preventing a watertight seal.
The Cost: A generic "Universal Flapper" costs about $5–$8 at any home improvement store.
Step-by-Step: The 10-Minute Fix
You don't need tools for this, just your hands (and maybe a towel).
Step 1: Turn Off the Water
Look behind the toilet near the floor. You will see a football shaped valve on the wall. Turn it clockwise (righty-tighty) until it stops. This cuts the water supply.
Step 2: Drain the Tank
Flush the toilet. Hold the handle down to let as much water out as possible. The tank won't refill because you turned the water off. (If there is a little water left at the bottom, that’s fine).
Step 3: Remove the Old Flapper
Look at the bottom of the tank. The flapper is attached to the "overflow tube" (the tall pipe) by two small arms or clips.
Unhook the clips from the ears on the pipe.
Unhook the chain from the flush lever arm.
Toss the old flapper in the trash. Note: Your hands might get a little black and inky from the degrading rubber, this is normal.
Step 4: Install the New Flapper
Clip the new flapper onto the ears of the overflow tube.
Connect the chain to the flush lever.
Step 5: The Critical Adjustment (The Chain)
This is where most people mess up.
Too Tight: If the chain is too tight, the flapper won't close all the way = Leak.
Too Loose: If the chain is too long, it will get caught under the flapper = Leak.
The Goldilocks Zone: You want just a little bit of slack (about 1/2 inch) in the chain when the flapper is closed.
Step 6: Test
Turn the water valve back on (counter-clockwise). Watch the tank fill. Once it stops, listen. Is there silence? Flush it once to make sure the flapper lifts and falls correctly.
Troubleshooting: "It's Still Running!"
If you replaced the flapper and it's still ghost flushing, check two things:
The Seat: Run your finger around the hard plastic ring (the flush valve seat) where the flapper sits. Is it rough or gritty? Use a scrub sponge to clean off mineral buildup so the new flapper can seal tight.
The Float: If water is running into the overflow tube (the tall open pipe), your water level is set too high. Locate the screw on top of the fill valve and turn it to lower the water level until it is about an inch below the top of the overflow tube.
Conclusion
The "Ghost Flush" is gone. You have silenced the noise and stopped flushing your hard-earned money down the drain.
Home maintenance doesn't always require a contractor; sometimes it just requires a little curiosity and some food coloring.
Now that your toilet is efficient, let's make sure it's clean—without using harsh chemicals. Check out our guide: DIY Zero-Waste Toilet Bombs That Dissolve Grime (And Smell Like a Spa).
