DIY Solid Shampoo Bars: How to Make Them, Why They Work, and the Transition Period Nobody Warns You About
Originally published Nov 8, 2025 · Updated September 7, 2026
Transparency Note: We independently select these products based on research and user reviews. If you buy something through our links, we may earn a commission.
Liquid shampoo is approximately 80 percent water by weight. The remaining 20 percent is the active ingredients that actually clean hair, along with preservatives, synthetic thickeners, synthetic fragrance, and colorants to make the product look and smell appealing on the shelf. When you buy a bottle of commercial shampoo you are mostly paying to transport water in a plastic bottle that will be in landfill within a week of being emptied.
A solid shampoo bar eliminates the water entirely. The same cleaning and conditioning ingredients are concentrated into a compact puck that lasts 60 to 80 washes, replaces three standard shampoo bottles, travels without the liquid restrictions that make bottle shampoo a carry-on problem, and can be made at home for under $2 per bar from ingredients that are already likely in a kitchen or bathroom cabinet.
The one thing most shampoo bar guides do not tell you honestly is that there is a genuine scalp adjustment period of two to four weeks when you switch from commercial liquid shampoo to a solid bar, particularly from an SLS-based shampoo. The adjustment is real, it is temporary, and understanding the biology behind it is what gets most people through it rather than abandoning the bar at week two and concluding that solid shampoo does not work. Here is the complete picture: the recipe, the science, and the transition strategy.
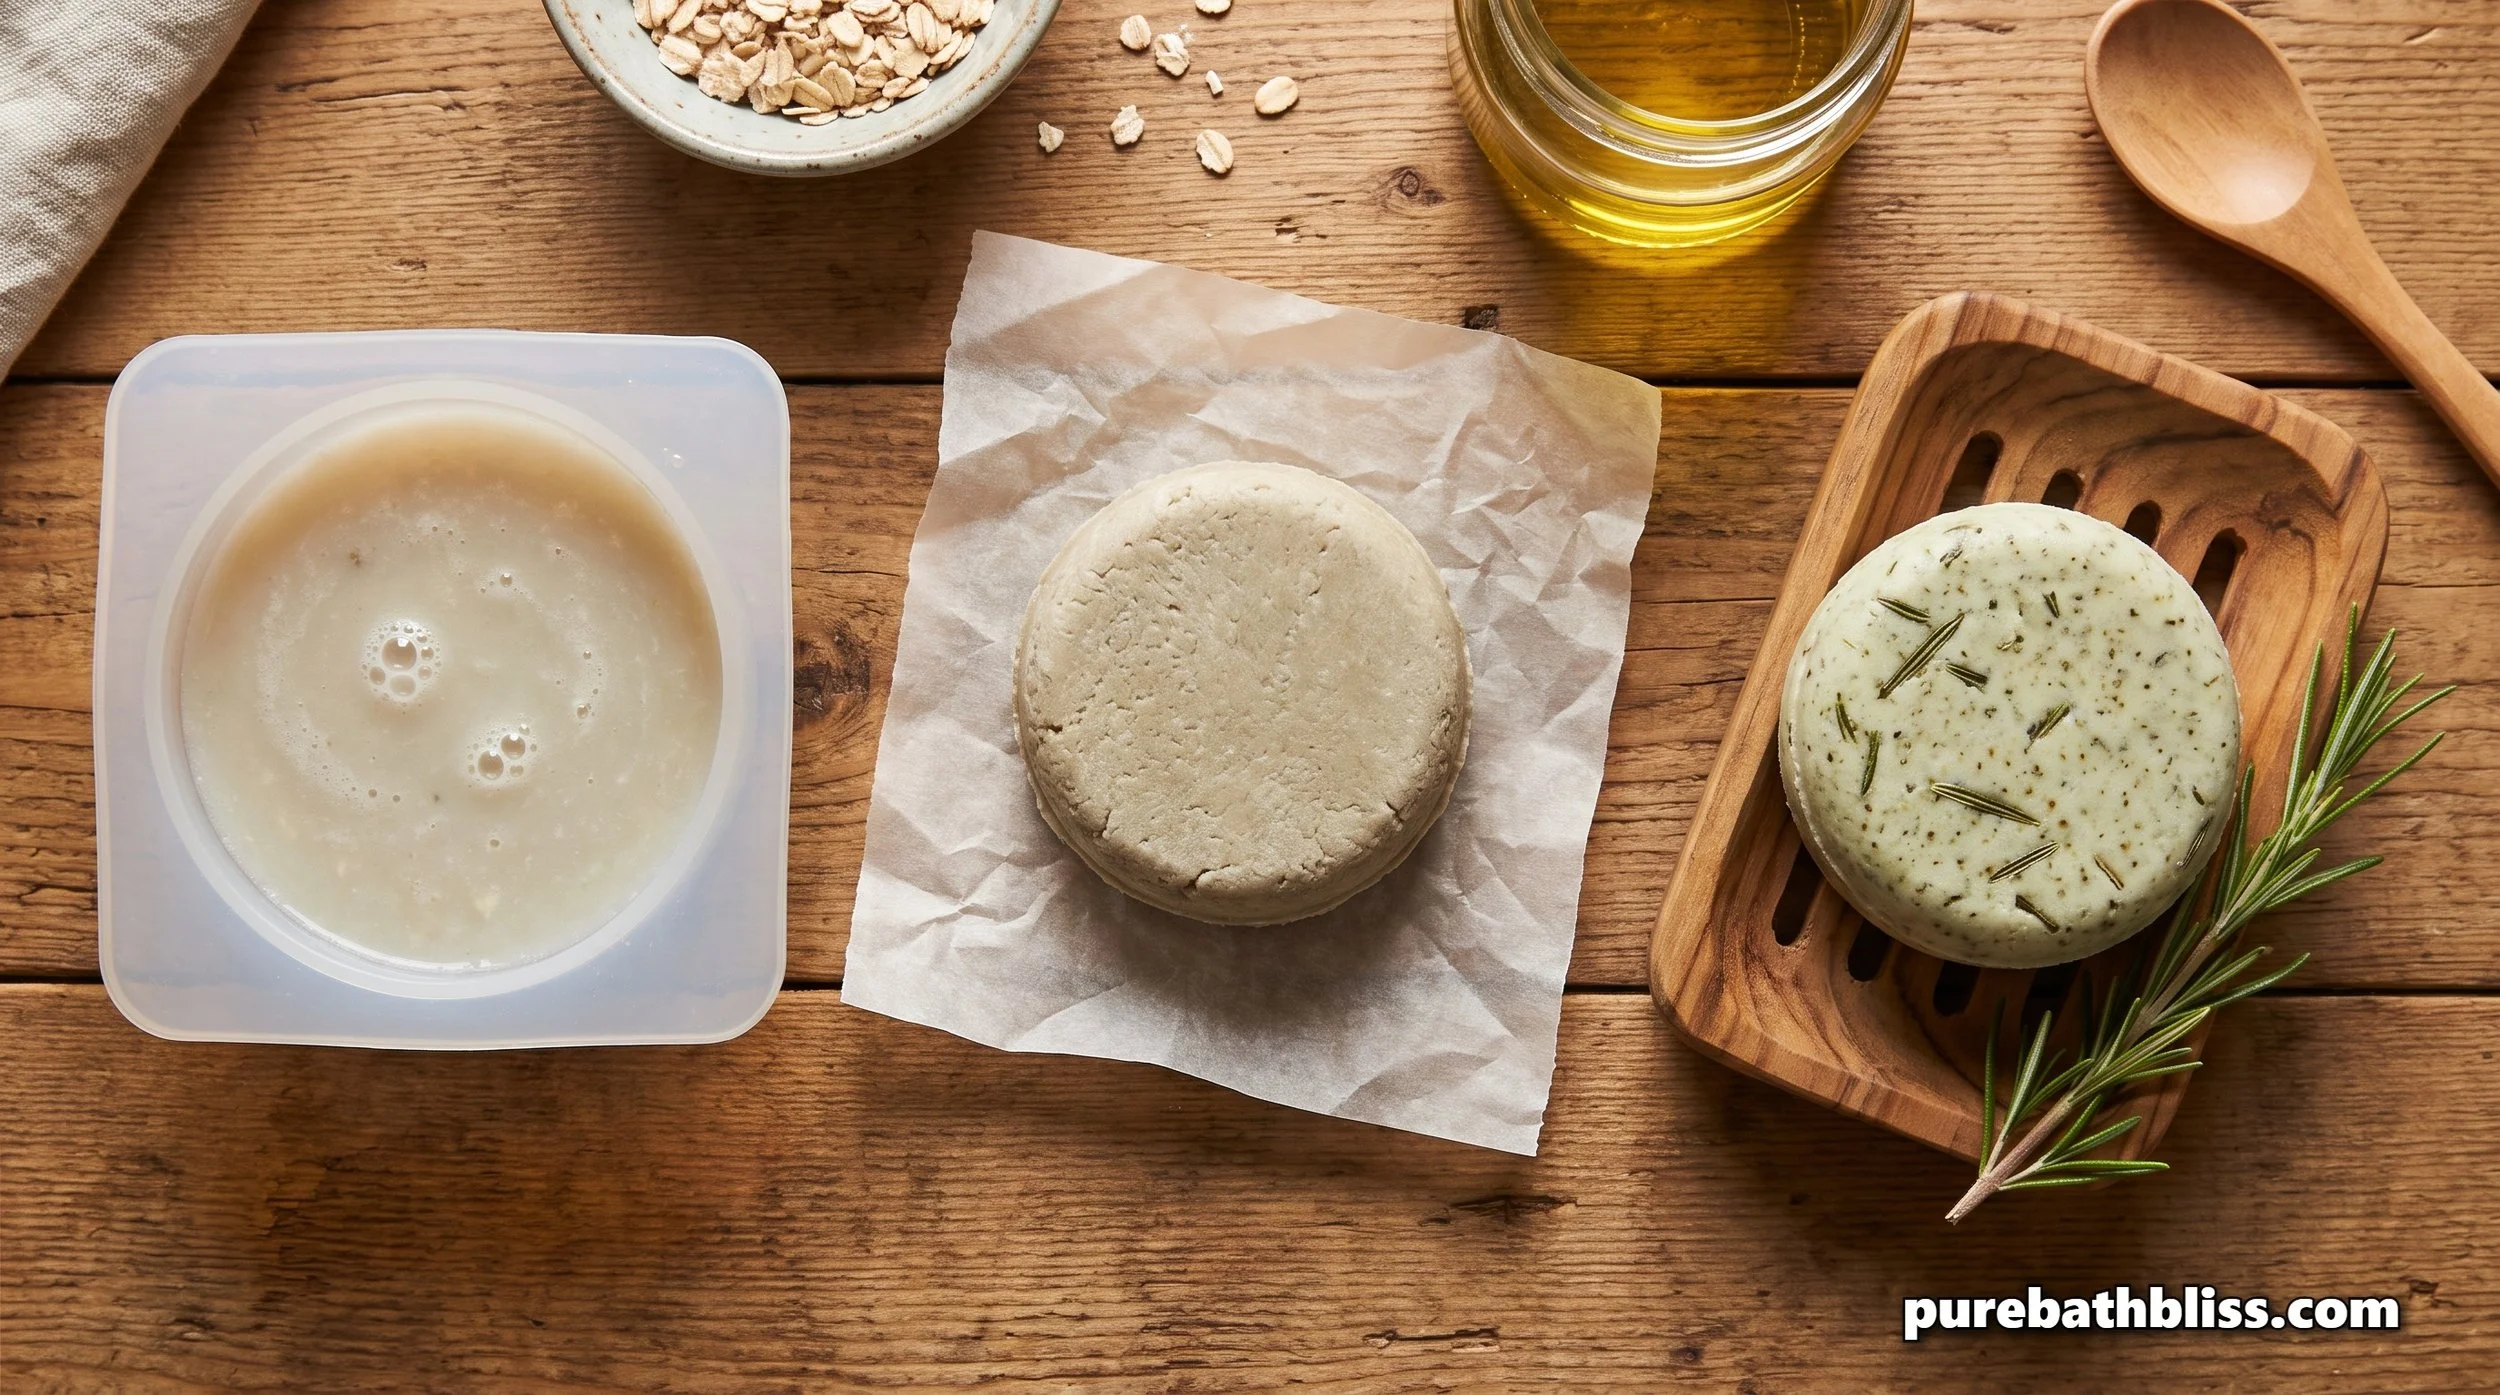
Why Solid Shampoo Bars Clean Hair Effectively
The cleaning mechanism in a shampoo bar is saponification, the same chemistry behind traditional bar soap. When plant oils react with an alkali, either sodium hydroxide for solid bar soap or potassium hydroxide for liquid castile soap, the alkali is consumed entirely in the chemical reaction, producing soap molecules and glycerin. The soap molecules have a water-attracting end and an oil-attracting end, which is what allows them to lift oils, sebum, and debris from the hair shaft and scalp surface and rinse away in water.
This is fundamentally different from what commercial liquid shampoo does. Most commercial shampoos use synthetic surfactants, primarily SLS, rather than saponified plant oils as their cleaning agent. SLS is more aggressive at stripping oils than saponified soap, which produces a squeaky-clean sensation after washing that many people interpret as thorough cleansing. That sensation is actually the feeling of the hair cuticle stripped of its natural lipid layer, which is what makes SLS-washed hair more prone to frizz, split ends, and dryness over time.
We cover the SLS mechanism and its effects on hair and scalp in our guide to harmful chemicals in shampoo and body wash. The shampoo bar eliminates SLS entirely, replacing it with saponified plant oils that clean without the aggressive barrier stripping. The retained glycerin from the saponification process also provides passive conditioning that liquid shampoo strips out during manufacturing and replaces with synthetic conditioners.
The Transition Period: What It Is and Why It Happens
This is the section most shampoo bar guides either skip entirely or dismiss with "there is no transition period with our bar." Both approaches leave people unprepared for what they are going to experience and are the primary reason most first-time shampoo bar users give up at week two.
The transition period is real. It typically lasts two to four weeks and is characterized by hair that feels heavier, greasier, or waxier than usual, particularly at the scalp. Understanding why it happens is the key to getting through it.
When you have been using SLS shampoo regularly, your scalp compensates for the aggressive oil stripping by overproducing sebum. The sebaceous glands essentially upregulate their oil production to replace what the SLS is removing. When you switch to a gentler shampoo bar that strips far less oil, the scalp continues producing sebum at the elevated rate it developed in response to the SLS, because it takes two to four weeks for the sebaceous gland activity to recalibrate to the lower stripping level of the new product. During that recalibration window, more oil is being produced than the shampoo bar is removing, which produces the greasy, heavy feeling that most people experience.
This is not the shampoo bar failing to clean. It is the scalp recalibrating. Once the recalibration is complete, most people find that their hair produces less oil overall, needs washing less frequently, and has a noticeably different texture at the hair shaft level because the cuticle is retaining its natural lipid layer rather than being repeatedly stripped. The two to four weeks of adjustment is the cost of access to that long-term improvement. The techniques in the section below significantly reduce the discomfort of the transition window.
The Recipe: Three Bars for Under $6
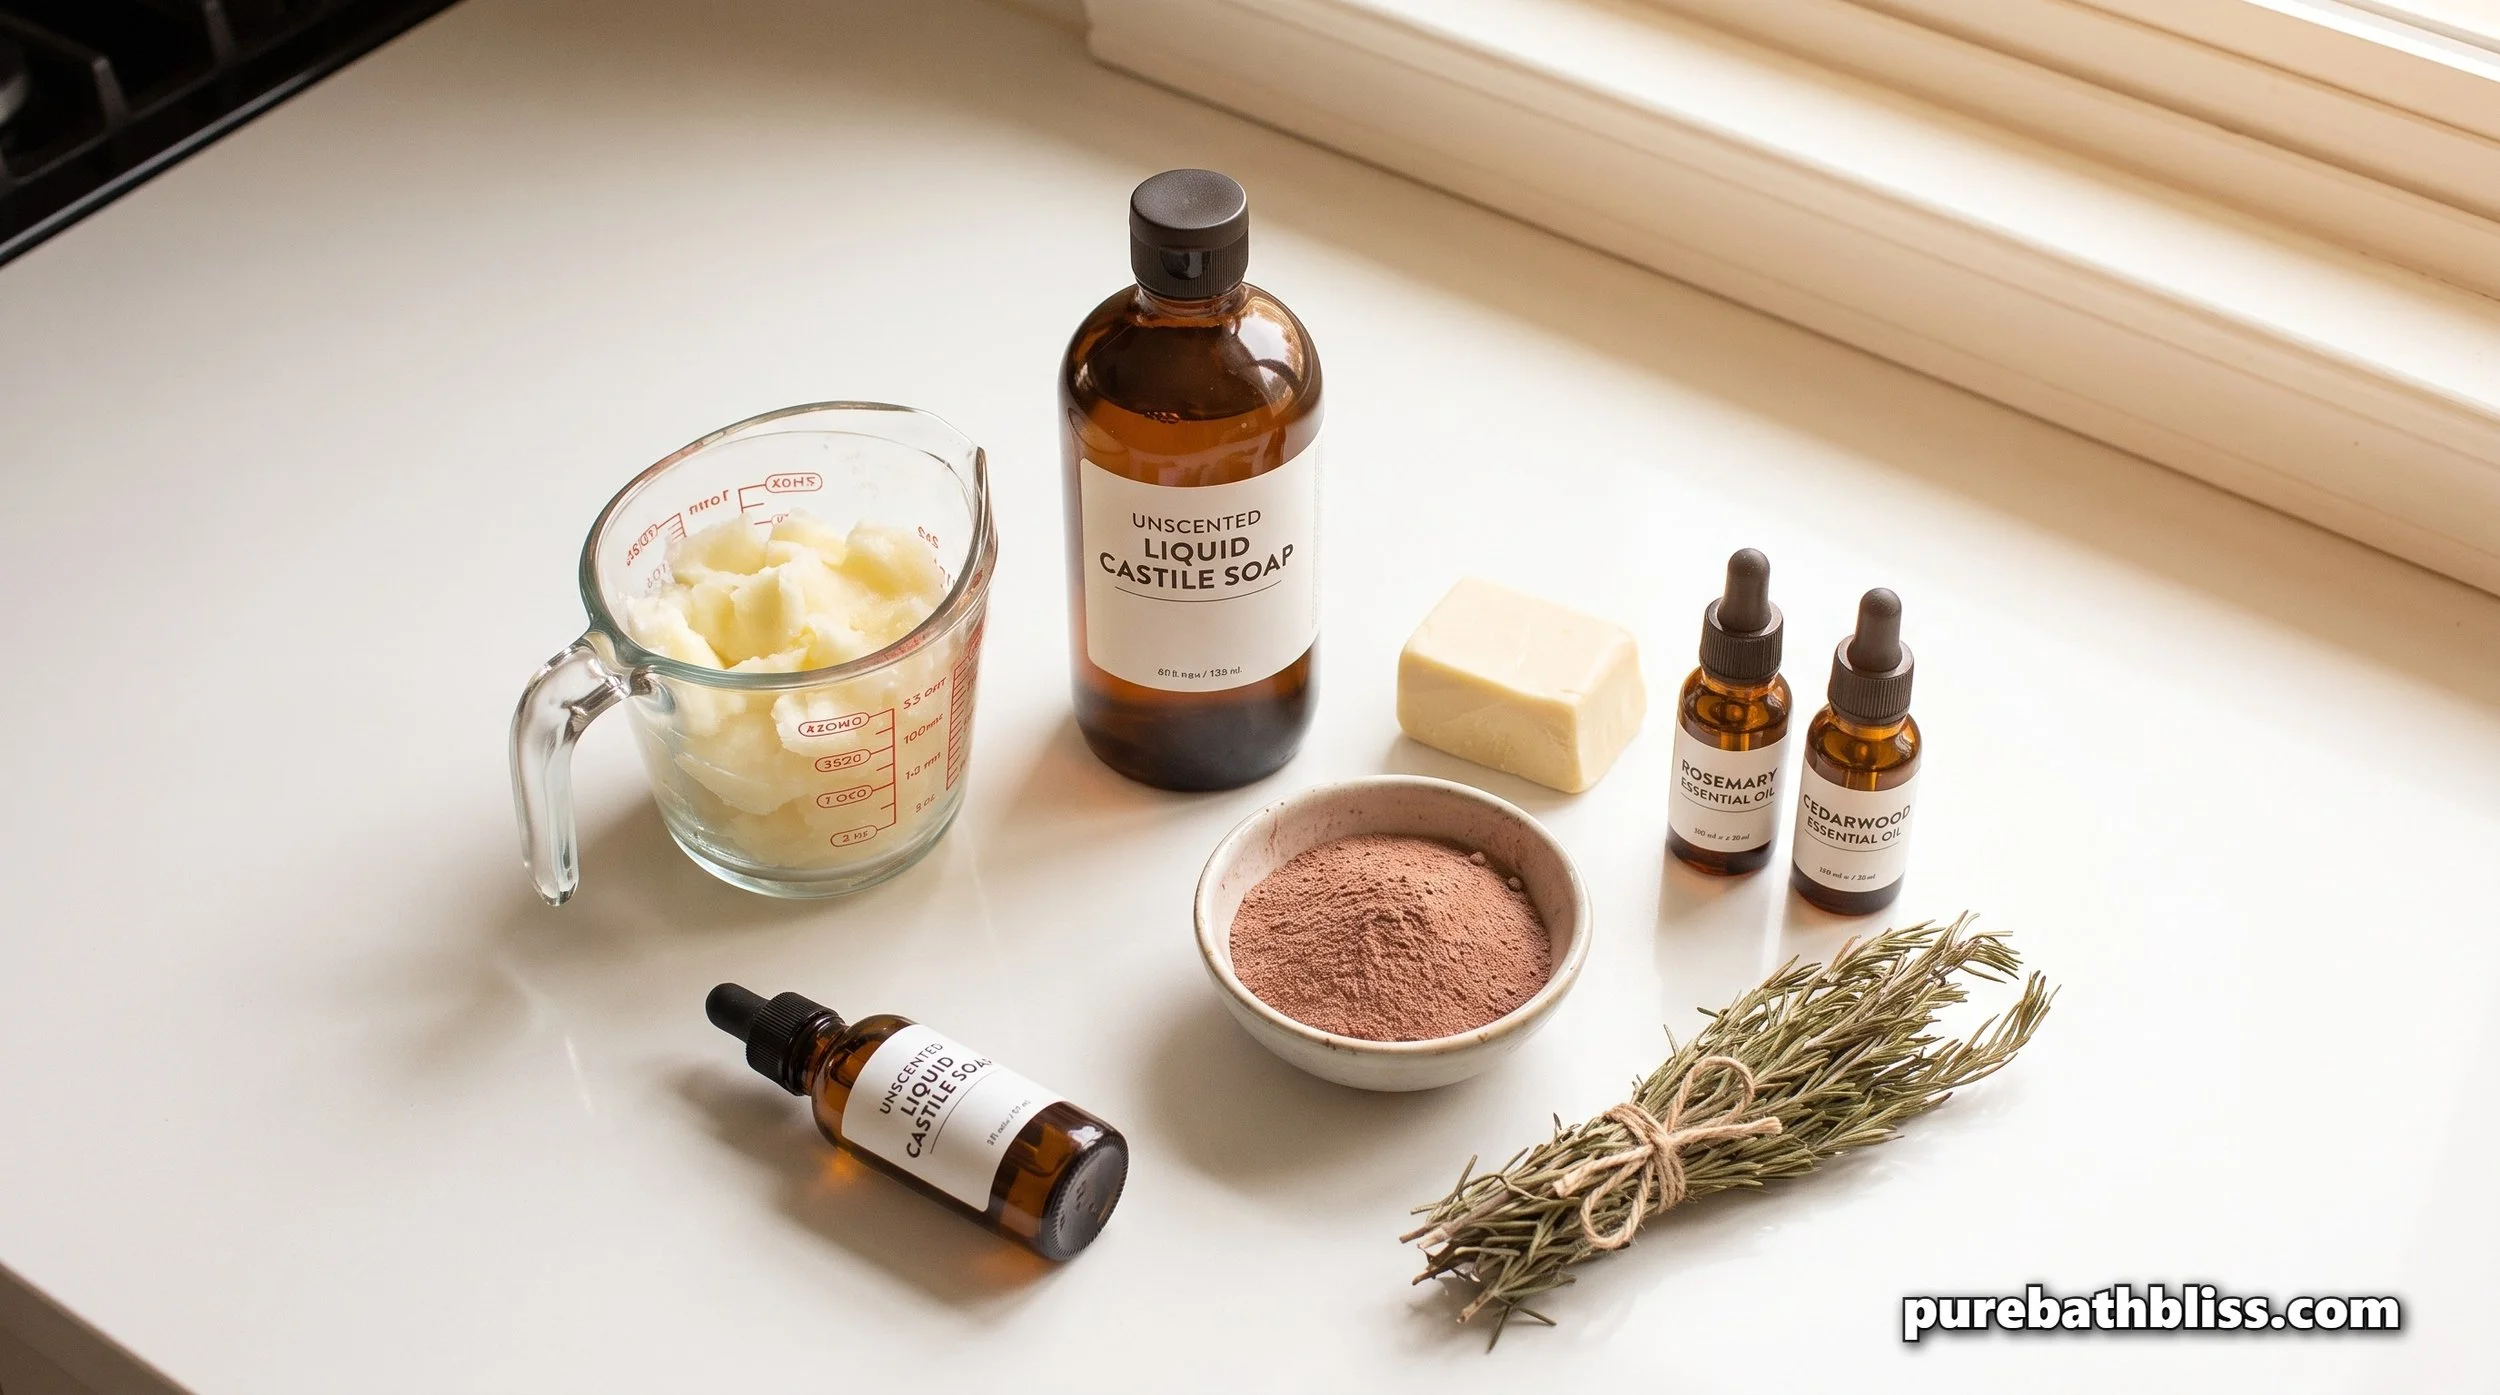
This recipe produces three bars, each lasting 60 to 80 washes, at a total material cost of under $6 for all three. Once the base ingredients are purchased, subsequent batches cost a fraction of that amount since the oils and clay are used in small quantities per batch.
Ingredients for three bars:
½ cup coconut oil — provides lather and cleansing. Choose refined for no coconut scent, unrefined for a faint natural coconut fragrance.
½ cup unscented liquid castile soap — the primary surfactant. Dr. Bronner's unscented baby version is the cleanest option.
¼ cup cocoa butter — hardens the bar and conditions the hair shaft. Food-grade cocoa butter produces the smoothest melt and blend.
30 drops rosemary essential oil — stimulates scalp circulation. A 2023 study published in Skinmed found rosemary oil comparable to minoxidil for hair growth stimulation in androgenic alopecia when applied to the scalp.
20 drops cedarwood essential oil — balances sebum production, particularly useful during the transition period.
1 tablespoon rhassoul clay, optional — adds gentle detoxifying and volumizing properties. Omit for fine hair prone to dryness.
1 tablespoon dried rosemary, optional — adds visual texture and a subtle additional rosemary scent.
Equipment:
Double boiler or glass bowl over a pot of simmering water
Silicone three-cavity bar mold
Measuring cups and spoons
Whisk or fork
Parchment paper for curing
Method:
Step 1: Melt the oils. Combine coconut oil and cocoa butter in the double boiler on low heat. Stir gently until fully melted and combined. Remove from heat and allow to cool for two to three minutes. The mixture should still be liquid but no longer steaming.
Step 2: Add the castile soap and clay. Pour in the liquid castile soap and stir to combine. Add the rhassoul clay if using and whisk until smooth with no lumps. The mixture will thicken slightly as the castile soap and oils combine.
Step 3: Add essential oils. Add the rosemary and cedarwood essential oils and stir to distribute evenly throughout the mixture.
Step 4: Pour into molds. Pour the mixture into the silicone mold cavities, filling each to the top. Tap the mold gently on the counter to release any air bubbles. Sprinkle dried rosemary over the top of each bar if using.
Step 5: Set and cure. Allow to set at room temperature or in the refrigerator for four to six hours until firm. Unmold onto parchment paper and allow to cure uncovered at room temperature for twenty-four hours before first use. The curing time allows the bar to harden fully and ensures the castile soap has fully integrated with the oil base.
Yield: Three bars at approximately 3 ounces each. Each bar lasts 60 to 80 washes stored correctly.
How to Use the Bar and Get Through the Transition
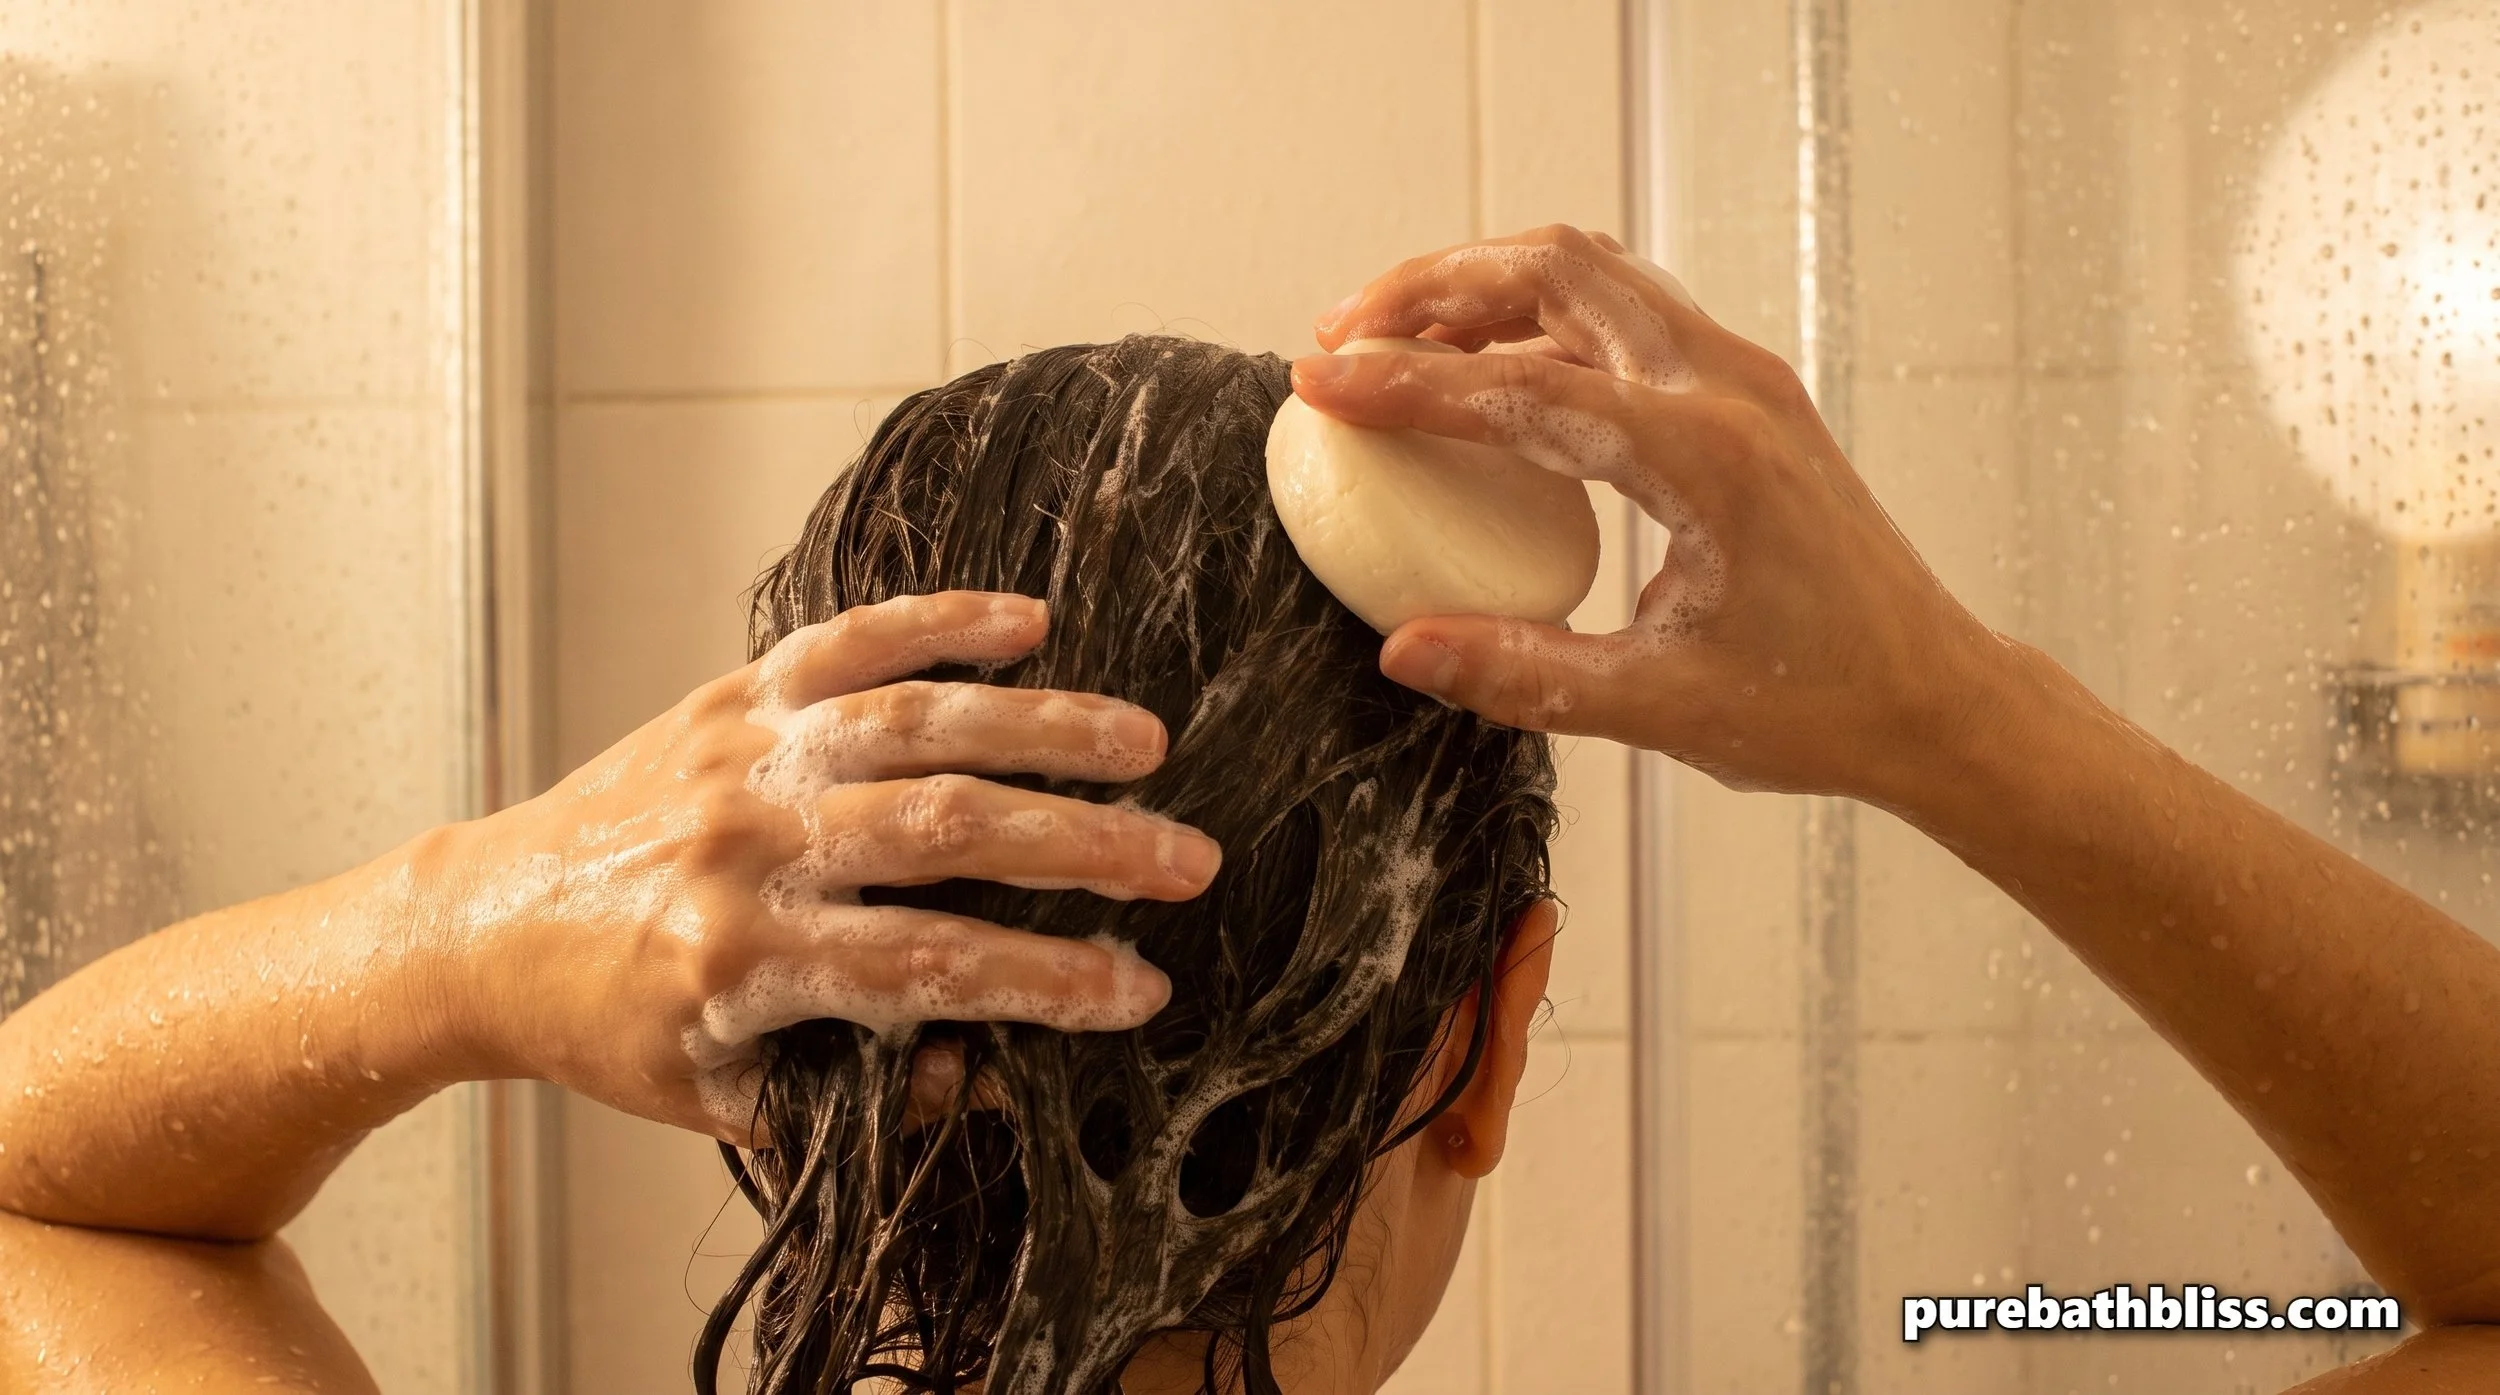
The correct application technique. Wet hair thoroughly. Rub the bar directly on the scalp in sections rather than on the hair lengths. The scalp is where the cleaning is needed and where the bar needs to contact. Work the bar from the nape of the neck forward across the scalp until the full scalp area has been covered. The bar should produce a soft, creamy lather rather than the voluminous foam of SLS shampoo. This lather is working even though it looks different. Massage the lather into the scalp with the fingertips for one to two minutes, then allow it to rinse down the hair lengths as you rinse the scalp. This provides gentle conditioning of the hair shaft without over-applying the cleaning agent to already-clean lengths.
The apple cider vinegar rinse. This is the single most effective technique for managing the transition period and for maintaining long-term scalp health with a shampoo bar. After rinsing out the bar lather, pour a solution of one tablespoon of apple cider vinegar diluted in one cup of warm water over the scalp and hair, allow it to sit for thirty seconds, then rinse. The acetic acid in the ACV closes the hair cuticle, removes any mineral or soap residue that has accumulated on the hair shaft, and restores the scalp's pH toward its natural acidic range after the slightly alkaline shampoo bar wash. During the transition period, daily ACV rinse use significantly reduces the greasy, heavy feeling by removing the excess sebum that the recalibrating scalp is producing. After the transition period, two to three times per week is sufficient for maintenance.
Wash frequency during the transition. During weeks one through four, washing every second day rather than daily is the right cadence. Daily washing with a shampoo bar during the transition removes too much of the sebum the scalp is producing and prolongs the recalibration rather than allowing it to complete. Every second day gives the scalp a chance to begin regulating its production downward. After the transition is complete, most people find they can extend to every two to three days between washes, which is a significant reduction in time and product use compared to the daily SLS washing routine most people start from.
Storage, Troubleshooting, and Gifting
| Problem | Cause | Fix for the Current Batch | Fix for Next Batch |
|---|---|---|---|
| Bar is too soft and does not hold its shape | Insufficient cocoa butter or coconut oil ratio. Castile soap proportion too high. | Return to mold and refrigerate for one hour. Extend curing time to 48 hours uncovered. | Increase cocoa butter by one tablespoon. Reduce castile soap by one tablespoon. |
| Bar produces little or no lather | Insufficient castile soap. Hard water reducing surfactant activity. | Lather bar in hands rather than directly on scalp. Use the ACV rinse after washing. | Increase castile soap to ¾ cup. If in hard water area, use filtered water to wet hair before applying bar. |
| Hair feels waxy or coated after washing | Hard water reacting with saponified oils to produce calcium soap film on hair shaft. | ACV rinse immediately. One tablespoon ACV in one cup warm water poured over hair after shampooing. Rinse after 30 seconds. | Use ACV rinse after every wash in hard water areas. Consider a shower filter to reduce mineral content. |
| Hair feels greasy during weeks one to four | Normal scalp transition period. Sebaceous glands overproducing sebum from previous SLS conditioning. Takes two to four weeks to recalibrate. | Daily ACV rinse during the transition. Wash every second day rather than daily. This is normal and temporary. | Add rhassoul clay to the next batch. Clay adsorbs excess sebum during the wash without stripping. |
| Bar dissolves quickly in the shower | Bar sitting in standing water between uses. Direct shower stream hitting the bar. | Move bar to a self-draining soap dish outside the direct water stream. Allow to dry fully between uses. | Increase cocoa butter slightly for a harder bar. Ensure full 24-hour cure before first use. |
| Bar has an uneven or rough texture | Mixture poured while too hot, causing ingredients to separate slightly. Rhassoul clay not fully incorporated. | Bar still works. Texture does not affect performance. Use as normal. | Allow melted oils to cool to body temperature before adding castile soap. Whisk clay in more thoroughly before pouring. |
Storage. The biggest enemy of a shampoo bar's longevity is sitting in water. A bar left in a puddle in the shower will dissolve significantly faster than its rated wash count. Store the bar on a self-draining wooden soap dish that allows the bar to dry completely between uses. Keep the soap dish outside the direct water stream of the shower. A bar that dries fully between uses consistently achieves 70 to 80 washes. A bar stored in standing water may last 30 to 40 washes.
Hard water and shampoo bars. Hard water reacts with the saponified oils in a shampoo bar to produce a waxy film on the hair that feels like residue and does not rinse out easily. This is the specific problem that makes shampoo bars difficult to use in very hard water areas and is the most common reason people report that shampoo bars leave their hair feeling coated or dull. The ACV rinse addresses this directly because the acidity dissolves the calcium and magnesium soap scum that hard water produces on the hair. In hard water areas, the ACV rinse is not optional during the transition period, it is essential. The hard water mineral buildup is the same problem that affects towels and appliances, which our sister site Pure Kitchen Bliss covers in their guide to removing hard water mineral buildup with citric acid. The same mineral chemistry is at work in both situations.
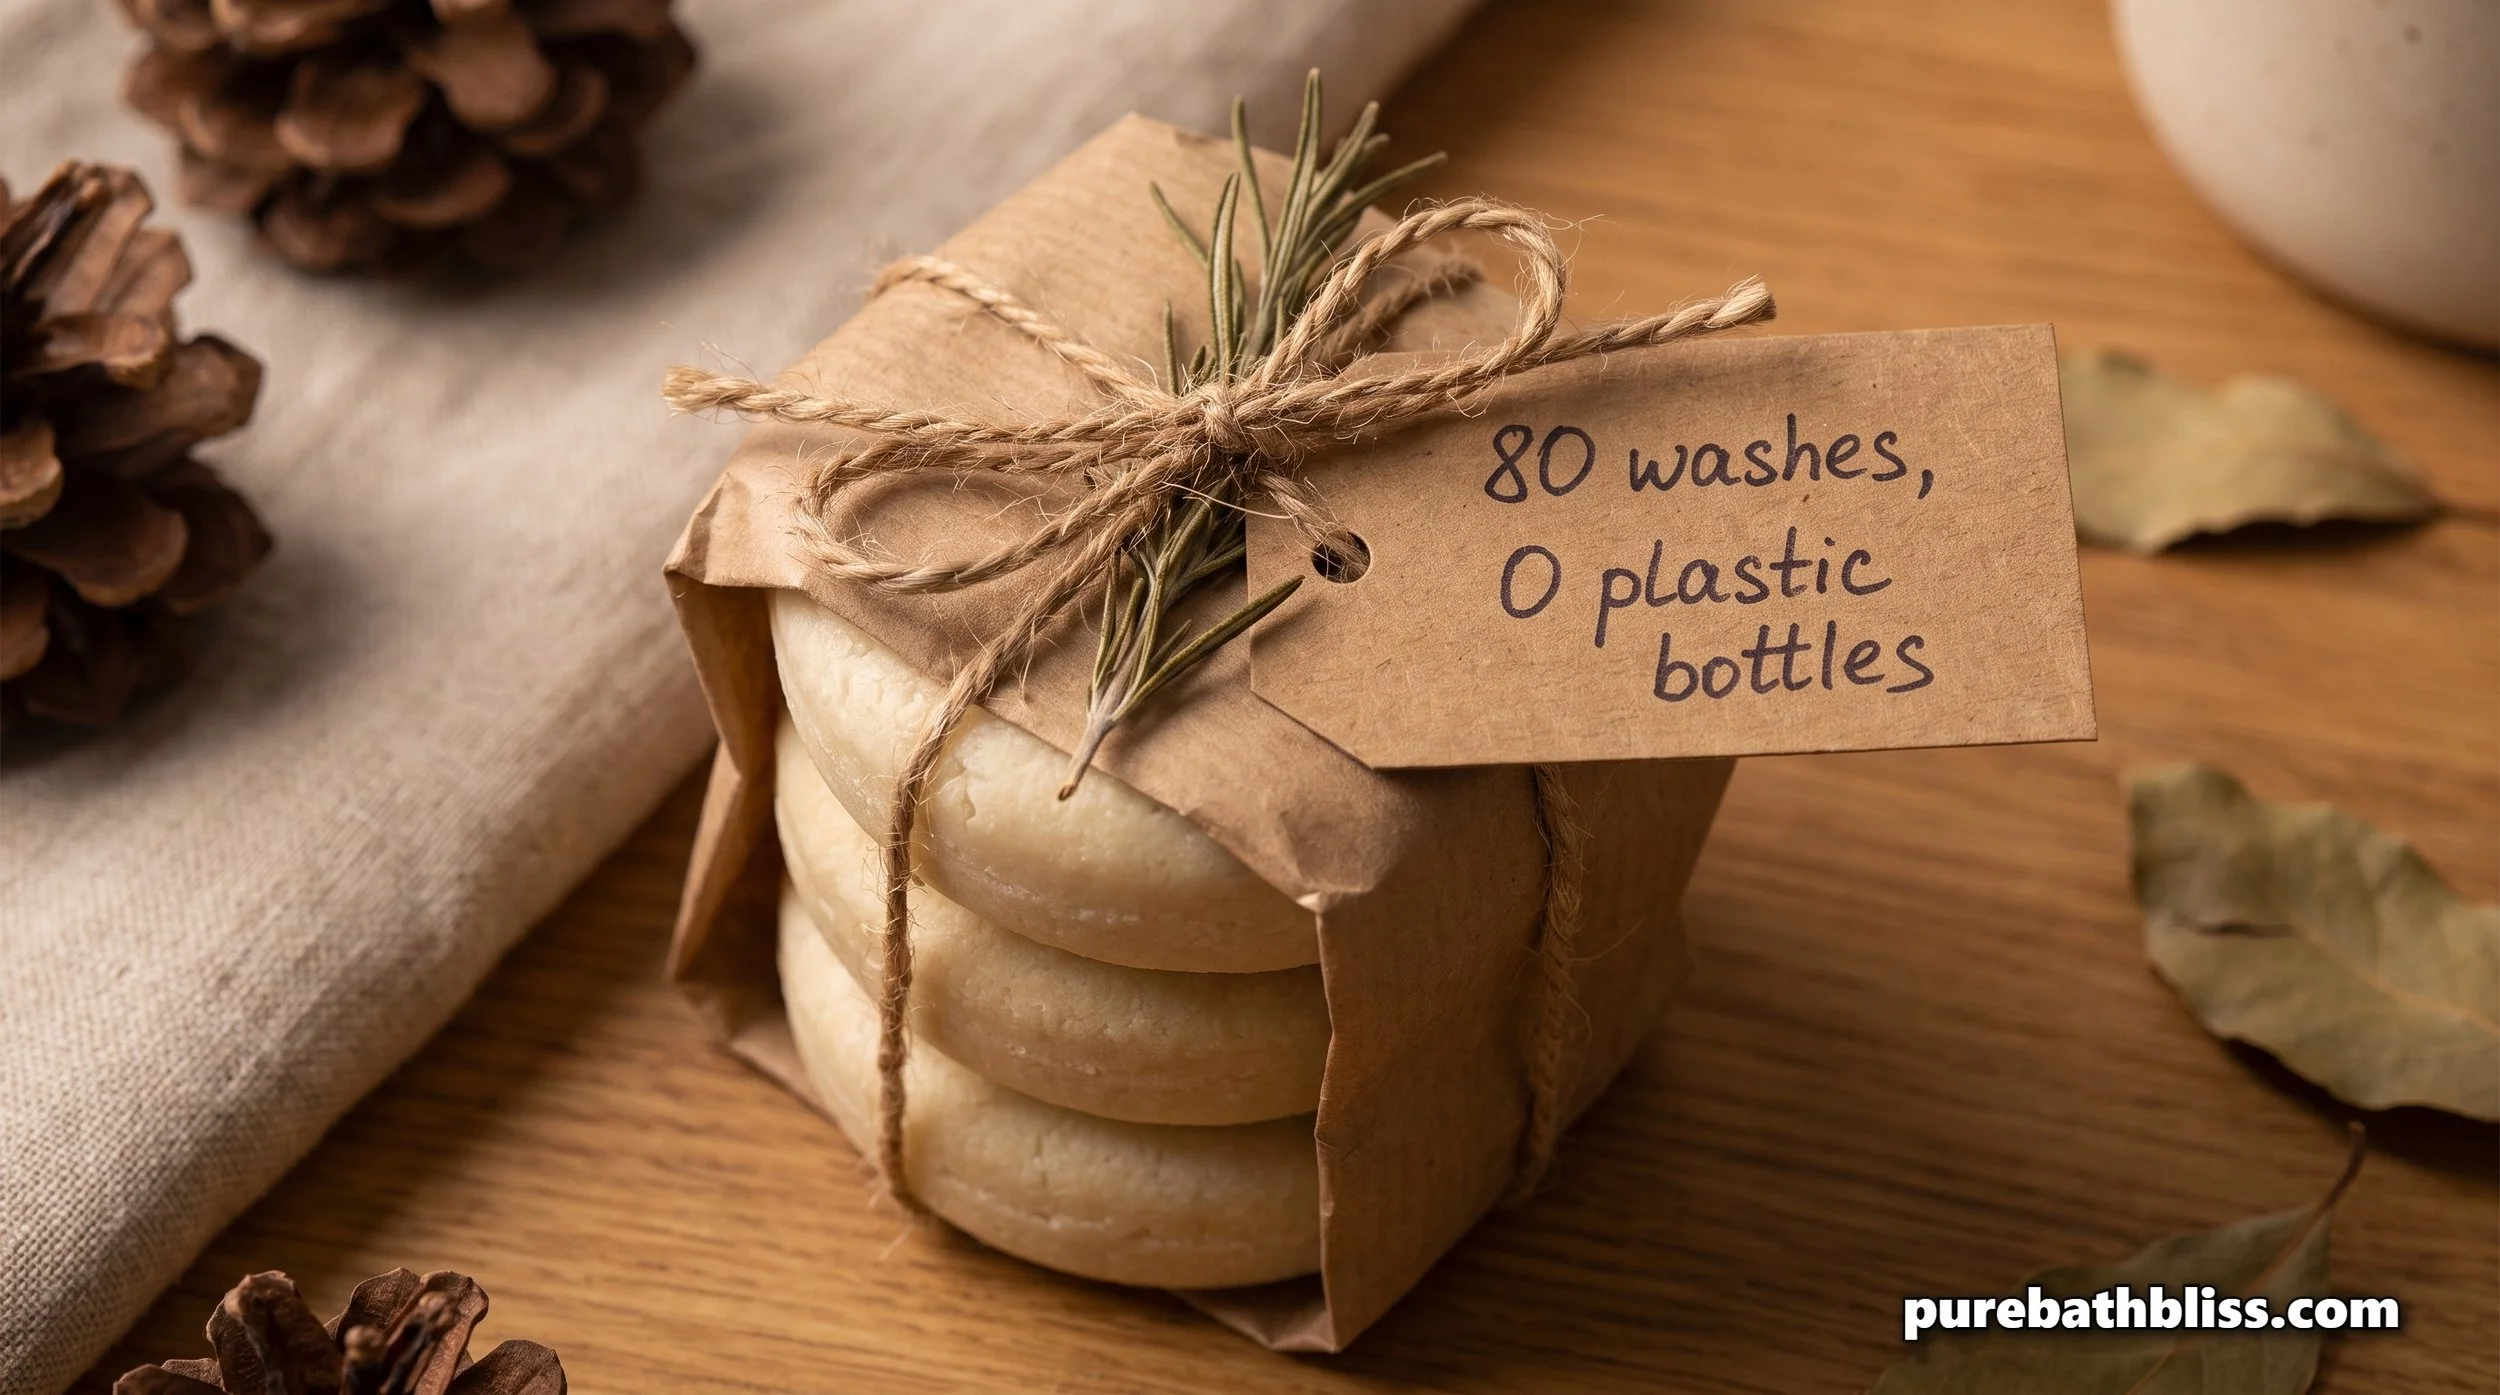
Gifting. Three shampoo bars stacked and wrapped in a small kraft paper bundle tied with jute twine, with a handwritten card explaining the ACV rinse and the transition period, is a genuinely thoughtful and useful gift for anyone interested in reducing plastic in their bathroom routine. The gift costs under $6 in materials and is more useful than any commercial shampoo gift set at five times the price. It connects naturally to the non-toxic bathroom gift guide we published in December. Include a silicone three-cavity bar mold as a companion gift and the recipient can make their own next batch.
The same natural, plastic-free philosophy that makes a DIY shampoo bar appealing in the bathroom applies in the kitchen. Our sister site Pure Kitchen Bliss covers eco-friendly dish soap alternatives including solid dish soap bars that apply the same zero-plastic, concentrated format to kitchen cleaning. One switch in the bathroom and one in the kitchen eliminates a significant proportion of the plastic bottles leaving any household monthly.
The Ingredients Worth Buying
Dr. Bronner's unscented baby castile soap in the largest available format is the right choice for the liquid soap component. USDA organic certified, fair trade, four-ingredient label, no synthetic preservatives. Buying in bulk format and decanting what you need per batch keeps the cost per bar low and reduces packaging waste. It is also the product we recommend for body wash, hand wash, and cleaning throughout this site, making the large format genuinely cost-effective across multiple uses.
Pure organic rosemary essential oil from a third-party tested source is the functional ingredient in this recipe with the strongest clinical evidence. The 2023 Skinmed study comparing rosemary oil to minoxidil for hair growth stimulation is a genuine differentiator for this recipe versus any generic shampoo bar formula.
Rhassoul clay sourced from the Atlas Mountains of Morocco is the traditional scalp detoxifying clay used in Moroccan hammam bathing traditions. It adsorbs excess sebum and product buildup from the scalp surface without stripping the scalp's natural oils, which makes it particularly useful during the transition period when the scalp is overproducing sebum. A small amount goes a long way in a shampoo bar recipe.
Greg is a Red Seal Carpenter, coffee shop owner, dad of four, and founder of Pure Bath Bliss. He writes about making smarter choices for your home and family.